1. Introduction
Thank you for choosing the Midea WQP15WU7633GSS Dishwasher. This manual provides essential information for the safe and efficient use of your appliance. Please read it thoroughly before installation and operation, and keep it for future reference.
2. Safety Information
WARNING: To reduce the risk of fire, electric shock, or injury, follow these basic precautions:
- Read all instructions before using the dishwasher.
- Connect to a properly grounded outlet only.
- Do not operate a damaged appliance.
- Keep children away from the dishwasher, especially when open.
- Use only detergents and rinse aids recommended for automatic dishwashers.
- Do not store or use flammable materials near the appliance.
- Always disconnect power before servicing.
3. Product Overview
The Midea WQP15WU7633GSS is a freestanding dishwasher designed for efficient dish cleaning. It features a stainless steel finish, touch controls, and a spacious interior with 3 racks.
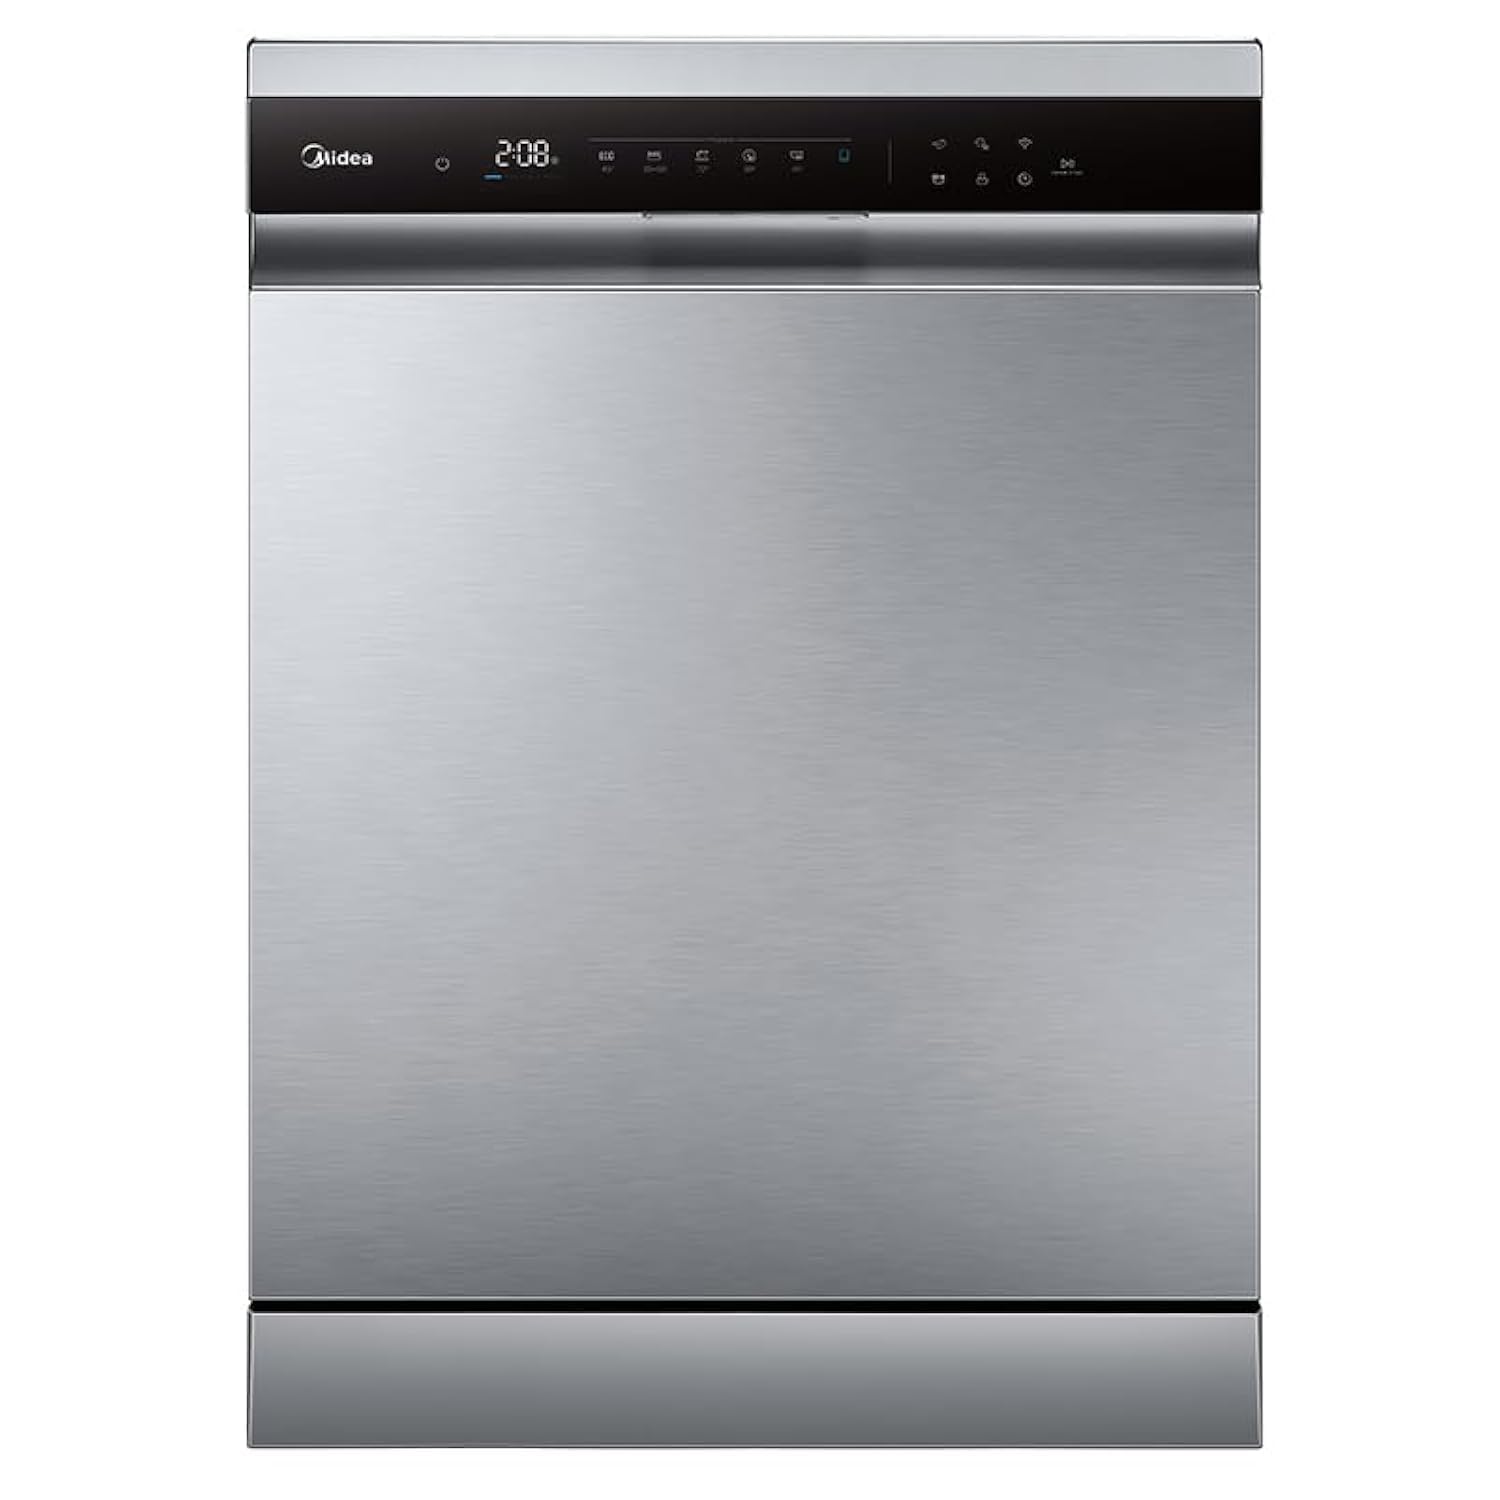
Figure 3.1: Front view of the Midea WQP15WU7633GSS Dishwasher.
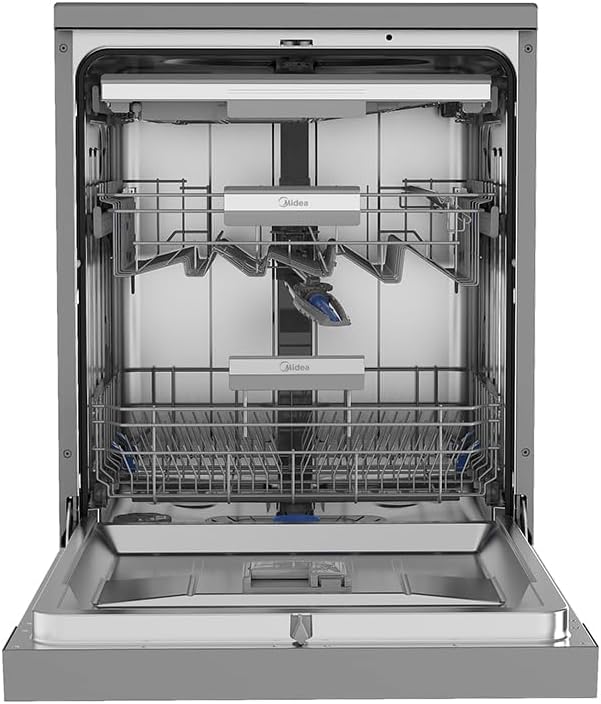
Figure 3.2: Interior view of the dishwasher with the door open, showing the racks.
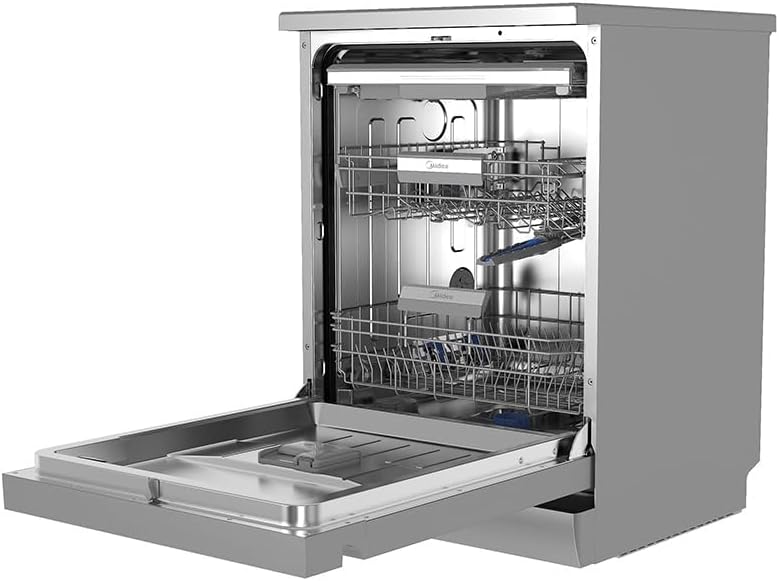
Figure 3.3: Dishwasher interior with upper and lower racks extended for loading.
4. Setup and Installation
4.1 Unpacking
Carefully remove all packaging materials. Inspect the dishwasher for any shipping damage. Keep packaging materials away from children.
4.2 Placement
Place the dishwasher on a level, stable surface. Ensure there is adequate clearance around the appliance for proper ventilation and door opening. The dishwasher is designed as a freestanding unit.
4.3 Water Connection
- Water Inlet: Connect the water inlet hose to a cold water supply with a minimum pressure of 0.04 MPa and a maximum of 1 MPa. Ensure connections are tight to prevent leaks.
- Drain Hose: Connect the drain hose to a suitable drain pipe or sink trap, ensuring it is securely fastened and positioned to prevent backflow.
4.4 Electrical Connection
Connect the dishwasher to a dedicated, grounded 240 Volt electrical outlet. Do not use extension cords or adapters. Ensure the electrical supply meets the specifications of the appliance.
4.5 First Use Preparation
- Salt Dispenser: Fill the salt dispenser with dishwasher salt to soften water, if required in your area.
- Rinse Aid Dispenser: Fill the rinse aid dispenser to ensure streak-free drying.
- Detergent Dispenser: Add an appropriate amount of dishwasher detergent.
5. Operating Instructions
5.1 Control Panel Overview
The dishwasher features a touch control panel with an LCD display. Buttons typically include Power, Program Selection, Delay Start, Start/Pause, and Wi-Fi functions. Refer to the specific icons on your appliance for detailed functions.
5.2 Loading the Dishwasher
Proper loading is crucial for optimal cleaning. Ensure dishes do not block the spray arms. The dishwasher has 3 racks and a capacity for 15 place settings.
- Place larger items in the lower rack.
- Place glasses, cups, and smaller bowls in the upper rack.
- Use the cutlery basket or third rack for forks, knives, and spoons.
- Avoid overcrowding to allow water to reach all surfaces.
5.3 Adding Detergent, Rinse Aid, and Salt
- Detergent: Add detergent to the dispenser before each wash cycle.
- Rinse Aid: Refill the rinse aid dispenser when the indicator light illuminates.
- Dishwasher Salt: Refill the salt dispenser when the indicator light illuminates.
5.4 Program Selection
This dishwasher offers 9 wash programs. Select the appropriate program based on the soil level and type of dishes. Common programs include:
- Intensive: For heavily soiled items.
- Normal: For regularly soiled dishes.
- Eco: Energy-saving program for normal soil.
- Quick: For lightly soiled items with a shorter wash time.
- Glass: Gentle wash for delicate glassware.
5.5 Starting a Cycle
Close the dishwasher door firmly. Select your desired program using the touch controls. Press the Start/Pause button to begin the cycle. The LCD display will show the remaining time.
5.6 Wi-Fi Connectivity
Your dishwasher supports Wi-Fi connectivity for smart control and monitoring via a compatible mobile application. Refer to the separate Wi-Fi setup guide for detailed instructions on connecting your appliance to your home network and using smart features.
6. Maintenance and Care
Regular maintenance ensures optimal performance and extends the lifespan of your dishwasher.
6.1 Cleaning Filters
The filter system should be checked and cleaned regularly (e.g., weekly) to prevent blockages and ensure effective cleaning. Remove the coarse filter, fine filter, and main filter, rinse them under running water, and reassemble them correctly.
6.2 Cleaning Spray Arms
Check the spray arm nozzles for blockages. If necessary, remove the spray arms and clean the holes with a thin object like a toothpick. Ensure they rotate freely after reinstallation.
6.3 Exterior and Interior Cleaning
- Exterior: Wipe the exterior surfaces with a soft, damp cloth. For stainless steel, use a specialized stainless steel cleaner.
- Interior: Periodically run a dishwasher cleaning cycle with a specialized dishwasher cleaner to remove grease and limescale buildup.
6.4 Winterization
If the dishwasher is to be left in an unheated location during winter, it must be drained and protected from freezing. Consult a qualified technician for proper winterization procedures.
7. Troubleshooting
Before contacting service, refer to the following table for common issues and their solutions:
| Problem | Possible Cause | Solution |
|---|---|---|
| Dishwasher does not start | Power cord not plugged in; door not closed properly; fuse blown. | Check power connection; ensure door is latched; check household fuse/breaker. |
| Poor cleaning results | Improper loading; clogged spray arms; insufficient detergent; clogged filters. | Reload dishes correctly; clean spray arms; add more detergent; clean filters. |
| Water not draining | Clogged drain hose; clogged filter; drain pump malfunction. | Check and clear drain hose; clean filters; contact service if pump is faulty. |
| Dishwasher leaks | Improperly installed hoses; excessive suds; damaged door seal. | Check hose connections; use less detergent; inspect and replace door seal if damaged. |
8. Specifications
| Feature | Detail |
|---|---|
| Brand | Midea |
| Model Name | WQP15WU7633GSS |
| Installation Type | Freestanding |
| Capacity | 15 Place Settings |
| Number of Wash Programs | 9 |
| Control Type | Touch |
| Display Type | LCD |
| Special Features | Smart and customizable wash cycles, Wi-Fi connectivity |
| Material | Stainless Steel |
| Color | Stainless Steel |
| Voltage | 240 Volts |
| Noise Level | 47 Decibels |
| Product Dimensions (L x W x H) | 60 x 60 x 85 cm |
| Item Weight | 51 Kilograms |
| Included Components | Dishwasher |
| Spare Part Availability (EU) | 10 years |
9. Warranty and Support
Your Midea WQP15WU7633GSS Dishwasher comes with a manufacturer's warranty. Please refer to the warranty card included with your purchase for specific terms and conditions. The availability of spare parts in the EU is guaranteed for 10 years.
For technical support, service, or warranty claims, please contact Midea customer service through their official website or the contact information provided in your purchase documentation.


