Introduction
This manual provides detailed instructions for the proper use and maintenance of your Rabitpos HBA-W91A Pet Microchip Scanner. This device is designed for efficient identification and management of animals by reading microchips that comply with FDX-B (134.2KHz) and EMID (125KHz) protocols. Please read this manual thoroughly before operating the device to ensure optimal performance and longevity.
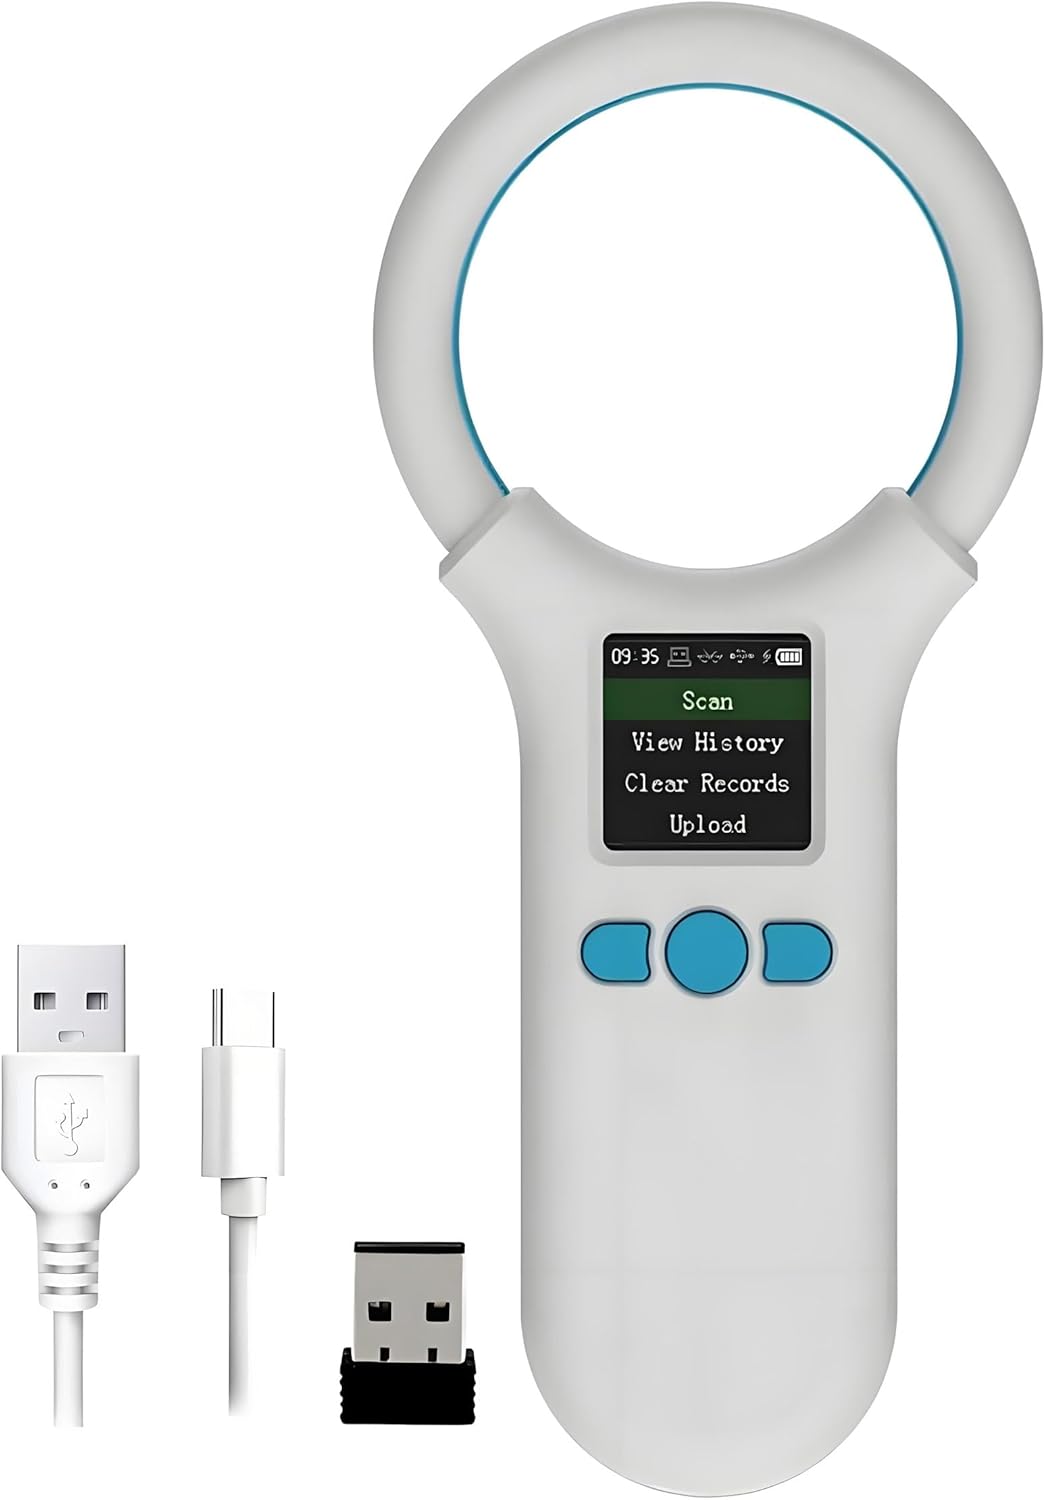
Image: The Rabitpos HBA-W91A Pet Microchip Scanner, shown with its charging cables and wireless dongle.
Product Overview
The Rabitpos HBA-W91A is a handheld, rechargeable microchip scanner featuring a 1.44-inch TFT display. It is designed for ease of use and portability, making it suitable for various animal management applications.
Key Features:
- Multi-Protocol Support: Reads 125KHz (EMID) and 134.2KHz (FDX-B) tags, compatible with ISO 11784/85 standards.
- Clear TFT Display: 1.44-inch high-brightness TFT screen for clear viewing of tag numbers and device status.
- Data Storage: Stores up to 500 tag records.
- Multiple Connectivity Options: Supports USB cable, 2.4G wireless, and Bluetooth for data upload to a computer or other devices.
- Rechargeable Battery: Built-in 800mAh battery provides extended operating time.
- Portable Design: Lightweight and ergonomic for comfortable handheld use.
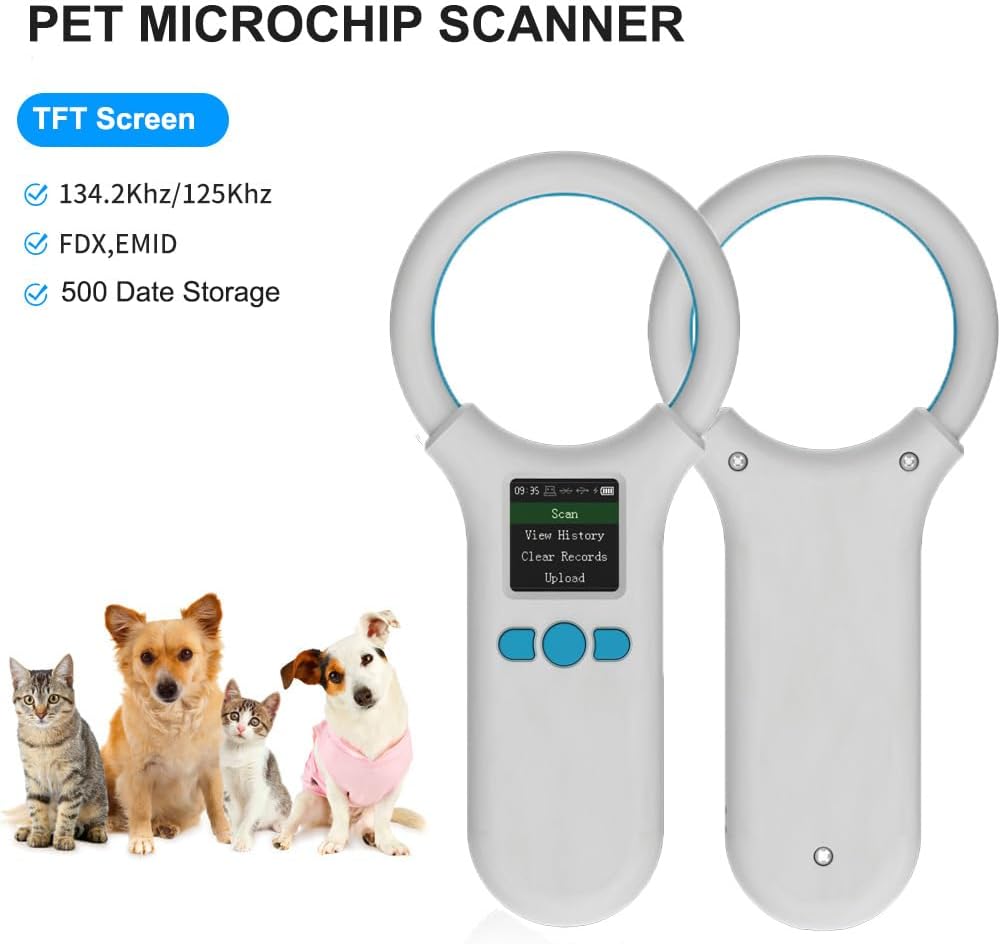
Image: The scanner highlighting its TFT screen, 134.2KHz/125KHz support, FDX/EMID compatibility, and 500 data storage capacity.
Setup
1. Charging the Device
Before first use, fully charge the scanner.
- Connect the provided USB cable to the scanner's charging port.
- Connect the other end of the USB cable to a USB power adapter (not included) or a computer's USB port.
- The battery indicator on the TFT screen will show charging status. A full charge typically takes a few hours.
2. Powering On/Off
- To power on, press and hold the power button (usually the middle button) until the screen illuminates.
- To power off, press and hold the power button until the screen turns off. The device also features intelligent shutdown for power saving.
3. Connectivity Options
The scanner offers three ways to connect for data transfer:
- USB Connection: Connect the scanner directly to a computer using the USB cable for data upload.
- 2.4G Wireless Connection: Insert the 2.4G USB dongle into your computer. The scanner will automatically connect for wireless data transfer.
- Bluetooth Connection: Enable Bluetooth on your computer or smartphone and pair with the scanner. Refer to your device's Bluetooth pairing instructions.

Image: Visual representation of the three connection methods: USB, 2.4GHz wireless, and Bluetooth.
Operating Instructions
1. Scanning Microchips
To read an animal's microchip:
- Ensure the scanner is powered on.
- Position the scanning ring close to the area where the microchip is implanted (typically between the shoulder blades for pets).
- Press the "Scan" button (usually the left button) to initiate scanning.
- Hold the scanner steady. Once a chip is detected, its ID number will be displayed on the TFT screen. The scanner may emit an audible beep.
- The scanned data is automatically saved to the device's memory.

Image: The scanner in use, demonstrating its ability to read FDX-B and EMID tags from a distance of 0-30cm, including cow ear tags, pig ear tags, ankle tags, and needle tags.
2. Viewing History
To review previously scanned data:
- From the main menu, select "View History" using the navigation buttons.
- Scroll through the stored records. The scanner can store up to 500 pieces of data.
3. Clearing Records
To delete all stored data:
- Navigate to the "Clear Records" option in the menu.
- Confirm your selection to erase all stored microchip IDs.
4. Uploading Data
To transfer stored data to a computer:
- Connect the scanner to your computer using one of the methods described in the "Setup" section (USB, 2.4G, or Bluetooth).
- Select the "Upload" option on the scanner's menu.
- Follow the prompts on your computer to complete the data transfer. The data will typically be uploaded as a text file or similar format.
Maintenance
1. Cleaning
- Wipe the scanner's surface with a soft, dry cloth.
- For stubborn dirt, use a slightly damp cloth with mild soap, then wipe dry immediately.
- Do not use harsh chemicals, solvents, or abrasive cleaners.
2. Storage
- Store the scanner in a cool, dry place away from direct sunlight and extreme temperatures.
- If storing for an extended period, ensure the battery is partially charged (around 50%) to prolong its lifespan. Recharge every few months if not in use.
3. Battery Care
- Avoid fully discharging the battery frequently.
- Use only the provided charging cable or a compatible USB charger.
- Do not expose the battery to high temperatures or puncture it.

Image: Details of the scanner's 800mAh battery, indicating 3.7V power, 15 hours continuous working time, and 3 days standby time.
Troubleshooting
| Problem | Possible Cause | Solution |
|---|---|---|
| Device does not power on. | Low battery. | Charge the device fully using the provided USB cable. |
| Cannot read microchips. |
|
|
| Data upload fails. |
|
|
| Screen is dim or unreadable. | Screen brightness setting. | Adjust screen brightness through the device's menu settings. |
Specifications
| Feature | Detail |
|---|---|
| Model Number | HBA-W91A |
| Supported Protocols | FDX-B (ISO 11784/85, 134.2KHz), EMID (125KHz) |
| Display Screen | 1.44-inch TFT |
| Data Storage | Up to 500 records |
| Connectivity | Bluetooth, USB Cable, 2.4G Wireless |
| Battery | 800mAh Lithium Ion (rechargeable) |
| Continuous Working Time | Approximately 6-15 hours (depending on usage) |
| Item Weight | 4.2 ounces |
| Package Dimensions | 8 x 4.8 x 0.78 inches |
| Manufacturer | Rabitpos |
Warranty and Support
For specific warranty information or technical support, please refer to the product packaging or contact Rabitpos customer service directly. Rabitpos is committed to providing reliable products and support.
You can visit the official Rabitpos store for more information: Rabitpos Store.


