
1. Introduction
This instruction manual provides detailed guidance for installing and operating your LIGHTAILING LED Lighting Kit, specifically designed to illuminate the LEGO 31212 The Milky Way Galaxy building blocks model. This kit enhances the visual appeal of your LEGO model by adding dynamic lighting effects. Please note that the LEGO model itself is not included with this lighting kit.
2. Safety Information
- Small Parts Warning: This kit contains small components that may pose a choking hazard to young children. Keep out of reach of children under 3 years old.
- Electrical Safety: Ensure the power source voltage is less than 5V to prevent damage to the lighting kit. Do not expose the kit to water or excessive moisture.
- Handle with Care: The LED wires and components are delicate. Avoid hard pulling, bending, or shaking during installation and operation to prevent damage.
- Battery Usage: If using batteries, ensure they are inserted with correct polarity. Do not mix old and new batteries, or different types of batteries. Remove batteries if the kit will not be used for an extended period.
3. Package Contents
Verify that all components listed below are present in your package:
- 1 x USB Lighting Kit (includes LED strips and dotted lights)
- 1 x Instruction Guide (paper manual)
- 1 x Battery Box (requires 3 AA batteries, not included)
- 1 x Installation Tool (e.g., small screwdriver or brick separator)
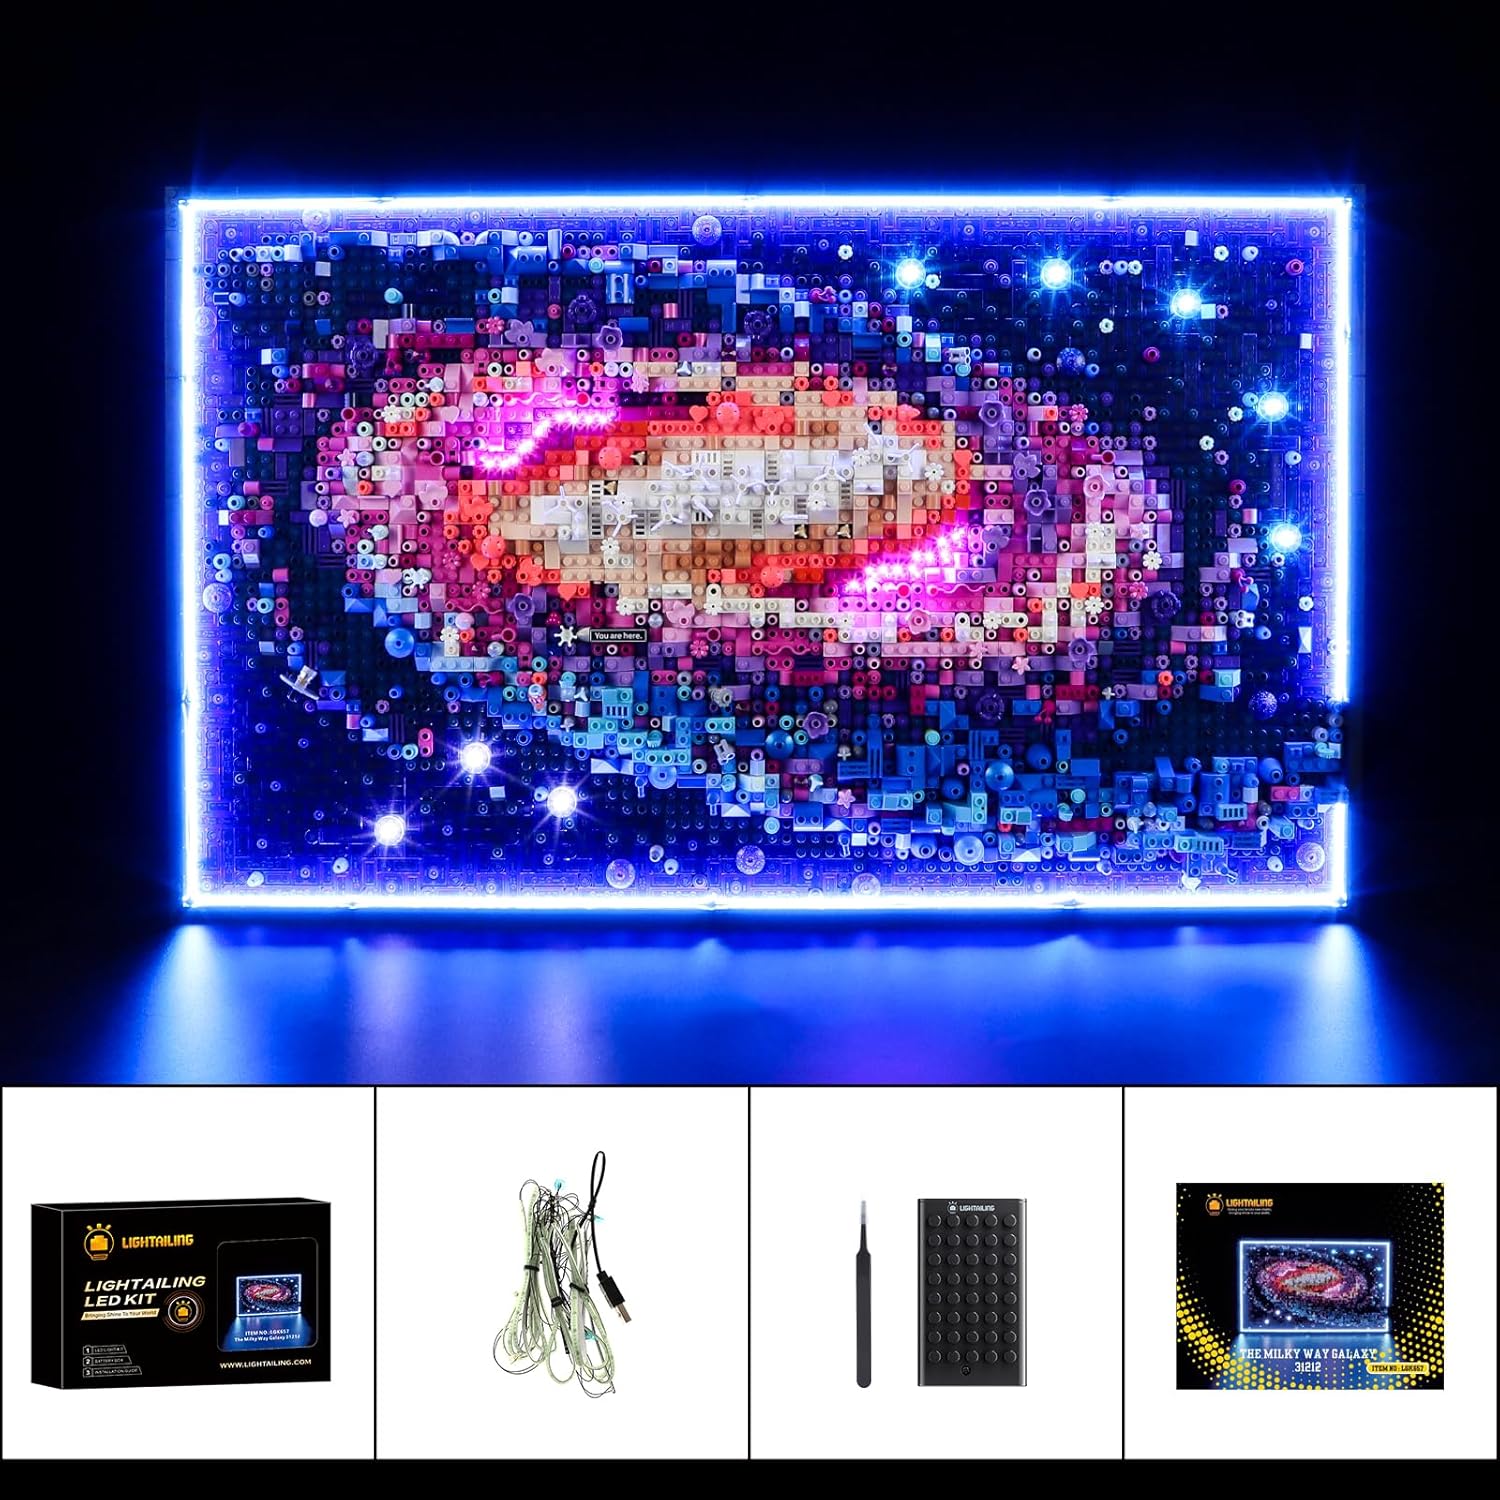
4. Setup Instructions
Follow these steps carefully to install the LED lighting kit onto your LEGO 31212 The Milky Way Galaxy model. Refer to the included paper instruction guide for detailed diagrams and specific placement of each light component.
- Prepare Your LEGO Model: Ensure your LEGO 31212 The Milky Way Galaxy model is fully assembled and stable before beginning the light installation.
- Unpack Components: Carefully remove all lighting components from the packaging. Identify the blue light strip and individual dotted lights.
- Follow the Instruction Guide: The light set installation is done to your preference, but it is highly recommended to follow the step-by-step instructions provided in the paper manual for optimal results. The manual will guide you on where to place the blue light strip for a cosmic glow and the dotted lights for a starry effect.
- Install Lights Carefully: When attaching lights and routing wires, exercise extreme caution. Do not pull wires hard, bend them sharply, or shake the components. Gently integrate the lights into the LEGO structure.
- Connect Wires: Connect the various light components to the main USB lighting kit according to the instruction guide. Ensure all connections are secure.
- Route Wires: Neatly route all wires to minimize visibility and prevent interference with the LEGO bricks. The goal is to conceal the wiring as much as possible within the model's structure.

Visual Installation Guide
For a visual demonstration of the installation process, please refer to the official product video below:
5. Operating Instructions
Once the lighting kit is fully installed, follow these steps to power on and enjoy your illuminated LEGO model:
- Power Source Connection:
- Using Batteries: Insert three (3) AA batteries (not included) into the battery box, ensuring correct polarity. Connect the battery box to the main USB lighting kit.
- Using USB Charger: Connect the USB lighting kit to a USB charger or power bank. Ensure the voltage output is less than 5V to prevent damage.
- Activate Lights: The lights should automatically illuminate once a stable power source is connected. There is no separate on/off switch on the kit itself; power is controlled by connecting or disconnecting the power source.
- Enjoy the Display: The blue light strip creates a cosmic glow, and the dotted lights add a starry charm, recreating the mysterious Milky Way scene.

6. Maintenance
To ensure the longevity and optimal performance of your LIGHTAILING LED Lighting Kit, follow these simple maintenance guidelines:
- Cleaning: Gently wipe the LED components and wires with a dry, soft cloth to remove dust. Avoid using liquid cleaners directly on the electrical components.
- Handling: Always handle the illuminated LEGO model and the lighting kit with care. Avoid dropping or subjecting it to strong impacts.
- Storage: If storing the model for an extended period, disconnect the power source (remove batteries or unplug USB) to prevent battery drain or potential damage.
7. Troubleshooting
If you encounter any issues with your lighting kit, refer to the following common problems and solutions:
| Problem | Possible Cause | Solution |
|---|---|---|
| Lights do not turn on. | No power, incorrect battery installation, loose connection. | Check if batteries are correctly inserted or if the USB cable is securely connected to a working power source. Ensure all light component connections are firm. |
| Some lights are not working. | Damaged wire, loose connection to a specific light, faulty LED. | Inspect the wiring for any visible damage. Re-check connections for the non-working lights. If a single LED is faulty, contact customer support. |
| Light strips or dotted lights are peeling off. | Adhesive not strong enough, improper surface preparation. | Gently press the adhesive back into place. For persistent issues, a small amount of additional, non-damaging adhesive suitable for plastic may be used, applied carefully. |
| Wires are visible or interfering with bricks. | Improper wire routing. | Carefully re-route wires to be less visible or to fit better within the LEGO structure. Use the provided installation tool to help tuck wires. |
8. Specifications
| Feature | Detail |
|---|---|
| Product Model | 31212 (for LEGO The Milky Way Galaxy) |
| Color | Colorful (Blue light strip, dotted lights) |
| Material | Plastic |
| Light Source Type | Light Emitting Diode (LED) |
| Power Source | Battery Powered (3 AA batteries required, not included) or USB |
| Voltage | 5 Volts (Max) |
| Max Wattage | 3 Watts |
| Mounting Type | Brick Mount |
| Product Dimensions | 6.7"L x 4.72"W x 2.17"H |
| Item Weight | 7.6 ounces (216 Grams) |
| Manufacturer | LIGHTAILING |
9. Warranty and Support
LIGHTAILING is committed to providing high-quality products. If you encounter any problems with your LED lighting kit, or if you have questions regarding installation or operation, please do not hesitate to contact LIGHTAILING customer support. While specific warranty details are not provided in this manual, LIGHTAILING aims to ensure a satisfactory experience for all users.
For assistance, please refer to the contact information provided on the product packaging or the official LIGHTAILING website.


