
1. Introduction
Thank you for choosing the MIZISNR UG-240 4-Channel UHF Wireless Microphone System. This system is designed to provide high-quality audio transmission for various applications, including karaoke, public speaking, church events, and weddings. Featuring 200 adjustable frequencies, auto-scan functionality, and a robust 300ft operation range, the UG-240 ensures stable and clear sound performance. Please read this manual thoroughly before operating the system to ensure proper setup and optimal use.
2. Package Contents
Verify that all items listed below are included in your package:
- 1 x UHF Wireless Receiver
- 4 x Handheld Microphones
- 1 x Power Adapter
- 1 x 6.35mm Audio Cable
- 4 x Anti-Rolling Rings
- 4 x Antennas
- 1 x User Manual

Figure 2.1: All-in-one package contents of the MIZISNR UG-240 system.
3. Product Overview
3.1. Receiver
The receiver unit is the central hub for your wireless microphone system. It features individual controls for each microphone channel, an LCD display, and various output ports.

Figure 3.1: Front and back panel of the MIZISNR UG-240 receiver, highlighting controls and connection points.
- LCD Display: Shows channel, frequency, and battery status for each microphone.
- Mic A/B/C/D Controls: Individual buttons for setting and adjusting each microphone channel.
- Power Switch: Turns the receiver on or off.
- Antenna Ports: Connect the included antennas for stable signal reception.
- Balanced Outputs (XLR): Individual XLR outputs for each microphone channel (Mic A, B, C, D).
- Mixed Output (6.35mm TRS): Combines all microphone signals into a single output.
- Power Input: Connect the provided power adapter.
3.2. Handheld Microphones
The system includes four handheld microphones, each designed for clear vocal pickup and durable use.

Figure 3.2: Features of the MIZISNR handheld microphone.
- Metal Shockproof Mesh Head: Provides durability and protects the microphone capsule.
- LED Display Screen: Shows real-time monitoring of battery status and frequency.
- ON/OFF Switch: Powers the microphone on or off.
- Cardioid Pickup: High-quality sound capture with noise reduction.
- Battery Compartment: Each microphone requires 2 AA batteries (not included).
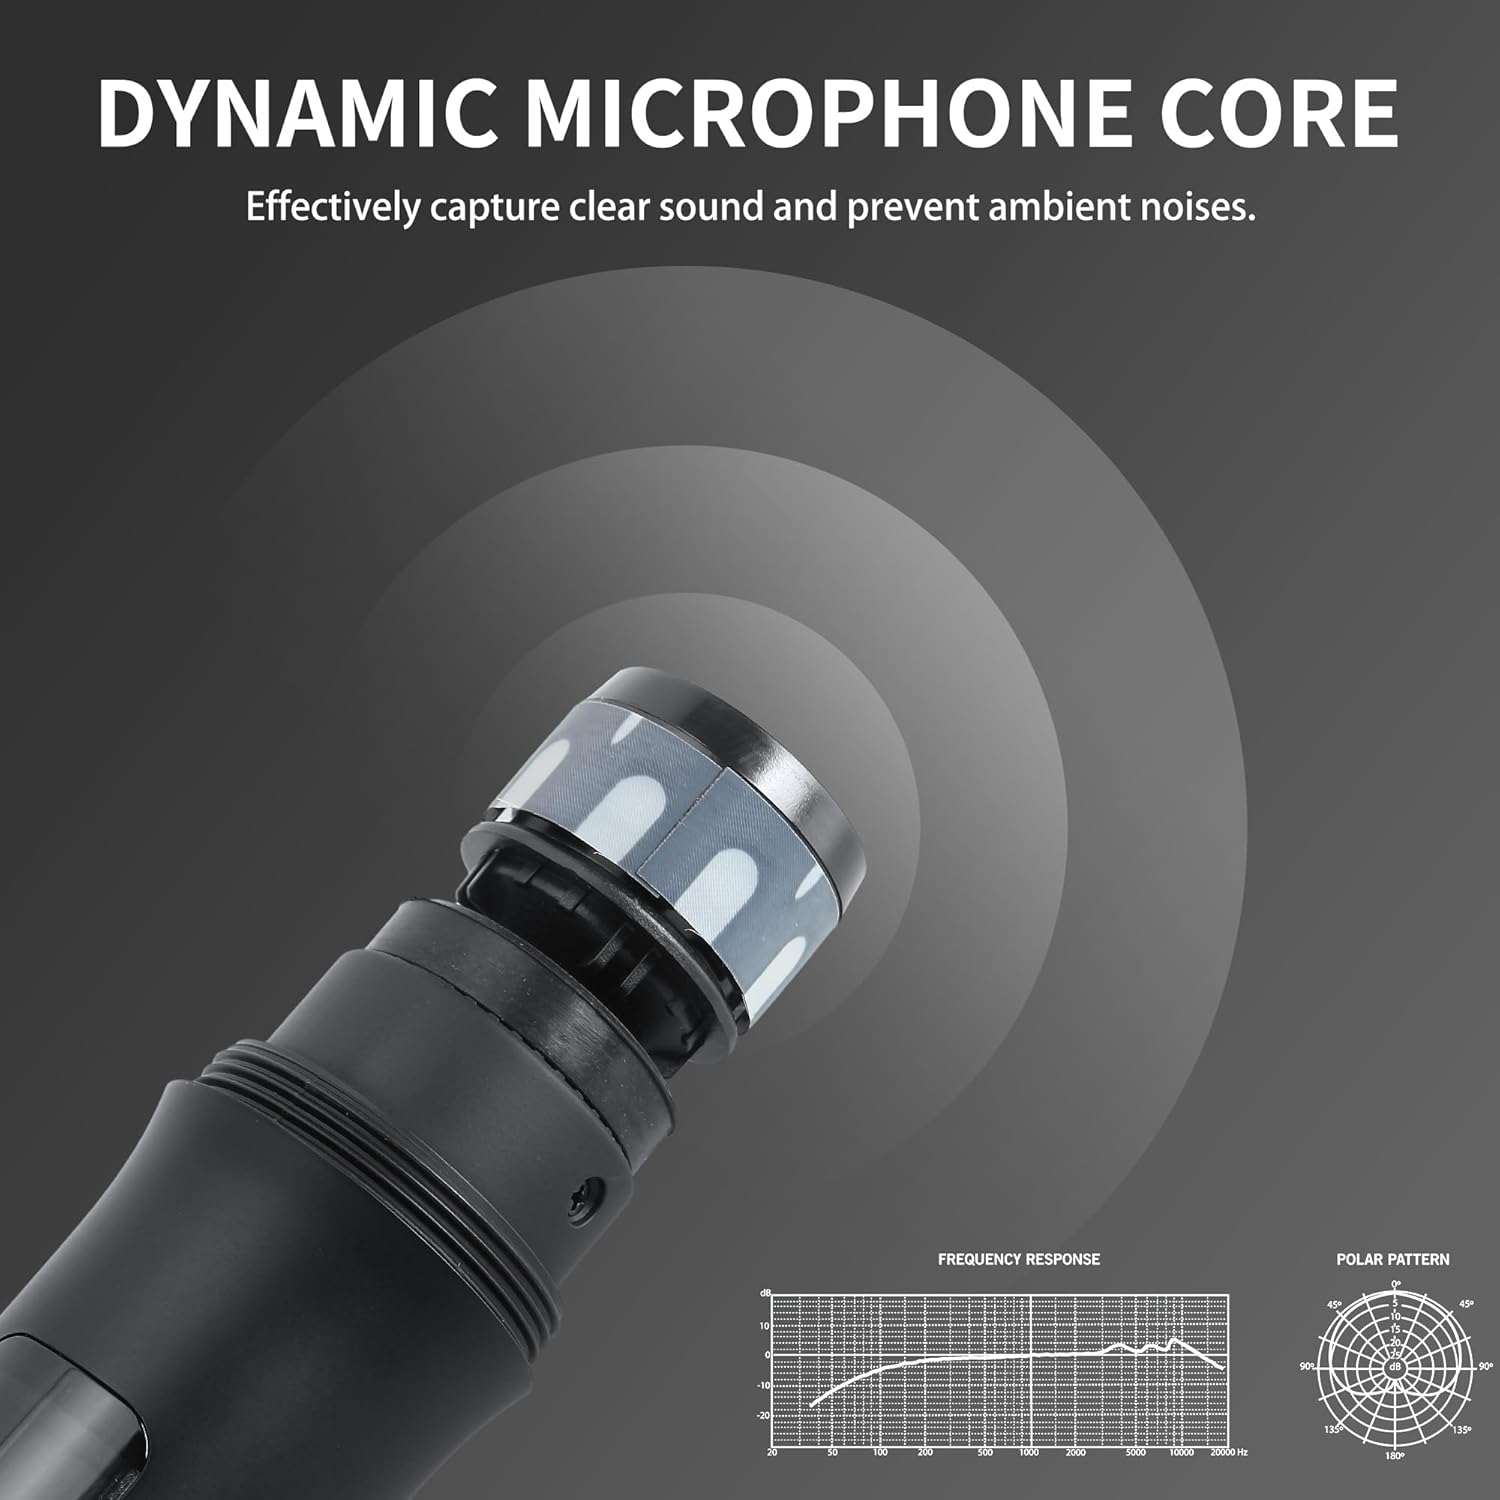
Figure 3.3: Dynamic microphone core for clear sound and ambient noise prevention.
4. Setup
4.1. Receiver Setup
- Connect Antennas: Screw the four antennas into their respective ports on the back of the receiver. Ensure they are securely tightened and positioned upright for optimal signal reception.
- Connect Power: Plug the power adapter into the DC 12-18V power input on the receiver and then into a power outlet.
- Audio Output: Connect the receiver to your audio system (mixer, amplifier, or PA system) using either the individual balanced XLR outputs or the mixed 6.35mm TRS output.
4.2. Microphone Battery Installation
Each handheld microphone requires 2 AA batteries (not included).
- Unscrew the bottom part of the microphone to reveal the battery compartment.
- Insert two fresh AA batteries, ensuring correct polarity (+/-).
- Screw the bottom part back onto the microphone.
5. Operation
5.1. Powering On/Off
- Receiver: Press the power switch on the front panel to turn the receiver on or off.
- Microphones: Press and hold the ON/OFF switch on each microphone until the LED display illuminates (or turns off).
5.2. Auto Scan & Frequency Adjustment
The UG-240 system features an auto-scan function to quickly find the best available frequencies and an IR sync feature for easy pairing.

Figure 5.1: Steps for Auto Scan and IR Pairing.
- Initiate Auto-Scan: On the receiver, long press the 'SET' button (for the desired channel, e.g., Mic A) for 2 seconds to initiate auto-scan. The display will show 'SCAN'.
- Frequency Selection: Once the scan is complete, the receiver will display an available frequency. You can use the up/down buttons to refresh and select a different frequency if needed.
- IR Pairing: With the desired frequency displayed on the receiver, turn on the corresponding microphone. When 'IR' appears on the receiver's display, point the microphone's IR window towards the receiver's IR indicator light. The microphone will automatically connect. A 'Connection Successful' message or a stable frequency display on the microphone indicates successful pairing.
Video 5.1: Demonstrates the frequency sync and pairing process for bodypack microphones (similar process for handheld mics).
5.3. Screen Lock/Unlock
To prevent accidental changes to settings, you can lock the receiver's screen.

Figure 5.2: Locking and unlocking the receiver screen.
- To lock or unlock the screen, press and hold the 'SET' buttons on both sides of the display for two seconds. The display will show 'LOCKED' or 'UNLOCKED'.
5.4. Volume Control
Adjust the volume for each microphone channel directly on the receiver using the dedicated up/down buttons next to each channel's display.
6. Connectivity and Usage Scenarios
The MIZISNR UG-240 offers versatile connectivity options to integrate with various audio setups.
6.1. Connecting to a Home Theater System (Karaoke)

Figure 6.1: Connection to a Home Theater System.
Use the included 1/4" audio cable to connect the receiver's mixed output to your home theater system's audio input. You may need an RCA male to RCA male cable and a DAC converter if your system requires it (not included).
6.2. Connecting to an Amplifier Mixer Receiver (Karaoke)

Figure 6.2: Connection to an Amplifier Mixer Receiver.
Connect the receiver's mixed output to your amplifier mixer receiver using the 1/4" audio cable. Ensure your speakers are connected to the amplifier for sound output.
6.3. Professional Setup with Audio Mixer and Amplifier

Figure 6.3: Professional Audio Setup.
For professional setups, connect the individual balanced XLR outputs from the receiver to your audio mixer. Then, connect the audio mixer's output to an audio amplifier, which in turn connects to your speakers. XLR to XLR audio cables and RCA male to RCA male cables are not included.
Video 6.1: Overview of the MIZISNR 4-Channel UHF Wireless Microphone System, demonstrating its features and setup.
7. Maintenance
- Cleaning: Use a soft, dry cloth to clean the receiver and microphones. Avoid using liquid cleaners or solvents.
- Battery Replacement: Replace microphone batteries when the low battery indicator appears on the microphone's LED display or when audio quality degrades.
- Storage: Store the system in a cool, dry place away from direct sunlight and extreme temperatures when not in use.
- Antenna Care: Handle antennas carefully to prevent bending or damage.
8. Troubleshooting
| Problem | Possible Cause | Solution |
|---|---|---|
| No sound from microphones | Microphone not powered on; Receiver not powered on; Incorrect audio cable connection; Microphone not paired; Low microphone battery. | Ensure microphones and receiver are powered on. Check all audio cable connections. Perform IR pairing as described in Section 5.2. Replace microphone batteries. |
| Interference or dropouts | Other wireless devices operating on similar frequencies; Obstacles blocking signal; Microphones too far from receiver. | Use the auto-scan function to find a clear frequency. Ensure line of sight between microphones and receiver. Reduce distance between microphones and receiver (max 300ft). |
| Low or distorted sound | Microphone volume too low; Receiver volume too low; Audio system volume too low; Damaged microphone or cable. | Adjust microphone volume on the receiver. Increase volume on your audio system. Check cables for damage. |
| Receiver screen is locked | Screen lock feature activated. | Press and hold the 'SET' buttons on both sides of the display for 2 seconds to unlock. |
9. Specifications
| Feature | Specification |
|---|---|
| Model Number | UG-240 |
| Brand | MIZISNR |
| Number of Channels | 4 |
| Adjustable Frequencies | 200 (100 per mic) |
| Operation Range | Up to 300 feet (91 meters) |
| Microphone Form Factor | Handheld |
| Microphone Power Source | 2 AA batteries per mic (8 AA batteries required for 4 mics) |
| Receiver Power Source | DC 12-18V, 1A (Power Adapter Included) |
| Material | Metal |
| Receiver Dimensions (L x W x H) | 18.9 x 6.1 x 1.7 inches |
| Receiver Weight | 6.49 pounds (2.95 Kilograms) |
| Connectivity Technology | 6.35mm Jack, XLR |
| Polar Pattern | Unidirectional |
10. Safety Information
- Do not expose the unit to rain or moisture.
- Do not remove the cover; any damage caused by improper disassembly will void the warranty.
- Use only the specified power adapter.
- Keep out of reach of children.
11. Warranty and Support
MIZISNR is committed to providing high-quality products and customer satisfaction. If you encounter any questions or concerns regarding your UG-240 Wireless Microphone System, please contact our customer support team. We aim to provide a satisfactory solution within 24 hours.
For support, please refer to the contact information provided with your purchase or visit the MIZISNR official website.