
1. Product Overview
This manual provides instructions for the Weiser Brentwood Handleset and the Weiser Elements Keyless Entry Deadbolt, both in Matte Black finish. This combined lock set offers both traditional keyed entry and modern keyless access for exterior doors.
The Brentwood handleset provides a secure keyed entry solution, while the Elements keyless deadbolt features a 5-button keypad for convenient code-based access, auto-locking functionality, and enhanced security features.

Image 1.1: Components of the Weiser Brentwood Handleset and Elements Keyless Deadbolt. This image displays the exterior handleset with a keyed cylinder, an interior lever, and the electronic keypad deadbolt with its interior turnpiece.
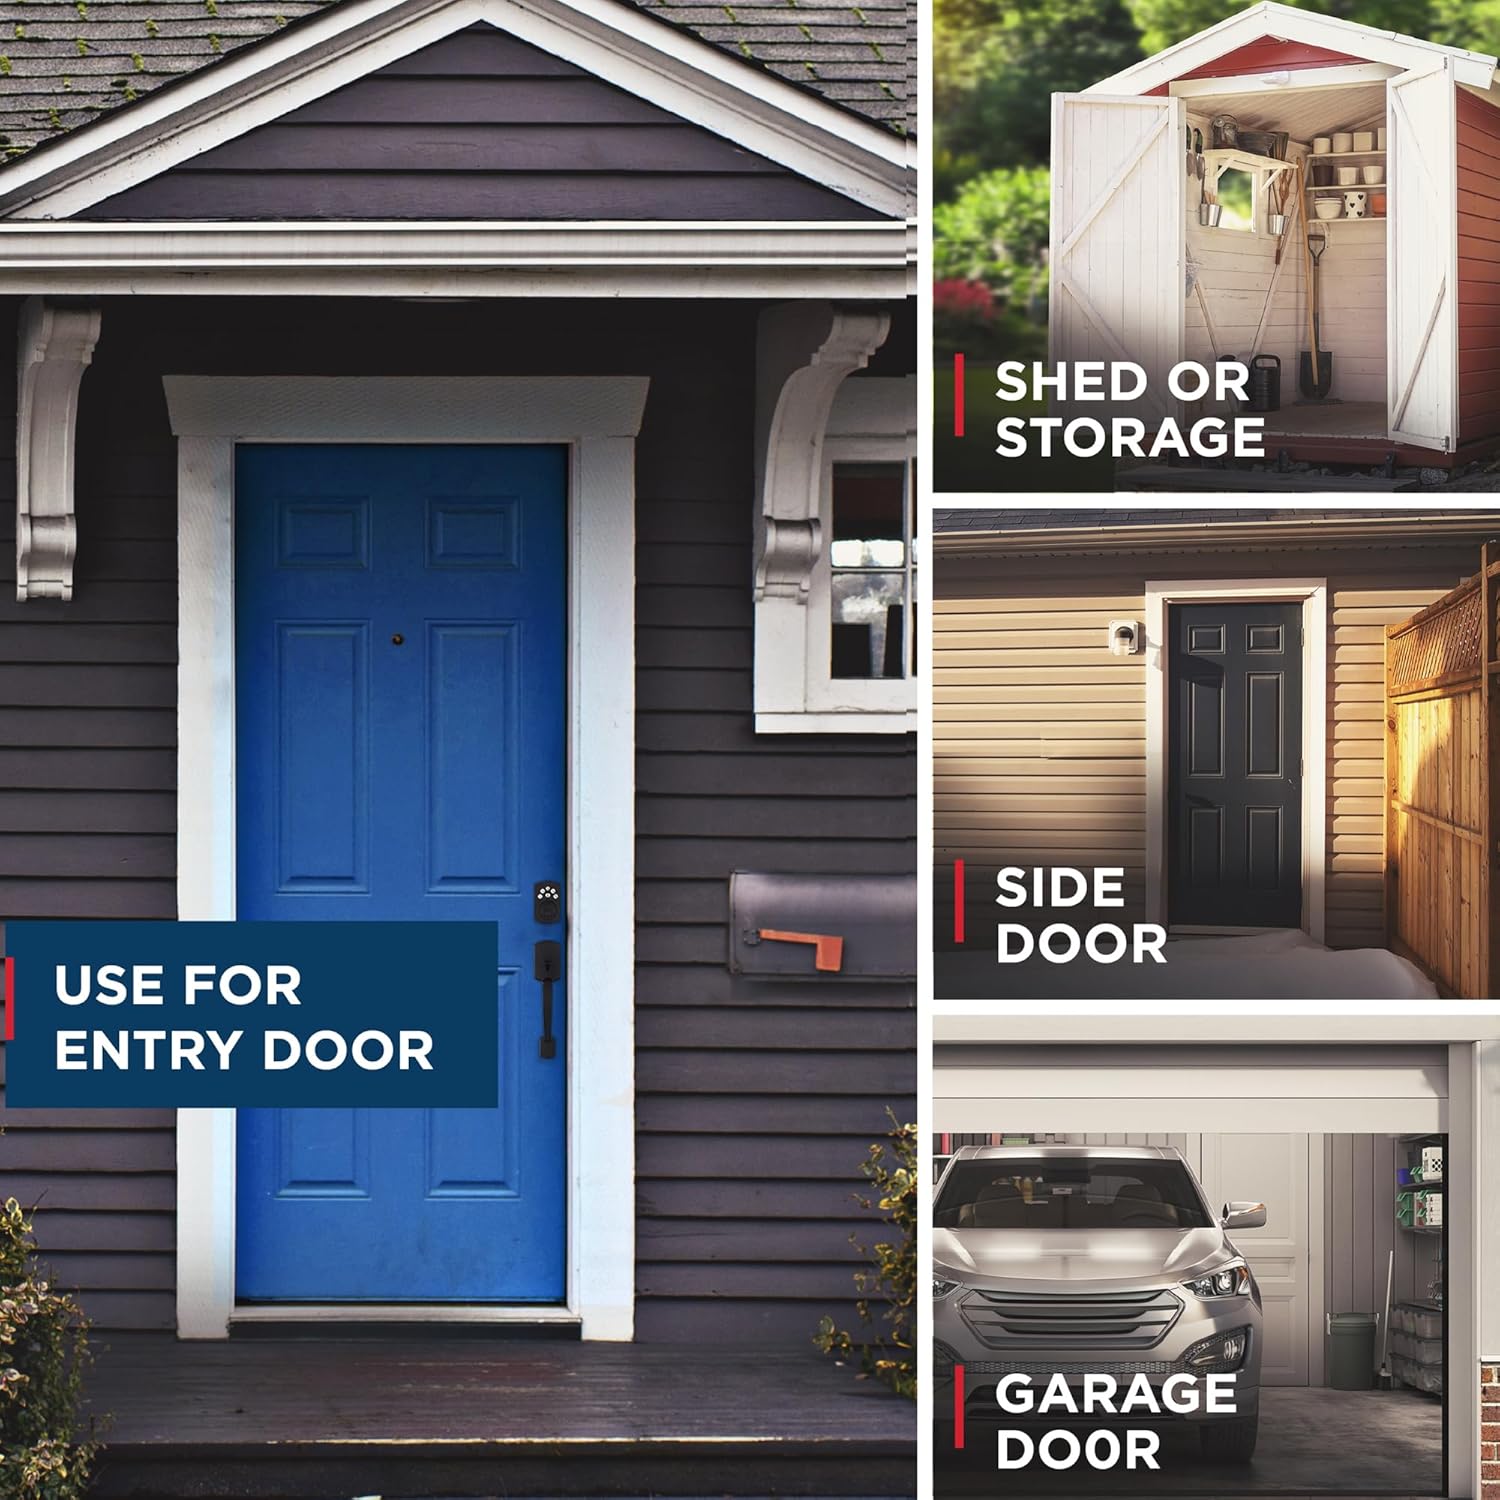
Image 1.2: Examples of the Weiser lock set installed on different door types, including an entry door, shed door, side door, and garage door. This illustrates the versatility of the product for various residential applications.
2. Package Contents
Verify that all components are present before beginning installation. The package typically includes:
- Weiser Brentwood Exterior Handleset with keyed cylinder
- Weiser Brentwood Interior Lever (Belmont style)
- Weiser Elements Electronic Keypad Deadbolt (exterior keypad and interior turnpiece assembly)
- Deadbolt latch mechanism
- Handleset latch mechanism
- Mounting hardware (screws, bolts)
- Keys (typically 2)
- Installation template
- User guide / Programming instructions
3. Installation
Installation of both the handleset and the electronic deadbolt is designed to be straightforward, requiring only a screwdriver for most steps. Ensure your door thickness is 1-3/4 inches. This product is not designed for use on 1-3/8 inch doors.
3.1. Preparation
- Confirm door thickness is 1-3/4 inches.
- Ensure the door is properly prepped with standard bore holes (typically 2-1/8 inches diameter) and backset (2-3/8 or 2-3/4 inches).
- Gather necessary tools: Phillips head screwdriver.
3.2. Handleset Installation
Follow the detailed instructions provided in the separate installation guide for the Brentwood handleset. Key steps include:
- Install the latch mechanism into the door edge.
- Mount the exterior handleset and interior lever, ensuring proper alignment.
- Secure all screws.
3.3. Electronic Deadbolt Installation
Refer to the specific installation guide for the Elements electronic deadbolt. General steps include:
- Install the deadbolt latch into the door edge.
- Mount the exterior keypad assembly.
- Connect the cable from the exterior assembly to the interior assembly.
- Mount the interior assembly and secure it with screws.
- Install batteries (typically 4 AA batteries, not included).
- Perform the door handing process as instructed to ensure correct lock operation.

Image 3.1: A Weiser handleset installed on a wooden door, highlighting its ANSI Grade 3 certification, which indicates a high level of residential security and durability.
4. Operating Instructions
4.1. Keyed Entry (Brentwood Handleset)
- To Lock from Outside: Insert the key and turn to lock, or use the thumbturn on the interior side.
- To Unlock from Outside: Insert the key and turn to unlock.
- To Lock/Unlock from Inside: Use the turnpiece on the interior lever.
4.2. Keyless Entry (Elements Electronic Deadbolt)
The electronic deadbolt provides convenient keyless access using a 5-button keypad.

Image 4.1: The exterior view of the Weiser Elements 5-button keypad electronic deadbolt, showing the numbered buttons and the keyhole.
4.2.1. Programming Codes
The lock supports up to 12 user codes, 2 one-time user codes, and 1 programming code. Refer to the detailed programming instructions for adding, deleting, or modifying codes.

Image 4.2: The Weiser Elements keypad illustrating the capacity for easy code management, allowing for up to 12 regular user codes and 2 one-time user codes.
4.2.2. To Lock from Outside
- Press the Lock button (padlock icon) on the keypad.
- Alternatively, use a programmed user code followed by the Lock button.
4.2.3. To Unlock from Outside
- Enter a valid 4-8 digit user code on the keypad. The deadbolt will retract.
4.2.4. To Lock/Unlock from Inside
- Use the turnpiece on the interior assembly to manually lock or unlock the deadbolt.
4.2.5. Auto Lock Feature
The Auto Lock feature automatically re-locks the deadbolt after a set period. This feature can be customized to activate after 30 seconds, 1 minute, 3 minutes, 5 minutes, or 10 minutes. Refer to the programming guide to enable and set the Auto Lock delay.
4.2.6. Vacation Mode
Vacation Mode disables all user codes for enhanced security when you are away. The lock can still be operated with the key from the outside or the turnpiece from the inside. Consult the programming guide for activating and deactivating Vacation Mode.
5. SmartKey Re-keying Technology
The Weiser Brentwood handleset features SmartKey Security, which provides advanced protection against break-in techniques and allows you to re-key the lock yourself in seconds. This eliminates the need for a locksmith if keys are lost or unreturned.
5.1. How to Re-key Your Lock
To re-key your SmartKey lock, you will need your functioning key, the new key you wish to use, and the SmartKey Learn Tool (typically included with the lock). Follow these steps carefully:
- Insert your functioning key fully into the cylinder.
- Rotate the functioning key 90 degrees clockwise.
- Insert the SmartKey Learn Tool fully into the SmartKey hole. Apply firm pressure and remove the tool.
- Remove your functioning key.
- Insert your new key fully into the cylinder.
- Rotate the new key 90 degrees counter-clockwise.
- Remove the new key. The lock is now re-keyed to the new key.
Important: Test the new key multiple times with the door open to ensure proper operation before closing and locking the door.

Image 5.1: A diagram illustrating the SmartKey Security technology, detailing how to re-key the lock and highlighting its resistance to kick-ins, bumping, picking, drilling, and sawing.
6. Maintenance
6.1. Cleaning
Clean the lock's exterior surfaces with a soft, damp cloth. Avoid abrasive cleaners, solvents, or harsh chemicals, as these can damage the finish and electronic components.
6.2. Battery Replacement (Elements Electronic Deadbolt)
The electronic deadbolt operates on 4 AA batteries (not included). When the batteries are low, the lock will typically provide an audible or visual low battery warning. Replace all four batteries simultaneously with new, high-quality alkaline batteries. Do not mix old and new batteries or different battery types.
Expected battery life is approximately 12 months under normal usage conditions.
7. Troubleshooting
If you encounter issues with your Weiser lock set, refer to the following common problems and solutions:
- Lock Not Responding to Keypad:
- Check batteries: Replace with new AA alkaline batteries if low.
- Verify user code: Ensure the correct code is being entered.
- Keypad disabled: If 3 consecutive incorrect codes are entered, the keypad will disable for 1 minute and sound an alarm. Wait for the minute to pass.
- Vacation Mode: Ensure Vacation Mode is not active.
- Deadbolt Does Not Extend/Retract Fully:
- Check door alignment: Ensure the door and frame are properly aligned and the strike plate is correctly positioned.
- Door handing: Re-perform the door handing procedure for the electronic deadbolt.
- Obstruction: Check for any obstructions in the door frame or latch mechanism.
- Key Not Working Smoothly:
- Lubrication: Apply a graphite-based lubricant (not oil) to the keyway.
- Damaged key: Try a different key.
- Re-keying issue: If recently re-keyed, ensure the process was followed correctly.
For further assistance, contact Weiser customer support.
8. Specifications
| Feature | Detail |
|---|---|
| Brand | Weiser |
| Model Number | 9GED92400-004 |
| Model Name | Brentwood (Handleset) / Elements (Keyless Deadbolt) |
| Color | Matte Black |
| Material | Metal |
| Lock Type | Key Lock (Handleset) / Keypad Electronic Deadbolt |
| Special Features | Alarm, Auto-Lock, SmartKey Re-keying, 5-Button Keypad |
| Recommended Use | Residential doors (exterior) |
| Door Thickness Compatibility | 1-3/4 inches (Not for 1-3/8 inches) |
| Number of User Codes | Up to 12 regular, 2 one-time |
| Power Source | 4 AA Batteries (Electronic Deadbolt) |
9. Warranty and Support
Weiser products are backed by a limited lifetime mechanical and finish warranty, and a 1-year electronics warranty. For specific warranty details, claims, or technical support, please refer to the official Weiser website or contact their customer service department directly.
Weiser Customer Support: Please visit www.weiserlock.com/en/support for contact information and online resources.


