
Holyton K-103
Holyton Robot Toys K103 Instruction Manual
Model: K103 | Brand: Holyton
1. Introduction
The Holyton K103 Robot Toy offers an exciting and educational interactive experience for children. This remote-controlled robot features gesture sensing, auto-demonstration, dance moves, music, and voice recording capabilities. Crafted from child-friendly, BPA-free ABS material, it is designed for durability and safety, ensuring smooth, burr-free edges to protect little hands. The robot is rechargeable, providing extended playtime after a quick charge, making it an ideal companion for imaginative play and developing logical thinking skills.
2. What's in the Box
- Robot x 1
- Remote Control x 1
- Battery x 1 (pre-installed in robot)
- Instruction Manual x 1
- USB Charging Cable x 1
- Toy Cannonball x 3

Image: All components included in the Holyton K103 Robot package.
3. Safety Information
Warning: Small accessories are included. To avoid accidental ingestion, ensure children play under adult supervision, especially with the toy cannonballs.
The robot is crafted from child-friendly, BPA-free ABS material with smooth, burr-free edges to protect little hands.
4. Setup Guide
4.1 Robot Battery Installation & Charging
The robot comes with a pre-installed rechargeable Lithium Polymer battery. Before first use, fully charge the robot.
- Locate the charging port on the robot.
- Connect the included USB charging cable to the robot's charging port and the other end to a USB power source (e.g., computer, USB wall adapter).
- The robot requires approximately 80 minutes for a full charge. A full charge provides up to 150 minutes of playtime.
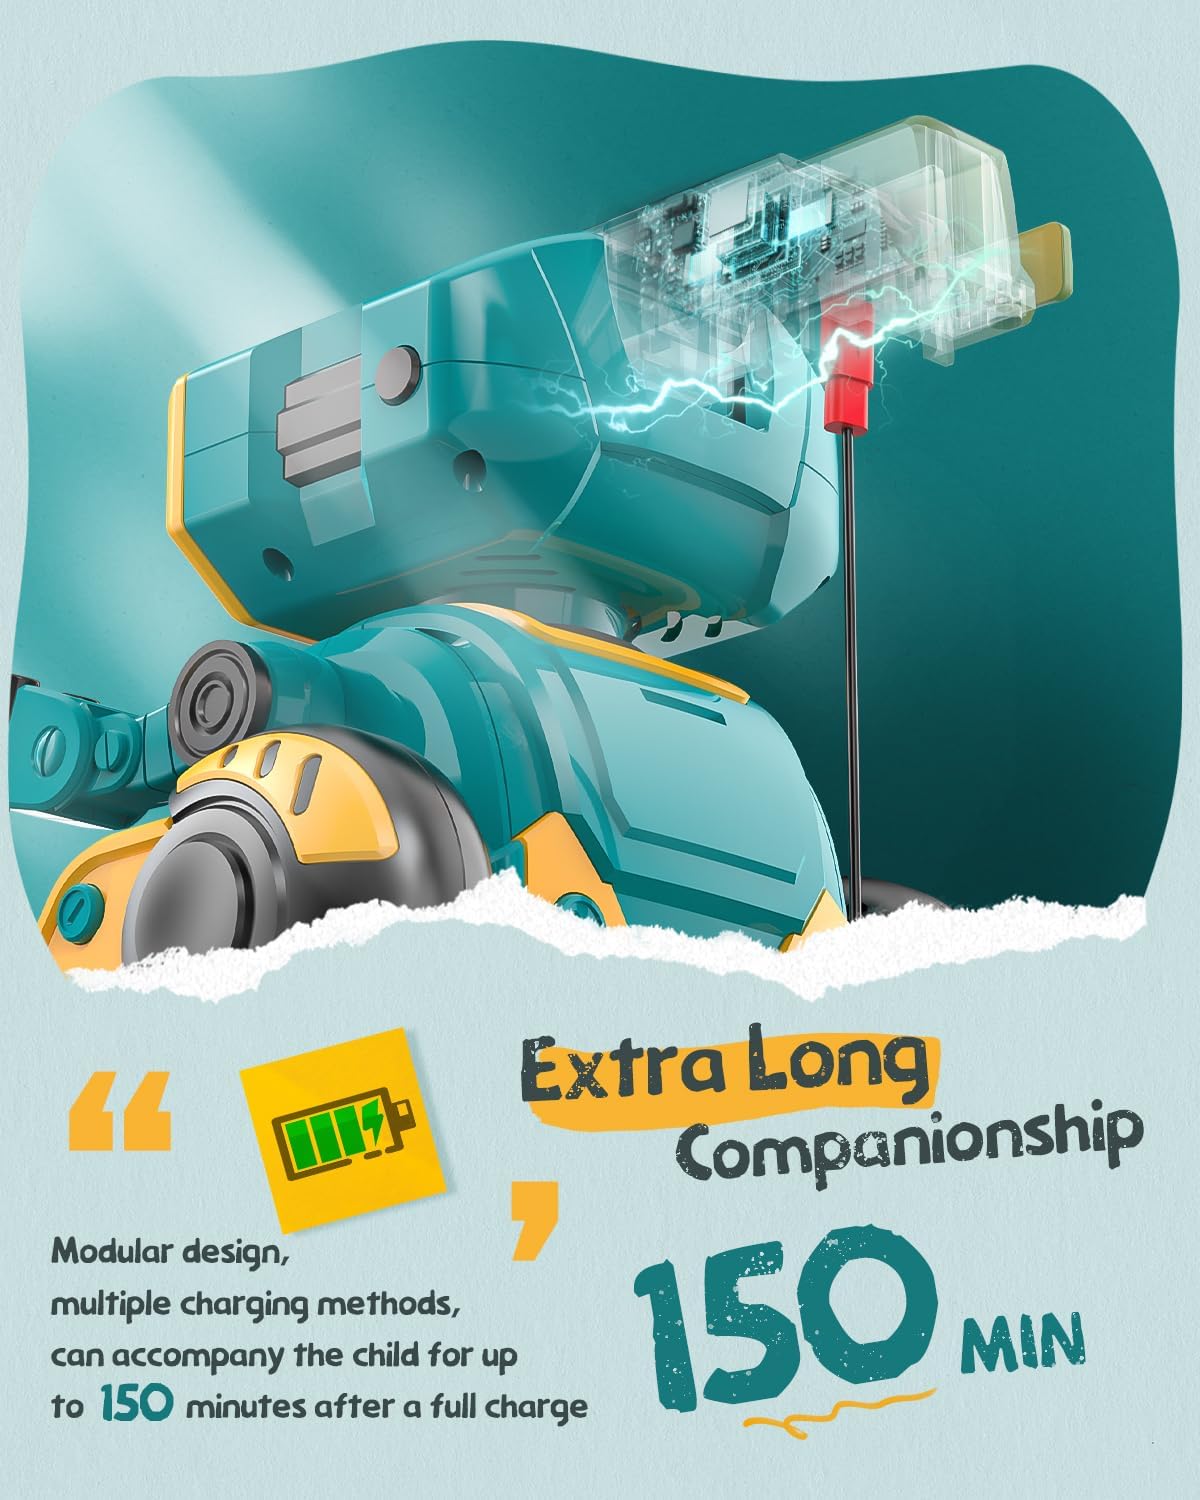
Image: The robot's charging port and battery indicator.
4.2 Remote Control Battery Installation
The remote control requires 2 AAA batteries (not included).
- Locate the battery compartment on the back of the remote control.
- Use a small screwdriver (included) to open the battery compartment.
- Insert 2 AAA batteries, ensuring correct polarity (+/-).
- Close the battery compartment and secure it with the screw.
5. Operating Instructions
Familiarize yourself with the robot's functions and the remote control buttons for optimal play.
5.1 Power On/Off
Press the power button on the robot's chest to turn it on. The LED eyes will light up. Press again to turn off.

Image: The robot's main body showing the power button.
5.2 Remote Control Functions
The remote control allows for various movements and actions. Refer to the remote control layout for button identification.

Image: The robot and its remote control, highlighting interactive features.
- Movement: Use the directional buttons (up, down, left, right) to control the robot's movement.
- Dancing: Press the dance button to make the robot perform various dance moves with music.
- Auto-Demonstration: Activate the auto-demonstration mode for the robot to showcase its full range of movements and features automatically.
- LED Expression Switching: Use the dedicated button to change the robot's LED eye expressions, displaying different emotions or patterns.
- Encyclopedia Content: The robot can recite informational content. Press the encyclopedia button to hear various facts or stories.
- Volume Control: Adjust the robot's sound volume using the volume up/down buttons.
5.3 Gesture Sensing
The robot is equipped with gesture sensing technology. Wave your hand in front of the robot to trigger specific movements or sounds.
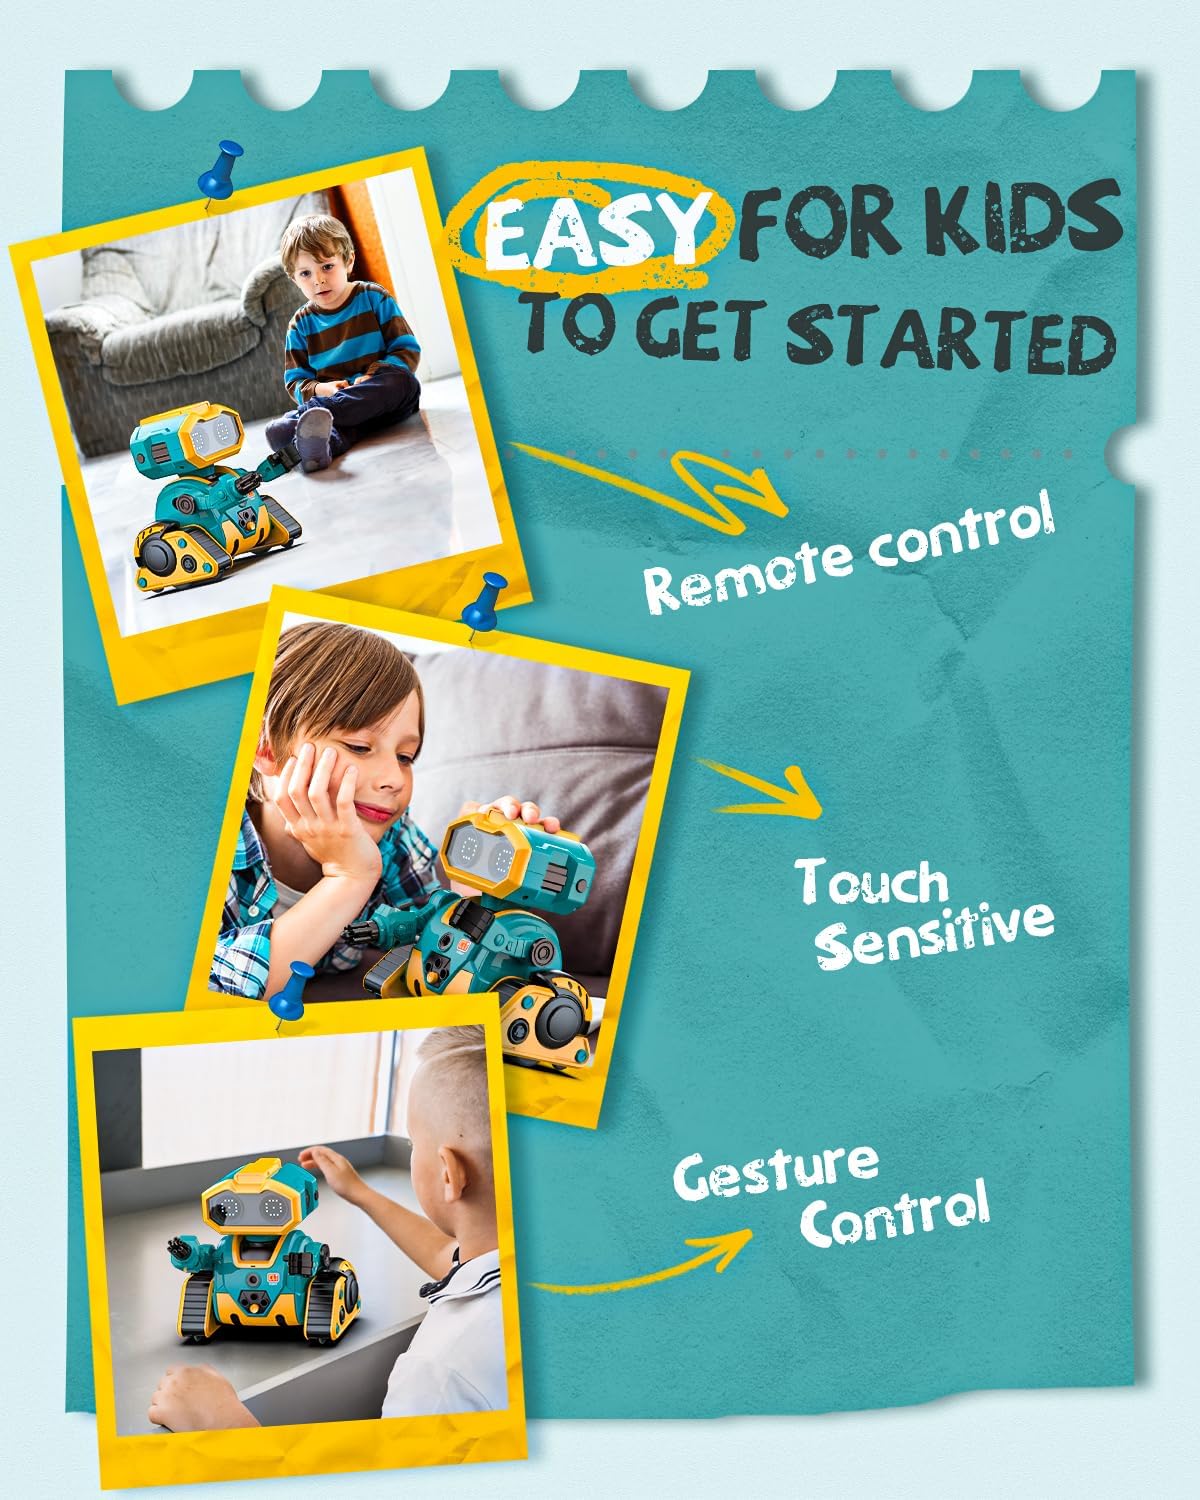
Image: Demonstrating gesture control and touch sensitivity.
5.4 Voice Recording & Playback
Record your voice through the remote control, and the robot will play it back in a robotic voice.
- Press and hold the recording button on the remote control.
- Speak clearly into the remote control's microphone.
- Release the button to stop recording.
- Press the playback button to hear your recorded message from the robot.
5.5 Programming Actions
You can program a sequence of actions for the robot to perform.
- Enter programming mode by pressing the programming button on the remote.
- Input your desired sequence of movements or actions using the remote control buttons.
- Press the programming button again to save the sequence.
- Press the play button to execute the programmed actions.
5.6 Arm Launcher
The robot comes with toy cannonballs that can be launched from its arm.
- Load a toy cannonball into the arm launcher.
- Press the dedicated launch button on the remote control to fire.
Video: Overview of Holyton K103 Robot features including activation, dancing, encyclopedia, LED expressions, demonstration, recording, programming, touch sensing, gesture recognition, and arm launcher.
6. Maintenance
- Cleaning: Wipe the robot and remote control with a soft, dry cloth. Do not use harsh chemicals or immerse in water.
- Storage: When not in use for extended periods, turn off the robot and remove batteries from the remote control. Store in a cool, dry place away from direct sunlight.
- Battery Care: Recharge the robot's battery regularly to maintain its lifespan. Avoid overcharging or completely draining the battery.
7. Troubleshooting
| Problem | Possible Cause | Solution |
|---|---|---|
| Robot does not turn on. | Low battery or not charged. | Charge the robot fully using the USB cable. |
| Remote control not responding. | Remote control batteries are low or incorrectly installed. | Replace AAA batteries in the remote control, ensuring correct polarity. |
| Robot not moving or moving erratically. | Interference or out of range. | Ensure no obstacles are blocking the robot. Move closer to the robot. |
| Voice recording/playback unclear. | Microphone too far or background noise. | Speak closer to the remote's microphone in a quiet environment. |
8. Specifications
- Product Dimensions: 5.27 x 4.29 x 5.27 inches
- Item Weight: 1.15 pounds
- Item Model Number: K-103
- Manufacturer Recommended Age: 36 months - 8 years
- Batteries: 1 Lithium Polymer battery (included for robot), 2 AAA batteries (not included for remote)
- Charging Time: Approximately 80 minutes
- Playtime: Up to 150 minutes
- Material: BPA-free ABS plastic
- Country of Origin: China
Related documentsK-103


Ask a question about this manual
Ask about setup, troubleshooting, compatibility, parts, safety, or missing instructions. Manuals+ will review the question and use this page’s manual context to help answer it.