
1. Introduction
Thank you for purchasing the Lifetime Air Pedestal Fan YH-40R-0. This manual provides important information for the safe and efficient operation of your new fan. Please read these instructions carefully before use and retain them for future reference.
2. Safety Instructions
Always follow basic safety precautions when using electrical appliances to reduce the risk of fire, electric shock, and personal injury.
- Ensure the power supply voltage matches the rating label on the fan.
- Do not operate the fan with a damaged cord or plug. Contact qualified service personnel for repair.
- Keep fingers and other objects away from the fan blades and moving parts during operation.
- Do not use the fan in wet or damp locations, such as bathrooms or laundries.
- Unplug the fan from the power outlet before cleaning or performing any maintenance.
- Place the fan on a stable, level surface to prevent it from tipping over.
- This appliance is for indoor use only.
- Do not cover the fan or obstruct its airflow.
3. Product Overview
Familiarize yourself with the components of your Lifetime Air Pedestal Fan.

Image: The Lifetime Air Pedestal Fan YH-40R-0, fully assembled, showing the fan head, adjustable stand, and stable base.
4. Package Contents
Verify that all components are present in the box:
- Fan Head (blades and grill)
- Adjustable Stand Pole
- Base
- Remote Control
- Instruction Manual (this document)
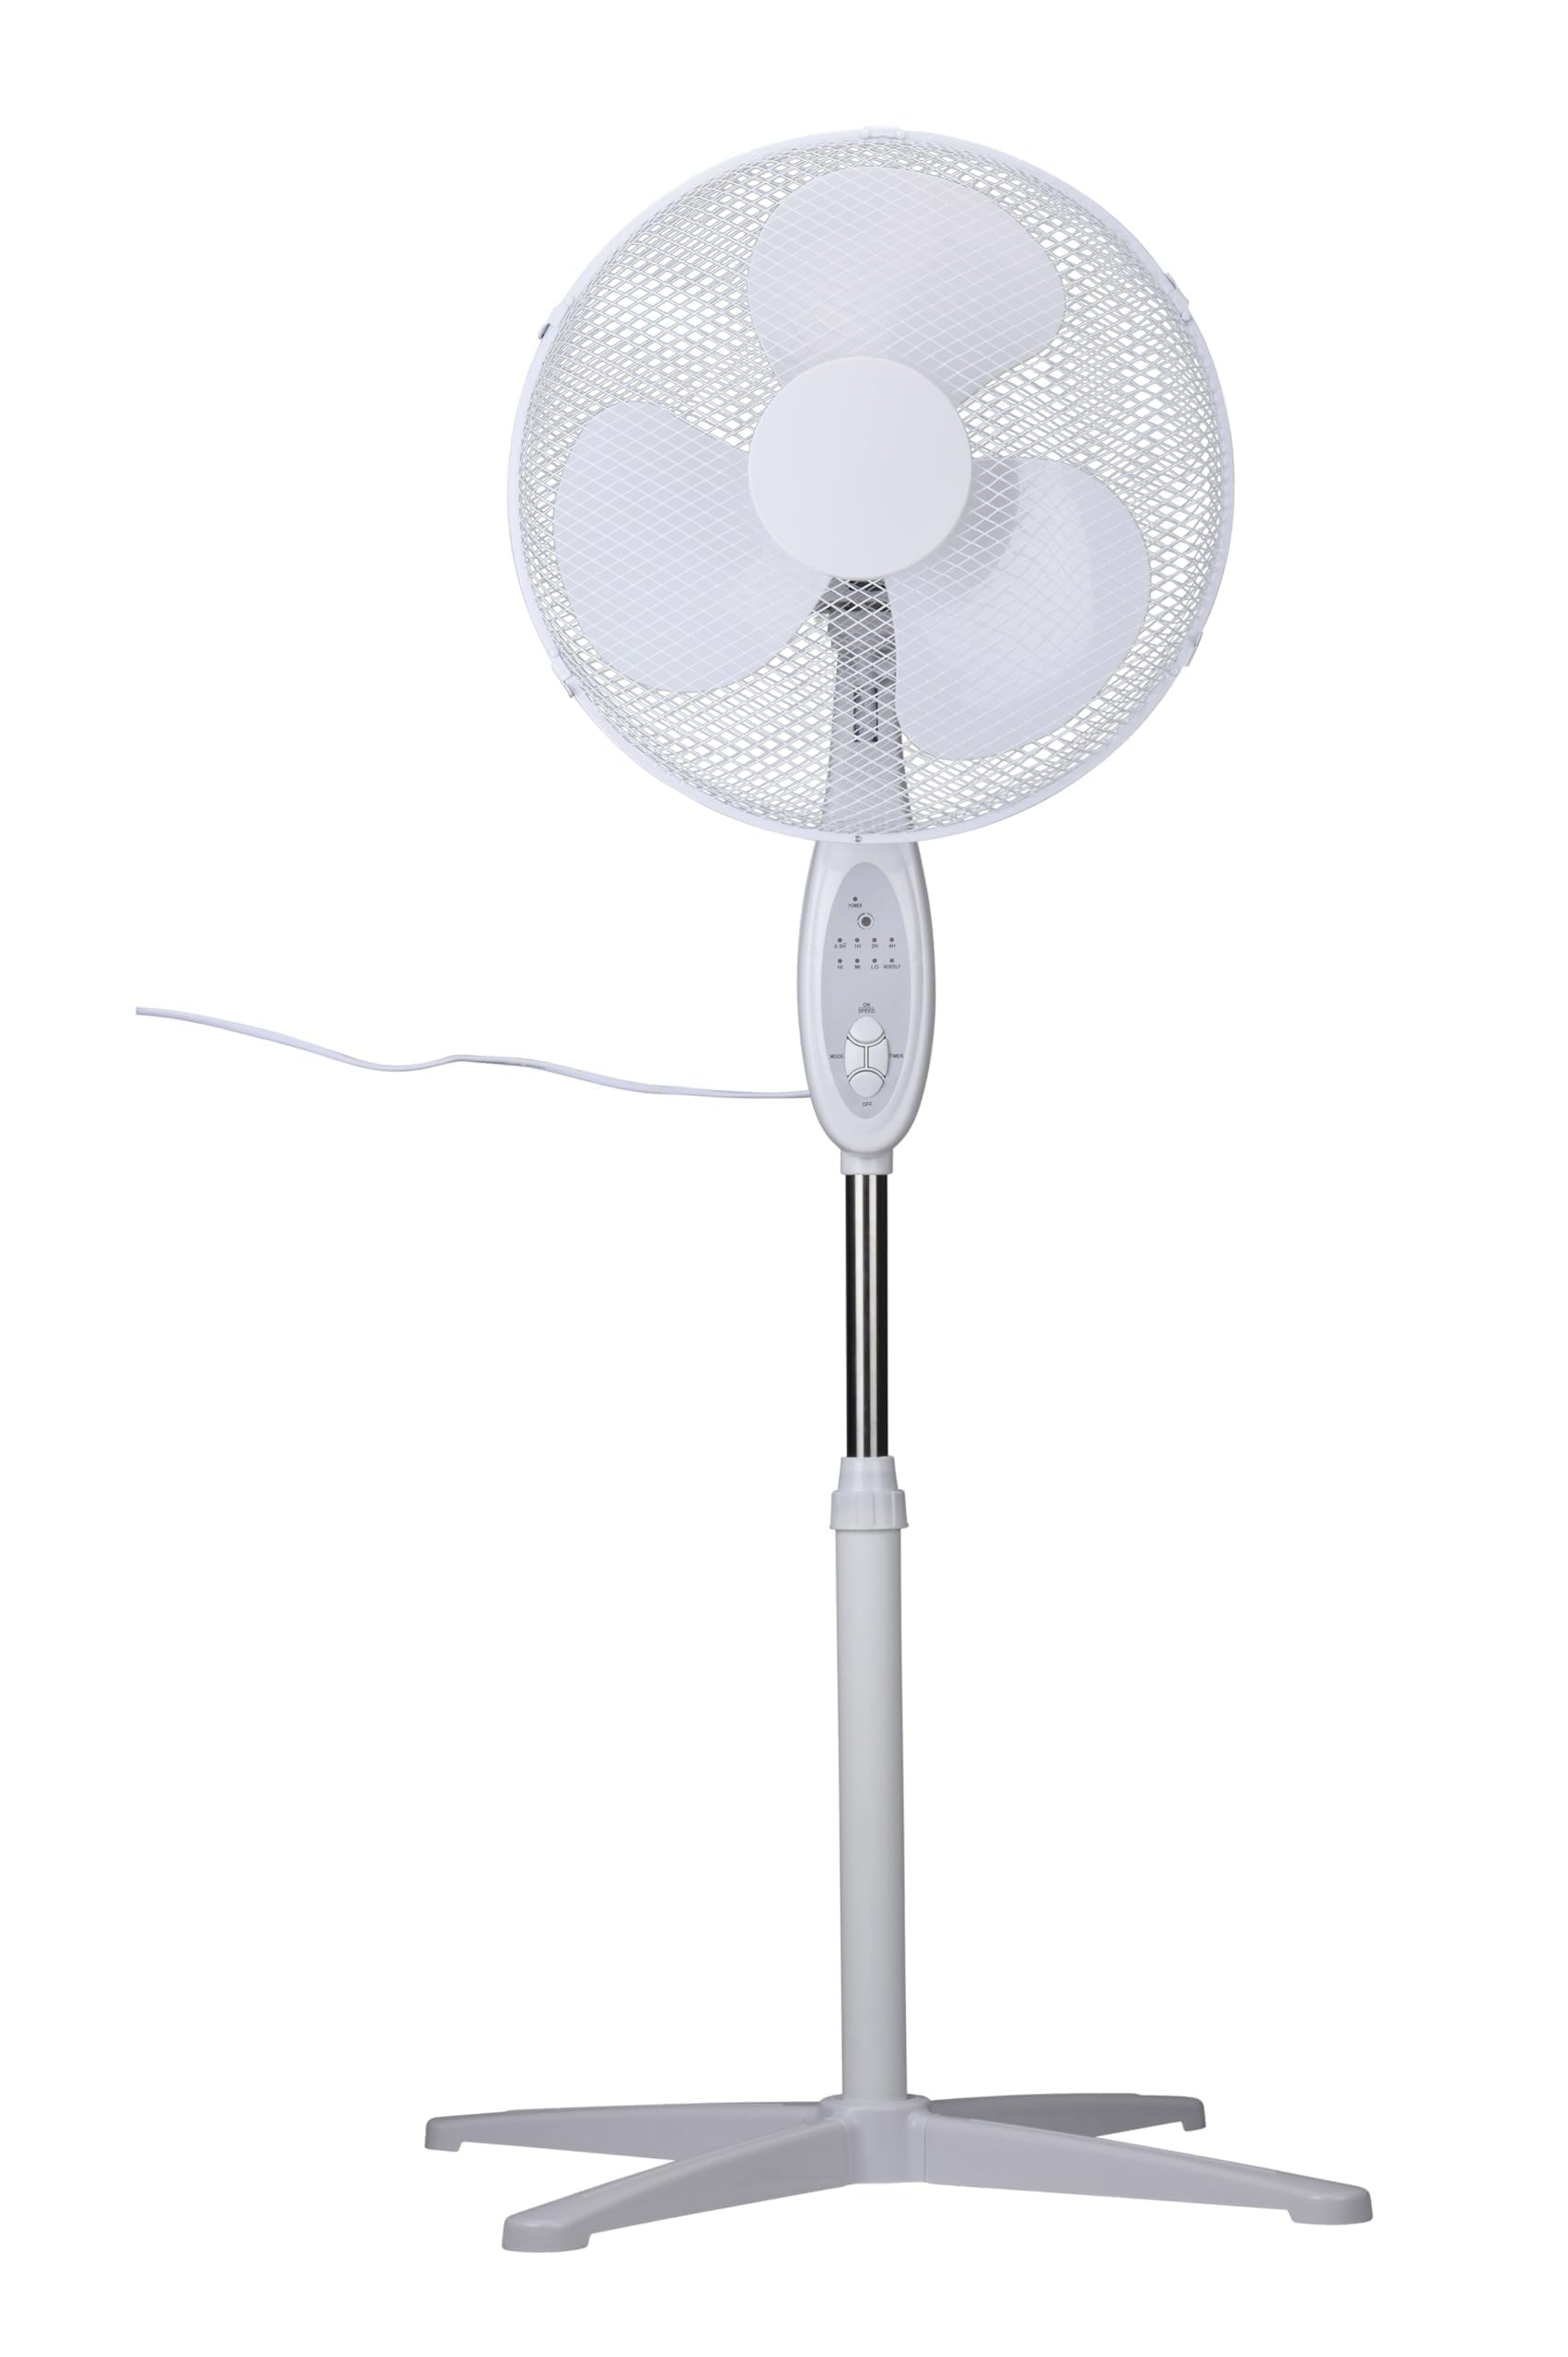
Image: The product packaging for the Lifetime Air Pedestal Fan, displaying key features and the fan itself.
5. Setup and Assembly
Follow these steps to assemble your pedestal fan:
- Attach the Base: Securely attach the stand pole to the fan base using the provided fasteners. Ensure it is stable.
- Mount the Fan Head: Carefully attach the fan head assembly to the top of the stand pole. Ensure it clicks into place or is tightened securely.
- Adjust Height: Loosen the height adjustment knob on the stand pole. Extend or retract the pole to your desired height (between 100 cm and 120 cm). Tighten the knob firmly to secure the height.
- Positioning: Place the assembled fan on a firm, level surface, away from curtains or objects that could obstruct airflow.
- Power Connection: Plug the power cord into a standard electrical outlet (220-240V, 50Hz).
6. Operating Instructions
Your fan can be operated using the control panel on the unit or the included remote control.
6.1. Power On/Off
- Press the POWER button on the control panel or remote control to turn the fan on or off.
6.2. Speed Control
The fan has 3 speed settings: Low, Medium, and High.
- Press the SPEED button repeatedly to cycle through the speed settings.
6.3. Oscillation Function
The oscillation feature allows the fan head to sweep from side to side, distributing air over a wider area.
- Press the OSC button to activate or deactivate oscillation.
6.4. Tilt Adjustment
The fan head can be manually tilted up or down to direct airflow.
- Gently push or pull the fan head to adjust its vertical angle. Do not force it beyond its natural range of motion.
6.5. Timer Function
Set the fan to operate for a specific duration before automatically turning off.
- Press the TIMER button repeatedly to select the desired operating time. The available timer settings are typically in increments (e.g., 1 hour, 2 hours, etc.).
6.6. Sleep Mode
Sleep mode provides a quieter operation, ideal for nighttime use.
- Press the SLEEP button to activate or deactivate sleep mode.
6.7. Remote Control
The remote control duplicates the functions of the control panel for convenient operation.
- Ensure batteries are correctly installed in the remote control.
- Point the remote control towards the fan's receiver when operating.
7. Maintenance
Regular cleaning will help maintain the fan's performance and extend its lifespan.
7.1. Cleaning
- Disconnect Power: Always unplug the fan before cleaning.
- Clean Exterior: Wipe the exterior surfaces of the fan with a soft, damp cloth. Do not use abrasive cleaners or solvents.
- Clean Grills and Blades: To clean the fan blades and inside the grills, you may need to carefully remove the front grill. Refer to the assembly instructions in reverse for safe removal. Use a soft cloth or a vacuum cleaner with a brush attachment to remove dust. Ensure all parts are dry before reassembling and operating.
7.2. Storage
When not in use for extended periods, store the fan in a cool, dry place, preferably in its original packaging, to protect it from dust and damage.
8. Troubleshooting
If you encounter issues with your fan, refer to the following common problems and solutions:
| Problem | Possible Cause | Solution |
|---|---|---|
| Fan does not turn on. | No power supply. Power button not pressed. | Check if the fan is plugged in and the outlet is working. Press the POWER button. |
| Weak airflow. | Fan speed too low. Grills or blades are dirty. | Increase the fan speed. Clean the fan grills and blades (refer to Maintenance section). |
| Fan is noisy. | Loose parts. Fan not on a level surface. | Check for any loose components and tighten them. Ensure the fan is on a stable, level surface. |
| Remote control not working. | Dead batteries. Obstruction between remote and fan. | Replace batteries in the remote control. Ensure a clear line of sight to the fan's receiver. |
If the problem persists after trying these solutions, please contact customer support.
9. Specifications
| Feature | Specification |
|---|---|
| Model Number | YH-40R-0 |
| Power Input | 40 Watts |
| Voltage | 220-240V, 50Hz |
| Number of Speeds | 3 |
| Noise Level | Max 55 dB |
| Adjustable Height | 100 - 120 cm |
| Oscillation | Yes |
| Tilt Adjustment | Yes |
| Control Type | Remote Control, On-unit buttons |
| Timer Function | Yes |
| Sleep Mode | Yes |
| Material | Aluminum |
| Product Dimensions (D x W x H) | 67 x 12 x 120 cm |
| Item Weight | 2.1 kg |
| Max Fan Flow | 38 m³/Min |
| Max Air Speed | 2.8 m/s |
10. Warranty and Support
Your Lifetime Air Pedestal Fan YH-40R-0 comes with a standard manufacturer's warranty. Please refer to the warranty card included in your package for specific terms and conditions.
For technical support, troubleshooting assistance beyond this manual, or warranty claims, please contact the retailer or manufacturer's customer service department. Keep your purchase receipt as proof of purchase.
