
1. Introduction
The BenQ TK710 is a 4K laser projector designed for both movie viewing and gaming. It features a 3200 ANSI lumens laser light source, providing bright and vibrant images suitable for various lighting conditions. This manual provides essential information for setting up, operating, and maintaining your projector.
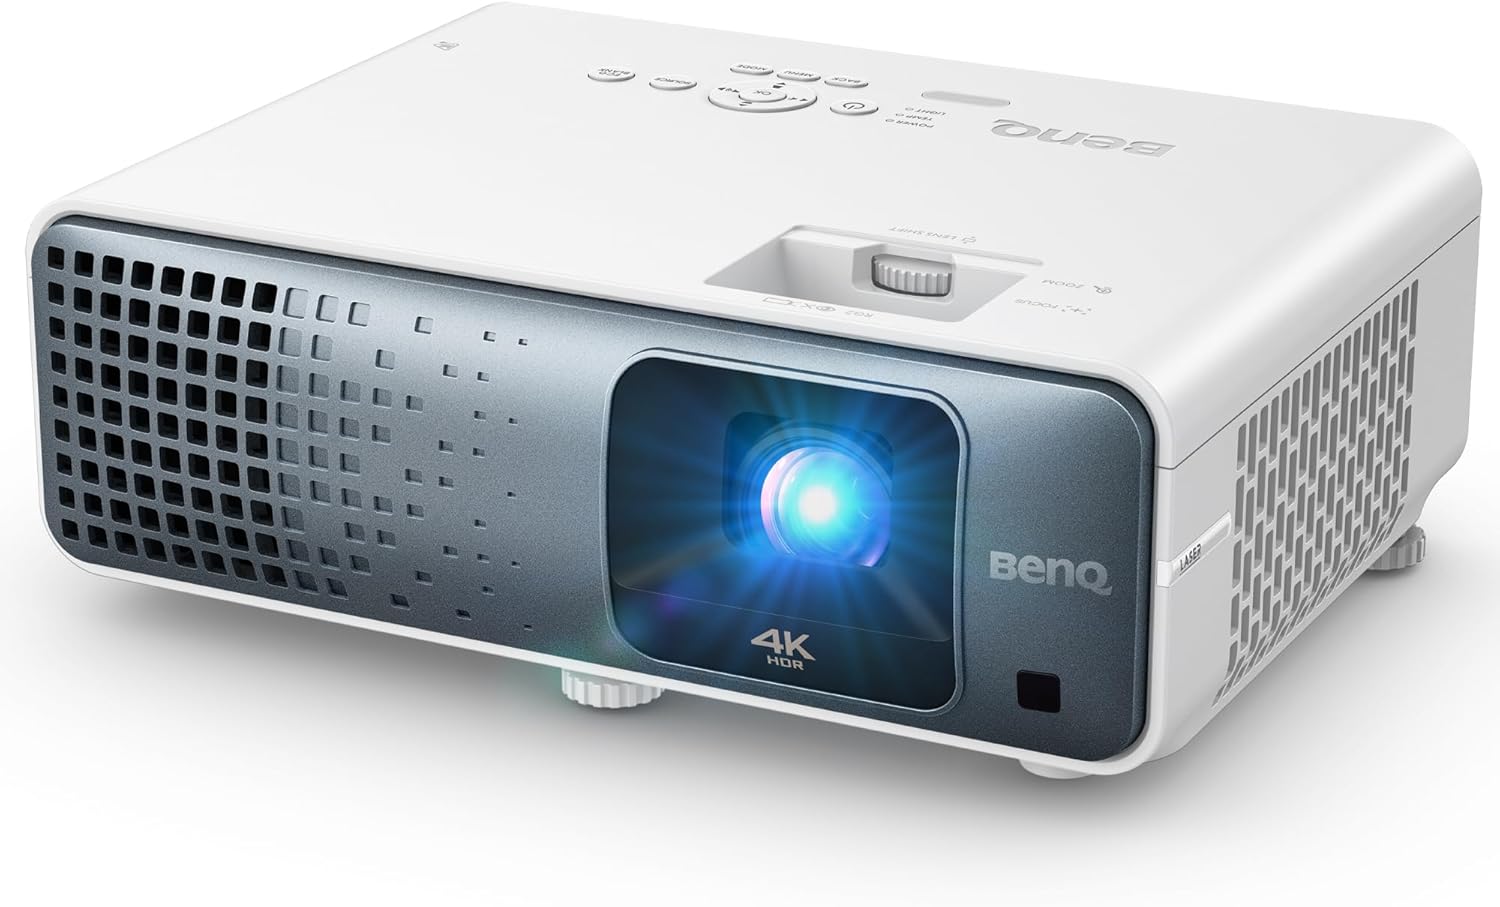
Image: Front view of the BenQ TK710 4K Laser Projector.
2. Important Safety Instructions
Please read and follow these safety guidelines to ensure safe operation and prolong the life of your projector.
- Do not look directly into the projector lens when the lamp is on. The intense light can cause eye damage.
- Ensure proper ventilation around the projector. Do not block ventilation openings.
- Use only the power cord and adapter supplied with the projector.
- Do not expose the projector to rain, moisture, or extreme temperatures.
- Refer all servicing to qualified service personnel.
3. Package Contents
Verify that all items are present in the package:
- BenQ TK710 4K Laser Projector
- Power Cable
- Remote Control with Batteries
- Quick Start Guide
- Adaptor
4. Product Overview
Familiarize yourself with the key components and connection ports of your BenQ TK710 projector.
4.1 Front View
The front of the projector features the projection lens, which emits the image onto your screen.
4.2 Top Panel Controls
The top panel provides direct access to essential functions for operating the projector without the remote control.
- Power Button: Turns the projector on or off.
- Menu Button: Accesses the on-screen display (OSD) menu.
- Source Button: Selects the input source.
- Navigation Buttons: Used to navigate through menu options and adjust settings.
4.3 Rear Panel Connections
The rear panel offers various ports for connecting external devices, ensuring broad compatibility.

Image: Rear panel of the projector with HDMI, USB, and other connectivity options.
- HDMI 1 (with eARC/ARC): Connects to HDMI-compatible devices and supports enhanced audio return channel for external sound systems.
- HDMI 2: Connects to additional HDMI-compatible devices.
- USB Type-A: For media playback or powering external devices.
- Audio Out: Connects to external audio systems.
- RS-232: For control system integration.
5. Setup
Follow these steps for initial setup of your BenQ TK710 projector.
5.1 Placement
Position the projector on a stable surface or mount it to the ceiling. Consider the projection distance for your desired screen size. The TK710 features a 1.3x zoom for flexible placement, allowing you to achieve a large image from varying distances.

Image: Illustration of projection distances for different screen sizes.
5.2 Connecting Devices
Connect your video sources (e.g., gaming console, streaming device, Blu-ray player) to the projector's HDMI ports. The projector supports dual HDMI 2.0b universal connectivity with ARC/eARC for audio passthrough.
5.3 Power On
Connect the power cable to the projector and a power outlet. Press the power button on the projector's top panel or the remote control to turn it on.
6. Operating the Projector
This section details the basic operation and image adjustments for your projector.
6.1 Power On/Off
Press the power button once to turn the projector on. Press it again to initiate the shutdown sequence.
6.2 Input Source Selection
Use the 'Source' button on the remote or top panel to cycle through available input sources (HDMI 1, HDMI 2).
6.3 Image Adjustment
Adjust the projected image for optimal clarity and geometry.
6.3.1 Focus and Zoom
Use the focus and zoom rings located around the lens to sharpen the image and adjust its size. The 1.3x optical zoom allows for precise image sizing without moving the projector.
6.3.2 Keystone Correction
The TK710 features 3D Keystone correction to square the image if the projector is not perfectly aligned with the screen. Access this setting via the OSD menu.
6.3.3 Vertical Lens Shift
Utilize the vertical lens shift function for fine-tuning image height without physically moving the projector. This offers enhanced flexibility for ceiling-mounting or table placement.

Image: Visual representation of flexible installation options including vertical lens shift and keystone correction.
6.4 Picture Modes
Select appropriate picture modes for your content to optimize visual quality. The projector supports True 4K UHD with HDR10/HLG for rich detail and improved contrast.

Image: Demonstrates the clarity of 4K UHD resolution compared to lower resolutions.
6.4.1 HDR Game Modes
For an enhanced gaming experience, activate the dedicated HDR Game Modes. These modes optimize visuals for gaming, providing low latency (4ms response time at 1080p@240Hz, 16ms input lag at 4K/60Hz) and smooth, responsive gameplay.

Image: Illustrates the low input lag performance of the TK710 during fast-paced gaming.
6.4.2 Dynamic Contrast
The Dynamic Function rapidly adjusts the laser light source for improved contrast, enhancing dark details and overall picture depth.

Image: Shows the visual improvement in dark scenes with Dynamic Contrast enabled.
6.5 Audio Settings
The projector includes a built-in 5W speaker for basic audio output. For a more immersive experience, connect to an external audio system via the HDMI 1 port, which supports eARC/ARC.
7. Maintenance
Proper care and maintenance will ensure optimal performance and longevity of your projector.
- Cleaning the Lens: Use a soft, lint-free cloth specifically designed for optical lenses. Avoid abrasive materials or harsh chemicals.
- Cleaning the Projector Body: Wipe the exterior with a soft, dry cloth. Do not use liquid or aerosol cleaners.
- Laser Light Source: The durable laser light source provides up to 20,000 hours of operation, eliminating the need for frequent lamp replacements. No user-serviceable parts are associated with the laser module.
- Ventilation: Regularly check that the ventilation openings are clear of dust and debris to prevent overheating.
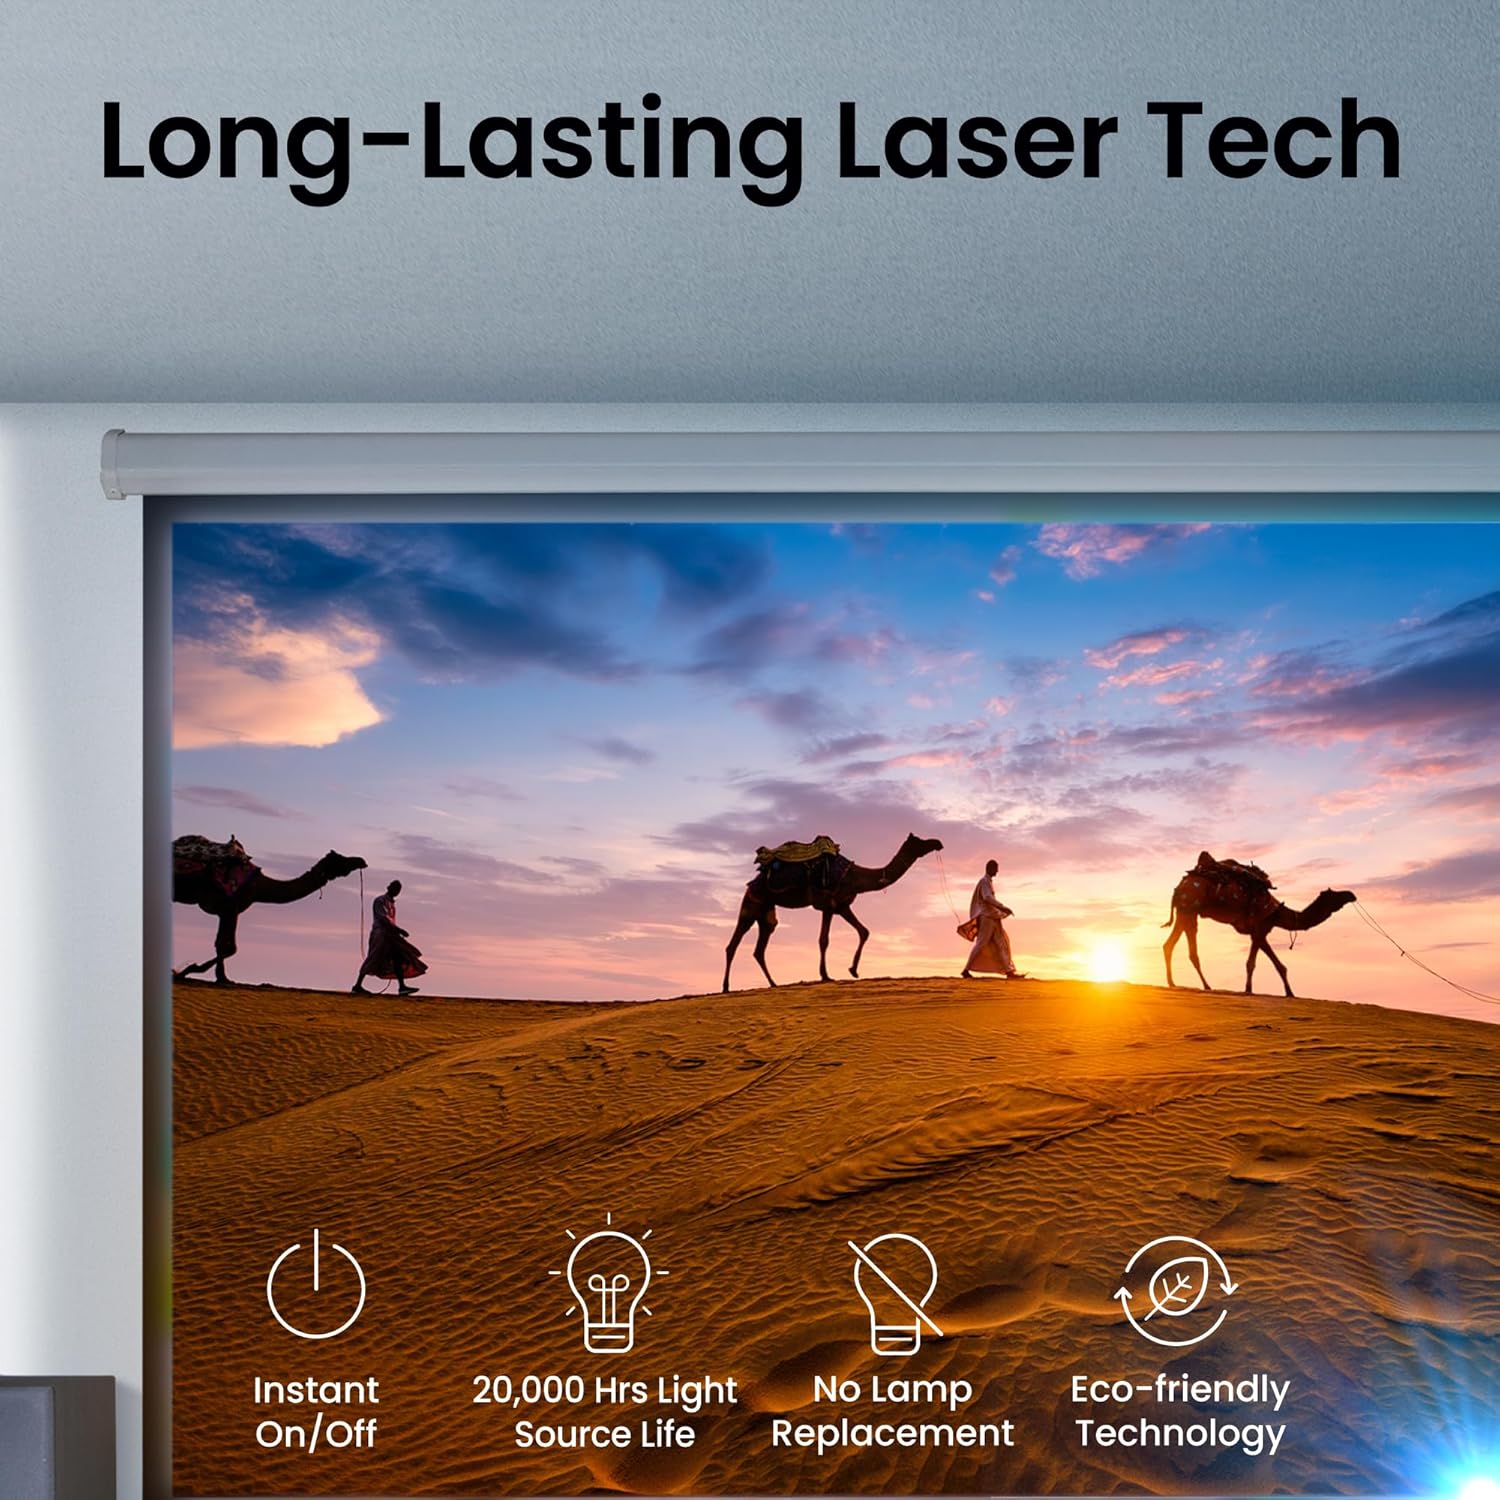
Image: Highlights the benefits of the projector's long-lasting laser light source.
8. Troubleshooting
If you encounter issues with your projector, refer to the following common problems and solutions.
- No Image: Ensure the power cable is securely connected and the projector is turned on. Verify the input source is correctly selected and the video cable is properly connected to both the projector and the source device.
- Blurry Image: Adjust the focus ring on the lens until the image is sharp. Ensure the projection surface is flat and the projector is within the recommended projection distance.
- No Sound: Check the audio settings in the OSD menu. If using external speakers, ensure they are properly connected and powered on. Verify that the HDMI cable supports ARC/eARC if using that feature.
- Remote Control Not Working: Check the batteries in the remote control and ensure there are no obstructions between the remote and the projector's IR receiver.
9. Specifications
Detailed technical specifications for the BenQ TK710 4K Laser Projector.
| Feature | Specification |
|---|---|
| Model Number | TK710 |
| Display Resolution | 3840 x 2160 (4K UHD) |
| Brightness | 3200 ANSI Lumens |
| Light Source | Laser (20,000+ hours lifespan) |
| Connectivity Technology | HDMI (Dual HDMI 2.0b with ARC/eARC) |
| Special Features | Auto Focus, Built-In 5W Speaker, Digital Keystone Correction, Vertical Lens Shift, 1.3x Zoom, HDR10 & HLG Support, HDR Game Modes, Wi-Fi Ready |
| Response Time | 4ms (1080p@240Hz), 16ms (4K/60Hz) |
| Color Coverage | 95% Rec.709 |
| Product Dimensions | 13.15 x 16.05 x 6.8 inches |
| Item Weight | 8 pounds |
10. Warranty and Support
For detailed warranty information, technical support, and service inquiries, please visit the official BenQ website or contact their customer service department. Keep your purchase receipt as proof of purchase for warranty claims.


