
1. Product Overview
The Zunate Video Doorbell System provides enhanced home security and communication. Featuring a 1080P camera, 4.3-inch LCD monitor, and two-way voice capabilities, it allows you to monitor your doorstep, communicate with visitors, and receive motion detection alerts. This manual provides detailed instructions for setup, operation, and maintenance.

Figure 1: Zunate Video Doorbell System showing outdoor unit, indoor monitor, and smartphone app interface.
2. Package Contents
Verify that all items are included in your package:
- 1 x Display
- 1 x Peephole Camera (Memory Card Not Included)
- 1 x Mounting Bracket
- 8 x Installation Screws
- 2 x Washers
- 1 x Power Cable
- 2 x Instruction Manuals
3. Specifications
| Feature | Specification |
|---|---|
| Item Type | Video Peephole Doorbell |
| Model | ED-300PD |
| Operating System | for LiteOS |
| Lens Pixel | 1080P |
| Screen Size | 4.3 Inch LCD Screen |
| APP Support | for Android, for IOS |
| Battery Capacity | 5000mAh Lithium Battery (Built-in) |
| Wide Angle | 150° |
| Features | Infrared Night Vision, Automatic Photo Taking, Monitoring Intercom, Motion Detection |
| External Storage | Maximum Support 128G Memory Card (Without Memory Card) |
| Supported Door Thickness | Approx. 35-120mm / 1.38-4.72in |
| Language | English, Chinese |
| Suitable Door Hole Diameter | Approx. 14-50mm / 0.55-1.97in |
| Operating Environment Temperature | -20~55°C |

Figure 2: The doorbell camera features a 150° wide viewing angle for comprehensive coverage.
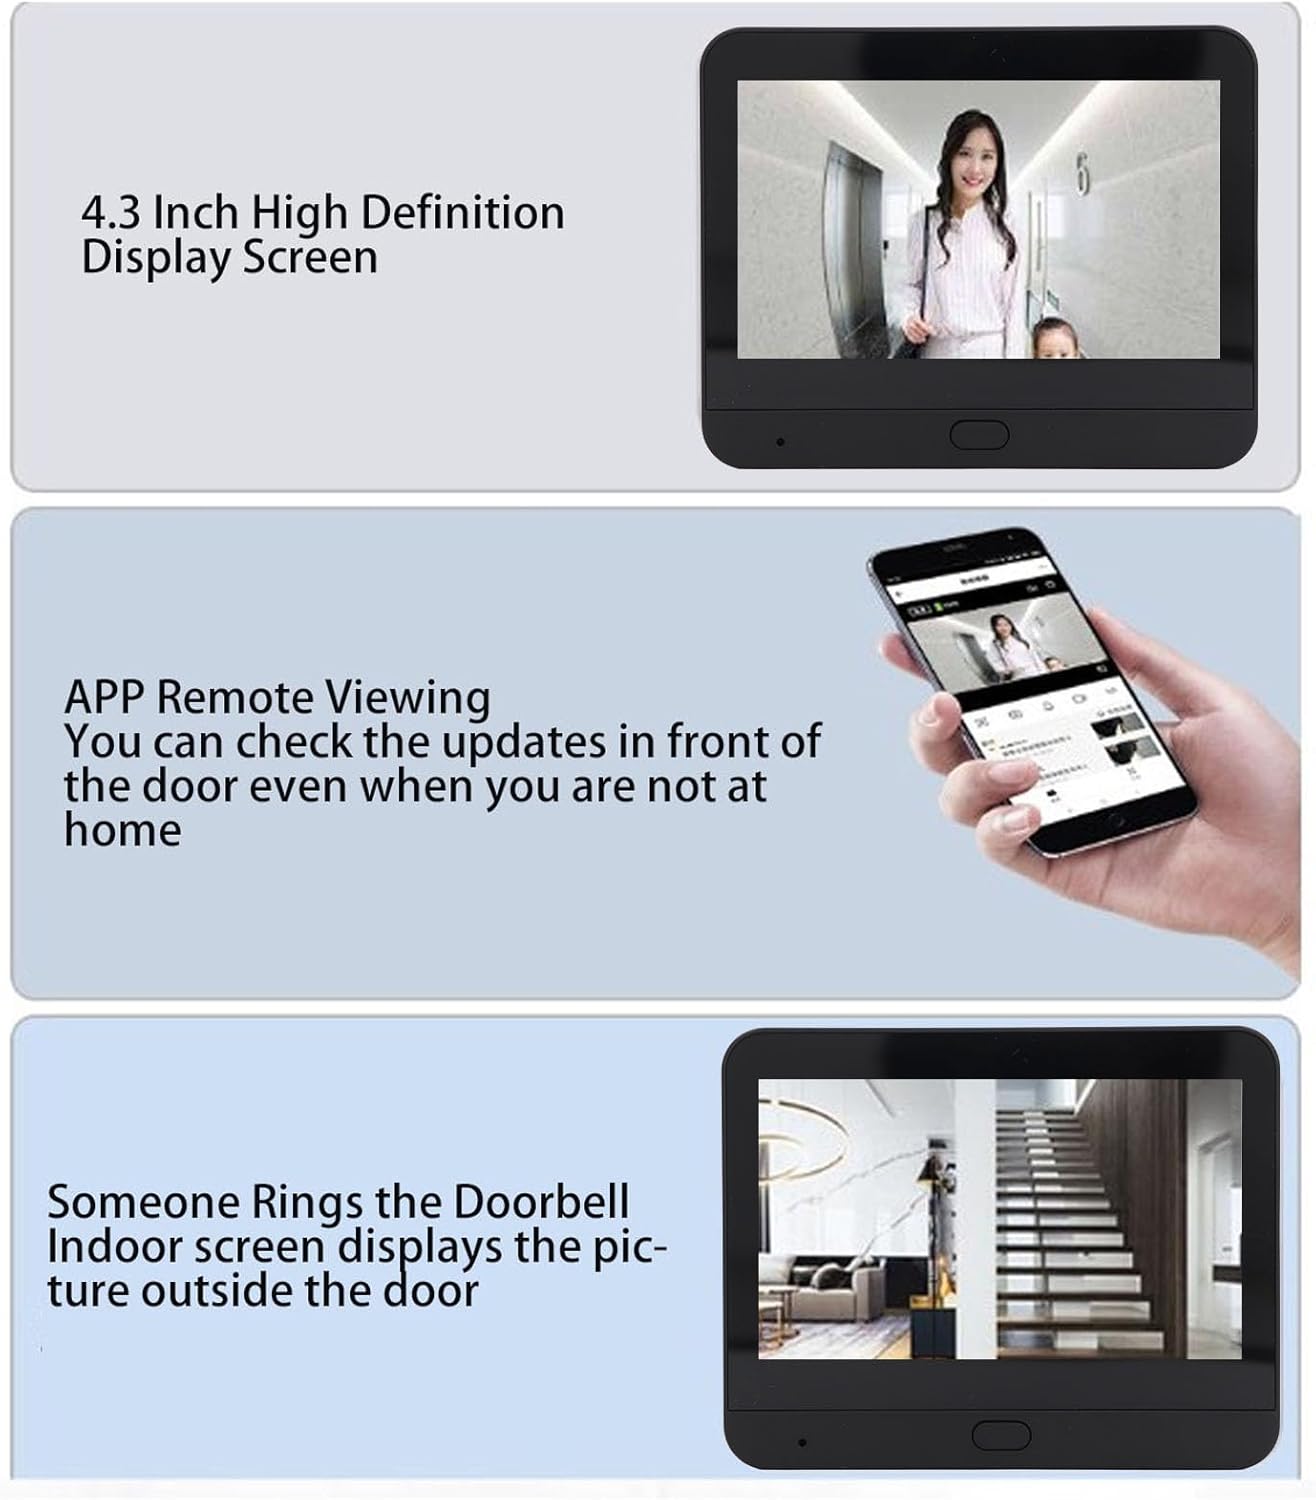
Figure 3: The 4.3-inch high-definition LCD display screen provides clear visuals.
4. Initial Setup
4.1 Charging the Device
Upon receiving the product, fully charge the doorbell unit before first use. The display screen must remain connected to the power supply and cannot be disconnected during operation.
Video 1: Demonstrates connecting the display screen to power and the initial pairing process between the doorbell and the display unit.
4.2 Pairing Doorbell with Display Screen
When using the system for the first time, you must pair the doorbell unit with the display screen. Follow these steps:
- Ensure the display screen is connected to a power supply.
- Long press the 'M' button on the display screen to enter pairing mode. A countdown will appear on the screen.
- While the display is in pairing mode, long press the call button on the outdoor doorbell unit.
- The display will indicate 'Successfully paired' once the connection is established.
5. Installation
5.1 Installing the Outdoor Doorbell Unit
The outdoor doorbell unit can be installed using screws or adhesive tape. Ensure the installation surface is clean and dry.
- Separate the doorbell unit from its mounting bracket.
- If using screws, drill pilot holes in the desired location on your door frame or wall. Insert wall anchors if necessary.
- Secure the mounting bracket to the surface using the provided screws.
- Feed the doorbell's connecting cable through the peephole or a drilled hole.
- Attach the doorbell unit to the mounting bracket, ensuring it clicks securely into place.
- Tighten the small screw at the bottom of the doorbell unit to secure it to the bracket.
Video 2: Step-by-step demonstration of installing the smart peephole camera outdoor unit.
Video 3: Wireless installation guide for a doorbell camera, showing mounting options.
Video 4: Comprehensive installation steps for a video intercom system.
5.2 Installing the Indoor Monitor
The indoor monitor can be placed on a desk or mounted on a wall.
- Connect the ribbon cable from the outdoor unit to the corresponding port on the back of the indoor monitor.
- Close the back cover of the indoor monitor.
- If wall-mounting, secure the monitor's bracket to the wall using screws.
- Slide the monitor onto the wall bracket until it locks into place.
6. App Connection & Features
The Zunate Video Doorbell supports a mobile application for remote viewing and control. The system function menu is located on the mobile APP console, not on the indoor display.
6.1 Connecting to the Mobile App
To connect your device to the mobile app:
- Download the compatible app (e.g., Tuya Smart) from your device's app store.
- Open the app and register/log in.
- Follow the app's instructions to add a new device, typically by scanning a QR code displayed on the indoor monitor or by manually selecting the device type.
- Ensure your mobile device is connected to a stable Wi-Fi network. Avoid Wi-Fi usernames exceeding 32 characters or containing special symbols/Chinese characters, as this may affect success.
Video 5: Guide on connecting the doorbell system to the phone application for remote operation.
6.2 App Features
- Remote Viewing: View visitors on your smartphone or tablet from anywhere.
- Two-Way Intercom: Communicate with visitors using the one-way or two-way intercom feature with noise cancellation.
- Snapshots & Recordings: Capture photos and videos of events.
- Motion Detection Alerts: The PIR motion sensor automatically detects human movement and pushes messages and videos to your phone within seconds.

Figure 4: Remote monitoring via Wi-Fi allows you to view your doorstep from your smartphone.

Figure 5: The PIR human body detection alarm captures video and sends messages when someone is detected at the door.

Figure 6: Real-time video visual intercom is activated with a single button press.

Figure 7: The app allows remote viewing, and the indoor screen displays the picture outside the door when someone rings.
7. Operation
7.1 Two-Way Communication
When you need to speak to a visitor through the display screen, press and hold the talk button on the display screen. Release the button to listen.
7.2 Night Vision
The camera automatically switches between day and night visual sensitivity, providing clear images up to approximately 2 meters in low light conditions.

Figure 8: The doorbell automatically switches between day and night vision modes for optimal clarity.
8. Maintenance
8.1 Battery Charging
The 5000mAh battery offers up to 30 days of standby time (based on 3 to 5 calls per day). Recharge the doorbell unit using the provided USB cable when low battery alerts are received.

Figure 9: The 5000mAh high-capacity battery supports long standby times and convenient USB charging.
9. Troubleshooting
- Device not powering on: Ensure both the doorbell and display screen are fully charged or connected to a stable power source.
- Pairing issues: Make sure the display screen is in pairing mode (countdown visible) and you are long-pressing the doorbell's call button.
- App connection issues: Verify your Wi-Fi network name does not exceed 32 characters or contain special symbols. Ensure strong Wi-Fi signal.
- No video/audio: Check all cable connections. Ensure the camera lens is clean and unobstructed.
10. Warranty & Support
For any problems with the product during use, please contact Zunate customer support. Refer to the contact information provided in the original packaging or product listing for assistance.
Contact Information:
- WhatsApp: +8613517470657
- Email: fanyuu0915@yunangshop.com