1. Introduction
Welcome to the user manual for your new RED5 Harrier Drone. This foldable SD quadcopter features Wi-Fi First Person View (FPV) and a 2.4 GHz radio frequency remote control, designed for ease of use and portability. This manual provides essential information on setting up, operating, maintaining, and troubleshooting your drone to ensure a safe and enjoyable flight experience.
Please read this manual thoroughly before operating the drone and retain it for future reference.
2. Safety Guidelines
Your safety and the safety of others are paramount. Adhere to the following guidelines:
- Flight Environment: Fly in open, clear areas, away from people, animals, buildings, and power lines. Avoid flying near airports or restricted airspace.
- Weather Conditions: Do not fly in strong winds, rain, snow, or fog. Optimal flight conditions are calm and clear.
- Battery Safety: Use only the provided charging cable and battery. Do not overcharge or puncture the battery. Discontinue use if the battery is damaged or swollen.
- Propeller Safety: Keep fingers, hair, and loose clothing away from rotating propellers. Always turn off the drone before handling the propellers.
- Line of Sight: Always maintain visual line of sight with the drone during flight.
- PSTI Compliance: This drone is designed to be compact and lightweight, meaning registration may not be required in certain regions (e.g., UK) for recreational use. Always check local regulations before flying.
- Age Recommendation: This product is not suitable for children under 14 years old. Adult supervision is recommended for all users.
3. Package Contents
Carefully unpack your RED5 Harrier Drone and ensure all items are present:
- RED5 Harrier Drone
- Remote Control
- Rechargeable Drone Battery
- USB Charging Cable
- Spare Propellers
- Removable Blade Protectors
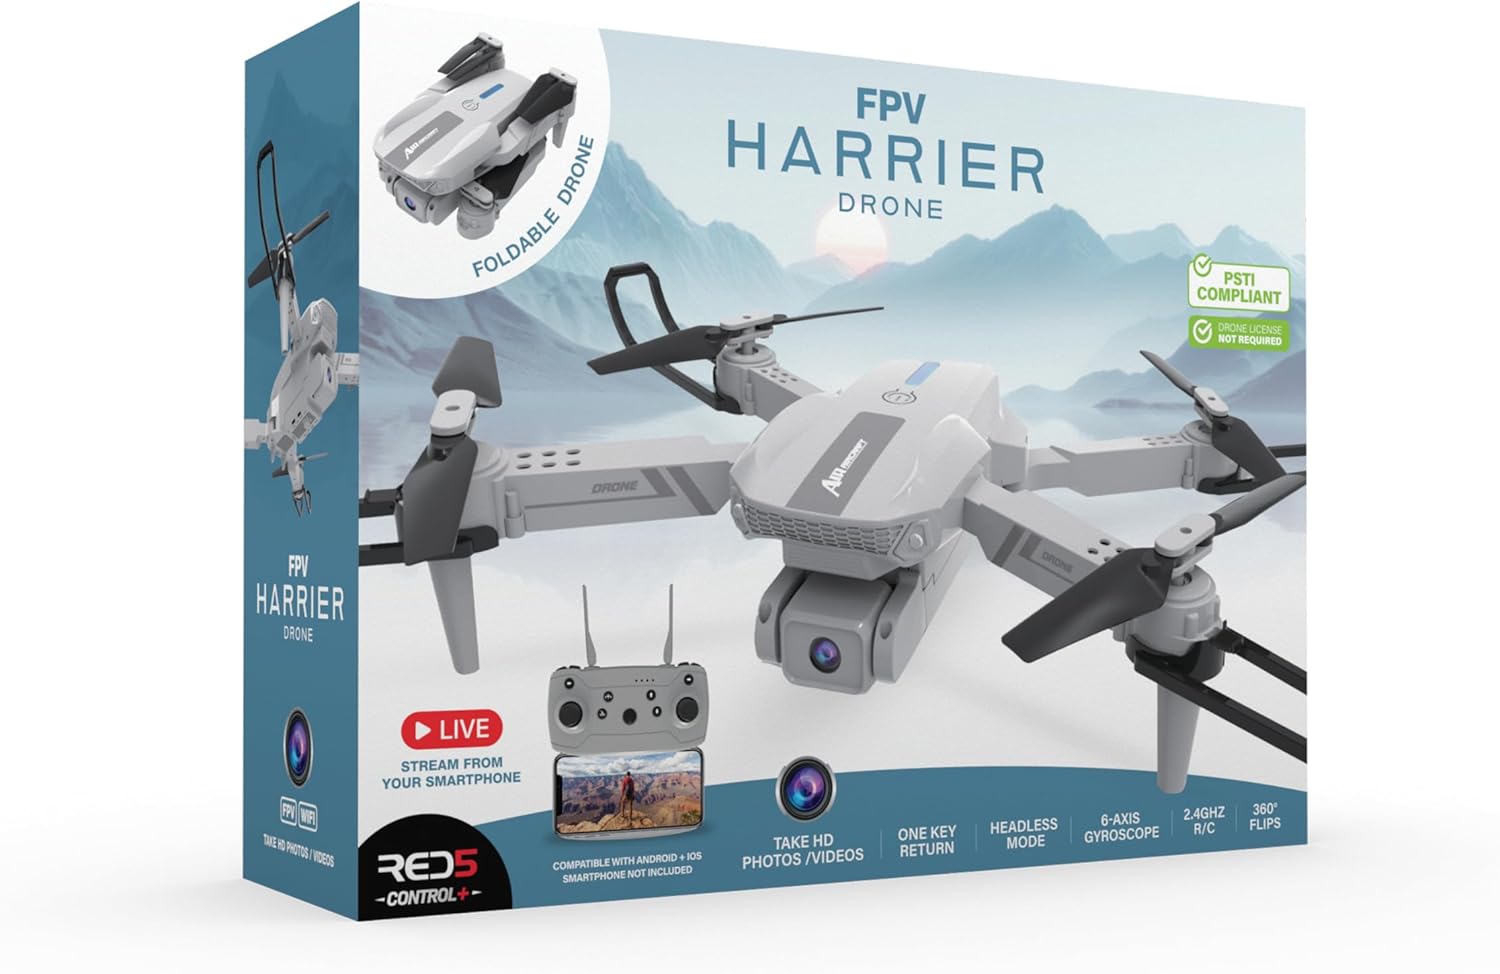
Figure 3.1: The RED5 Harrier Drone retail packaging, illustrating the drone, remote control, and various features.
4. Product Overview
4.1. Drone Components
The RED5 Harrier Drone is designed with foldable arms for compact storage and portability.

Figure 4.1: The RED5 Harrier Drone in its unfolded flight configuration, showcasing the propellers, camera, and landing gear.
- Foldable Arms: Allow the drone to fold down to 13 cm x 8 cm x 5.5 cm for easy transport.
- 480p SD Camera: Integrated camera for live streaming and recording photos and videos via Wi-Fi to the application.
- Propellers: Four main propellers for flight.
- Battery Compartment: Located on the underside for the rechargeable drone battery.
- LED Indicators: Lights on the drone indicate status (e.g., power, pairing).

Figure 4.2: The RED5 Harrier Drone in its folded, compact state, ready for storage or transport.
4.2. Remote Control Components
The 2.4 GHz remote control provides precise command over the drone.
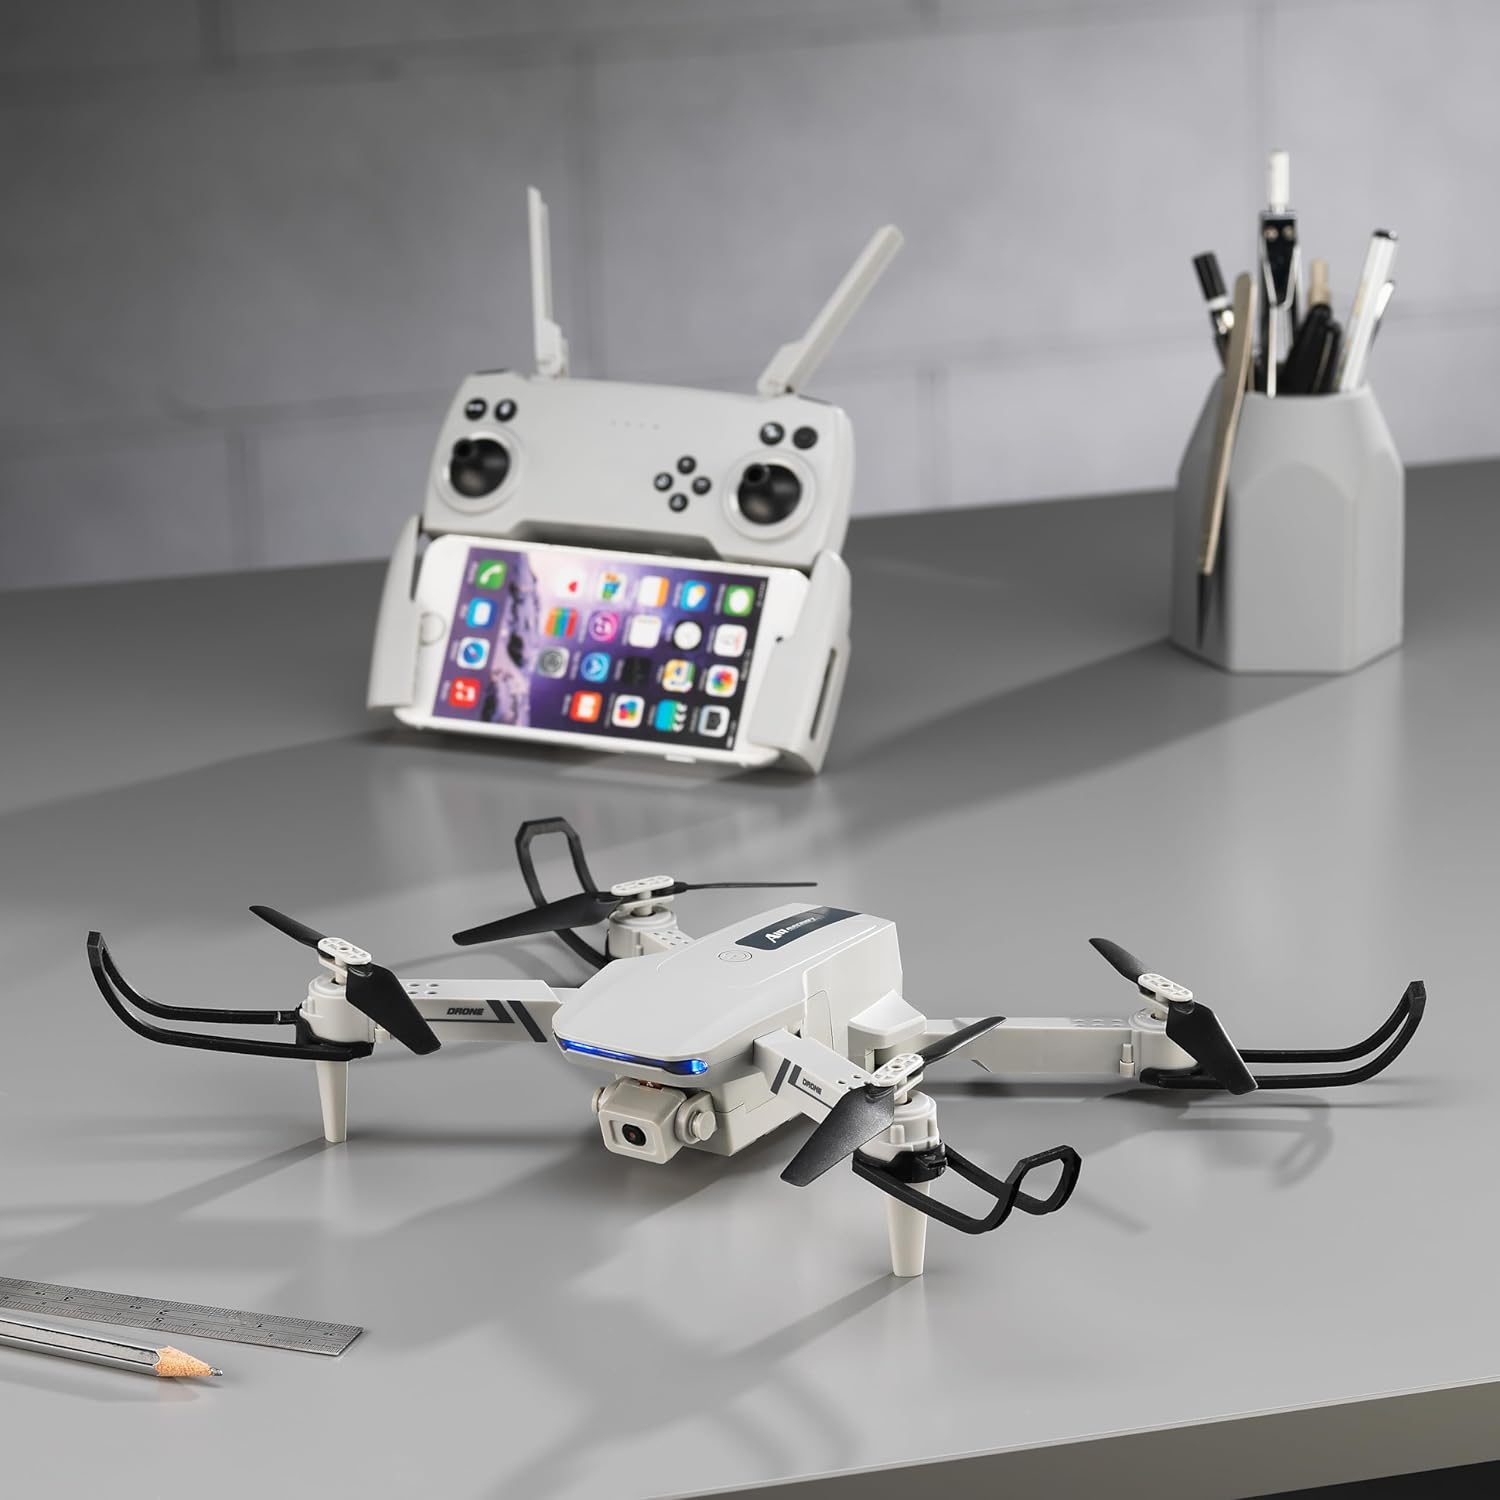
Figure 4.3: The RED5 Harrier Drone alongside its remote control, demonstrating a smartphone mounted for FPV viewing.
- Left Joystick: Controls altitude (throttle) and rotation (yaw).
- Right Joystick: Controls forward/backward and left/right movement (pitch and roll).
- Phone Holder: Integrated holder to mount your smartphone for FPV viewing.
- Function Buttons: Dedicated buttons for features like one-button take-off/landing, headless mode, 360-degree flips, and photo/video capture.
- Power Button: To turn the remote control on/off.
5. Setup
5.1. Charging the Drone Battery
- Remove the drone battery from its compartment.
- Connect the drone battery to the USB charging cable.
- Plug the USB charging cable into a standard USB power adapter (not included).
- The indicator light on the USB cable will show charging status (e.g., red for charging, off for fully charged).
- Once fully charged, disconnect the battery and reinsert it into the drone.
5.2. Installing Remote Control Batteries
The remote control requires 3 x AA batteries (not included).
- Open the battery compartment on the back of the remote control.
- Insert 3 AA batteries, ensuring correct polarity (+/-).
- Close the battery compartment securely.
5.3. Unfolding the Drone
- Gently pull out each of the four arms until they click into place.
- Ensure all arms are fully extended and locked before flight.
5.4. Attaching Propeller Guards (Optional)
For added protection, especially during initial flights, attach the propeller guards.
- Align each guard with the corresponding arm.
- Gently push until it snaps securely into place.
5.5. Connecting to Wi-Fi and App (FPV)
- Download the dedicated RED5 Harrier Drone app from your smartphone's app store (iOS/Android).
- Power on the drone.
- Go to your smartphone's Wi-Fi settings and connect to the Wi-Fi network named 'RED5_Harrier_XXXXXX' (or similar).
- Open the RED5 Harrier Drone app. You should see the live video feed from the drone's camera.
6. Operating
6.1. Pre-Flight Checklist
- Drone battery fully charged and installed.
- Remote control batteries installed.
- Drone arms unfolded and locked.
- Propeller guards attached (if desired).
- Smartphone connected to drone's Wi-Fi and app open.
- Clear and safe flight area.
6.2. Pairing Drone and Remote
- Place the drone on a flat, level surface.
- Turn on the drone. The LED lights will flash.
- Turn on the remote control.
- Push the left joystick (throttle) all the way up, then all the way down. The drone's LED lights will stop flashing and become solid, indicating successful pairing.
6.3. Take-off and Landing
- Manual Take-off: Push both joysticks down and outwards simultaneously to start the propellers. Slowly push the left joystick up to ascend.
- One-Button Take-off: Press the dedicated one-button take-off button on the remote control. The drone will automatically ascend to a stable hovering height.
- Manual Landing: Slowly pull the left joystick down until the drone lands. Once on the ground, push both joysticks down and inwards to stop the propellers.
- One-Button Landing: Press the dedicated one-button landing button. The drone will automatically descend and land.
- One-Button Return: Press the one-button return feature to have the drone fly back towards its take-off point. Note: This feature relies on the drone's internal compass and may not be perfectly accurate.
6.4. Flight Controls
- Left Joystick (Throttle/Yaw): Up/Down for altitude, Left/Right for rotation.
- Right Joystick (Pitch/Roll): Up/Down for forward/backward, Left/Right for left/right strafing.
- Headless Mode: Activate headless mode to simplify controls. In this mode, the drone's orientation relative to the remote control remains constant, regardless of the drone's actual front direction.
- 360-degree Flips: Press the designated button and move the right joystick in the desired direction to perform an aerial flip.
6.5. Camera Operation
The integrated 480p SD camera allows for live streaming and recording.
- Live FPV: View the live feed on your smartphone via the app when connected to the drone's Wi-Fi.
- Photo Capture: Press the photo button on the remote or in the app to take still images.
- Video Recording: Press the video button on the remote or in the app to start/stop video recording. Videos are saved directly to your smartphone.
- 360-degree Capture: Utilize the drone's capabilities to capture panoramic views.
7. Maintenance
7.1. Propeller Replacement
If a propeller is damaged, replace it with a spare from the package. Note the 'A' and 'B' markings on the propellers and drone arms to ensure correct installation.
7.2. Cleaning
Use a soft, dry cloth to clean the drone and remote control. Do not use harsh chemicals or liquids.
7.3. Battery Care
Store batteries in a cool, dry place. If not using the drone for an extended period, remove batteries from both the drone and remote control.
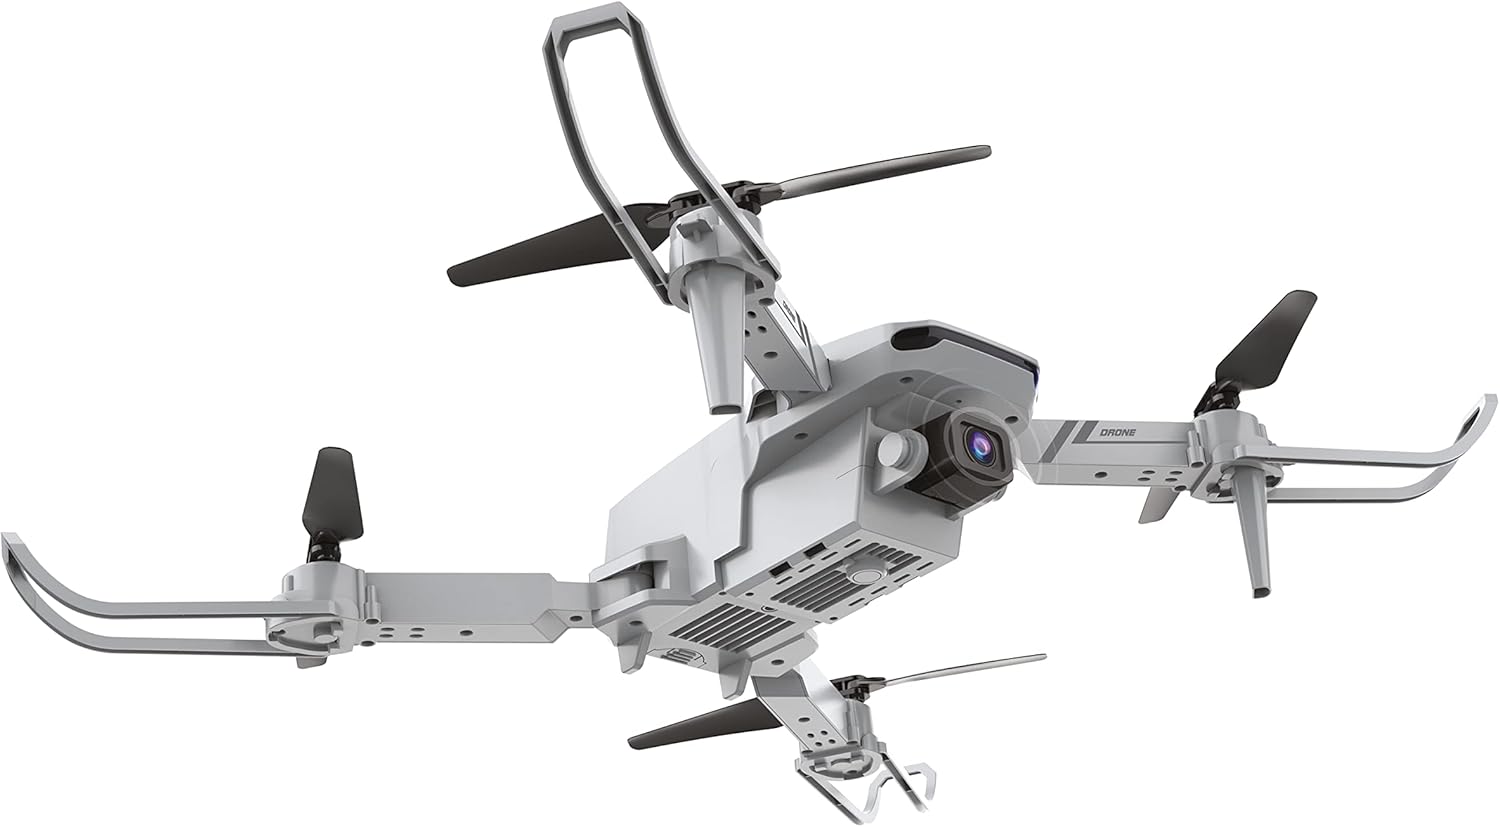
Figure 7.1: The underside of the RED5 Harrier Drone, highlighting the battery compartment for easy access during maintenance.
8. Troubleshooting
- Drone not powering on: Ensure the drone battery is fully charged and correctly inserted.
- Remote control not responding: Check if AA batteries are correctly installed and have sufficient charge. Ensure the remote is powered on.
- Drone not pairing: Ensure both drone and remote are powered on and perform the pairing sequence (left joystick up then down). Place the drone on a flat surface during pairing.
- Unstable flight: Recalibrate the drone by placing it on a flat surface and performing the calibration sequence (refer to app instructions if available). Check for damaged propellers.
- Poor video quality/no FPV feed: Ensure your smartphone is correctly connected to the drone's Wi-Fi network. Check for interference in the flying environment.
- Short flight time: Ensure the drone battery is fully charged. Battery life can be affected by aggressive flying or cold temperatures.
9. Specifications
| Feature | Specification |
|---|---|
| Brand | RED5 |
| Model Name | Harrier Folding Drone with FPV V2 PSTI |
| Model Number | 99422 |
| Manufacturer | The Source Wholesale |
| Item Weight | 78 Grams |
| Product Dimensions (Unfolded) | 19 x 17 x 5.5 cm |
| Product Dimensions (Folded) | 13 x 8 x 5.5 cm |
| Video Recording Resolution | 480p |
| Connectivity Technology | RF, Wi-Fi |
| Remote Control Batteries | 3 x AA (not included) |
| Special Features | Built-in camera, 360-degree capture, Foldable, One-button return, First Person View (FPV), Headless Mode |
| Skill Level | All |
| Color | Grey |
10. Warranty and Support
For warranty information and technical support, please refer to the documentation included with your purchase or contact the retailer/manufacturer directly. No specific warranty details are provided in this manual.
No official seller videos were found for this product.