
1. Introduction
Thank you for choosing the pamuA2K Over-Ear Wireless Bluetooth Headphones. This manual provides essential information for the proper setup, operation, and maintenance of your headphones. Please read it carefully before use and retain it for future reference.
2. What's in the Box
- pamuA2K Over-Ear Wireless Bluetooth Headphones
- Detachable Microphone Rod
- 3.5mm Audio Cable
- USB Charging Cable
- User Manual (this document)
3. Product Overview
The pamuA2K headphones feature a comfortable over-ear design with a detachable microphone, supporting both wireless Bluetooth and wired connections. Key features include a karaoke function with reverb control, original sound elimination, and touch controls.

Figure 3.1: Internal components of the pamuA2K headphones, highlighting the 40mm dynamic driver for sound quality.

Figure 3.2: Side panel with 3.5mm audio port and power switch.
4. Setup
4.1 Charging the Headphones
- Connect the USB charging cable to the charging port on the headphones.
- Connect the other end of the USB cable to a compatible USB power source (e.g., computer USB port, wall adapter).
- The indicator light will show charging status. A full charge takes approximately 2 hours.
- Once fully charged, the headphones provide up to 15 hours of music playtime.
4.2 Power On/Off
- Power On: Press and hold the Power button until the indicator light illuminates.
- Power Off: Press and hold the Power button until the indicator light turns off.
4.3 Bluetooth Pairing
- Ensure the headphones are powered off.
- Press and hold the Power button for approximately 5 seconds until the indicator light flashes blue and red, indicating pairing mode.
- On your device (smartphone, tablet, computer), enable Bluetooth and search for available devices.
- Select "pamuA2K" from the list of devices.
- Once connected, the indicator light will turn solid blue.
4.4 Wired Mode Connection
The headphones can be used in wired mode, even when the battery is depleted.
- Connect one end of the 3.5mm audio cable to the audio input port on the headphones.
- Connect the other end of the 3.5mm audio cable to the audio output jack of your device.
- The headphones will automatically switch to wired mode. Bluetooth functionality is disabled in wired mode.

Figure 4.1: Wired and Wireless Mode options.
4.5 Microphone Attachment
The pamuA2K headphones feature a magnetic detachable microphone rod.
- Align the microphone rod connector with the magnetic port on the left earcup.
- The microphone will snap into place magnetically.
- Adjust the flexible microphone rod to your desired position for optimal voice pickup.

Figure 4.2: Detachable microphone rod.
4.6 Wearing the Headphones
Adjust the headband for a comfortable and secure fit.
- Place the headphones over your ears, ensuring the earcups fully cover them.
- Adjust the headband by sliding the earcups up or down until they rest comfortably on your head.
- The protein PU leather earcups are designed for long-term comfort.
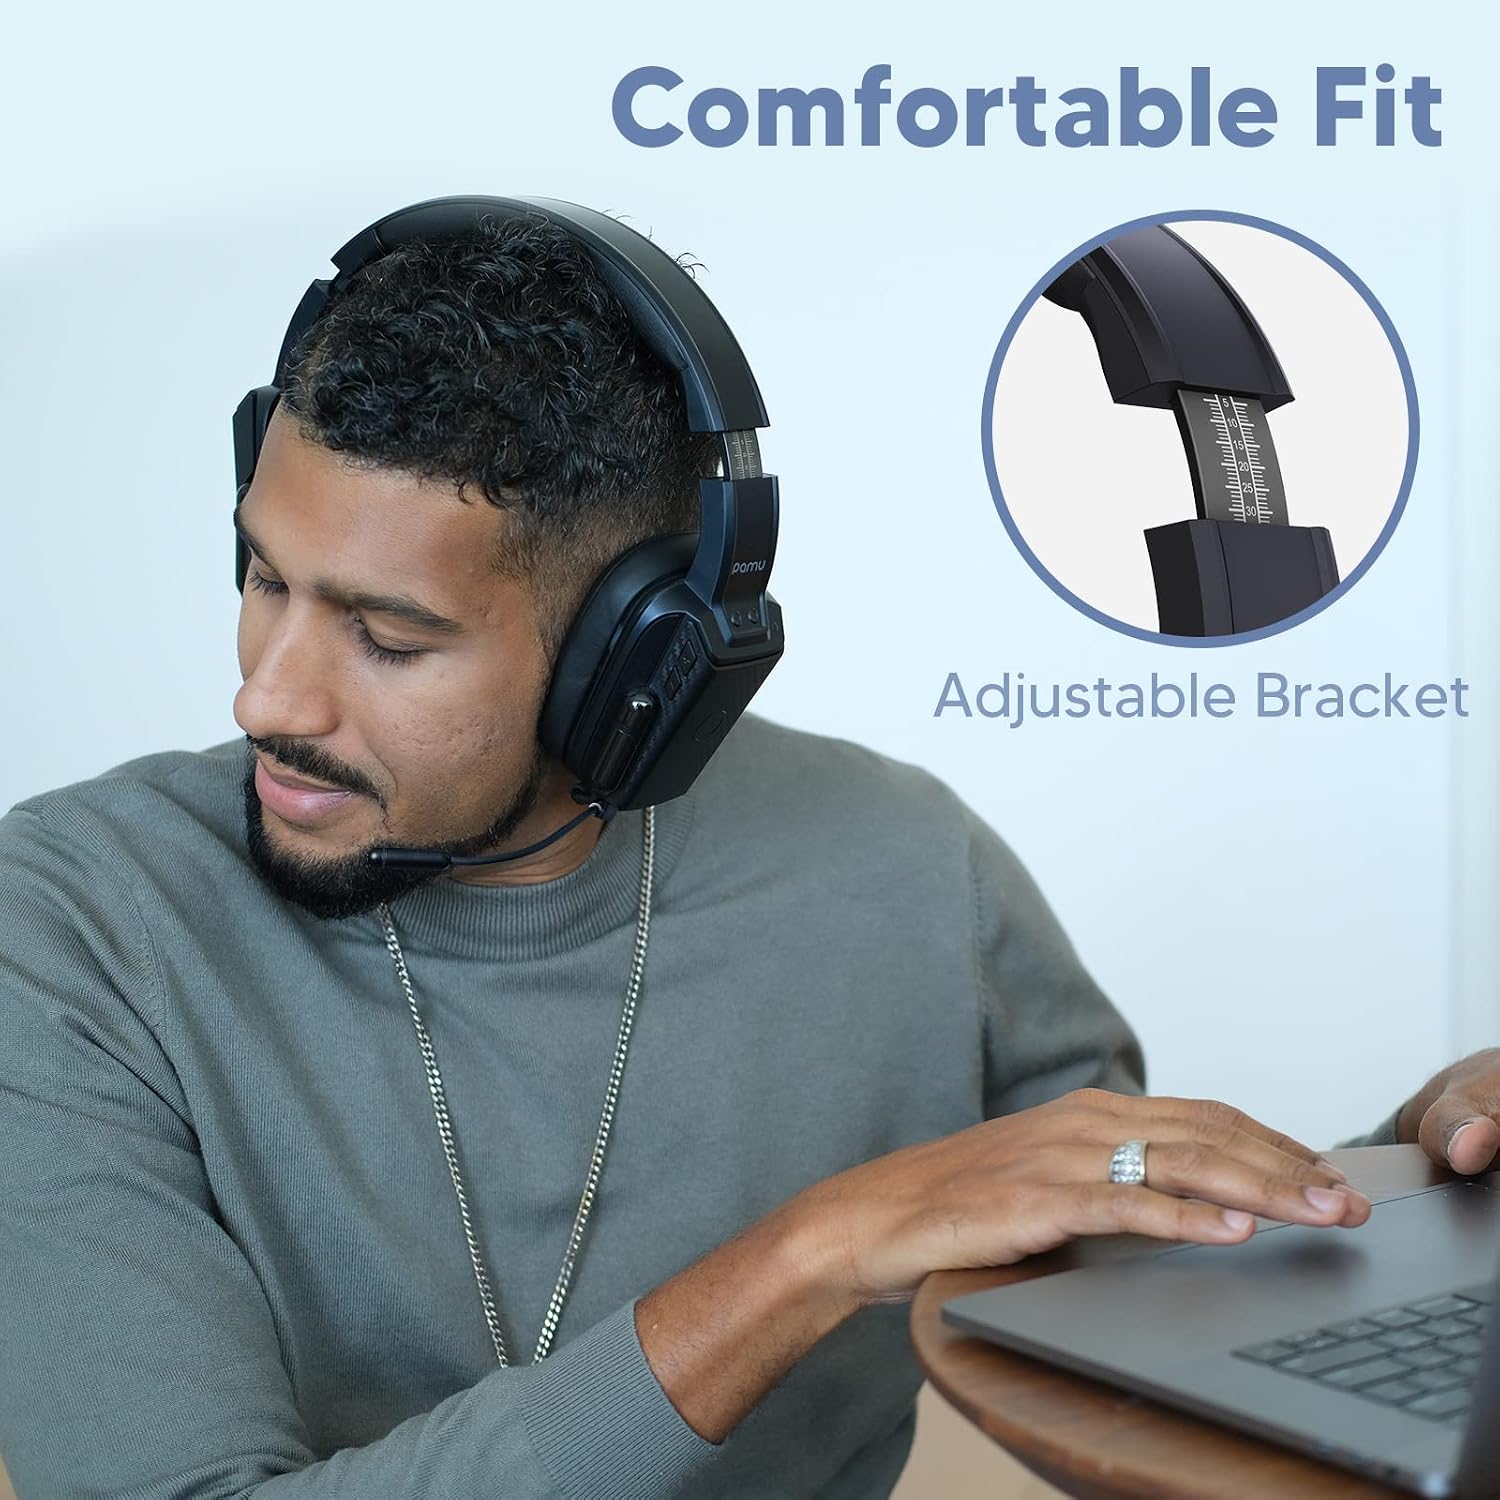
Figure 4.3: Adjustable headband for comfortable fit.
5. Operating Instructions
5.1 Smart Touch Controls
The pamuA2K headphones feature intuitive touch controls on the earcups.

Figure 5.1: Smart Touch Control functions.
| Action | Left Earcup Touch | Right Earcup Touch |
|---|---|---|
| Answer Call | Touch Once | |
| Reject Call | Touch Twice | |
| Hang Up Call | Touch Once | |
| Play/Pause Music | Touch Once | |
| Redial (Call Back) | Touch Twice | |
| Karaoke Voice Change Effect | Touch Once | |
| Karaoke Vocal Accompaniment On/Off | Touch Twice |
5.2 Karaoke Function
The pamuA2K headphones offer a unique karaoke experience with real-time sound feedback and adjustable reverb.

Figure 5.2: Karaoke Functionality.
- Real-time Sound Feedback: When the microphone is attached and karaoke function is active, you can hear your own voice as you sing, allowing for pitch adjustment.
- Reverb Control: The headphones provide four levels of reverberation: Light, Medium, High, and No Reverb. Use the designated touch control (Left Earcup, Touch Once) to cycle through these settings.
- Original Sound Elimination: To remove the original vocals from a song, use the designated touch control (Left Earcup, Touch Twice). This allows you to sing along to instrumental tracks.
5.3 Rocket Lights
The headphones feature integrated rocket lights that can display different colors.

Figure 5.3: Earcup with illuminated rocket light.
- The rocket lights activate automatically when the headphones are powered on.
- Specific controls for changing light patterns or colors may be integrated with the touch controls or automatically respond to audio. Refer to the touch control diagram for any dedicated light controls.
6. Maintenance
6.1 Cleaning
- Use a soft, dry cloth to wipe the surface of the headphones.
- For earcups, gently wipe with a slightly damp cloth and allow to air dry completely before use.
- Do not use harsh chemicals, cleaning solvents, or strong detergents.
6.2 Storage
- Store the headphones in a cool, dry place away from direct sunlight and extreme temperatures.
- Avoid placing heavy objects on the headphones.
7. Troubleshooting
| Problem | Possible Cause | Solution |
|---|---|---|
| Headphones do not power on | Low battery | Charge the headphones for at least 30 minutes. |
| Cannot pair via Bluetooth | Headphones not in pairing mode; Bluetooth disabled on device; device too far | Ensure headphones are in pairing mode (flashing blue/red). Enable Bluetooth on your device. Move device closer to headphones (within 10 meters). |
| No sound in wireless mode | Not connected; volume too low; incorrect audio output selected | Verify Bluetooth connection. Increase headphone and device volume. Ensure "pamuA2K" is selected as the audio output on your device. |
| No sound in wired mode | 3.5mm cable not fully inserted; cable faulty; device volume too low | Ensure 3.5mm cable is securely connected at both ends. Try a different 3.5mm cable. Increase device volume. |
| Microphone not working | Microphone not attached correctly; microphone muted; incorrect input device selected | Ensure the detachable microphone is securely attached. Check if the microphone is muted on the headphones or your device. Select "pamuA2K" as the input device in your device's sound settings. |
8. Specifications
| Feature | Detail |
|---|---|
| Model Name | pamuA2K |
| Connectivity Technology | Wireless (Bluetooth), Wired (3.5mm Audio) |
| Wireless Communication | Bluetooth V5.0 |
| Battery Capacity | 500mAh |
| Playtime | Up to 15 hours |
| Charging Time | Approximately 2 hours |
| Control Method | Touch, Media Control |
| Ear Placement | Over Ear |
| Material | Acrylonitrile Butadiene Styrene (ABS), Protein PU Leather |
| Special Features | Built-In Voice Assistant, Lightweight, Noise Cancellation, Karaoke Function, Detachable Microphone, Rocket Lights |
| Water Resistance Level | Waterproof |
9. Warranty and Support
pamu products are designed and manufactured to the highest quality standards. For warranty information, please refer to the warranty card included with your purchase or visit the official pamu website. For technical support or customer service inquiries, please contact pamu customer support through their official channels.


