1. Safety Instructions
Always read and understand all safety warnings and instructions before operating this product. Failure to follow the warnings and instructions may result in electric shock, fire, and/or serious injury.
- Personal Safety: Always wear eye protection, long pants, and sturdy footwear. Do not operate the strimmer barefoot or in open-toed sandals. Keep children and bystanders at a safe distance (at least 15 meters/50 feet).
- Electrical Safety: Use only the charger supplied by the manufacturer to recharge the battery. Do not expose the battery pack or tool to fire or excessive temperature.
- Work Area Safety: Keep the work area clean and well-lit. Remove all objects such as rocks, broken glass, nails, wire, or string that can be thrown or become entangled in the cutting line or blade.
- Before Use: Inspect the strimmer for any damaged parts. Ensure all guards and handles are securely attached. Never operate the strimmer without the guard in place.
- During Use: Hold the strimmer firmly with both hands. Avoid operating in wet conditions. Do not overreach. Maintain proper footing and balance at all times.
- After Use: Disconnect the battery pack before cleaning, making adjustments, or storing the tool.
2. Product Overview
The AMYYTL Cordless Grass Strimmer is designed for efficient lawn and garden maintenance. It features a powerful motor, a rechargeable battery, and an adjustable design for comfortable use. The strimmer comes with three types of cutting heads for various tasks.
2.1 Components Diagram

Image Description: An annotated diagram of the cordless grass strimmer, highlighting key components. These include the battery, dual start switch, adjustable auxiliary handle, length telescopic buckle, stainless steel rod, head rotation button, grass blocking board, and blade.
2.2 Cutting Heads
The strimmer includes three distinct cutting heads, each suited for specific applications:

Image Description: A visual representation of the three included cutter heads. From top to bottom: a plastic cutter head suitable for mowing lawns, a stainless steel cutter head for complex terrain and weeds, and an alloy saw blade for cutting crops, shrubs, and thicker branches.
- Plastic Blade: Ideal for soft grass mowing and light trimming.
- Stainless Steel Metal Blade: Suitable for mowing lawns, weeds, and small shrubs.
- Manganese Steel Circular Saw Blade: Designed for cutting thicker branches, crops, and dense shrubs.
3. Setup and Assembly
The strimmer requires some assembly before first use. Follow these steps carefully:
- Attach the Guard: Securely fasten the grass blocking board (protective guard) to the strimmer head using the provided hardware. Ensure it is firmly in place to prevent debris from being thrown.
- Install Auxiliary Handle: Slide the adjustable auxiliary handle onto the shaft and tighten it to a comfortable position. The handle should allow for a balanced grip.
- Select and Install Blade: Choose the appropriate cutting head for your task. Align the blade with the mounting point on the strimmer head and secure it using the provided tools. Ensure the blade is tightly fastened.
- Adjust Shaft Length: Use the length telescopic buckle to adjust the shaft between 90cm and 130cm for ergonomic operation. Ensure it is locked securely at the desired length.
- Charge and Insert Battery: Fully charge the 42V/9000mA lithium-ion battery before first use. Once charged, insert the battery pack into the designated slot on the strimmer handle until it clicks into place.
4. Operation
Once assembled and the battery is charged, the strimmer is ready for use. Always ensure your work area is clear of obstacles and bystanders.
4.1 Starting and Stopping
- To Start: Press and hold the safety lock button (part of the dual start switch) with one hand, then squeeze the trigger switch with the other hand. The motor will start.
- To Stop: Release the trigger switch. The motor will stop.
4.2 Adjusting the Strimmer
- Shaft Length: Adjust the telescopic shaft as described in the Setup section to match your height and ensure comfortable operation.
- Head Rotation: The strimmer head can rotate 90 degrees. Use the head rotation button to adjust the angle for edging or reaching difficult areas.
4.3 Trimming Techniques
- General Trimming: Hold the strimmer at a slight angle to the ground and swing it from side to side in an arc.
- Edging: Rotate the head 90 degrees and walk along the edge of your lawn, guiding the blade along the desired line.
- Around Obstacles: Use caution when trimming around trees, fences, or other obstacles. The protective guard helps prevent damage to the blade and surrounding items.
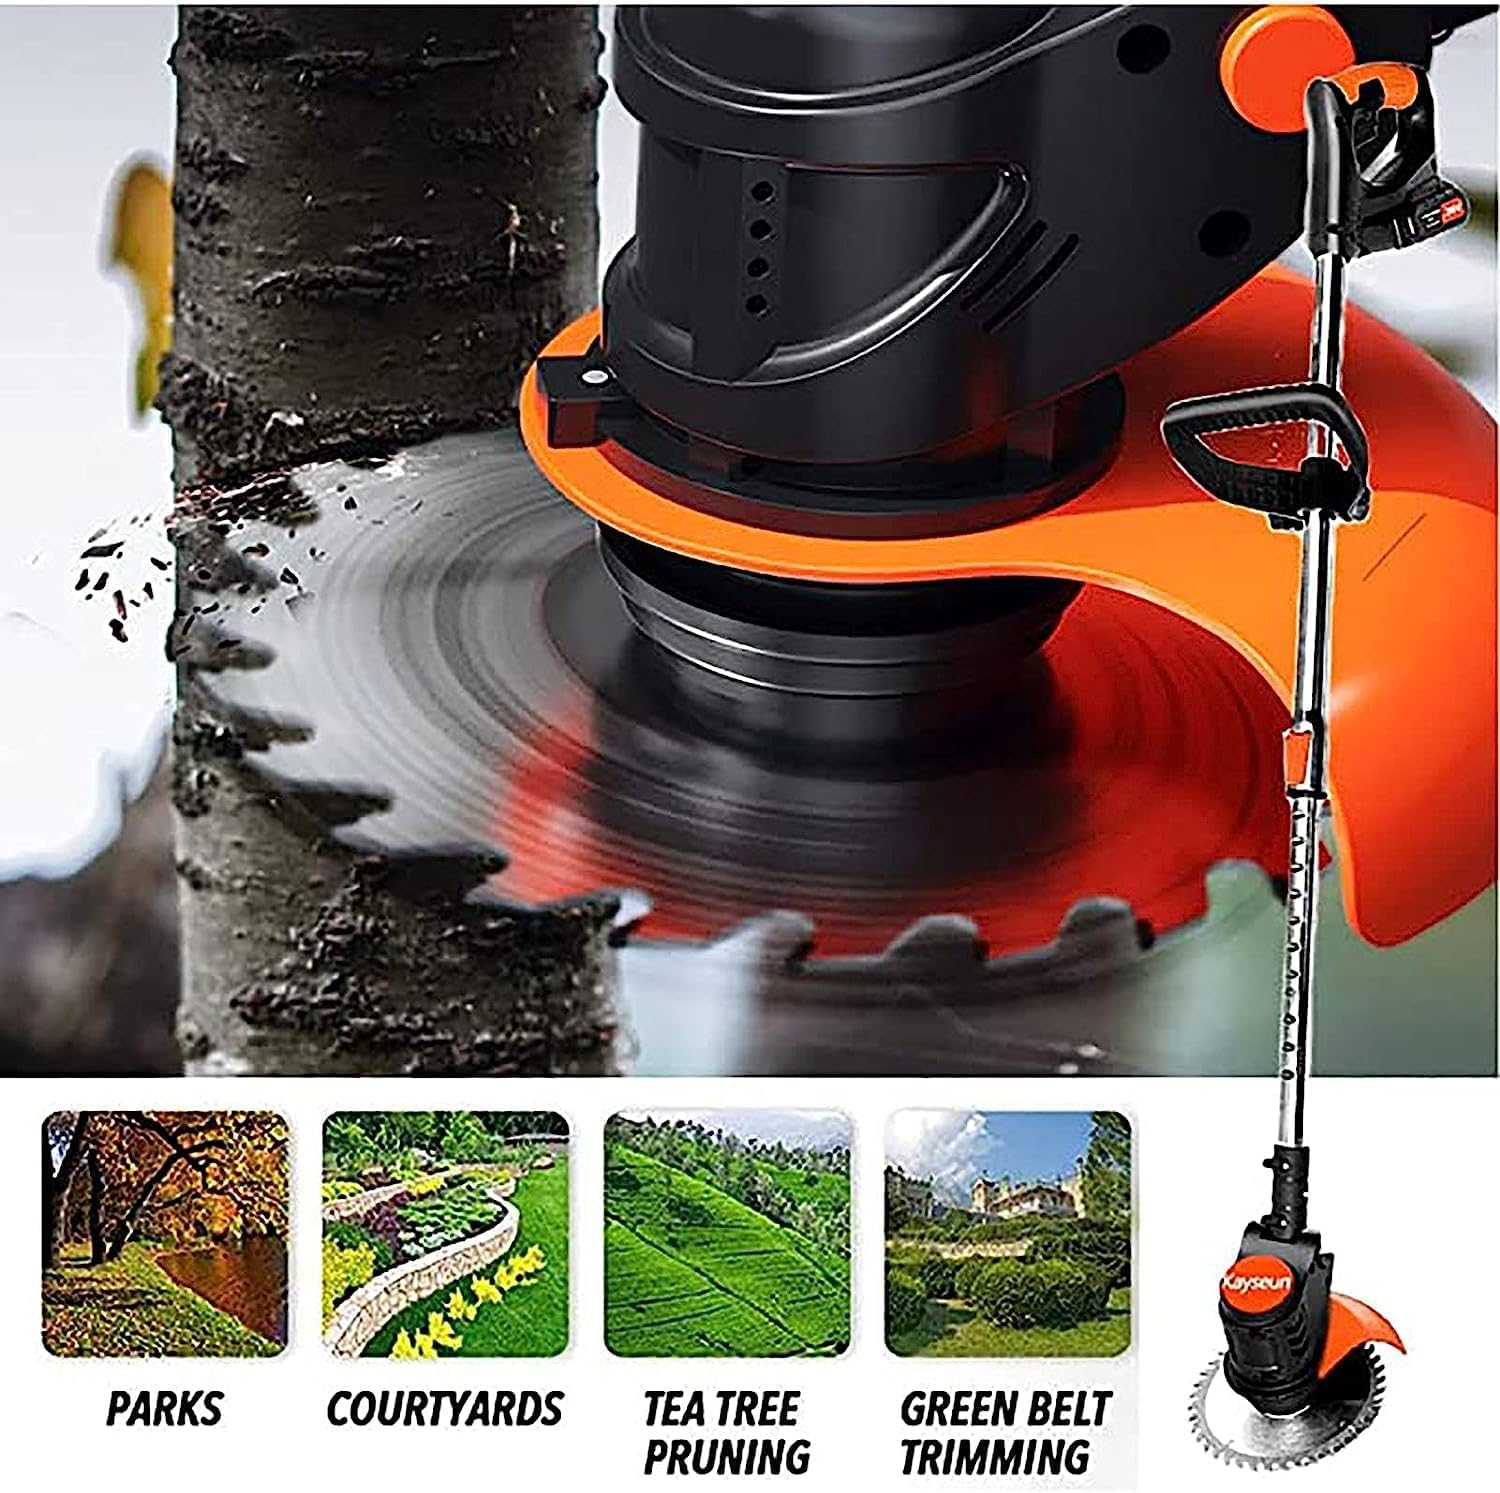
Image Description: A composite image showing the grass strimmer in action across different environments, including parks, courtyards, tea tree pruning, and green belt trimming, demonstrating its versatility.
5. Maintenance
Regular maintenance ensures the longevity and optimal performance of your strimmer. Always disconnect the battery before performing any maintenance.
- Cleaning: After each use, clean the strimmer body, guard, and cutting head. Remove any grass clippings, dirt, or debris. Use a damp cloth; do not use harsh chemicals or abrasive cleaners.
- Blade Inspection and Replacement: Regularly inspect the cutting blades for wear, damage, or dullness. Replace worn or damaged blades immediately. Refer to the blade installation steps in the Setup section for replacement.
- Battery Care: Store the battery in a cool, dry place away from direct sunlight and extreme temperatures. Do not store the battery in a completely discharged state for extended periods.
- Storage: Store the strimmer in a dry, secure location out of reach of children.
6. Troubleshooting
If you encounter issues with your strimmer, refer to the following common problems and solutions:
| Problem | Possible Cause | Solution |
|---|---|---|
| Strimmer does not start | Battery not charged or improperly inserted; Safety lock not engaged; Faulty switch | Ensure battery is fully charged and correctly inserted. Press safety lock button before trigger. If problem persists, contact support. |
| Poor cutting performance | Dull or damaged blade; Incorrect blade for task; Excessive grass/weeds | Replace blade. Use appropriate blade type. Do not attempt to cut excessively thick material. |
| Excessive vibration | Damaged or unbalanced blade; Loose components | Inspect and replace blade if damaged. Check all fasteners for tightness. |
| Battery drains quickly | Battery not fully charged; Old battery; Operating in very dense material | Ensure battery is fully charged. Consider replacing old batteries. Avoid prolonged cutting of very dense material. |
7. Specifications
- Brand: AMYYTL
- Model: B0D3X2X7KP
- Power Source: Battery Powered, Cordless Electric
- Battery Type: 42V/9000mA Lithium-ion (Rechargeable)
- Motor Speed (Idle): 8000 rpm
- Item Weight: 8 Kilograms (17.64 pounds)
- Adjustable Shaft Height: 90cm - 130cm
- Head Rotation: 90 degrees
- Assembly Required: Yes
8. Warranty and Support
For warranty information, technical support, or to purchase replacement parts, please contact the manufacturer or your retailer directly. Keep your purchase receipt as proof of purchase.
Please refer to the contact information provided with your product packaging or visit the official AMYYTL website for further assistance.