
Simmons SPR3932
Simmons PRO RIMFIRE 3-9X32MM RIFLESCOPE User Manual
Model: SPR3932
Introduction
This manual provides detailed instructions for the proper use, setup, operation, and maintenance of your Simmons PRO RIMFIRE 3-9X32MM Riflescope. Please read this manual thoroughly before using the product to ensure optimal performance and safety.

Figure 1: Main view of the Simmons PRO RIMFIRE 3-9X32MM Riflescope, showcasing its compact design and integrated mounting rings.
Product Overview
The Simmons PRO RIMFIRE 3-9X32MM Riflescope is engineered for precision and durability in rimfire applications. It features an all-glass optical system with fully coated lenses, designed to provide crisp images even in low light conditions. Its robust construction is IPX7 waterproof, fog-proof, and shockproof, ensuring reliable performance across various outdoor environments. The riflescope incorporates a one-inch one-piece aluminum main tube, a 50-yard rimfire-specific parallax setting, and a Simmons .22 Drop Zone reticle for enhanced accuracy. It is supplied with protective lens covers and one-inch aluminum weaver-style rings, ready for immediate installation.

Figure 2: Front view of the riflescope, highlighting the objective lens and the "PRO RIMFIRE" branding.
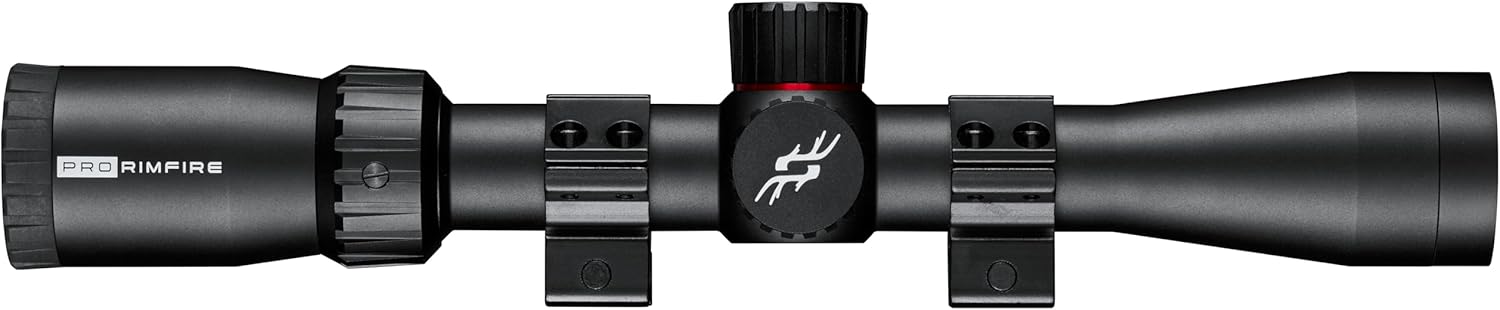
Figure 3: Side view of the riflescope, showing the capped windage and elevation turrets and the Simmons logo.
Setup and Installation
Mounting the Riflescope
The Simmons PRO RIMFIRE riflescope is supplied with one-inch aluminum weaver-style rings for mounting. Ensure your rifle is equipped with a compatible Weaver or Picatinny rail system.
- Secure the Rings: Attach the bottom halves of the weaver-style rings to your rifle's rail. Position them to provide stable support for the riflescope, avoiding interference with the turrets or magnification ring. Tighten the rail clamps securely according to your rifle's specifications.
- Place the Riflescope: Carefully place the riflescope into the bottom halves of the rings, ensuring it rests evenly.
- Attach Top Halves: Place the top halves of the rings over the riflescope. Insert the screws and hand-tighten them initially.
- Adjust Eye Relief: Before fully tightening the ring screws, adjust the riflescope's position forward or backward to achieve optimal eye relief. This is the critical distance between your eye and the eyepiece that provides a full, clear field of view without vignetting.
- Level the Reticle: Rotate the riflescope within the rings until the reticle is perfectly level with the rifle's bore axis. This is crucial for accurate windage adjustments.
- Final Tightening: Once eye relief and reticle level are correctly set, tighten the ring screws evenly and securely in a cross-pattern. Avoid overtightening, which can damage the riflescope tube.
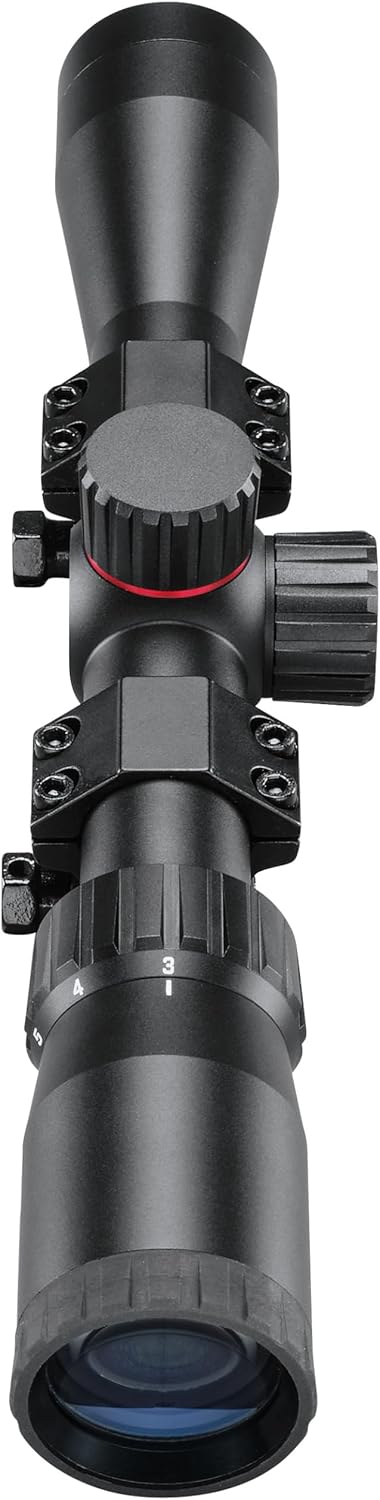
Figure 4: Rear view of the riflescope, illustrating the eyepiece and the textured magnification adjustment ring.
Operating Instructions
Focusing the Eyepiece
To ensure a sharp and clear reticle image, follow these steps:
- Point the riflescope at a plain, bright background, such as a clear sky or a blank wall.
- Look through the riflescope and quickly glance away.
- Look back through the riflescope and immediately adjust the eyepiece (the ring closest to your eye) by rotating it until the reticle appears sharp and distinct.
- Repeat this process several times until the reticle is instantly clear and in sharp focus the moment you look through the scope.
Adjusting Magnification
The PRO RIMFIRE riflescope features a variable magnification range from 3x to 9x. To change the magnification, rotate the textured magnification power change ring, located just forward of the eyepiece. The numerical markings on the ring indicate the current magnification setting. Rotate clockwise to increase magnification and counter-clockwise to decrease it.
Windage and Elevation Adjustments
The riflescope is equipped with capped finger-adjustable windage and elevation turrets. These turrets allow for precise adjustments to the point of impact of your shots.
- Elevation Turret: This turret is located on top of the riflescope. Turning it clockwise (marked "DOWN") will move the point of impact downwards. Turning it counter-clockwise (marked "UP") will move the point of impact upwards.
- Windage Turret: This turret is located on the right side of the riflescope. Turning it clockwise (marked "R") will move the point of impact to the right. Turning it counter-clockwise (marked "L") will move the point of impact to the left.
Each audible click of the turret corresponds to a specific change in the point of impact at a given distance. Refer to the markings on your turrets for the precise click values (e.g., 1/4 MOA per click).
Parallax Adjustment
This riflescope features a fixed 50-yard rimfire-specific parallax setting. Parallax is the apparent shift in the reticle's position relative to the target when your eye moves off the optical axis. The 50-yard fixed parallax is optimized to minimize this error at typical rimfire shooting distances, providing a clear and consistent sight picture for targets at or near 50 yards.
Maintenance and Care
Adhering to proper maintenance procedures will ensure the longevity, optical clarity, and reliable performance of your riflescope.
- Cleaning Lenses: Begin by using a soft, clean lens brush or compressed air to remove any loose dust or debris from the lens surfaces. For smudges, fingerprints, or more stubborn dirt, apply a small amount of lens cleaning solution specifically designed for optical lenses onto a clean microfiber cloth. Gently wipe the lenses in a circular motion from the center outwards. Avoid using harsh chemicals, paper towels, or abrasive materials, as these can scratch the lens coatings.
- Cleaning Body: Wipe the exterior body of the riflescope with a soft, damp cloth to remove dirt, dust, or fingerprints. Ensure the riflescope is thoroughly dried afterward.
- Storage: Always store the riflescope in a cool, dry place, away from direct sunlight, high humidity, and extreme temperature fluctuations. Utilize the included lens covers to protect the objective and eyepiece lenses from dust, scratches, and impacts when the riflescope is not in use.
- Waterproof/Fog-proof: While the riflescope boasts IPX7 waterproof and fog-proof construction, it is designed to withstand incidental exposure to water, not prolonged submersion. If the riflescope becomes wet, wipe it dry with a clean cloth as soon as practicable.
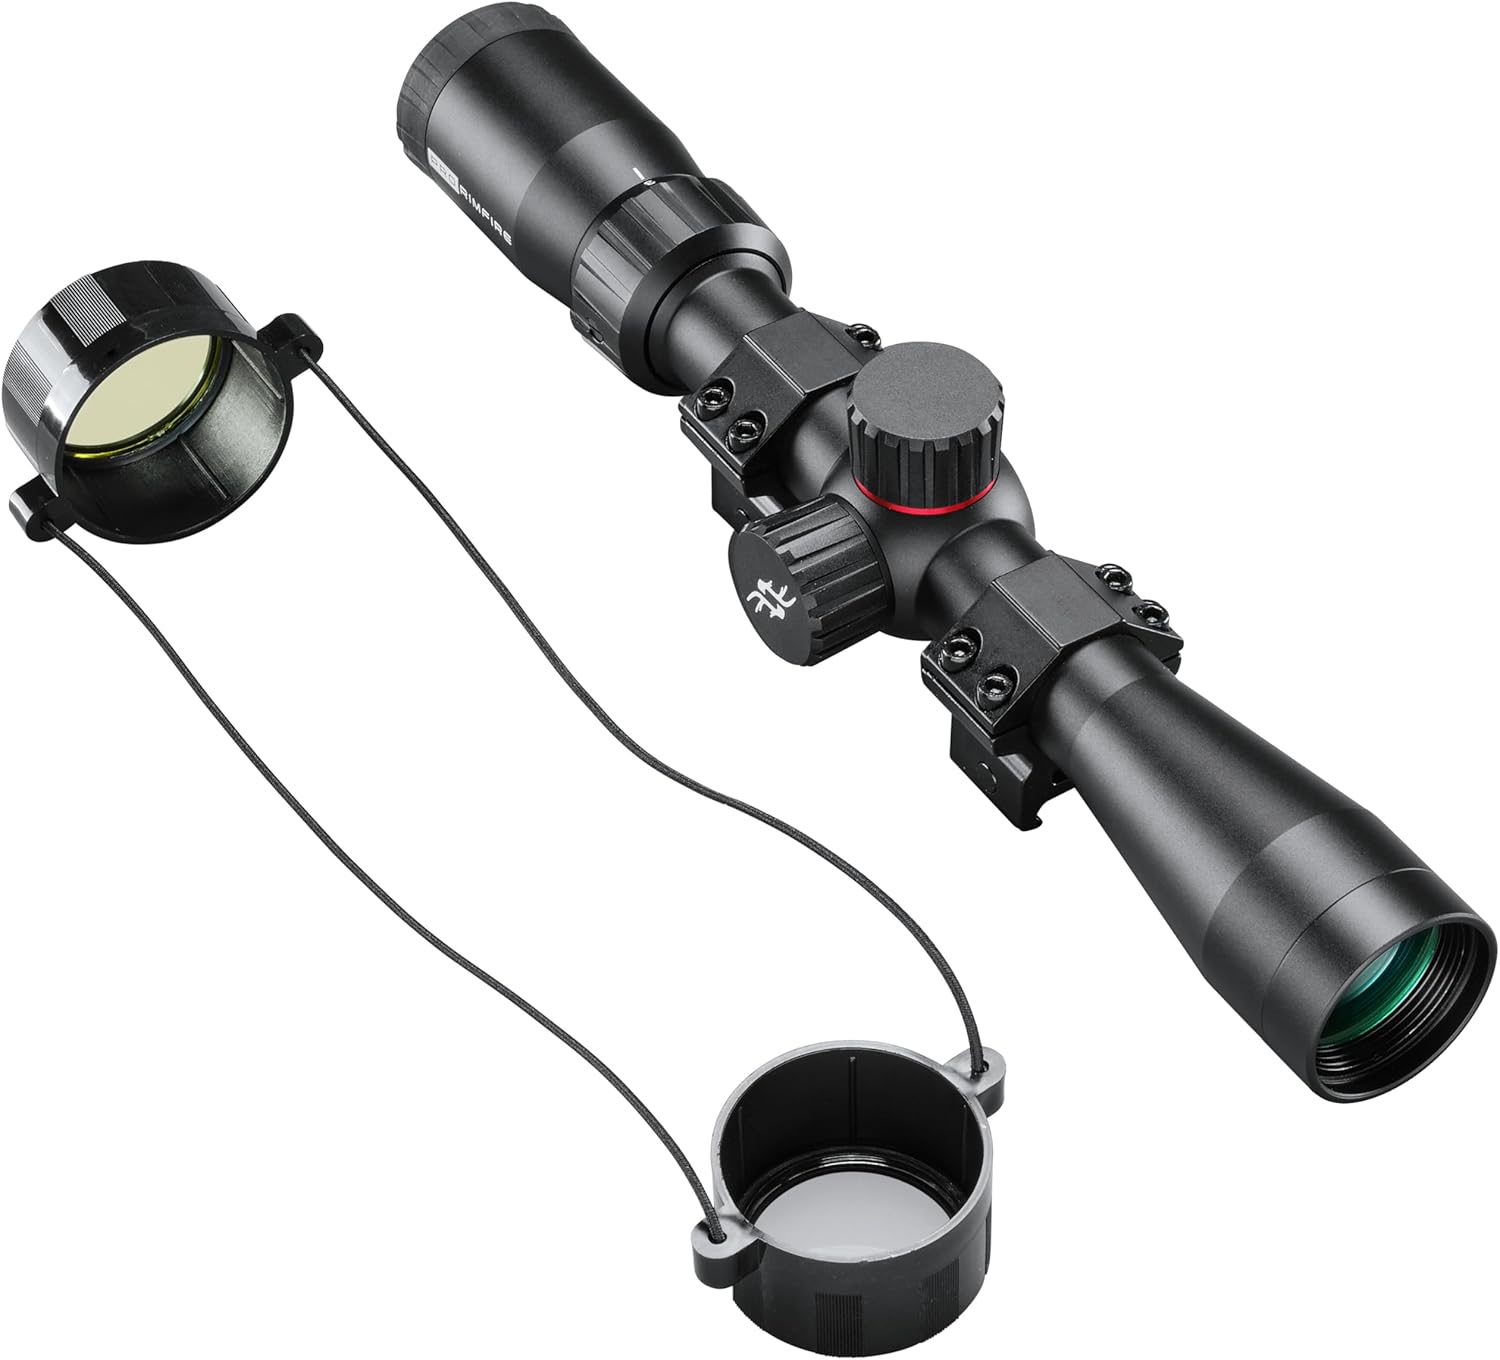
Figure 5: The riflescope displayed with its protective lens covers, emphasizing their importance for safeguarding the optical elements during storage and transport.
Troubleshooting
This section addresses common issues you might encounter with your riflescope and provides potential solutions.
| Problem | Possible Cause | Solution |
|---|---|---|
| Blurred image or reticle | Improper eyepiece focus; dirty lenses; incorrect eye relief. | Adjust eyepiece focus (refer to Operating Instructions); clean lenses with appropriate cleaning materials; adjust scope position for correct eye relief. |
| Point of impact shifts inconsistently | Loose mounting rings or base; scope not properly zeroed; excessive recoil or impact. | Check and securely tighten all mounting rings and base screws; re-zero the riflescope; ensure proper rifle handling and mounting technique. |
| Internal fogging of the scope | Rapid or extreme temperature changes; compromise of internal seals (rare). | Allow the scope to gradually acclimate to ambient temperature. If fogging persists or is severe, it may indicate a seal issue; contact customer support for warranty service. |
| Difficulty adjusting turrets (stiff or stuck) | Accumulation of dirt or debris in the turret mechanism; overtightened turret caps. | Ensure turret caps are not overtightened. Gently clean around the turrets to remove any visible debris. If the issue persists, do not force the adjustment; contact customer support. |
Specifications
Detailed technical specifications for the Simmons PRO RIMFIRE 3-9X32MM Riflescope.
| Feature | Detail |
|---|---|
| Brand | Simmons |
| Model Name | PRO RIMFIRE 3-9X32MM RIFLESCOPE |
| Part Number | SPR3932 |
| Magnification Range | 3x - 9x |
| Objective Lens Diameter | 32 mm |
| Material | Aluminum |
| Color | Black |
| Item Weight | 16 Ounces (0.45 kg) |
| Mounting Type | Weaver Mount (rings included) |
| Reticle Type | .22 Drop Zone |
| Parallax Setting | Fixed at 50 yards (rimfire-specific) |
| Waterproof Rating | IPX7 (submersible up to 1 meter for 30 minutes) |
| Fog-proof | Yes (Nitrogen purged) |
| Shockproof | Yes |
| Optical System | All-glass with fully coated lenses |
| Included Components | Riflescope, Lens Covers, 1-inch Aluminum Weaver-style Rings |
| UPC | 045618011147 |
Warranty and Support
Warranty Information
The Simmons PRO RIMFIRE 3-9X32MM Riflescope is backed by a 2-Year Manufacturer Warranty. This warranty covers defects in materials and workmanship under normal use from the date of purchase. Please retain your original proof of purchase for all warranty claims.
For comprehensive details regarding warranty terms, conditions, and limitations, please refer to the official Simmons website or contact their customer service department directly.
Customer Support
Should you encounter any issues not addressed in the troubleshooting section, or require further assistance with your riflescope, please contact Simmons customer support. You can find contact information, frequently asked questions (FAQs), and additional product resources on the official Simmons brand page or their dedicated support channels.
Important: Unauthorized disassembly or attempts to repair the riflescope by non-certified personnel may void the manufacturer's warranty.
Related documentsSPR3932


Ask a question about this manual
Ask about setup, troubleshooting, compatibility, parts, safety, or missing instructions. Manuals+ will review the question and use this page’s manual context to help answer it.