1. Introduction
The Radioddity DB50 is a high-power dual-band mobile radio transceiver designed for amateur radio enthusiasts and professional users requiring reliable long-distance communication. Featuring 50W output power, a detachable front panel for flexible installation, dual-band/dual-display/dual-watch capabilities, and an extensive 758-channel capacity, the DB50 offers versatile and efficient operation. This manual provides essential information for setting up, operating, and maintaining your DB50 transceiver.
2. Package Contents
Please verify that all items listed below are included in your package:
- 1 x Radioddity DB50 Transceiver Unit
- 1 x Microphone (with DTMF Keyboard)
- 1 x Microphone Hanger
- 1 x Programming Cable
- 1 x Power Cable with Spare Fuses
- 1 x Mounting Bracket
- Installation Kits (Adjusting Screws, Black Screws (M4 x 8mm), Tapping Screws (M5 x 8mm), Pads)

Figure 2.1: Complete package contents of the Radioddity DB50.
3. Product Overview
The Radioddity DB50 is engineered for robust performance and user convenience. Key features include:
- 50W High Power Output: Ensures extended transmission range for clear and reliable communication.
- Detachable Front Panel: Allows for flexible installation in vehicles, optimizing visibility and control.
- Dual-Band, Dual Display, Dual Watch: Enables simultaneous operation on two frequencies with two displays for monitoring multiple channels.
- 758 Channel Capacity: Provides extensive options for frequency allocation and management, supporting both VFO and preset channel modes.
- Clear Sound: Delivers superior audio quality for understandable communications in various conditions.
- Chirp Programmable: Simplifies radio configuration using Chirp software.
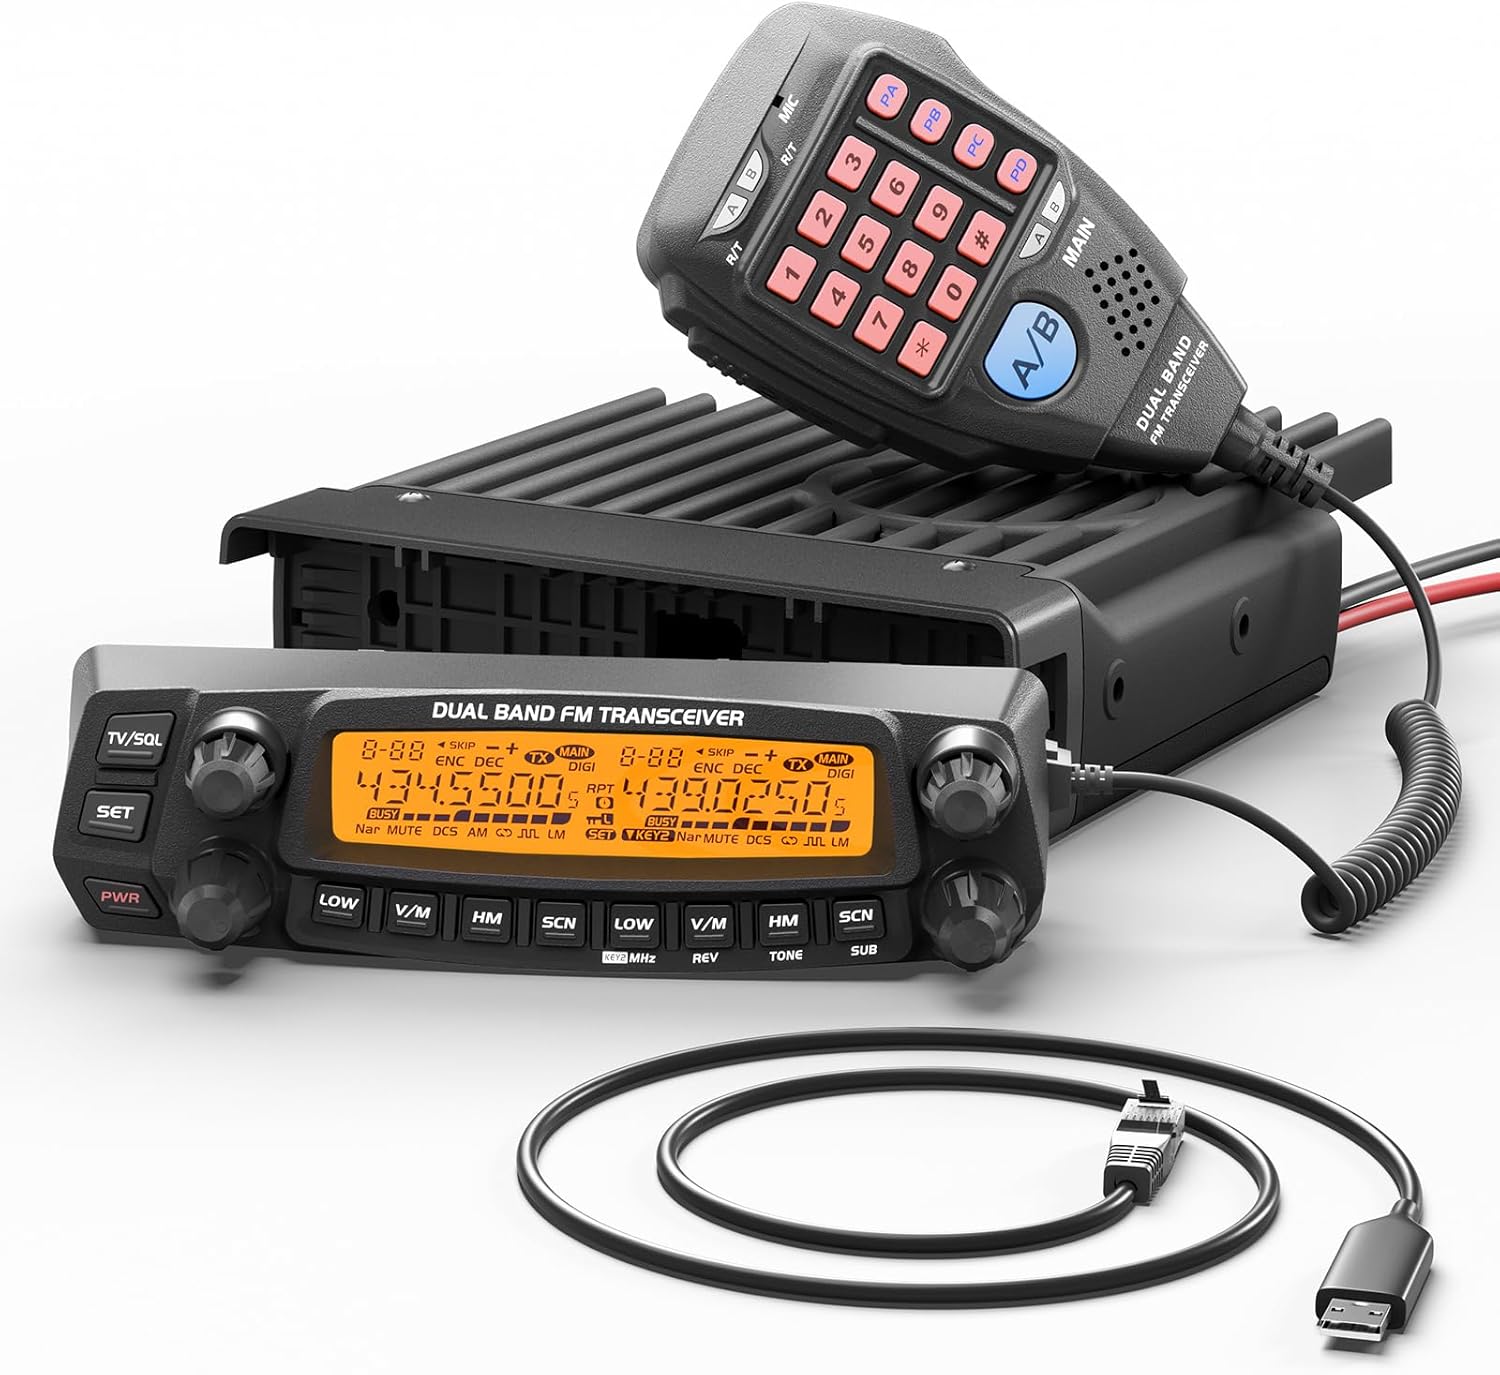
Figure 3.1: Radioddity DB50 Transceiver with its components.
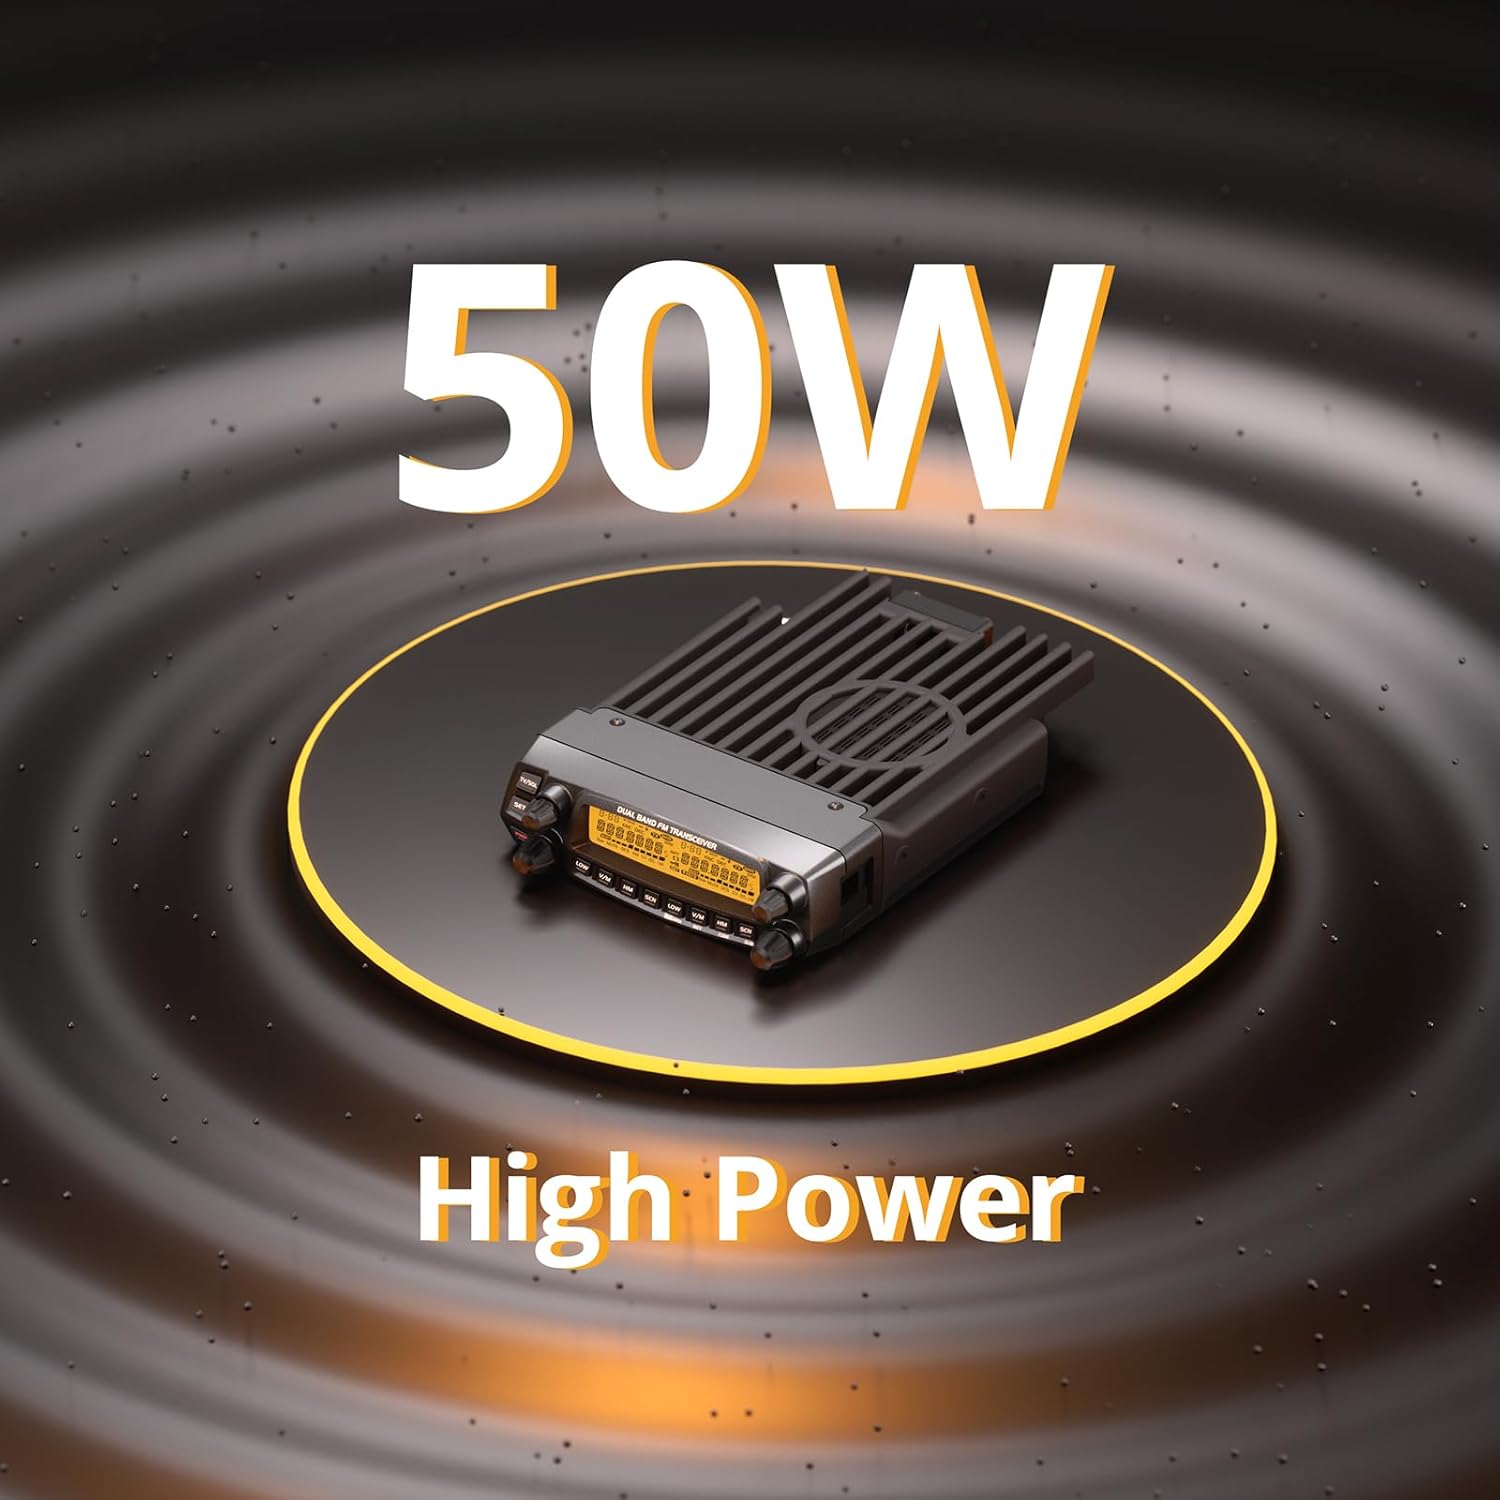
Figure 3.2: The DB50's 50W high power capability.
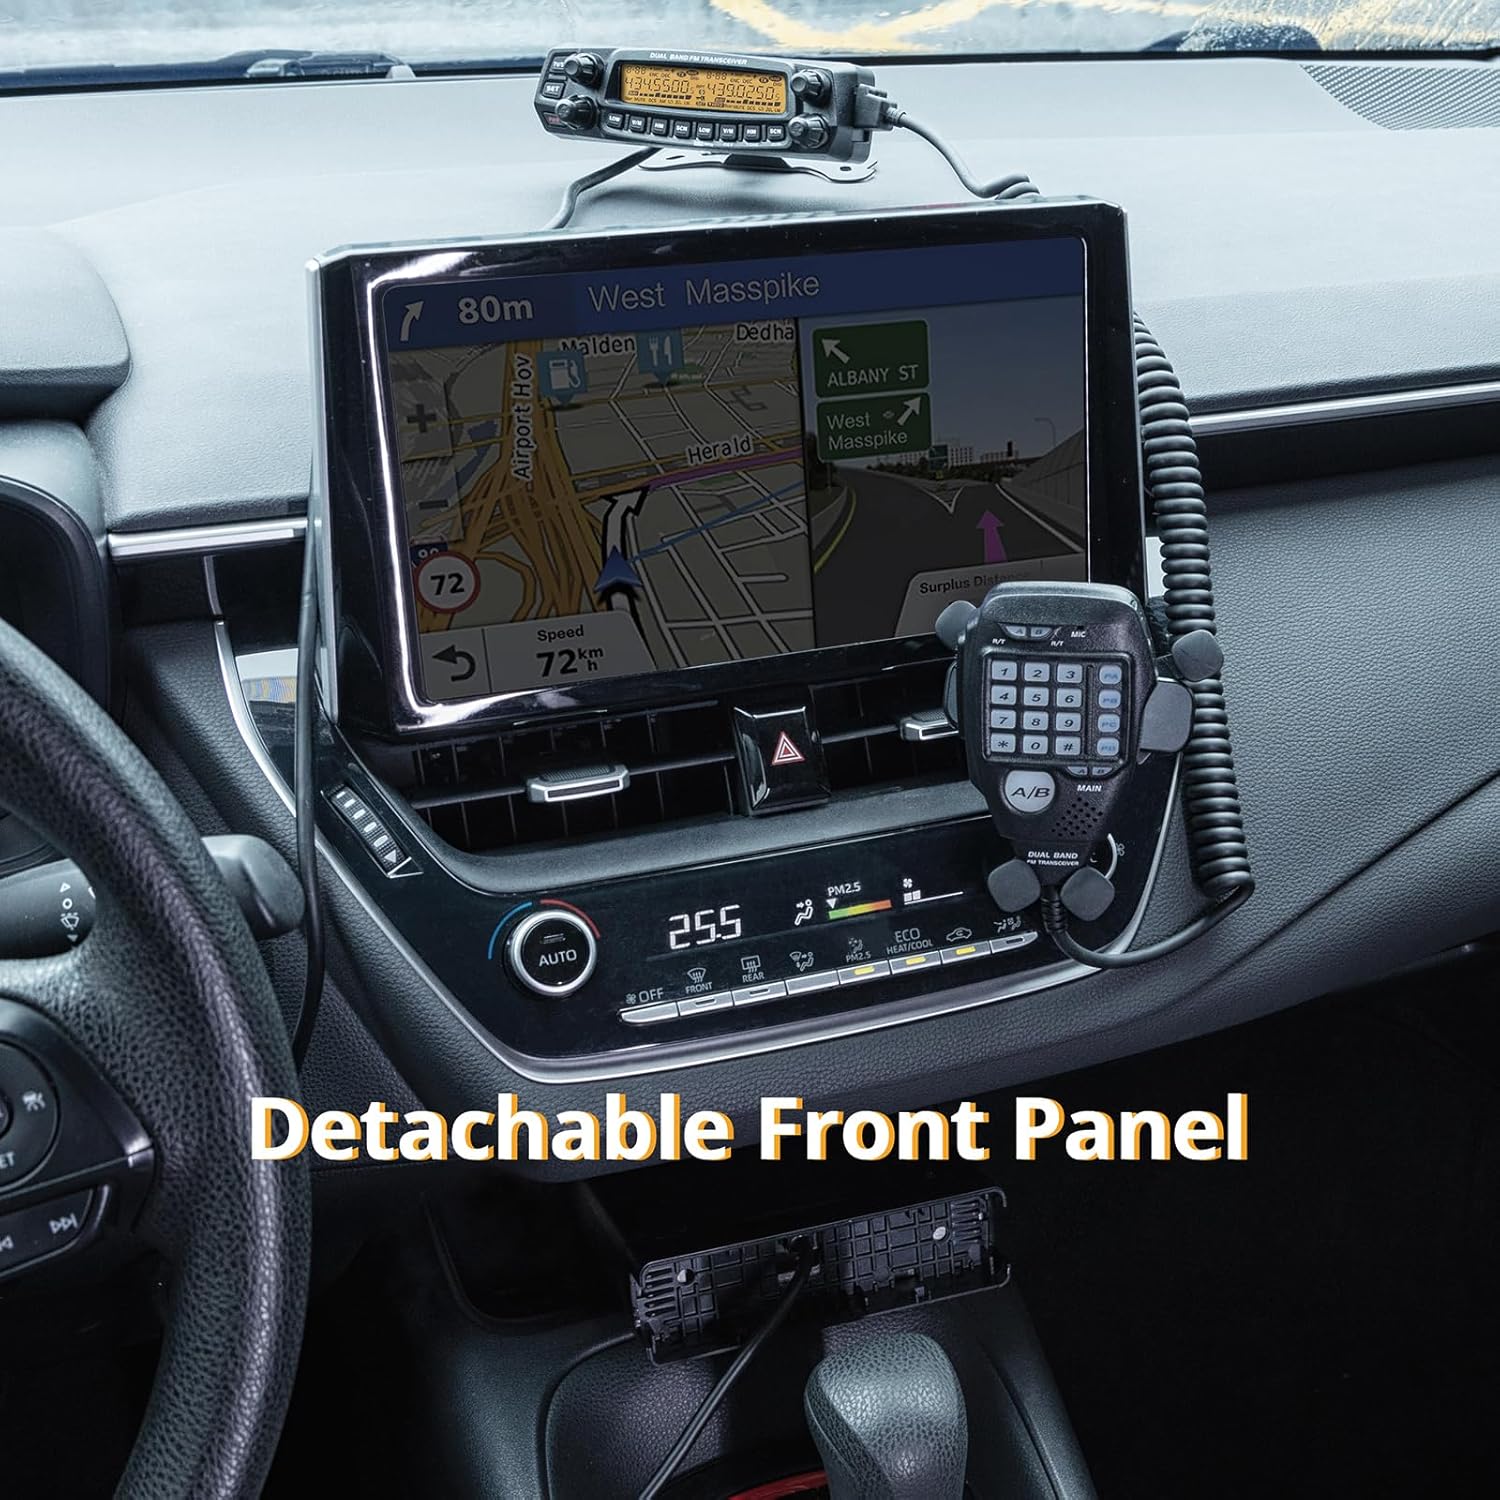
Figure 3.3: Detachable front panel installed in a vehicle for convenient access.
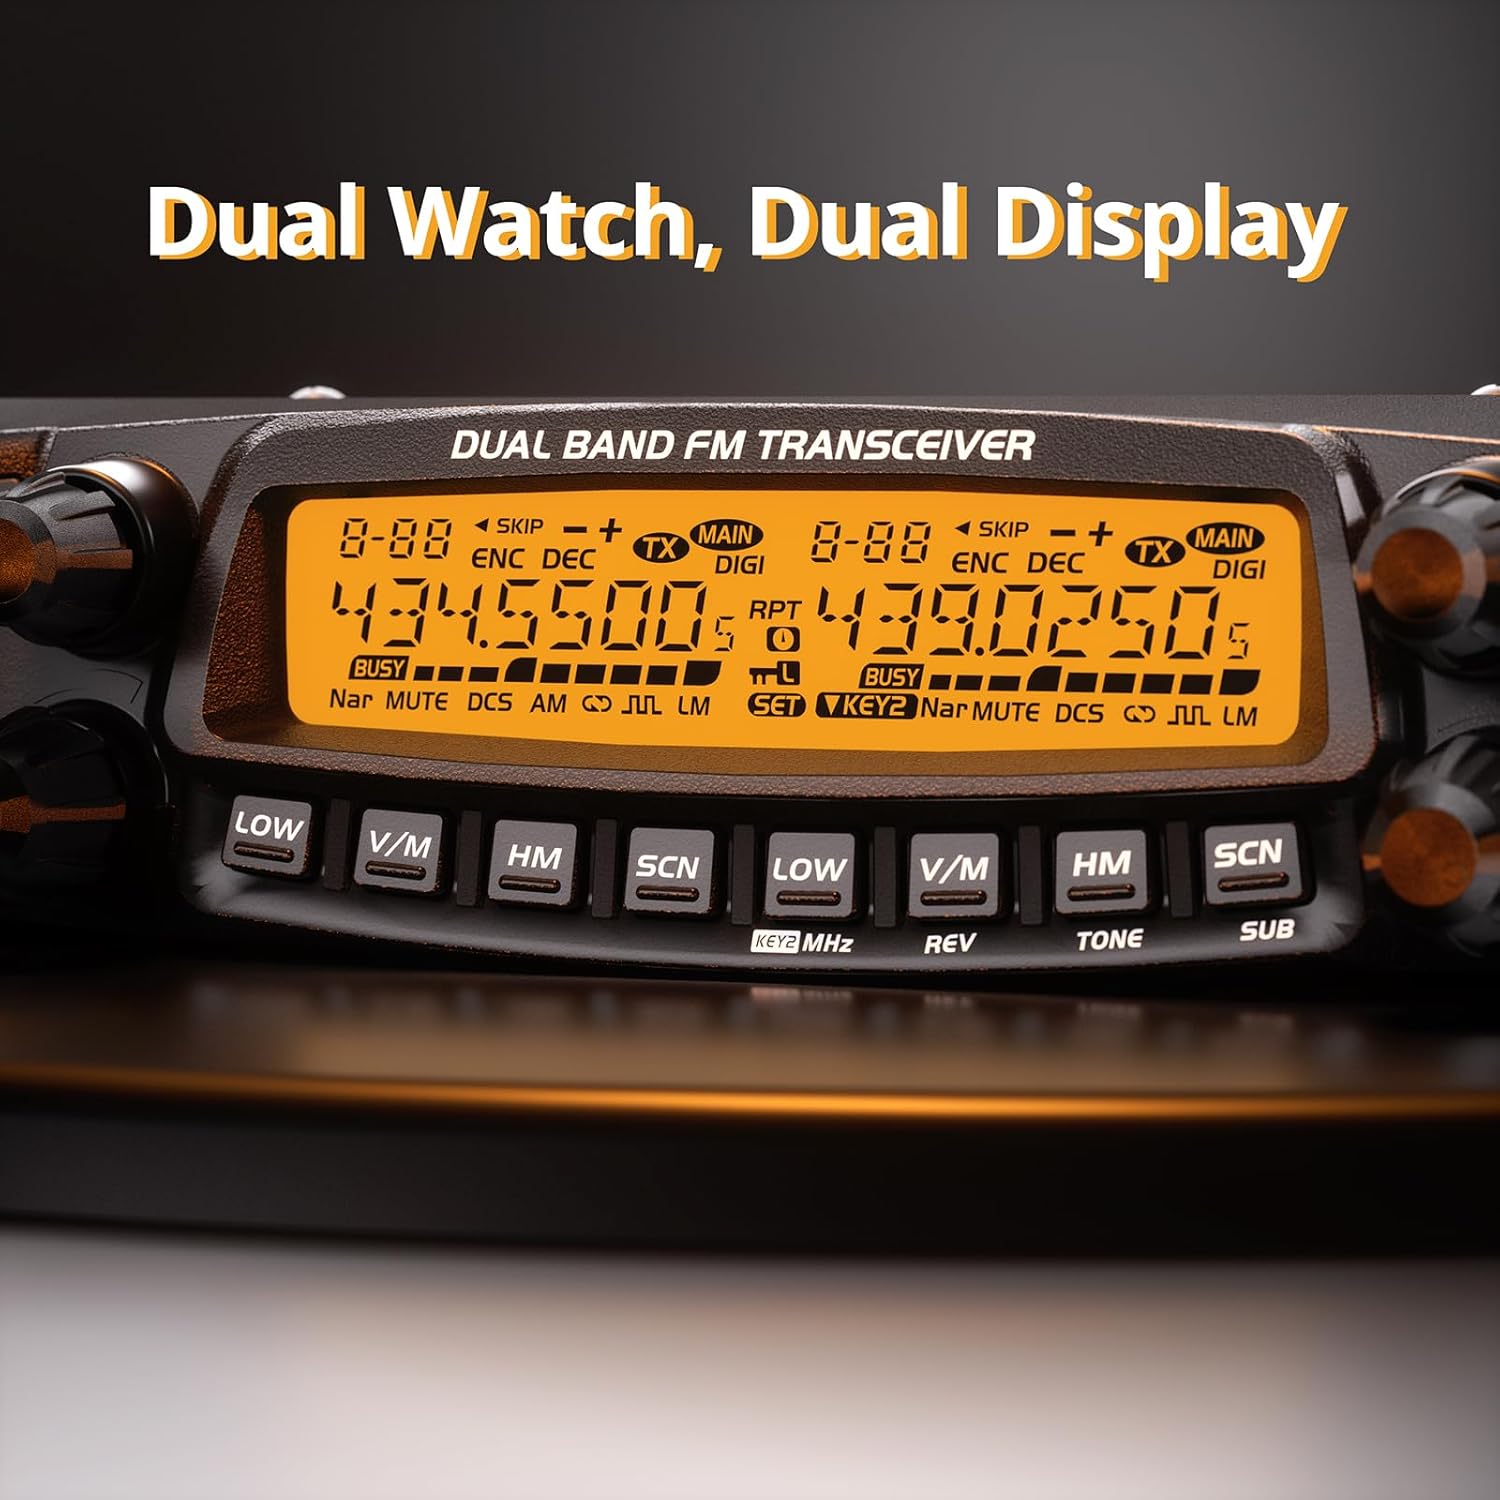
Figure 3.4: Dual Watch and Dual Display functionality.
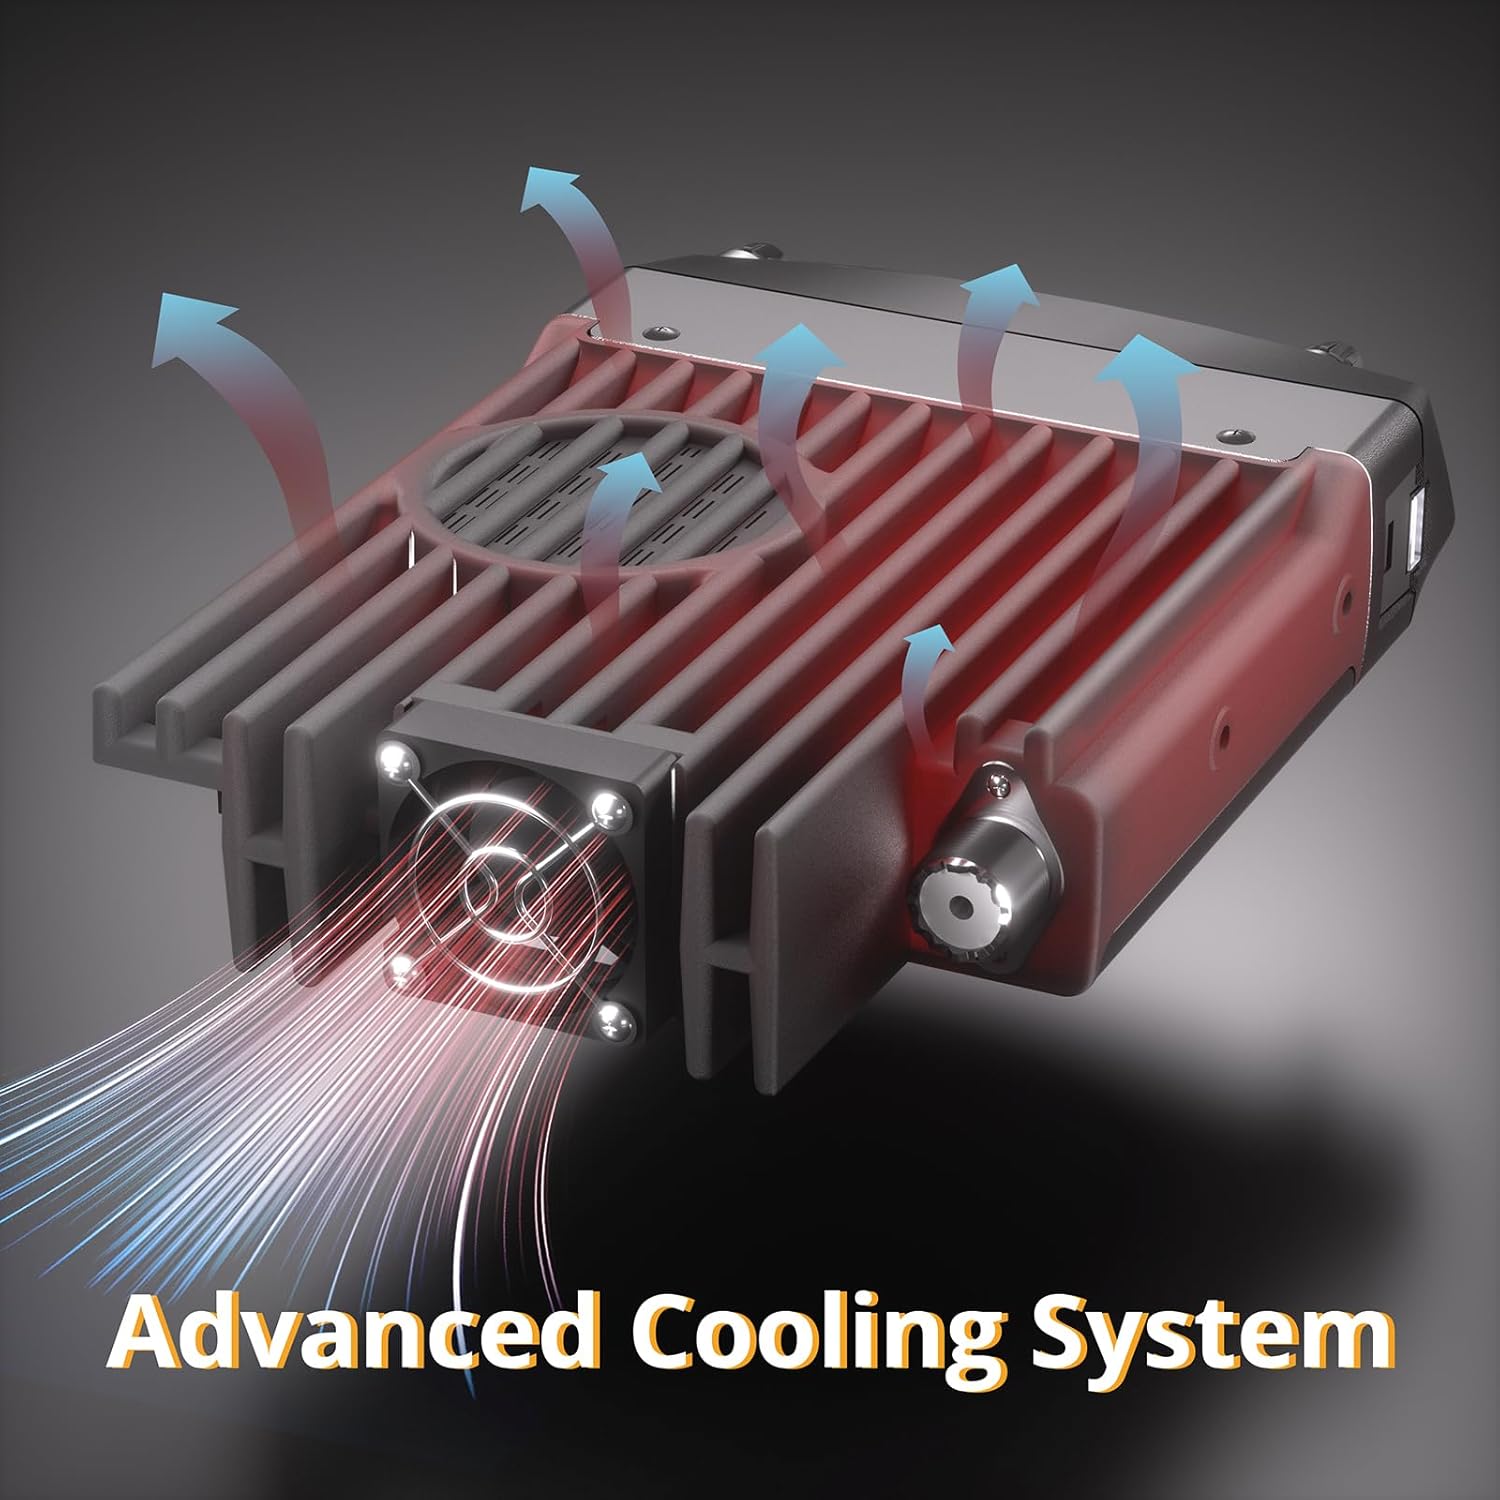
Figure 3.5: Advanced cooling system for sustained performance.
4. Setup
Proper setup ensures optimal performance and safety of your Radioddity DB50.
4.1 Mounting the Transceiver
- Choose a stable and well-ventilated location for the main unit, away from direct sunlight and heat sources.
- Use the provided mounting bracket and screws to secure the main unit. Ensure it is firmly attached to prevent movement during operation.
- For vehicle installations, consider using the detachable front panel feature. Mount the main unit in a discreet location (e.g., under a seat) and install the front panel in an easily accessible area on the dashboard.
4.2 Power Connection
- Connect the power cable to the rear of the DB50 unit.
- Connect the other end of the power cable directly to a 13.8V DC power source (e.g., vehicle battery or regulated power supply) ensuring correct polarity (red to positive, black to negative).
- Ensure the power source can provide sufficient current for 50W output.
4.3 Antenna Connection
Connect a suitable dual-band antenna (UHF/VHF) to the antenna connector on the rear of the DB50. Ensure the antenna cable is of good quality and the connection is secure.
4.4 Microphone Connection
Plug the microphone cable into the dedicated port on the front panel of the transceiver.
5. Operating Instructions
Familiarize yourself with the controls and functions of your DB50 for effective communication.
5.1 Powering On/Off
Press the PWR button on the front panel to turn the unit on or off.
5.2 Frequency and Channel Selection
- VFO Mode: Use the main tuning knob to adjust the frequency.
- Channel Mode: Press the V/M button to switch to channel mode, then use the tuning knob or microphone keypad to select a stored channel.
- The DB50 supports 758 channels for extensive frequency management.
5.3 Dual Watch and Dual Display
The dual display allows you to monitor two different frequencies simultaneously. The Dual Watch function enables the radio to scan between these two frequencies, ensuring you don't miss important transmissions.
5.4 Transmitting
To transmit, select your desired frequency/channel and press the Push-To-Talk (PTT) button on the microphone. Speak clearly into the microphone. Release PTT to receive.
5.5 Power Level Adjustment
The DB50 offers multiple power output levels (e.g., 5W, 10W, 20W, 50W). Refer to the on-screen indicators and the manual for specific button presses to cycle through power levels.
5.6 Chirp Programming
The DB50 is compatible with Chirp software for streamlined programming. Connect the provided programming cable to your computer and the radio. Select "DB50" in the Radioddity section within Chirp to configure channels, frequencies, and other settings. For detailed instructions, refer to the Chirp software documentation.
Note: The provided video titled "Unit shuts off when mic keyed up" is a customer review and not an official instructional video. It is not embedded as per guidelines.
6. Maintenance
Regular maintenance ensures the longevity and optimal performance of your DB50 transceiver.
- Cleaning: Use a soft, dry cloth to clean the radio's exterior. Do not use abrasive cleaners or solvents.
- Connections: Periodically check all cable connections (power, antenna, microphone) to ensure they are secure and free from corrosion.
- Ventilation: Ensure the cooling fins and fan (if applicable) are free from dust and obstructions to maintain proper heat dissipation.
- Storage: When not in use for extended periods, store the radio in a cool, dry place, away from extreme temperatures and humidity.
7. Troubleshooting
If you encounter issues with your Radioddity DB50, refer to the following common troubleshooting tips:
| Problem | Possible Cause | Solution |
|---|---|---|
| Radio does not power on | No power, incorrect wiring, blown fuse | Check power cable connection, verify polarity, inspect fuses in the power cable. |
| No audio output | Volume too low, external speaker disconnected, squelch too high | Increase volume, check external speaker connection, adjust squelch level. |
| Cannot transmit or receive | Incorrect frequency/channel, antenna issue, high SWR | Verify frequency/channel settings, check antenna connection, test antenna SWR. |
| Display issues | Loose front panel connection, internal fault | Ensure detachable front panel is securely connected. If issue persists, contact support. |
For more complex issues, please refer to the full user manual or contact Radioddity customer support.
8. Specifications
Detailed technical specifications for the Radioddity DB50:
- Item Weight: 4.09 pounds
- Package Dimensions: 12.4 x 8.31 x 2.48 inches
- Item Model Number: DB-50
- Manufacturer: Radioddity
- Country of Origin: China
- Number of Channels: 758
- Special Feature: Digital Display
- Frequency Range: UHF, VHF, Air band, 1.25m, 350MHz
- Talking Range Maximum: 50 Mile
- Tuner Technology: UHF, VHF
- Voltage: 13.8 Volts (DC)
- Water Resistance Level: Not Water Resistant
- Compatible Devices: Chirp software, Computers, Microphones, Vehicle mounts, External speakers, External antennas, Various antenna mounting methods, Cup holder mounts, Magnetic antenna mounts
9. Warranty & Support
9.1 Warranty Information
The Radioddity DB50 comes with an 18-month warranty from the date of purchase. This warranty covers manufacturing defects and malfunctions under normal use. Please retain your proof of purchase for warranty claims.
9.2 Customer Support
For technical assistance, troubleshooting, or warranty inquiries, please contact Radioddity customer support through their official website or the contact information provided with your product. You can also visit the Radioddity Store on Amazon for additional resources.