
CUQI JRP1105
CUQI 10 Inch Portable Monitor User Manual
Model: JRP1105
1. Product Overview
The CUQI 10-inch portable monitor is a versatile display designed for various applications, including use with Raspberry Pi devices, laptops, and other Windows OS devices. It features a high-definition IPS screen with a resolution of 1024x600, offering a wide viewing angle and vibrant colors. Its portable design, complete with a protective leather case, makes it ideal for both office and entertainment use.
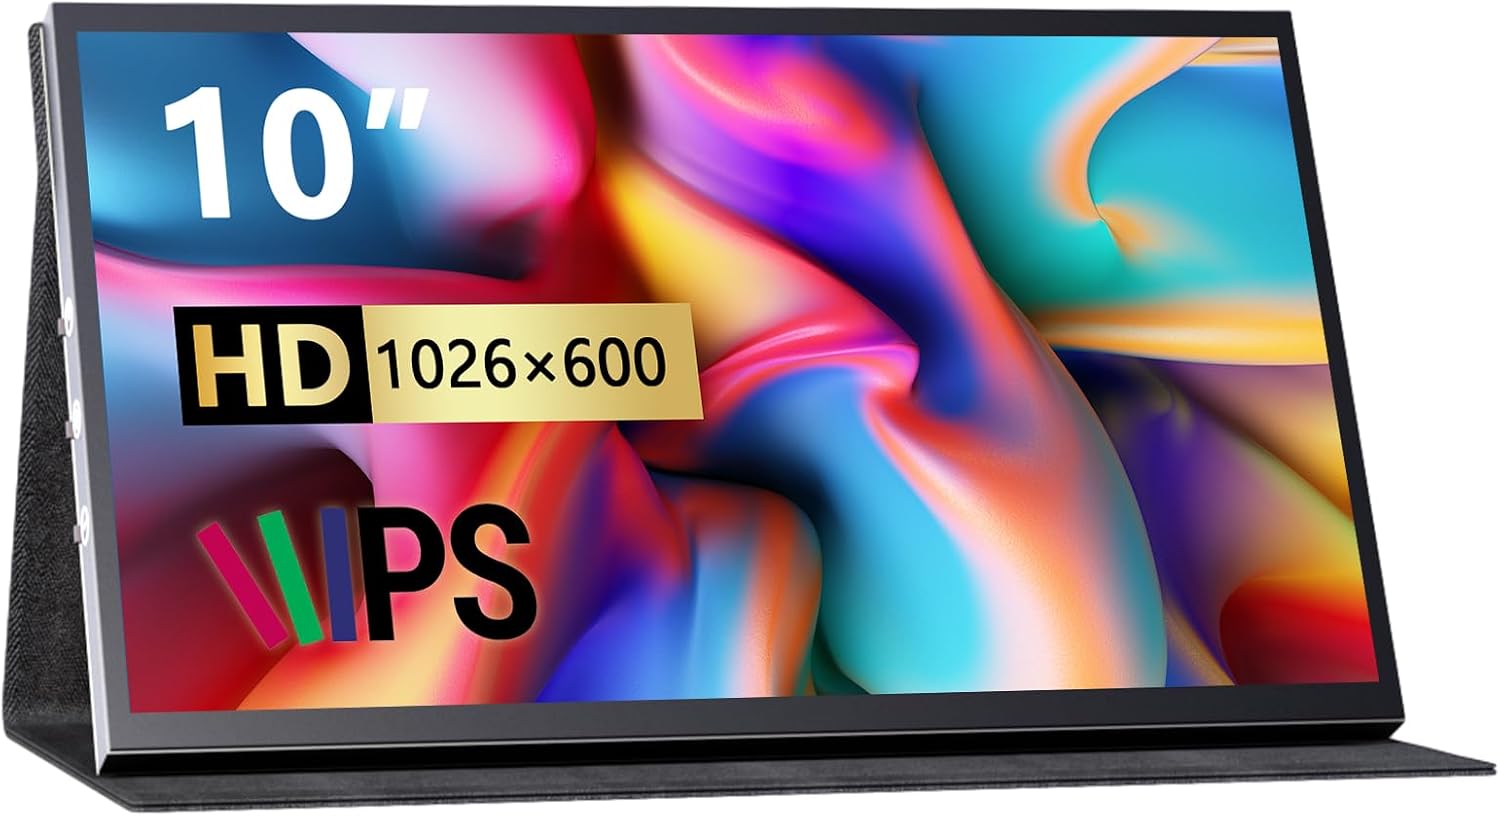
Figure 1.1: CUQI 10-inch portable monitor with its display showing vibrant colors and "10" HD 1024x600 IPS" text.
Key Features:
- HD IPS Screen: 1024x600 resolution, 178-degree wide viewing angle, high color rendering.
- Built-in Speakers: Two integrated speakers for clear audio output.
- Portable Design: Lightweight with an adjustable leather protective case for easy transport and protection.
- Broad Compatibility: Supports Raspberry Pi 5/4/4B/3B+/3B, Banana Pi, Windows 7/8/10 PC, Mac, and various operating systems like Retro Pi, NOOBS, Raspbian, Ubuntu, and Kodi.
- Plug and Play: Simple connection via HDMI and USB cable.
2. Packing List
Before proceeding with the setup, please ensure all items listed below are present in your package.

Figure 2.1: Contents of the product package, including the monitor, leather case, and various cables.
- CUQI 10-inch Portable Monitor
- Leather Case with Screws
- Type-C USB Cable
- HDMI Cable
- Micro HDMI Adapter
3. Setup Instructions
3.1 Connecting to Raspberry Pi
To connect the monitor to your Raspberry Pi device, follow these steps:
- Connect the Micro HDMI Adapter to the Micro HDMI port on the Raspberry Pi.
- Connect one end of the HDMI Cable to the Micro HDMI Adapter and the other end to the Mini HDMI Interface on the CUQI monitor.
- Connect the Type-C USB Cable to the Type-C Power port on the CUQI monitor and the other end to a 5V/3A power source or a suitable USB port on your Raspberry Pi (if it provides sufficient power).
- Ensure the Raspberry Pi is powered on. The monitor should automatically detect the signal.

Figure 3.1: Diagram illustrating the connection of the CUQI monitor to a Raspberry Pi board using HDMI and USB power cables.
Note: For optimal performance and stability, it is recommended to use the provided power adapter or a dedicated 5V/3A power supply for the monitor, especially when connecting to devices that may not provide sufficient power through their USB ports.
3.2 Connecting to Laptop/PC
The monitor supports various display modes when connected to a laptop or PC:
- Duplicate Mode: Displays the same content on both the laptop screen and the portable monitor.
- Extend Mode: Extends your desktop across both screens, providing more workspace.
- Second Screen Mode: Uses only the portable monitor as the primary display.
- Connect one end of the HDMI Cable to your laptop's HDMI port and the other end to the Mini HDMI Interface on the CUQI monitor.
- Connect the Type-C USB Cable to the Type-C Power port on the CUQI monitor and the other end to a USB port on your laptop or a power adapter.
- Once connected, your laptop should detect the monitor. You may need to adjust display settings in your operating system (e.g., Windows Display Settings or macOS System Preferences) to configure the desired display mode (Duplicate, Extend, or Second Screen Only).

Figure 3.2: Illustration showing different display modes (Duplicate, Extend, Second Screen) when connecting the CUQI monitor to a laptop.
4. Operating the Monitor
4.1 Power On/Off and Brightness Control
The monitor features intuitive controls for power and brightness adjustments.
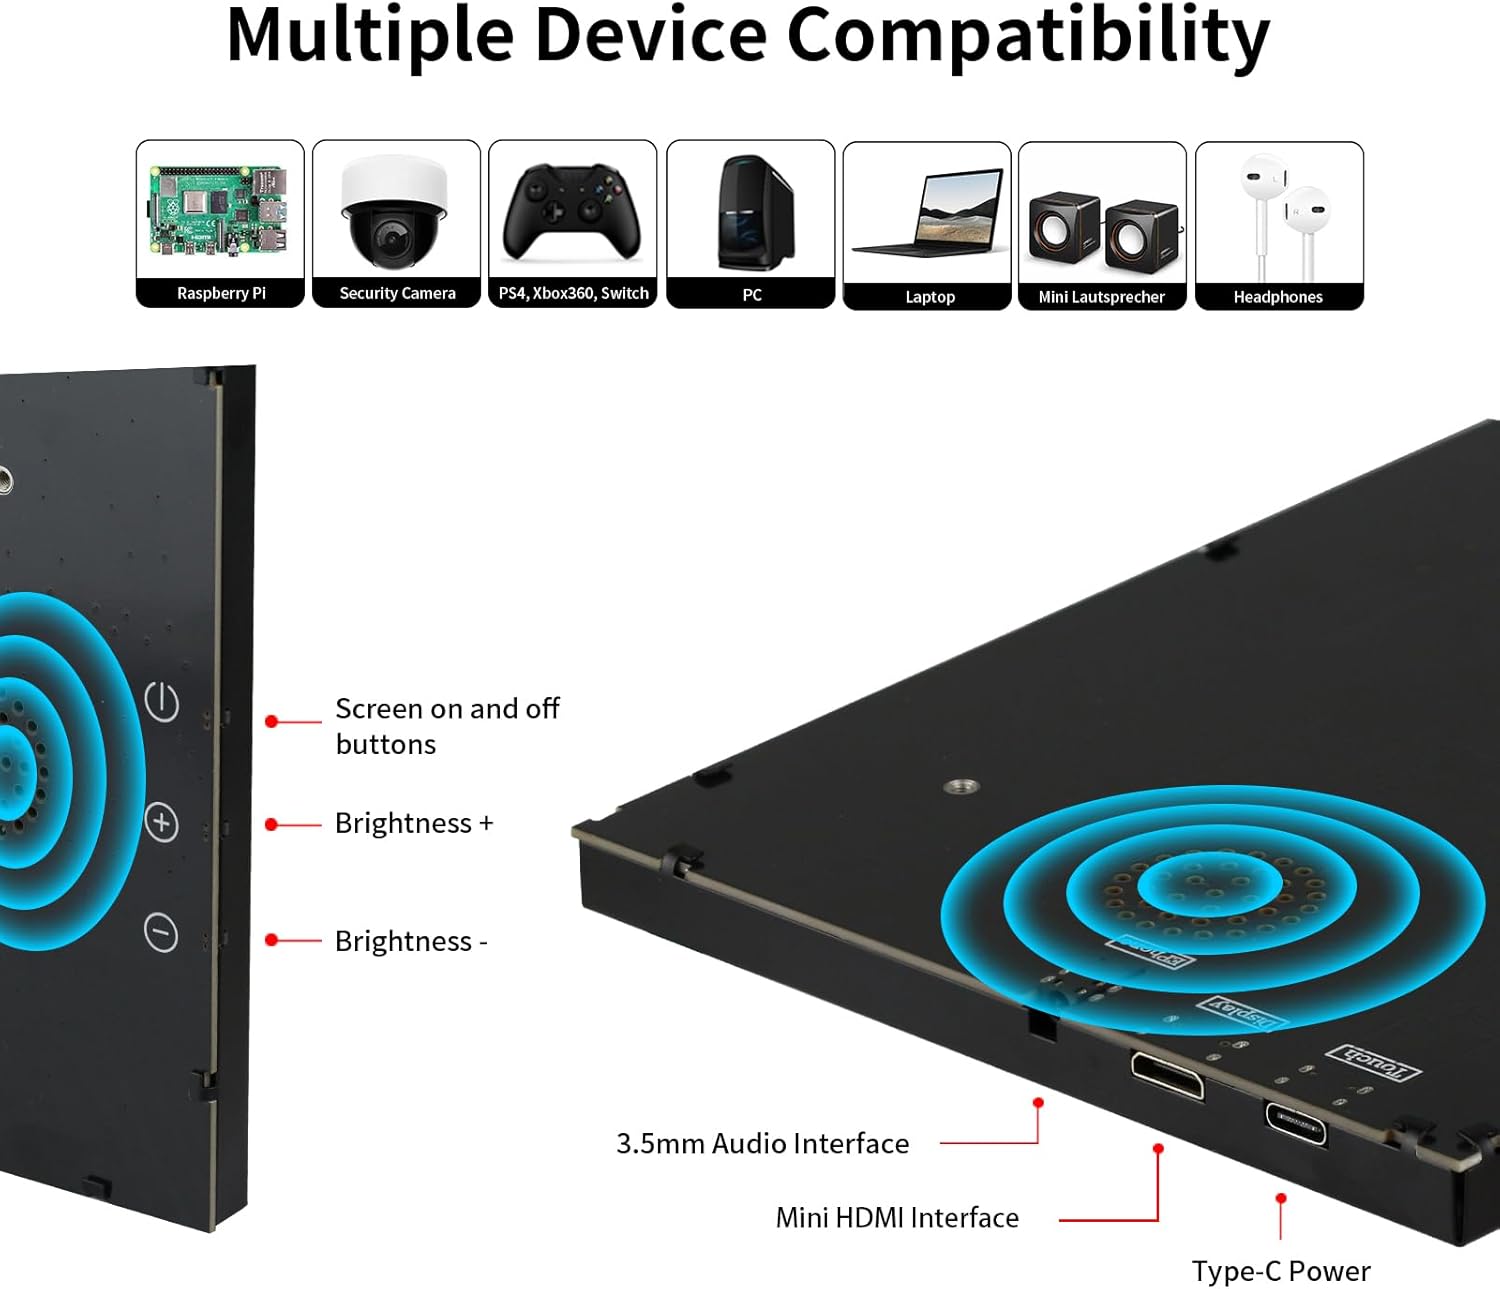
Figure 4.1: Close-up view of the side of the CUQI monitor, highlighting the power button, brightness up (+) button, and brightness down (-) button, along with the 3.5mm audio interface, Mini HDMI interface, and Type-C power port.
- Power Button: Located on the side of the monitor. Press to turn the monitor on or off.
- Brightness + Button: Press to increase the screen brightness.
- Brightness - Button: Press to decrease the screen brightness.
4.2 Using the Leather Case
The included leather case serves as both protection and an adjustable stand.

Figure 4.2: Diagram showing the adjustable angles of the portable leather case and its features: lightweight, scratch protection, detachable, and drop protection.
- The leather stand has two adjustable angles, allowing you to position the monitor for optimal viewing.
- The case can be detached by unscrewing the two removable screws on the back of the monitor.
5. Maintenance and Care
Proper maintenance ensures the longevity and optimal performance of your CUQI portable monitor.
- Cleaning the Screen: Use a soft, lint-free cloth slightly dampened with water or a screen-cleaning solution. Avoid harsh chemicals or abrasive materials.
- Storage: When not in use, store the monitor in its protective leather case to prevent scratches and damage.
- Avoid Extreme Conditions: Do not expose the monitor to extreme temperatures, direct sunlight for prolonged periods, or high humidity.
- Handle with Care: Avoid dropping the monitor or subjecting it to strong impacts.
6. Troubleshooting
If you encounter issues with your CUQI portable monitor, please refer to the following common troubleshooting steps:
| Problem | Possible Cause | Solution |
|---|---|---|
| No display/Black screen |
|
|
| No sound from speakers |
|
|
| Image is distorted or flickering |
|
|
If the problem persists after trying these solutions, please contact CUQI customer support for further assistance.
7. Specifications
Detailed technical specifications for the CUQI 10-inch portable monitor.
| Feature | Specification |
|---|---|
| Brand | CUQI |
| Model | JRP1105 |
| Screen Size | 10 Inches |
| Resolution | 1024 x 600 Pixels (HD) |
| Display Technology | IPS |
| Viewing Angle | 178 Degrees |
| Aspect Ratio | 16:9 (Image Aspect Ratio), 1.60:1 (Aspect Ratio) |
| Image Contrast Ratio | 700:1 |
| Response Time | 10 Milliseconds |
| Refresh Rate | 60 Hz |
| Hardware Interface | USB Type C, Micro-HDMI |
| Connector Type | HDMI |
| Power Input | 5 Volts (DC) |
| Special Features | Portable, Built-In Speakers |
| Product Dimensions | 0.8 x 16.5 x 10 cm |
| Item Weight | 750 Grams |

Figure 7.1: Diagram showing the 10-inch monitor with its 1024x600 resolution, 500:1 contrast, 10.7M colors, 50% sRGB, and physical dimensions (236mm/9.29inch width, 146mm/5.75inch height).

Figure 7.2: Illustration demonstrating the 178-degree wide viewing angle of the IPS display, along with specifications for 500cd/m² brightness and 16:9 aspect ratio.
8. Warranty and Support
CUQI provides professional technical support and aims to offer a great shopping experience.
- For any questions regarding the product, technical assistance, or warranty claims, please contact CUQI customer support via email.
- Refer to your purchase documentation for specific warranty terms and conditions.
Contact Information: Please refer to the contact details provided with your product packaging or on the official CUQI website.
Ask a question about this manual
Ask about setup, troubleshooting, compatibility, parts, safety, or missing instructions. Manuals+ will review the question and use this page’s manual context to help answer it.