
ZIZEV MT50
MT 50 Remote Meter User Manual
Brand: ZIZEV
1. Introduction
The ZIZEV MT 50 Remote Meter is a multi-function LCD screen designed to provide real-time monitoring and control for connected electronic equipment, particularly in solar energy systems. It offers a clear display of operating data, working status, and allows for remote management of various parameters. This manual provides detailed instructions for the setup, operation, and maintenance of your MT 50 Remote Meter.
2. Product Features
- Large Screen LCD: Displays operating data and working status in real-time using numbers, graphics, and text for clear visibility.
- Comprehensive Functionality: Enables real-time data monitoring, remote load switching, and modification of equipment parameters including charging and load control settings.
- Automatic Identification: Automatically identifies and displays the type, model, and relevant parameter information of connected equipment.
- Fault Information Display: Provides real-time display of connected equipment fault information and includes a voice-activated alarm for immediate alerts.
- Load Mode Setting: Allows configuration of load working modes such as manual, pure light control, light control with delay, and timing.
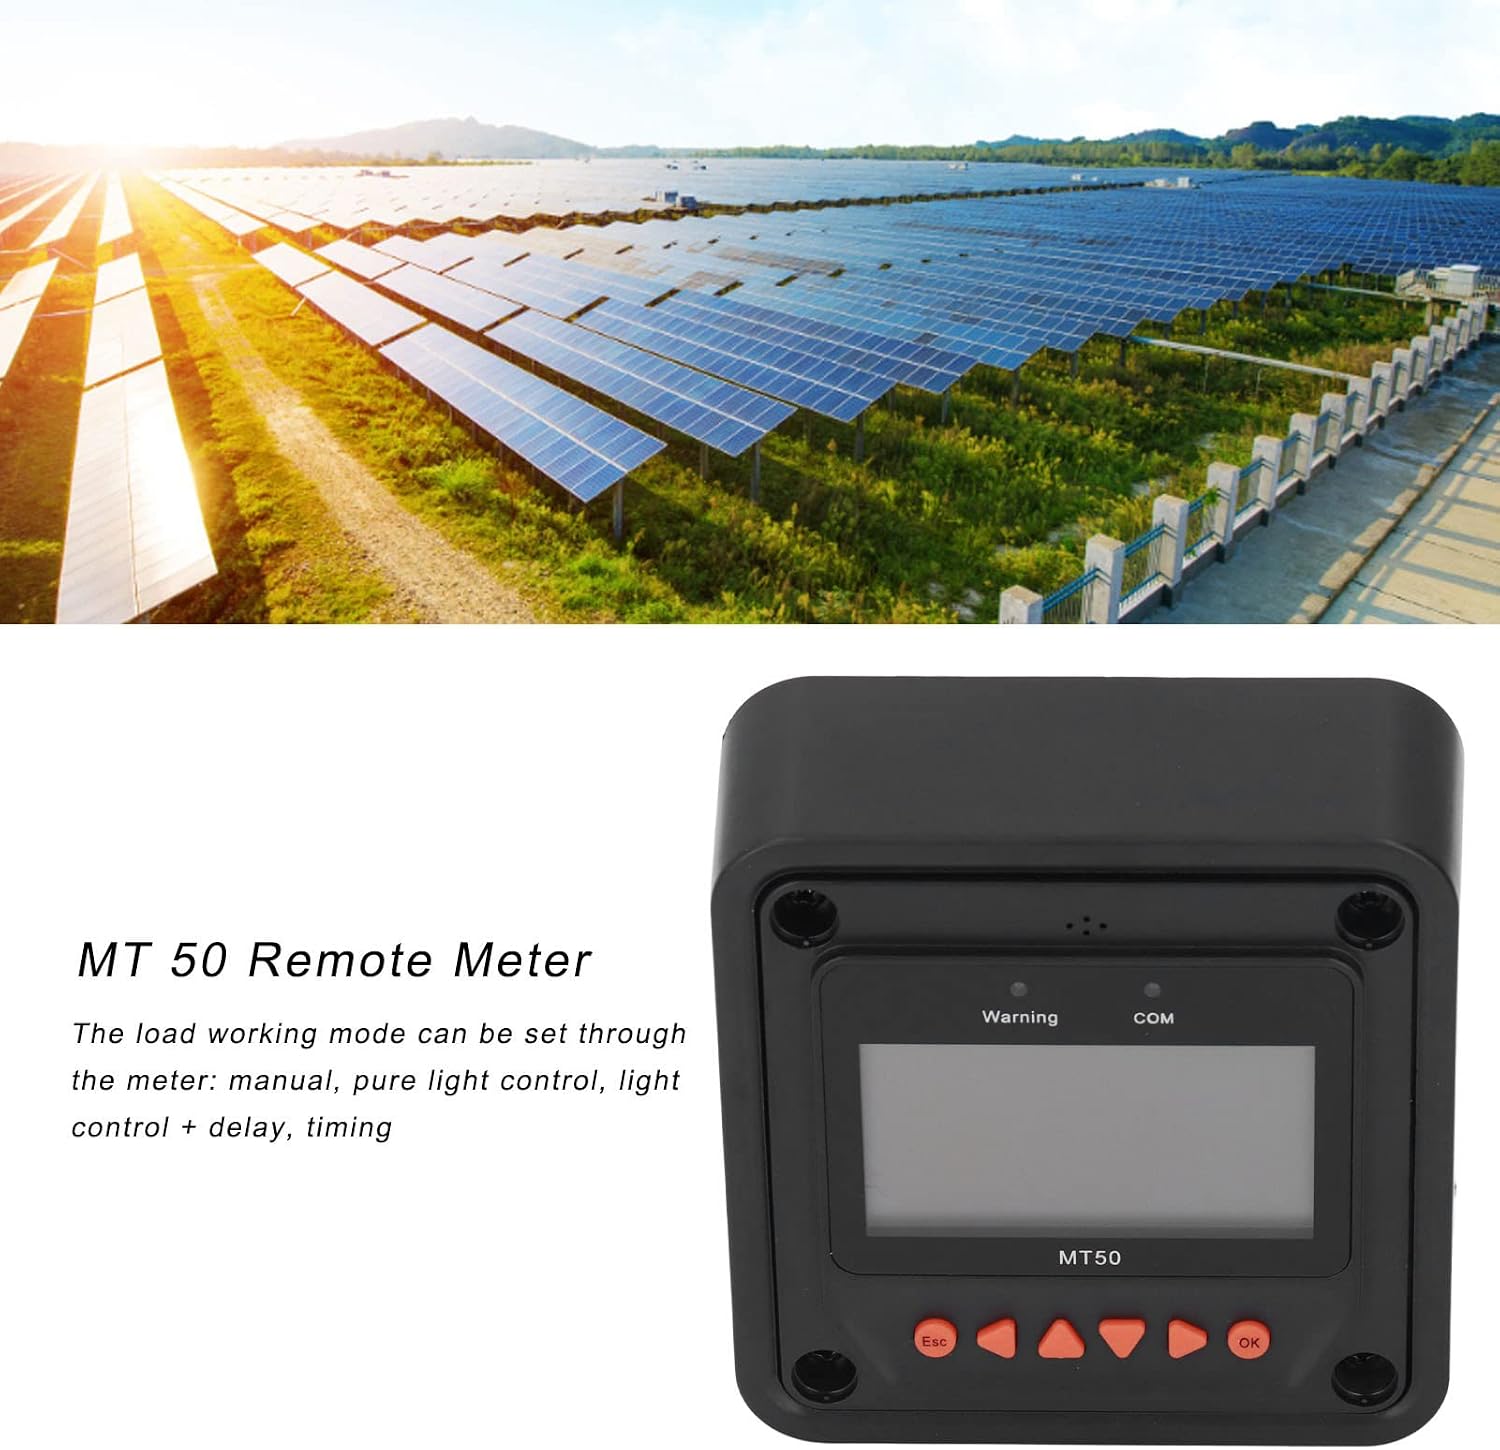
Figure 2.1: MT 50 Remote Meter highlighting its display capabilities and features.
3. Package Contents
Please verify that all items listed below are included in your package:
- 1 x MT 50 Remote Meter Panel
- 1 x Mounting Border/Frame
- 1 x Communication Cable (RJ45, approx. 2m / 6.6ft)
- 4 x Screws
- 4 x Bolts
- 4 x Screw Sleeves
- 4 x Gaskets
- 1 x User Manual (this document)

Figure 3.1: Overview of the MT 50 Remote Meter and its complete set of accessories.

Figure 3.2: Close-up of the RJ45 communication cable and various mounting screws and bolts.
4. Setup and Installation
The MT 50 Remote Meter is designed for easy installation. Follow these steps to set up your device:
- Choose a Location: Select a suitable location for mounting the remote meter. Ensure it is easily accessible for viewing and operation.
- Mount the Border: Use the provided screws, bolts, screw sleeves, and gaskets to securely mount the border/frame to your chosen surface.
- Insert the Meter: Carefully insert the MT 50 Remote Meter panel into the mounted border.
- Connect the Communication Cable: Connect one end of the supplied RJ45 communication cable to the MT 50 Remote Meter and the other end to the compatible port on your main controller (e.g., solar charge controller). Ensure the connection is firm.
- Power On: Once connected, the MT 50 Remote Meter will power on and automatically identify the connected equipment.

Figure 4.1: The MT 50 Remote Meter panel detached from its mounting base, illustrating the two main components for installation.

Figure 4.2: Front view of the MT 50 Remote Meter, showing the LCD screen and control buttons.
5. Operating Instructions
The MT 50 Remote Meter provides an intuitive interface for monitoring and controlling your connected equipment.
5.1. Display and Navigation
The large LCD screen displays various data points and statuses. Use the navigation buttons (up, down, left, right arrows) to scroll through different screens and parameters. The "OK" button confirms selections, and "Esc" returns to the previous screen or cancels an action.
5.2. Real-time Data Monitoring
Upon connection, the meter automatically displays real-time operating data such as voltage, current, power, and battery status from the connected controller. This data is presented in numerical, graphical, or text format for easy interpretation.
5.3. Parameter Modification
You can browse and modify various equipment parameters directly from the MT 50. This includes:
- Charging control parameters (e.g., charge voltage, float voltage)
- Load control parameters (e.g., load on/off thresholds)
Navigate to the desired parameter, press "OK" to enter edit mode, use arrow keys to adjust values, and press "OK" again to save changes. Press "Esc" to exit without saving.
5.4. Load Mode Setting
The MT 50 allows you to configure the load working mode of your connected equipment. Available modes typically include:
- Manual: Load is controlled manually (on/off).
- Pure Light Control: Load operates based on ambient light levels.
- Light Control + Delay: Load operates based on light levels with a configurable delay.
- Timing: Load operates according to a set schedule.
Access the load mode settings through the menu, select your preferred mode, and confirm with "OK".

Figure 5.1: MT 50 Remote Meter illustrating its capability to set various load working modes.
6. Maintenance
The MT 50 Remote Meter is designed for durability and requires minimal maintenance. Follow these guidelines to ensure its longevity:
- Cleaning: Regularly wipe the screen and casing with a soft, dry cloth to remove dust and smudges. Do not use abrasive cleaners or solvents.
- Environmental Conditions: Ensure the meter is operated within its specified working temperature range (-20℃ to +70℃ / -4℉ to 158℉) and protected from direct moisture or extreme humidity.
- Cable Inspection: Periodically check the RJ45 communication cable for any signs of wear, damage, or loose connections.
7. Troubleshooting
The MT 50 Remote Meter is equipped with features to assist in diagnosing issues. If you encounter problems, consider the following:
- Fault Information Display: The meter provides real-time display of fault information from the connected equipment. Check the screen for any error codes or messages.
- Voice-Activated Alarm: If an alarm sounds, refer to the fault information displayed on the screen to identify the issue.
- No Display/Power: Ensure the RJ45 communication cable is securely connected to both the MT 50 and the main controller. Verify that the main controller is powered on.
- Incorrect Readings: Confirm that the MT 50 is correctly connected to the appropriate controller and that the controller itself is functioning properly.
For persistent issues not resolved by these steps, please refer to the user manual of your main connected equipment or contact ZIZEV customer support.
8. Specifications
| Parameter | Value |
|---|---|
| Product Material | Plastic |
| Panel Size | Approx. 98x98 mm / 3.9x3.9 in |
| Bottom Case Size | Approx. 114x114 mm / 4.5x4.5 in |
| Communication Interface | RJ45 |
| Data Cable Length | Approx. Standard 2m / 6.6ft |
| Item Weight | 12.5 ounces |
| Working Temperature | -20℃~+70℃ / -4℉~158℉ |
| Scope of Application | Solar Energy, etc. |
| Item Model Number | ZIZEVd50v6c3ghk |
| ASIN | B0D3QG2QGW |
9. Warranty and Support
ZIZEV is committed to providing high-quality products and customer satisfaction. While specific warranty details are not provided in this manual, ZIZEV values customer feedback and aims to provide satisfactory solutions for any dissatisfaction.
If you encounter any issues with your MT 50 Remote Meter or require technical assistance, please contact ZIZEV customer support. When contacting support, please have your product model number (MT 50, ZIZEVd50v6c3ghk) and a detailed description of the issue ready.
For the most up-to-date support information and contact methods, please visit the official ZIZEV store on Amazon or their official website.
ZIZEV Store on Amazon: Visit ZIZEV Store
Related documentsMT50


Ask a question about this manual
Ask about setup, troubleshooting, compatibility, parts, safety, or missing instructions. Manuals+ will review the question and use this page’s manual context to help answer it.