
HoneyGuaridan A23WB
Contents
HoneyGuardian Automatic Pet Feeder A23WB Instruction Manual
Model: A23WB | Brand: HoneyGuaridan
Introduction
This manual provides detailed instructions for the safe and efficient use of your HoneyGuardian Automatic Pet Feeder, Model A23WB. Please read this manual thoroughly before operating the device and retain it for future reference.
Important Safety Information
- Ensure the feeder is placed on a stable, level surface to prevent tipping.
- Do not immerse the main unit in water. Only removable parts are washable.
- Keep out of reach of children and pets when not in use or during assembly.
- Use only the provided power adapter.
- If using batteries for backup, ensure they are inserted correctly and are of the specified type (D-cell alkaline).
- Do not use with wet food. This feeder is designed for dry kibble only.
- Regularly inspect the power cord for damage. Discontinue use if damaged.
Package Contents
Verify that all items are present in the package:
- Automatic Pet Feeder Main Unit
- Power Adapter
- Stainless Steel Bowl
- Slow Feed Bowl
- Desiccant Bag
- User Manual
Product Features
- 2-in-1 Pet Feeder: Includes both a slow-feed bowl to aid digestion and a stainless steel bowl for hygiene.
- Multi-Seal for Food Freshness: A rubber seal between the main body and lid blocks air, preventing food oxidation and odor leakage. The built-in desiccant in the lid protects against moisture. After feeding, a unique sealed rotating door automatically closes, completely blocking ants and insects.
- Flexible Portion Feeding: 3.5L capacity supports 1 to 6 meals per day, with up to 24 portions per meal, promoting healthy eating habits and preventing obesity.
- Dual Power Supply: Operates via USB adapter or 3 D-cell alkaline batteries (sold separately) for backup during power outages. Battery mode can last up to 200 days.
- 10-Second Voice Recording: Plays a 10-second custom voice message at each feeding time. Your voice signals mealtime, reducing your pet's loneliness. A voice-off setting is available for quiet feeding.
- Anti-Clogging Design: Features a durable stirring wing and a patented rotor design to ensure smooth food dispensing for kibble sizes 2-15mm.
Setup Guide
Follow these steps to set up your automatic pet feeder:
- Unpack and Assemble:
Open the lid and remove all components from the food tank. Ensure all parts listed in "Package Contents" are present.

Image: Unpacking the feeder and removing internal components.
- Install the Food Tank:
Place the food tank securely onto the main unit.
- Attach the Bowl:
Choose either the stainless steel bowl or the slow-feed bowl and attach it to the feeder's base.

Image: Demonstrating the interchangeable stainless steel and slow-feed bowls.
- Add Dry Food:
Pour dry kibble into the food tank. Ensure kibble size is between 2-15mm to prevent clogging.

Image: Examples of compatible dry pet food sizes.
- Insert Desiccant:
Place the desiccant bag into the designated slot under the lid to maintain food freshness. Close the lid securely.

Image: Detail of the sealing ring and desiccant bag for freshness.
- Connect Power:
Connect the power adapter to the feeder and a wall outlet. For backup, insert 3 D-cell alkaline batteries (not included) into the battery compartment at the bottom of the unit.

Image: Illustration of connecting the AC adapter and installing backup batteries.
Operating Instructions
Setting the Feeding Schedule
Refer to the control panel and buttons for programming. The display will show the current time and programmed settings.
- Set Current Time: Use the appropriate buttons (e.g., "SET", "UP", "DOWN") to set the current time.
- Program Meal Times: Set up to 6 meal times per day. For each meal, specify the desired time.
- Adjust Portion Sizes: For each meal, select the number of portions to dispense. One portion is approximately 6g (0.06 cups).
- Manual Feeding: Press the manual feed button to dispense one portion immediately.

Image: The feeder's display and buttons, illustrating programmable meal times and portion sizes.
Voice Recording Function
- Record Message: Press and hold the record button to record a 10-second voice message. Release the button to save.
- Play Message: The recorded message will play automatically at each scheduled feeding time.
- Disable Voice: If desired, the voice playback can be turned off through the settings menu.

Image: The voice recording function, allowing a personalized call for mealtime.
Food Portion Guide
The following table provides a general guideline for daily food intake and corresponding portions. Adjust based on your pet's activity level, weight, and dietary needs.
| Daily Intake | Recommended Portions |
|---|---|
| 1/8 cup | 2 portions |
| 1/4 cup | 4 portions |
| 1/3 cup | 5 portions |
| 1/2 cup | 8 portions |
| 1 cup | 16 portions |
Note: 1 portion is approximately 15ml or 6g.

Image: Guide for adjusting feeding portions based on pet's needs.
Maintenance and Cleaning
Regular cleaning ensures hygiene and extends the life of your feeder.
- Disassembly: Remove the food tank and feeding bowls from the main unit.
- Washing Bowls and Tank: The stainless steel bowl, slow-feed bowl, and food tank can be washed with mild soap and water. Rinse thoroughly and dry completely before reassembly.
- Cleaning Main Unit: Wipe the main unit with a damp cloth. Do not immerse the main unit in water.
- Desiccant Replacement: Replace the desiccant bag every 1-2 months for optimal freshness.
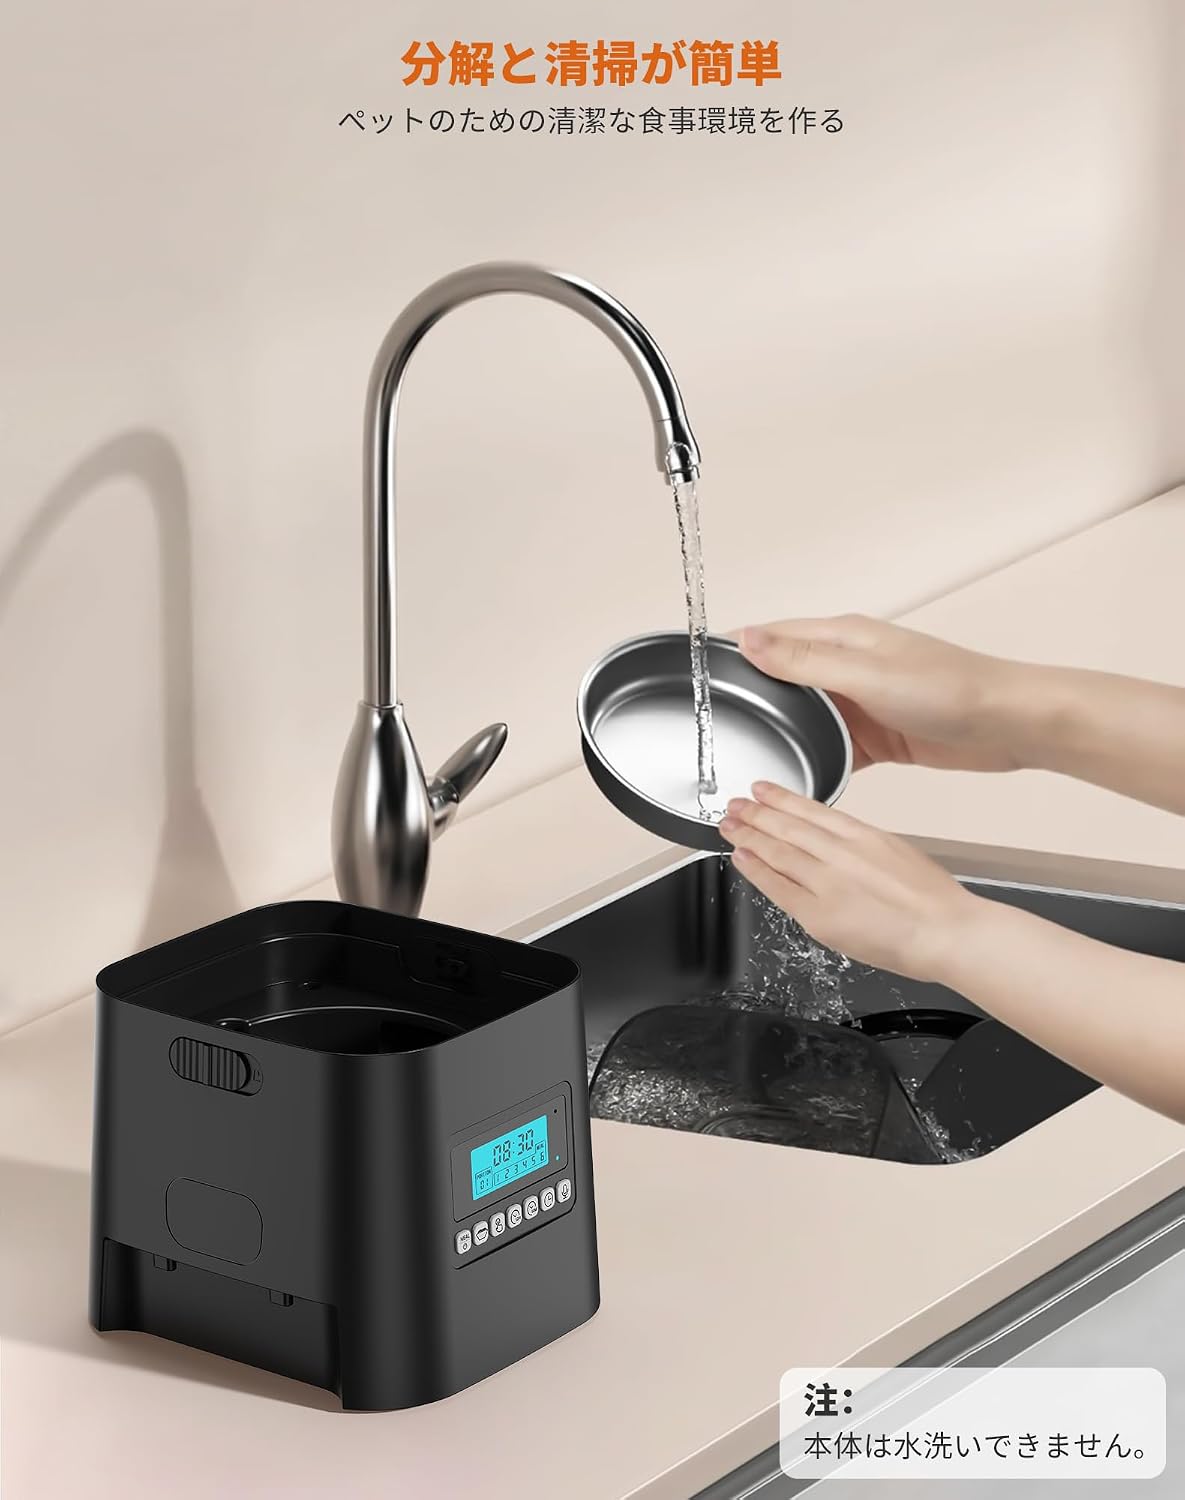
Image: Cleaning the removable stainless steel bowl. Note: The main unit is not washable.
Troubleshooting
| Problem | Possible Cause | Solution |
|---|---|---|
| Feeder not dispensing food. | Food tank empty; food clogged; power issue. | Refill food tank. Check for clogs in the dispenser mechanism. Ensure power adapter is connected or batteries are installed and functional. |
| Food dispensing irregularly or too much/little. | Incorrect portion settings; kibble size incompatible. | Verify portion settings. Ensure kibble size is within 2-15mm. |
| Voice recording not playing. | Voice function disabled; no message recorded. | Check settings to ensure voice playback is enabled. Re-record message if necessary. |
| Feeder not turning on. | No power; faulty adapter/batteries. | Check power connection. Replace batteries if using battery power. Try a different outlet. |
Specifications
- Brand: HoneyGuaridan
- Model: A23WB
- Color: White Single Bowl
- Capacity: 3.5 Liters
- Operation Mode: Electronic
- Power Supply: DC 5V/1A Adapter (included), 3 x D-cell Alkaline Batteries (not included, for backup)
- Kibble Size Compatibility: 2-15mm
- Feeding Schedule: 1-6 meals/day, up to 24 portions/meal
- Voice Recording: 10 seconds
- Dimensions (L x W x H): 17 cm x 18 cm x 21.5 cm
- Country of Origin: China
Warranty and Support
This product comes with a 1-year after-sales warranty from the date of purchase.
For technical support, warranty claims, or any questions regarding your HoneyGuardian Automatic Pet Feeder, please contact our customer service team. Refer to the contact information provided on the product packaging or the official HoneyGuardian website.
Documents and downloads
Ask a question about this manual
Ask about setup, troubleshooting, compatibility, parts, safety, or missing instructions. Manuals+ will review the question and use this page’s manual context to help answer it.