
FF FLASHFISH A101+TSP60
FF FLASHFISH A101 Portable Power Station and TSP60 Solar Panel Kit User Manual
Model: A101+TSP60
1. Introduction
This manual provides essential instructions for the safe and efficient operation of your FF FLASHFISH A101 Portable Power Station and TSP60 Solar Panel Kit. Please read this manual thoroughly before use and retain it for future reference.
The FF FLASHFISH A101 Portable Power Station is a compact and reliable power source designed for various applications, including outdoor activities, emergency backup, and general portable power needs. Paired with the TSP60 Solar Panel, it offers a sustainable recharging solution.
2. Product Overview
The FF FLASHFISH A101 Portable Power Station and TSP60 Solar Panel Kit provides a versatile power solution. The A101 power station features multiple output ports for various devices, while the TSP60 solar panel allows for efficient solar recharging.

Image 2.1: FF FLASHFISH A101 Portable Power Station and TSP60 Solar Panel Kit.
2.1. A101 Portable Power Station Features
- Capacity: 98Wh Lithium-ion Battery.
- AC Output: 120W Rated, 240W Peak Power (Pure Sine Wave 110V).
- DC Output: 12V/10A.
- USB Outputs: 2x USB-A QC 3.0 (18W), 2x USB-C PD (18W).
- Emergency Lighting: Built-in 5W LED light with multiple modes.
- Charging Options: Wall charger, solar charging, vehicle charge.

Image 2.2: The A101 power station offers multiple output options including AC, DC, USB-A, and USB-C ports.

Image 2.3: The A101 power station can charge various devices concurrently, such as phones, laptops, cameras, and drones.

Image 2.4: The A101 features two integrated light modes: a standard reading light and an SOS emergency signal.
2.2. TSP60 Solar Panel Features
- Power: 60W.
- Cell Type: High-efficiency monocrystalline silicon.
- Conversion Rate: 21.5% - 23.5%.
- Output Voltage: 5V, 18V.
- Outputs: DC5521 (18V, 3.34A max), USB QC 3.0 (18W), Type-C PD (45W).
- Portability: Foldable design for easy transport.

Image 2.5: The TSP60 solar panel includes DC, USB-A, and USB-C output ports for direct device charging.

Image 2.6: The TSP60 solar panel is designed for easy portability, weighing approximately 4.2 lbs when folded.
3. Setup Instructions
3.1. Initial Charging of the A101 Power Station
Before first use, fully charge the A101 Portable Power Station. This can be done via:
- AC Wall Charger: Connect the provided AC adapter to the DC input port on the A101 and plug it into a standard wall outlet.
- Vehicle Charger: Use the provided car charger to connect the A101 to your vehicle's 12V auxiliary power outlet.
- Solar Panel (TSP60): Connect the TSP60 solar panel to the DC input port of the A101. Position the solar panel to face direct sunlight.
The display on the A101 will indicate the charging status and battery level. Charging from 0-80% can be achieved in approximately 2.5 hours using AC/DC input at 40W max.
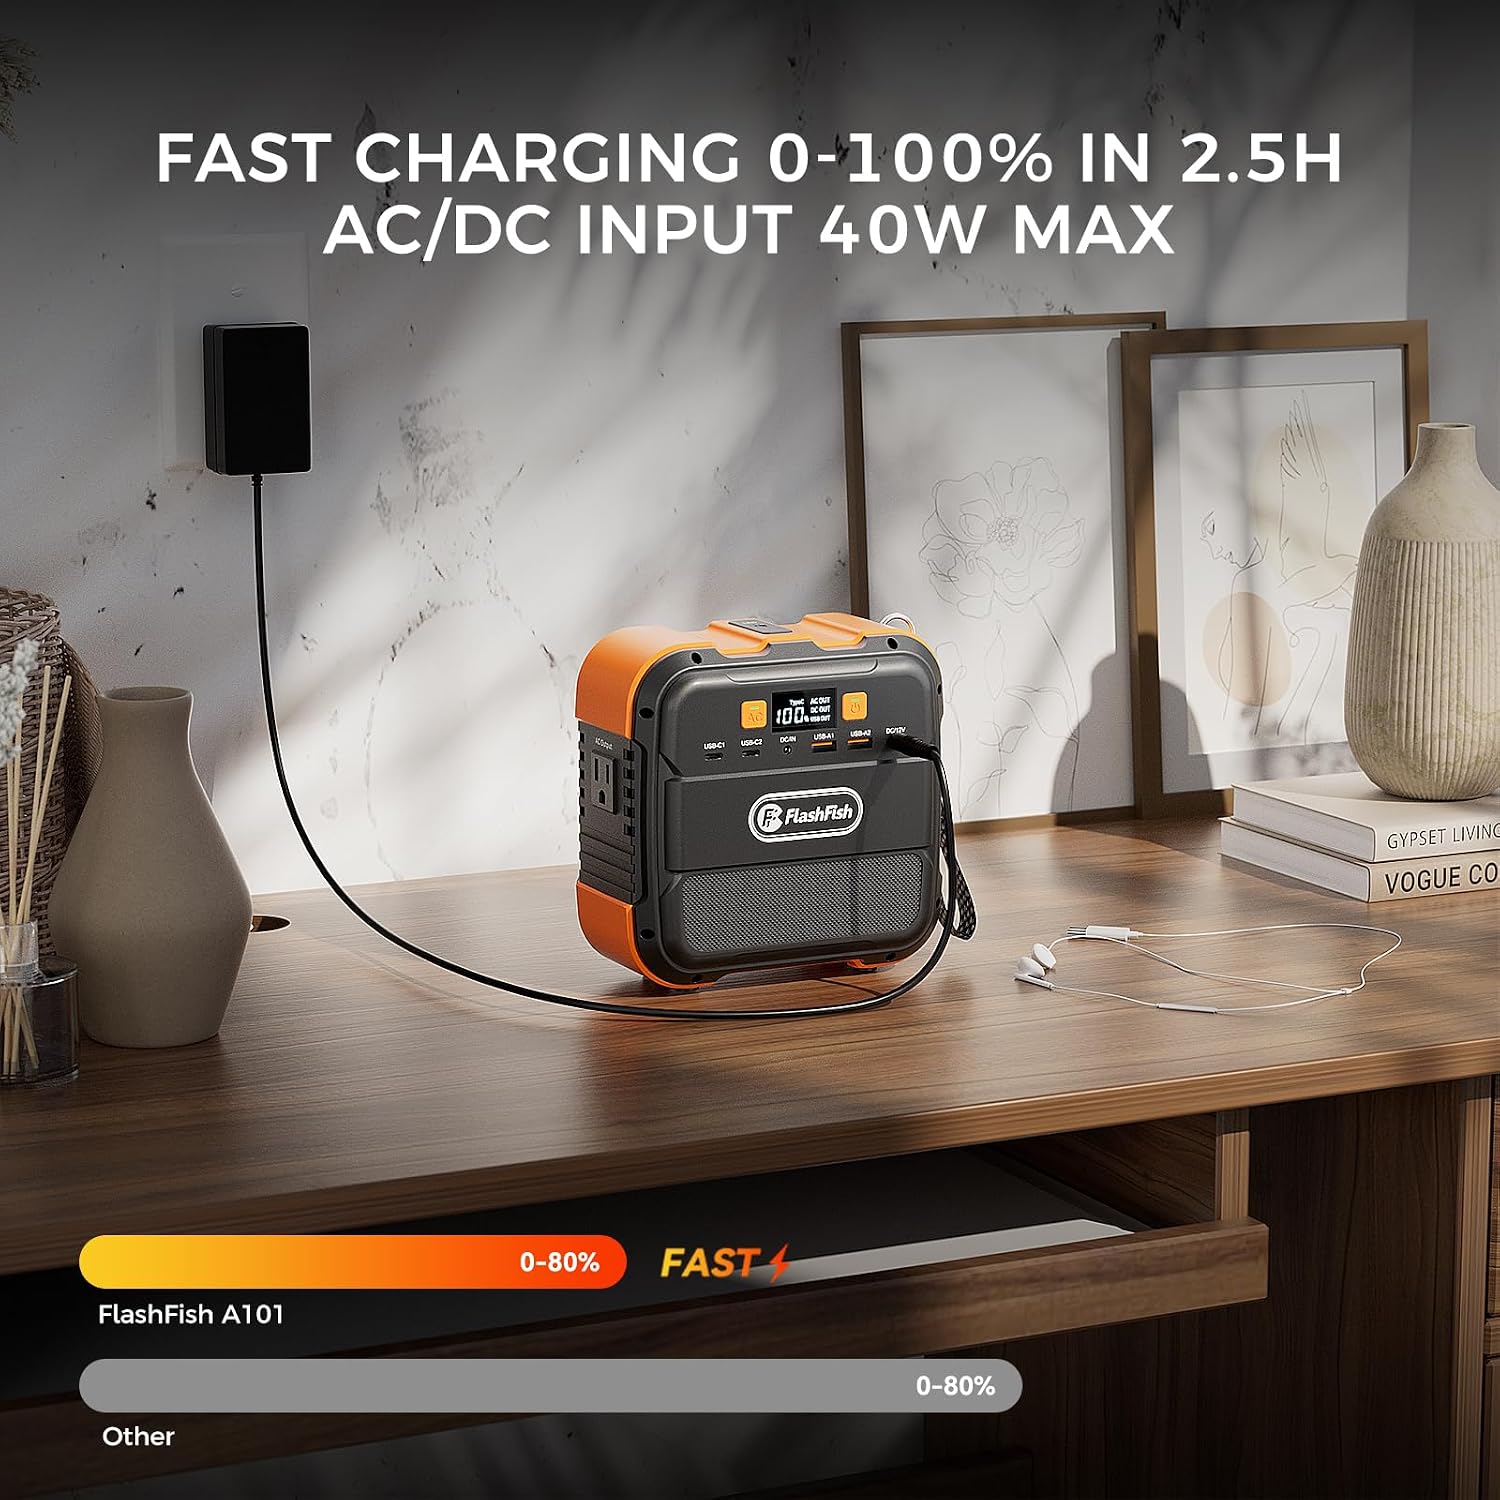
Image 3.1: The A101 power station can be fast-charged using the AC/DC input.
3.2. Setting up the TSP60 Solar Panel
- Unfold the TSP60 solar panel completely.
- Utilize the integrated kickstands to angle the solar panel directly towards the sun for optimal energy capture.
- Connect the solar panel's DC output cable to the A101 Portable Power Station's DC input port.
Important Note: The TSP60 solar panel is not waterproof. Avoid exposure to rain or excessive moisture.
4. Operating Instructions
4.1. Powering On/Off
To power on the A101, press and hold the main power button until the display illuminates. To power off, press and hold the power button again until the display turns off.
4.2. Using AC Output
Press the AC button to activate the AC outlet. Plug your device into the 110V AC outlet. Ensure your device's power consumption does not exceed 120W continuous or 240W peak. Press the AC button again to turn off the AC output when not in use.
4.3. Using DC Output
Press the DC button to activate the 12V DC output. Connect your 12V compatible devices. Press the DC button again to turn off the DC output.
4.4. Using USB Outputs
The USB-A and USB-C ports are typically active when the unit is powered on. Simply plug your USB devices into the appropriate ports for charging. These ports support Quick Charge 3.0 (USB-A) and Power Delivery (USB-C) for fast charging compatible devices.
4.5. Using the LED Flashlight
Press the LED button to cycle through the light modes: standard illumination, brighter illumination, and SOS flashing mode. Press again to turn off the LED light.
4.6. Solar Charging Guidelines
- Angle the TSP60 solar panel directly towards the sun for maximum charging efficiency.
- Recharging time will vary based on location, temperature, weather conditions, and sun intensity.
- The solar panel can also directly charge USB and Type-C devices via its integrated ports.
5. Maintenance
- Store the power station and solar panel in a cool, dry place away from direct sunlight and extreme temperatures.
- Avoid dropping or subjecting the devices to strong impacts.
- Clean the surfaces with a soft, dry cloth. Do not use abrasive cleaners or solvents.
- For optimal battery health, fully charge the power station at least once every three months if not in regular use.
- Ensure the solar panel is clean and free of dust or debris for efficient charging.
6. Troubleshooting
6.1. Power Station Not Charging
- Check Connections: Ensure all charging cables (AC adapter, car charger, solar panel cable) are securely connected to both the power source and the A101's DC input port.
- Verify Power Source: Confirm the wall outlet, vehicle's 12V socket, or solar panel is providing power.
- Solar Panel Positioning: If using solar, ensure the TSP60 is angled directly towards strong sunlight and not obstructed.
- Cable Compatibility: Ensure you are using the correct barrel connector for the DC input. The A101 uses a specific small barrel connector.
6.2. Devices Not Charging from A101 Outputs
- Activate Output: Ensure the specific output (AC, DC) is activated by pressing its respective button. USB ports are generally always active when the unit is on.
- Check Battery Level: The A101 may not output power if its battery level is critically low.
- Device Compatibility: Verify that your device's power requirements do not exceed the A101's output limits (e.g., 120W for AC).
- Cable Integrity: Test with different charging cables for your devices.
6.3. LED Light Not Functioning
- Press LED Button: Ensure the LED button has been pressed to cycle through the light modes.
- Battery Level: Check the power station's battery level.
7. Specifications
7.1. A101 Portable Power Station
| Feature | Specification |
|---|---|
| Model | A101 |
| Battery Type | Lithium-ion Battery |
| Capacity | 98Wh |
| DC Input | 12V/2A |
| Solar Charging Input | 18-24V |
| AC Output | 120W Rated, 240W Peak Power (110V) |
| DC Outputs | 12V/10A |
| USB-A Outputs | QC 3.0 18W (x2) |
| USB-C Outputs | PD 18W (x2) |
| LED Light | 5W |
| Weight | 2.65 lbs |
| Dimensions | 6.22 × 6.22 × 3.54 inches |
7.2. TSP60 Solar Panel
| Feature | Specification |
|---|---|
| Model | TSP60 |
| Power | 60W |
| Output Voltage | 5V, 18V |
| Conversion Rate | 21.5% - 23.5% |
| Unfolded Size | 832 × 456 mm (32.75 × 17.95 inches) |
| Folded Size | 455 × 417 mm (17.91 × 16.42 inches) |
| Solar Cell Type | High-efficiency monocrystalline silicon |
| DC5521 Output | 18V, 3.34A (max) |
| USB Output | QC 3.0 USB (18W) x1 |
| Type-C Output | PD-Type-C (45W) x1 |
| Certifications | FCC, RoHS, CE, TUV, ICE |

Image 7.1: Detailed dimensions and included components for the TSP60 Solar Panel.
8. Warranty and Support
The FF FLASHFISH A101 Portable Power Station and TSP60 Solar Panel Kit typically comes with a 12-month warranty from the date of purchase. Please refer to your purchase documentation for specific warranty terms and conditions.
For technical support, troubleshooting assistance, or warranty claims, please contact FF FLASHFISH customer service through the retailer where the product was purchased or visit the official FF FLASHFISH website for contact information.
Related documentsA101+TSP60

Ask a question about this manual
Ask about setup, troubleshooting, compatibility, parts, safety, or missing instructions. Manuals+ will review the question and use this page’s manual context to help answer it.