
1. Introduction
The Modiwell Loo Seal Series Dry Flush Toilet is a waterless, odorless, and self-contained portable sanitation solution designed for various environments. It features automatic thermal waste disposal technology, eliminating the need for water or complex plumbing. This rechargeable unit is ideal for RVs, vans, boats, tiny houses, off-grid living, camping, and other outdoor adventures or temporary indoor needs.

Image: The Modiwell Dry Flush Toilet positioned inside a camper van, showcasing its compact and portable design for travel and outdoor use.
Video: An overview of the Modiwell Dry Flush Toilet, highlighting its key features and benefits for portable sanitation.
2. What's Included
Your Modiwell Loo Seal Series Dry Flush Toilet package includes the following items:
- Electric Dry Flush Toilet
- 2 rolls of garbage bags (30 uses per roll)
- 60 coagulant pouches
- 1 charging cable (14V/2A)
- Instruction manual

Image: A visual representation of all items included in the Modiwell Dry Flush Toilet package, such as the toilet unit, waste bags, coagulant, and charging cable.
3. Specifications
| Feature | Detail |
|---|---|
| Model Number | Loo Seal Series |
| Item Weight | 17 pounds |
| Product Dimensions | 17 x 17 x 11 inches |
| Material | Engineering Plastics, Stainless Steel |
| Battery Capacity | 5200mAh (supports 70–100 uses per full charge) |
| Weight Capacity | Up to 350 lbs |
4. Setup
4.1. Unfolding Support Legs
- Carefully place the toilet on a stable, flat surface.
- Locate the foldable support legs on the sides of the unit.
- Gently pull each leg outwards and downwards until it locks securely into place, forming a stable base.

Image: A user demonstrating the unfolding of the sturdy metal support legs, preparing the toilet for use.
4.2. Installing Waste Bags
- Open the top cover of the toilet.
- Remove the cushion and then take off the fastening ring.
- Place a new film roll onto the designated base, ensuring the arrow on the film roll's straps faces upward.
- Undo the four straps, remove them, and secure the fastening rings.
- Pull out the first layer of the film, lift it up approximately 8 inches, and push the film roll into the toilet.
- Push the guide into the middle of the guide wheel until there's no resistance.
- Replace the cushion and close the top cover.
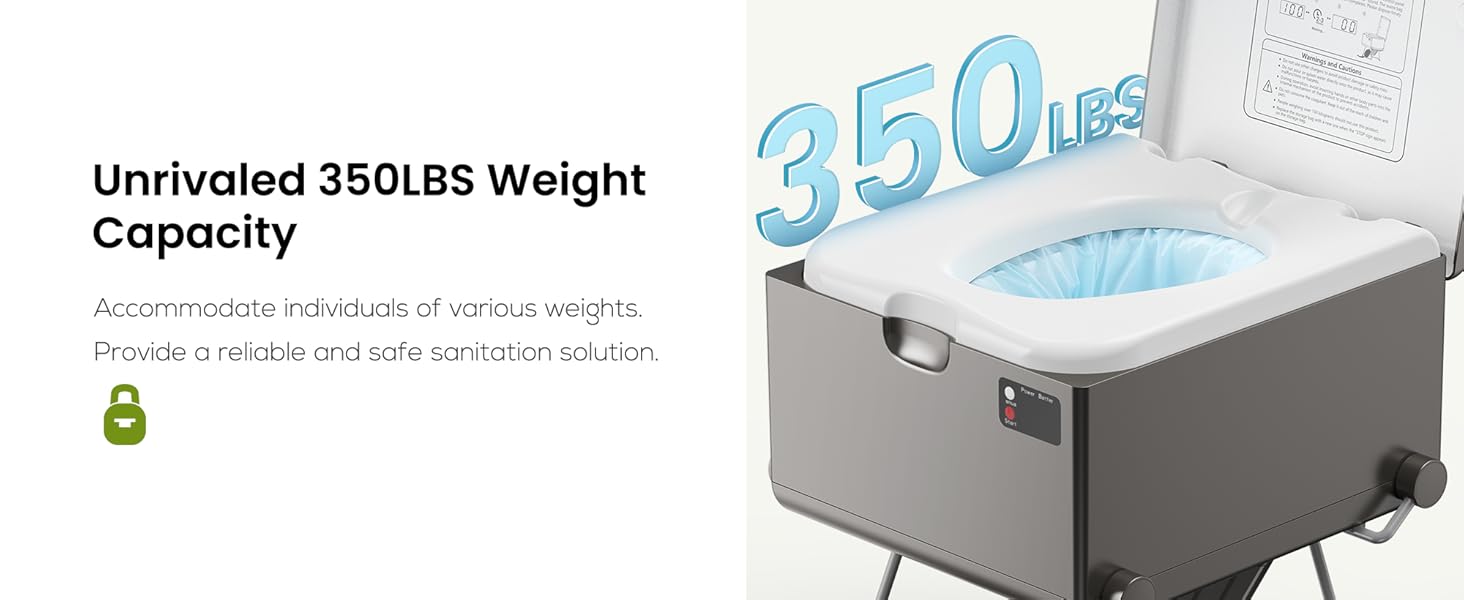
Image: A visual guide illustrating the six steps required to correctly install the waste bags into the toilet unit.
Video: A demonstration by Modiwell on how to properly install the waste bags and prepare the toilet for use.
4.3. Fixed Installation (Optional)
For permanent installation on wooden floors, you can directly screw the fixed tighten screws. For other floor types, purchase expansion screws separately before installation.
- Knock the expansion nail into the floor.
- Open the folding leg and place it between the two holes.
- Install the U-Shaped Conduit Clamps.
- Screw the fixed tighten screws.
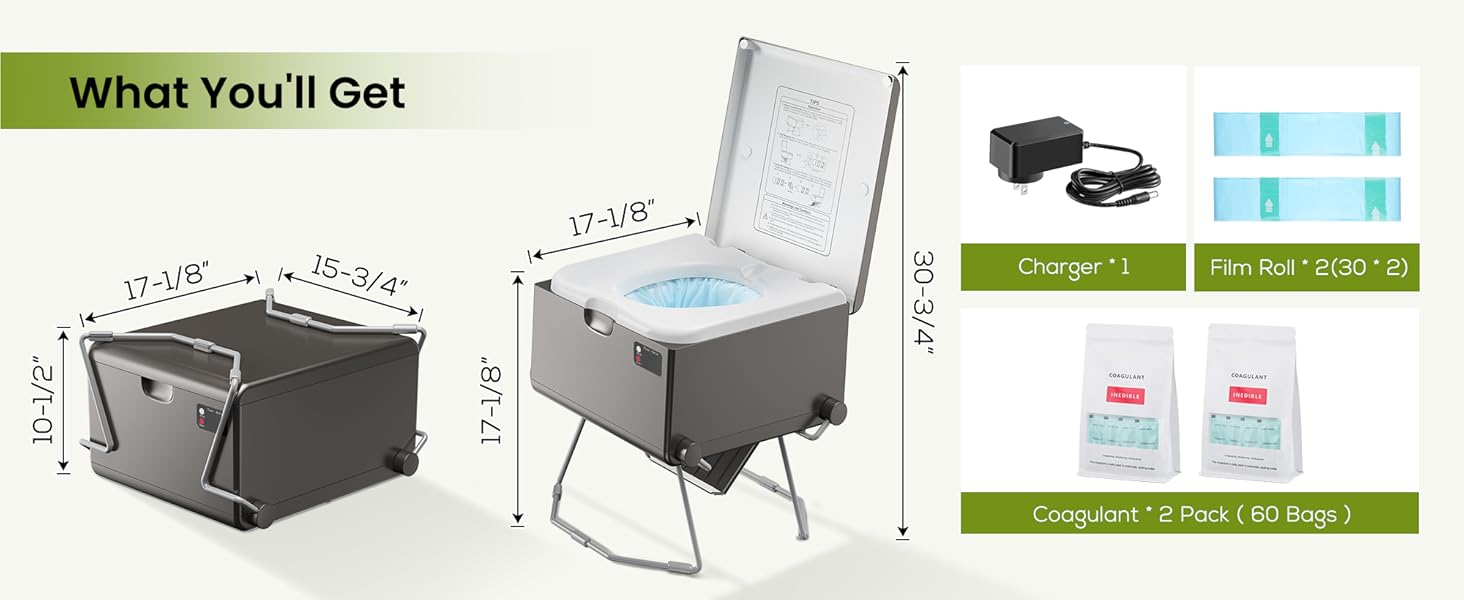
Image: A four-step diagram illustrating how to securely fix the toilet to a floor, including the use of expansion nails and U-shaped clamps.
5. Operating Instructions
5.1. Power On
Press the power button located on the back of the unit to turn on the toilet. The control panel on the front will display the battery level.
5.2. Adding Coagulant
For liquid waste, pour one packet of coagulant into the toilet bowl before use. This helps to solidify liquid waste and prevent odors.

Image: A hand pouring a packet of coagulant powder into the toilet bowl, which helps to solidify liquid waste and neutralize odors.
5.3. One-Click Flushing
- After using the toilet, ensure the top cover is closed.
- Press and hold the red "Start" button on the control panel for 2 seconds to begin the automatic sealing process.
- The control panel will display a countdown (approximately 2-3 minutes) as the waste is sealed and cut off.
- Once the process is complete, the sealed waste bag will drop into the collection area below.

Image: A close-up of a finger pressing the 'Start' button on the toilet's control panel, initiating the automatic sealing process.
Video: A demonstration of the one-click flushing mechanism, showing the toilet automatically sealing and packaging waste.
5.4. Waste Disposal
Once the waste bag is sealed and dropped, it can be easily removed from the bottom of the unit. Dispose of the sealed bag in a standard trash receptacle.

Image: A sealed waste bag is shown dropping from the bottom of the toilet, ready for convenient and hygienic disposal.
6. Charging the Product
The Modiwell Dry Flush Toilet is equipped with a built-in 5200mAh rechargeable battery. To charge the unit:
- Locate the charging port on the back of the toilet.
- Connect the provided 14V/2A charging cable to the port.
- Plug the charger into a suitable power outlet.
- A full charge supports 70–100 uses. It is recommended to charge the unit when the battery level drops below 25%.

Image: A hand connecting the charging cable to the designated port on the toilet, indicating the recharging process.
7. Maintenance
7.1. Bag Replacement
Replace the film roll when the indicator shows it is empty or when the


