
ARCCAPTAIN MIG 200
ARCCAPTAIN MIG Welder 200Amp User Manual
Model: MIG 200
Introduction
This manual provides comprehensive instructions for the safe and effective operation, setup, and maintenance of your ARCCAPTAIN MIG Welder, 200Amp, and the accompanying Welding Helmet. Please read this manual thoroughly before operating the equipment to ensure proper use and to prevent injury or damage.

Figure 1: ARCCAPTAIN MIG Welder 200Amp with included Welding Helmet.
Safety Information
Always prioritize safety when operating welding equipment. Failure to follow safety guidelines can result in serious injury or death.
- Electric Shock Can Kill: Do not touch live electrical parts. Wear dry insulating gloves and clothing. Insulate yourself from work and ground.
- Fumes and Gases Can Be Dangerous: Keep your head out of the fumes. Use ventilation or exhaust to remove fumes from the breathing zone.
- Arc Rays Can Burn Eyes and Skin: Wear a welding helmet with a proper shade of filter to protect your face and eyes. Wear appropriate eye protection with side shields. Wear protective clothing made from durable, flame-resistant material.
- Fire and Explosion Hazard: Remove all flammables from the welding area. Have a fire extinguisher nearby.
- Hot Parts Can Cause Severe Burns: Allow hot parts to cool before handling. Wear insulated gloves.
- Magnetic Fields: Pacemaker wearers should consult their doctor before operating.
Setup
Before operating the welder, ensure all components are correctly connected and the work area is prepared.
- Unpacking: Carefully remove the welder and all accessories from the packaging. Inspect for any shipping damage.
- Power Connection: Connect the welder to a suitable power supply. The ARCCAPTAIN MIG 200 supports dual voltage (110V/220V) operation. Ensure the correct voltage is selected if applicable.
- Ground Clamp Connection: Attach the ground clamp cable to the appropriate terminal on the welder and securely fasten the clamp to the workpiece or work table, ensuring good electrical contact.
- MIG Torch Connection: Connect the MIG torch to the front panel of the welder. Ensure it is securely tightened.
- Wire Spool Installation: Open the wire feed compartment. Install the appropriate welding wire spool (.023”/.030”/.035” solid wire, .023”/.030”/.035” flux core wire, or .035”/.045” aluminum wire) onto the spindle. Thread the wire through the feed rollers and into the liner.
- Gas Connection (for Gas MIG): If performing Gas MIG welding, connect your shielding gas cylinder (e.g., CO2, Argon, or Argon/CO2 mix) to the gas inlet on the rear of the welder using the provided gas hose. Ensure all connections are leak-free.
- Welding Helmet Preparation: Ensure the welding helmet is assembled and the auto-darkening filter is functioning correctly.

Figure 2: ARCCAPTAIN MIG Welder with connected cables and accessories, ready for setup.
Operating Modes
The ARCCAPTAIN MIG Welder 200Amp is a versatile 6-in-1 multi-process welding machine, offering various welding capabilities.
- Gas/Solid Wire MIG (GMAW): For welding with solid wire and shielding gas.
- Gasless Flux Core MIG (FCAW): For welding with flux-cored wire without external shielding gas.
- Stick/MMA: For manual metal arc welding with coated electrodes.
- Spot Welding: For joining overlapping metal sheets at specific points.
- Lift TIG: For tungsten inert gas welding (TIG torch not included).
- Spool Gun Connector: For connecting an optional spool gun, typically used for aluminum welding (spool gun not included).
Select the desired welding mode using the control panel. The large LED display provides clear indications of the selected mode and parameters.

Figure 3: The control panel illustrating the 6-in-1 multi-function welding capabilities.
Synergic Control
The synergic control feature simplifies parameter setup, making it easier for both beginners and experienced welders.
- Press "SYN" Button: Activate the synergic mode.
- Choose Wire Diameter: Select the diameter of the welding wire you are using (.023”, .030”, .035”, .040”).
- Choose Gas/Material: Select the type of shielding gas (e.g., Fe CO2, Fe MIX) or material (e.g., Flux, CrNi, AlMg) you are welding.
The welder will automatically set the recommended current and wire feeding speed based on your selections. You can then fine-tune these parameters according to your specific welding habits and requirements.
The machine also features 2T/4T welding modes and allows for storing up to 10 preset settings for each welding mode, enhancing convenience for repetitive tasks.

Figure 4: Close-up of the digital control panel demonstrating synergic parameter matching.
Welding Helmet
The included welding helmet provides essential eye and face protection during welding operations.

Figure 5: The ARCCAPTAIN Welding Helmet with skull and flame design.
Features:
- Fast Darkening: Upgraded dimming system with 0.04ms darkening without delay to protect eyes.
- Arc Sensors: Equipped with 4 premium arc sensors for reliable arc detection.
- Response Time: 25000/1s response time.
- True Color Technology: Provides a clearer view of the weld puddle.
- Durable Material: Constructed from PA durable material.
- Drop Protection: Designed for military-grade drop protection, offering corrosion, shock, and flame resistance.
- Lightweight and Comfortable: Engineered for extended wear comfort.

Figure 6: Illustration of the fast darkening technology in the welding helmet.
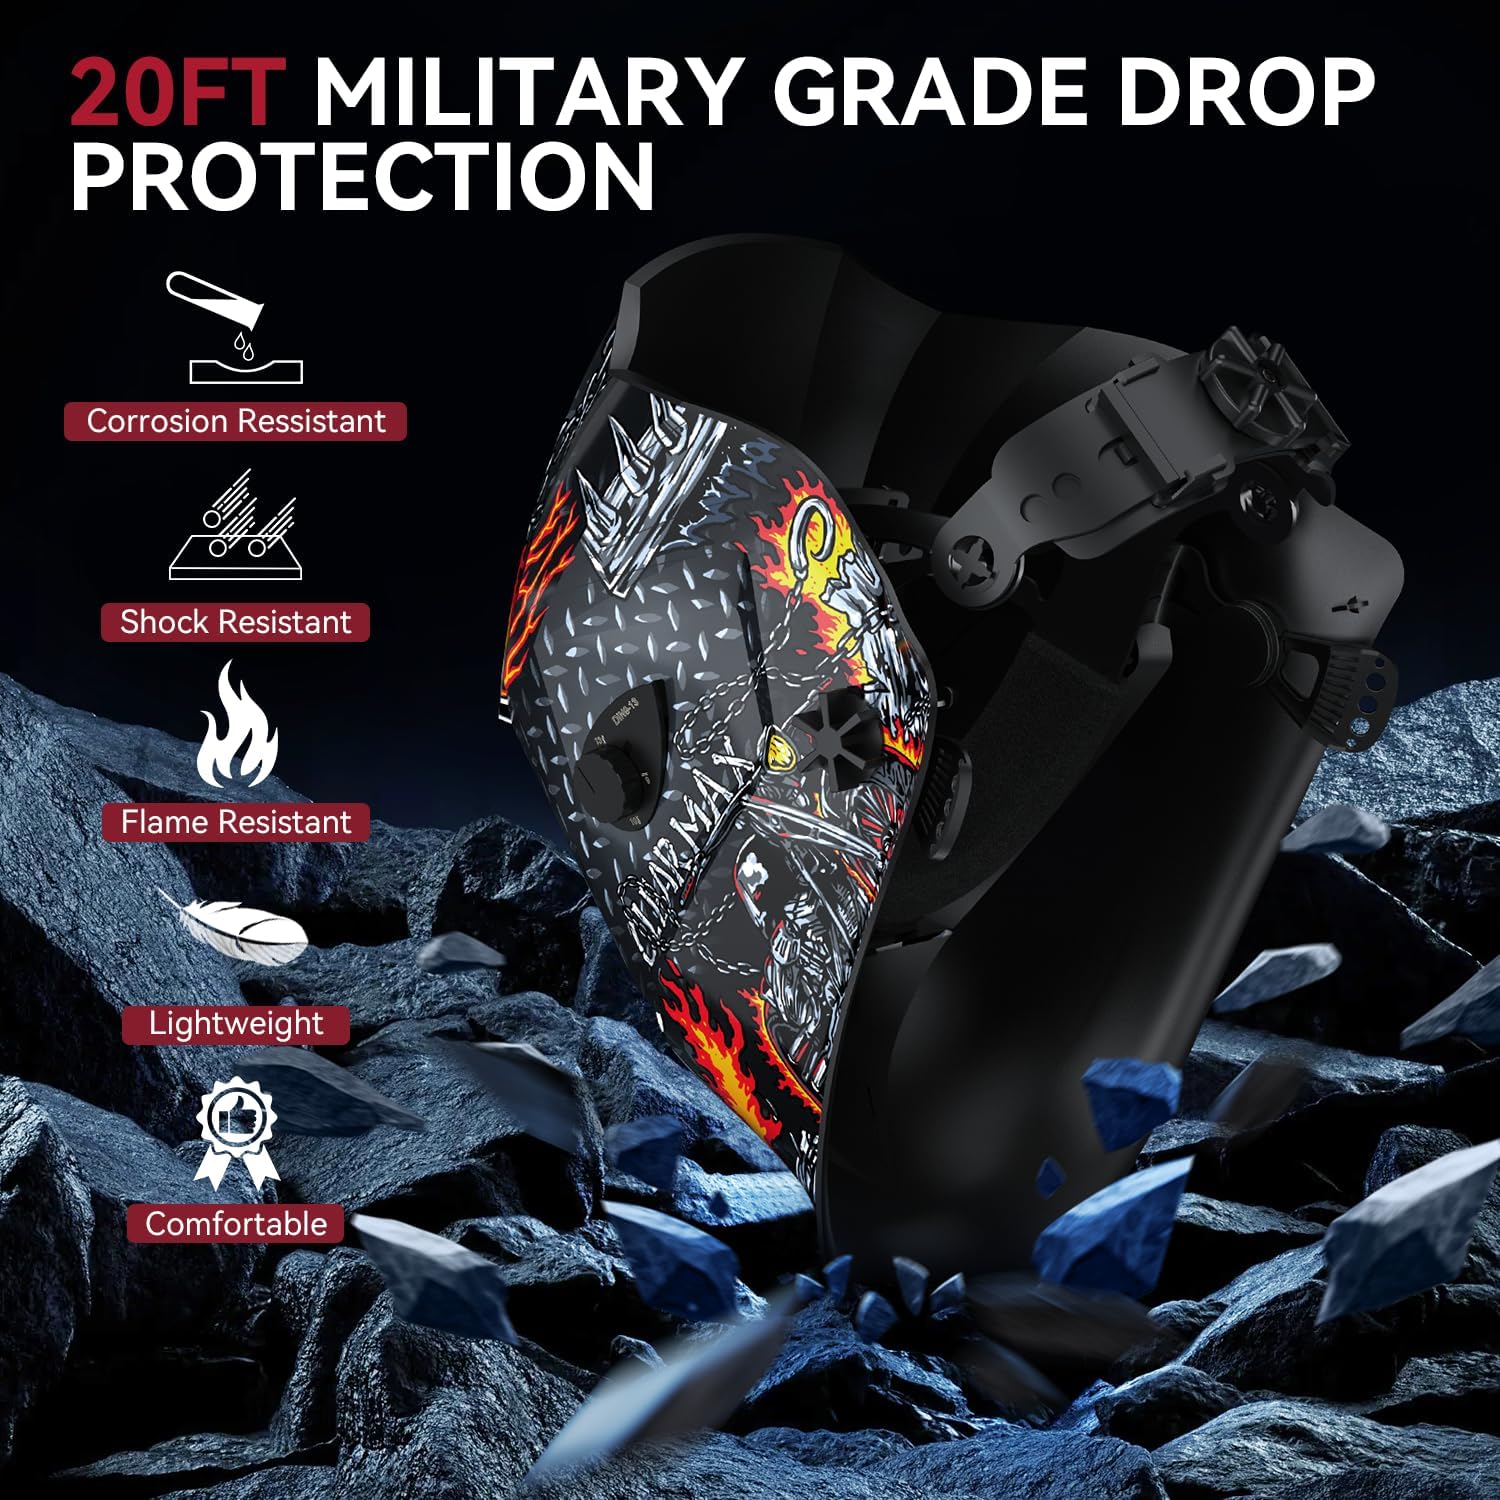
Figure 7: Depiction of the helmet's military-grade drop protection and material properties.

Figure 8: A user demonstrating the ARCCAPTAIN Welding Helmet in use, highlighting its features.
Maintenance
Regular maintenance ensures the longevity and optimal performance of your welding equipment.
- Cleaning: Regularly clean the welder's exterior and ventilation openings to prevent dust and debris buildup. Use compressed air to clear internal components if necessary, ensuring the machine is unplugged.
- Torch and Cable Inspection: Inspect the MIG torch, ground clamp, and power cables for any signs of wear, damage, or loose connections before each use. Replace damaged parts immediately.
- Wire Feed System: Check the wire feed rollers for wear and ensure they are clean and properly aligned for the wire size being used. Clean the torch liner periodically to prevent wire feeding issues.
- Welding Helmet: Clean the helmet's outer and inner lenses with a soft cloth and mild cleaner. Inspect the headgear for damage and ensure the auto-darkening filter is clean and responsive.
- Cooling Fan: The cooling fan operates only when needed, reducing noise and dust intake. Ensure the fan vents are not obstructed.
Troubleshooting
This section addresses common issues you might encounter during operation.
| Problem | Possible Cause | Solution |
|---|---|---|
| No power to welder | Power cord unplugged, circuit breaker tripped, machine switch off | Check power connections, reset breaker, turn on machine switch |
| No arc | Poor ground connection, wrong welding mode, wire feed issue, contact tip clogged | Ensure good ground, select correct mode, check wire feed, clean/replace contact tip |
| Poor wire feeding | Incorrect drive roller tension, wrong drive roller size, clogged liner, bent wire | Adjust tension, use correct rollers, clean liner, straighten wire spool |
| Welding helmet not darkening | Low battery, sensors obstructed, incorrect sensitivity setting | Check/replace battery, clean sensors, adjust sensitivity |
| Overheat protection activated | Exceeded duty cycle, poor ventilation | Allow machine to cool down, ensure adequate airflow around welder |
For issues not listed here, please contact ARCCAPTAIN customer support.
Specifications
Key technical specifications for the ARCCAPTAIN MIG Welder 200Amp.
- Product Type: 6-in-1 Multi-Process Welder
- Welding Processes: Gas/Solid Wire MIG (GMAW), Gasless Flux Core MIG (FCAW), Stick/MMA, Spot Welding, Lift TIG, Spool Gun Connector (optional)
- Output Current: 200 Amp (Max)
- Wire Compatibility:
- Solid Wire: .023”/.030”/.035”
- Flux Core Wire: .023”/.030”/.035”
- Aluminum Wire: .035”/.045”
- Control: Digital Synergic Control
- Display: Large LED Display
- Special Functions: Adaptive Crater, Burn-back Adjustment, Pre-flow/Post-flow, 2T/4T, 10 Preset Settings Storage
- Safety Features: VRD, Over Current/Over Voltage/Over-load/Overheating Protection
- Cooling: Smart Cooling Fan (operates only when needed)
- Portability: Easy to carry with handle or shoulder strap
Welding Helmet Specifications:
- Darkening Speed: 0.04ms
- Arc Sensors: 4 Premium Arc Sensors
- Response Time: 1/25000s
- Material: PA Durable Material
- Protection: Corrosion Resistant, Shock Resistant, Flame Resistant, 20FT Military Grade Drop Protection
- Features: True Color Technology, Lightweight, Comfortable
Warranty and Support
ARCCAPTAIN stands behind the quality of its products.
- Warranty: This product comes with a 2-Year Warranty.
- Money Back Guarantee: A 30-Day Money Back Guarantee is offered.
- Customer Service: For technical support, warranty claims, or any inquiries, please contact ARCCAPTAIN customer service. Refer to the product packaging or the official ARCCAPTAIN website for contact details.
Related documentsMIG 200

Ask a question about this manual
Ask about setup, troubleshooting, compatibility, parts, safety, or missing instructions. Manuals+ will review the question and use this page’s manual context to help answer it.