1. Introduction
This manual provides detailed instructions for the setup, operation, and maintenance of your KETOTEK Wireless Weather Station E0164-DE. This device offers comprehensive weather information including indoor/outdoor temperature and humidity, weather forecasts, barometric pressure, and also functions as a DCF radio-controlled clock with alarm features.
For optimal performance, please read this manual thoroughly before use and retain it for future reference.
2. Package Contents
Upon unpacking, please verify that all items listed below are present and in good condition:
- 1x KETOTEK Wireless Weather Station (Main Unit)
- 1x Wireless Outdoor Sensor
- 1x AC Power Adapter (5V, 0.6A)
- 1x User Manual
Note: 2x AA batteries for the outdoor sensor and 2x AAA batteries for the main unit's backup memory are not included.
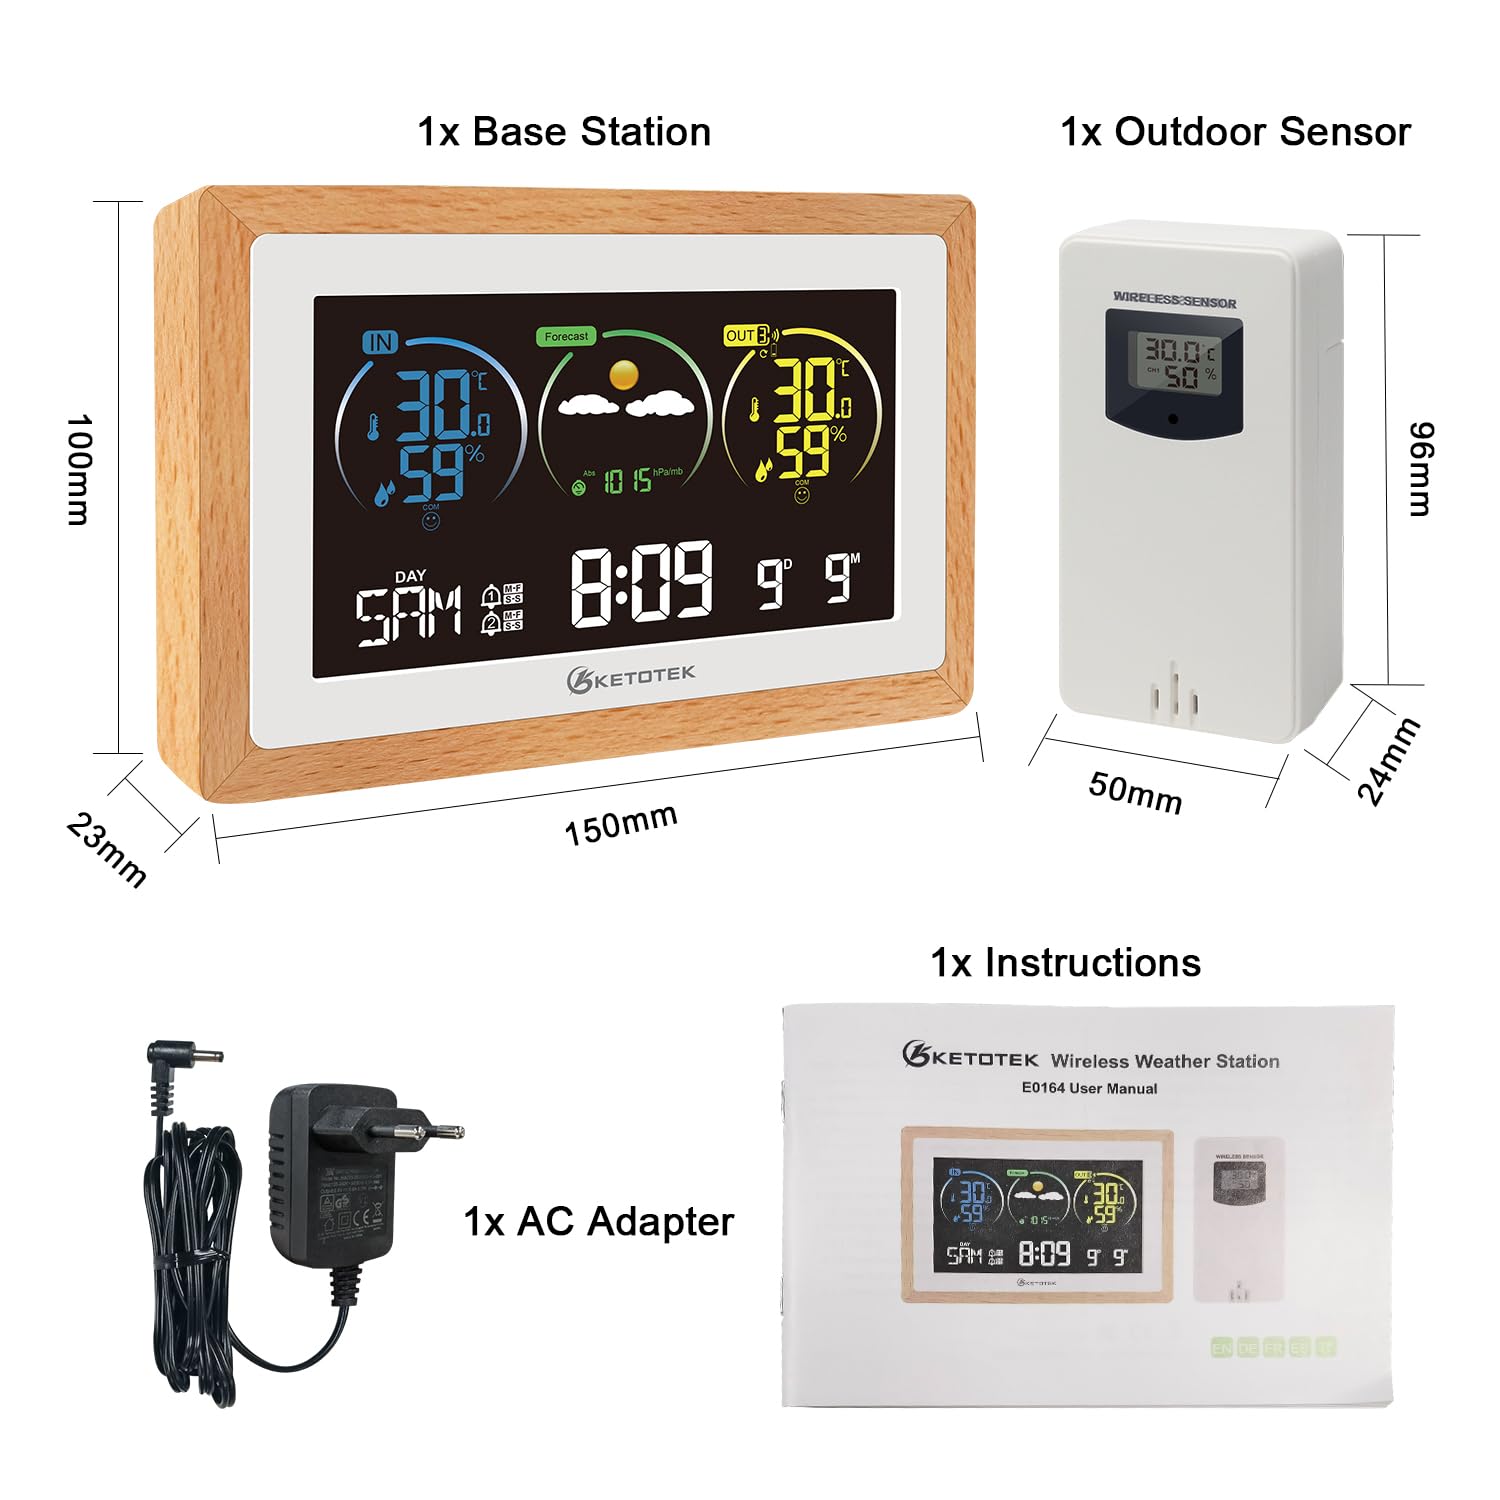
Image: Contents of the KETOTEK Wireless Weather Station package, showing the main display unit, the wireless outdoor sensor, the AC power adapter, and the user manual. Dimensions of the main unit (150mm x 100mm x 23mm) and sensor (50mm x 96mm x 24mm) are also indicated.
3. Setup Guide
- Powering the Outdoor Sensor:
Open the battery compartment of the wireless outdoor sensor. Insert 2x AA 1.5V batteries, ensuring correct polarity. Close the compartment securely.
- Powering the Main Unit:
Insert 2x AAA 1.5V batteries into the main unit's battery compartment for backup memory (optional, but recommended). Connect the provided AC power adapter to the main unit and plug it into a power outlet. The display will illuminate.
- Sensor Pairing:
The main unit will automatically search for the outdoor sensor. Ensure the sensor is within range (up to 60 meters / 197 feet in open air). Once connected, the outdoor temperature and humidity will appear on the main unit's display.

Image: The KETOTEK Weather Station main unit displaying indoor and outdoor readings, with three example placements for additional outdoor sensors (CH1, CH2, CH3) in a living room, bedroom, and balcony, illustrating its multi-sensor capability.
- DCF Radio-Controlled Clock Setup:
Upon initial power-up, the main unit will automatically attempt to receive the DCF radio signal for time synchronization. This process may take several minutes. The DCF icon will flash during reception and become solid once synchronized. If reception fails, the time can be set manually.
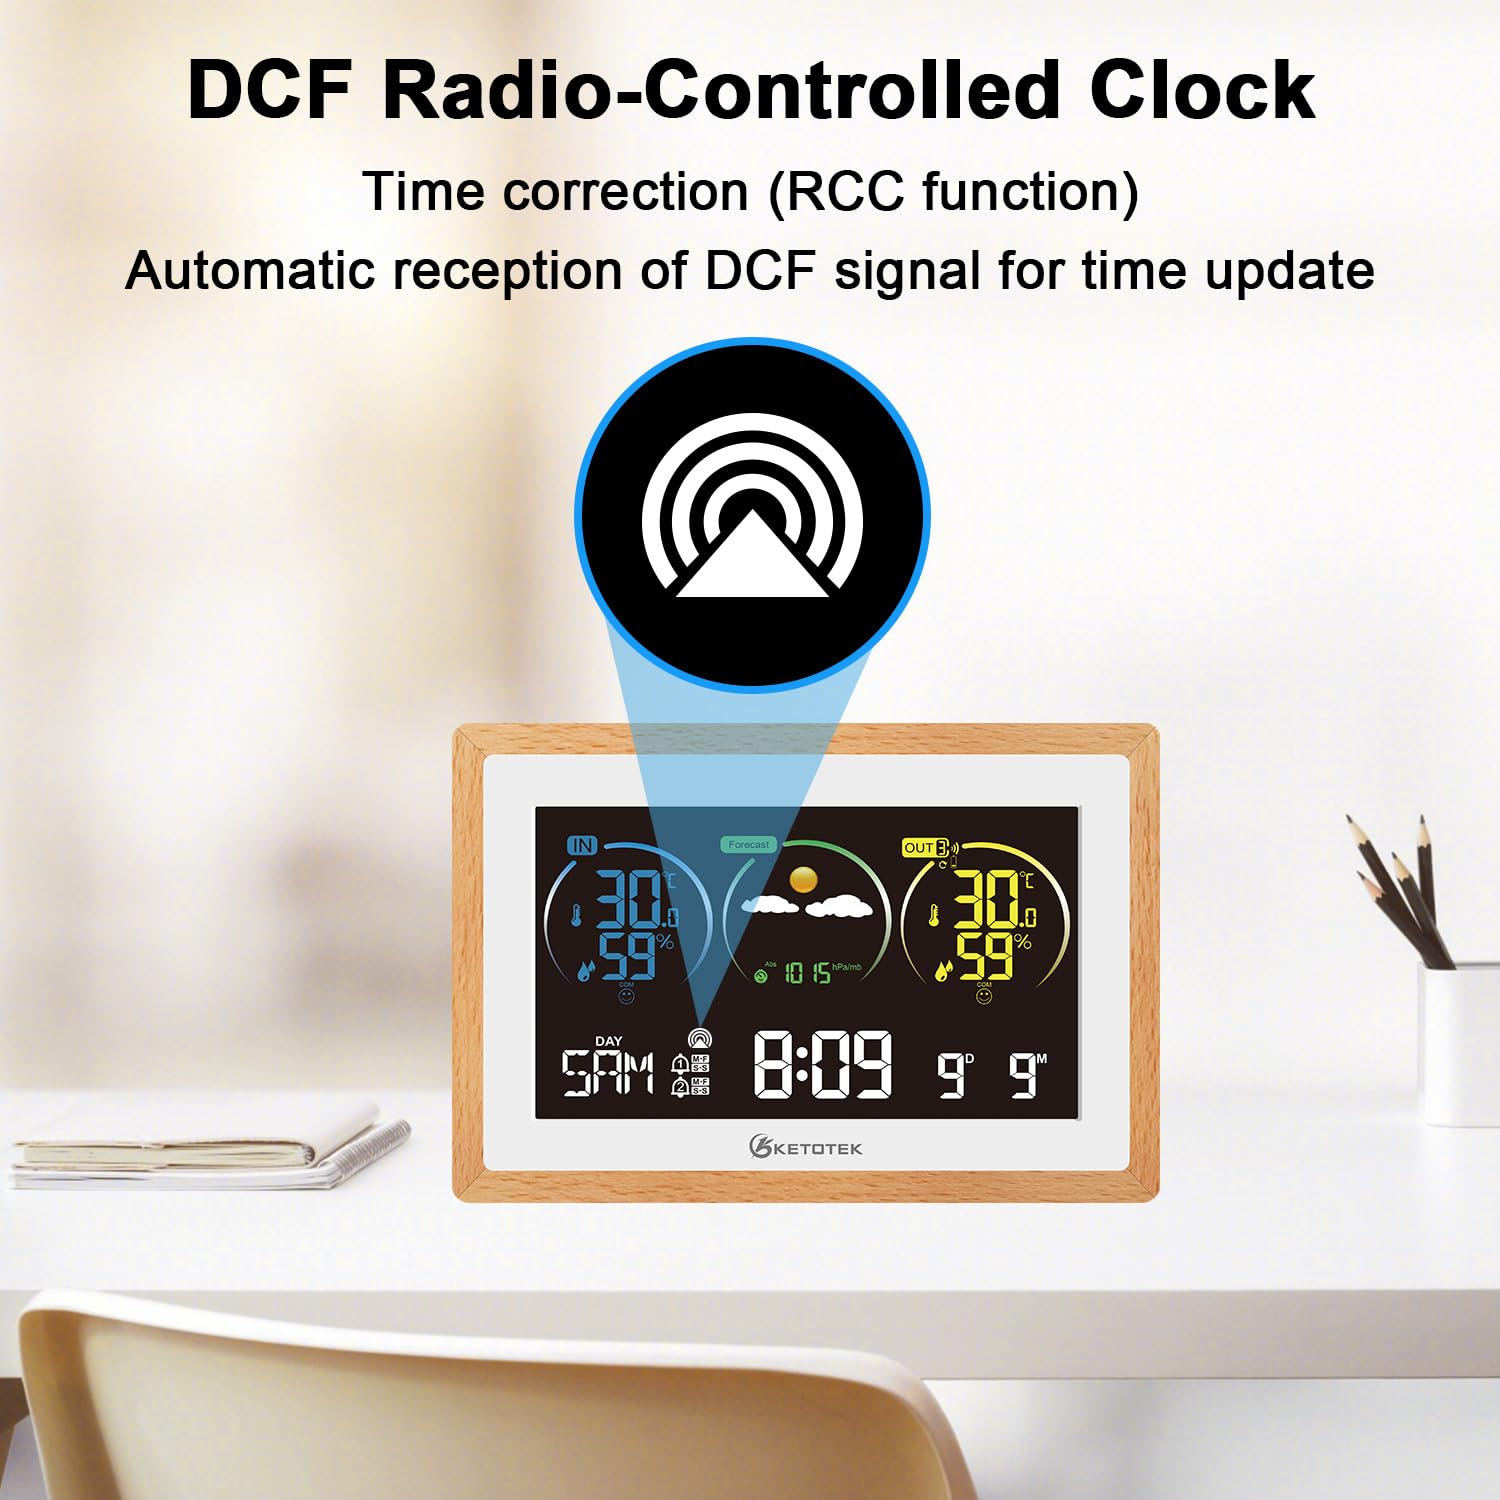
Image: The KETOTEK Weather Station main unit on a desk, highlighting the DCF Radio-Controlled Clock function with an icon indicating automatic time correction (RCC function) and reception of the DCF signal for time updates.
- Manual Time and Date Setting:
If DCF reception is unavailable or you prefer manual setting, press and hold the "SET" button (or similar, typically indicated by a clock icon) on the back of the unit for 3 seconds. Use the "+" and "-" buttons to adjust values and "SET" to confirm and move to the next setting. Settings typically include DCF activation, DST, time zone, 12/24 hour format, hour, minute, year, month, day, temperature unit (°C/°F), language for day of week, and barometric pressure unit.
4. Operating Instructions

Image: The KETOTEK Weather Station main unit on a desk, illustrating its multifunctional capabilities with icons representing temperature, humidity, barometer, ice alert, alarm clock, calendar, backlight, weather forecast, temperature alert, DCF radio clock, comfort indicator, maximum/minimum values, and Celsius/Fahrenheit selection.
4.1 Display Overview
The large VA display provides clear, color-coordinated information at a glance. Key areas include:
- Indoor Readings: Temperature and humidity inside the main unit's location.
- Outdoor Readings: Temperature and humidity from the wireless outdoor sensor.
- Weather Forecast: Icons indicating predicted weather conditions for the next 12 hours.
- Time and Date: Current time, day of the week, and date.
- Barometric Pressure: Current atmospheric pressure.
- Comfort Indicator: Visual representation of indoor comfort levels based on temperature and humidity.
- Max/Min Values: Records of highest and lowest temperature/humidity.
4.2 Weather Forecast
The station analyzes barometric pressure trends to predict weather conditions for the next 12 hours. Icons displayed include sunny, slightly cloudy, cloudy, rainy, stormy, and snowy.

Image: The KETOTEK Weather Station main unit on a desk, showing a grid of weather forecast icons (sunny, slight cloudy, cloudy, rainy, stormy, snowy) and how they appear on the display, indicating predictions for the next 12 hours.
4.3 Alarm Clock and Snooze Function
The weather station includes an alarm clock function. You can set one or two independent alarms. When an alarm sounds, press the "SNOOZE" button to temporarily silence it for 1-30 minutes (configurable). Press any other button to stop the alarm for the day.

Image: A close-up of the KETOTEK Weather Station main unit on a kitchen counter, with a yellow alarm clock icon overlaid, emphasizing its alarm clock feature.
4.4 Backlight Adjustment
The backlight behavior depends on the power source:
- AC Power Adapter: The backlight remains permanently on. You can adjust its brightness through 4 levels (LV1, LV2, LV3, OFF) using the dedicated backlight button (often labeled with a sun icon or similar).
- Battery Power: To conserve battery life, the backlight will only illuminate for 10 seconds when a button is pressed.

Image: Two KETOTEK Weather Station units side-by-side on a desk. The left unit shows the AC adapter connected, indicating permanent dimmable lighting. The right unit shows batteries inserted, indicating 10-second lighting when a button is pressed.

Image: A series of four KETOTEK Weather Station displays showing different backlight levels (LV3, LV2, LV1, OFF) and two lifestyle images of people using the station, illustrating the adjustable illumination when powered by the AC adapter.
4.5 Max/Min Temperature and Humidity
The station records the maximum and minimum indoor and outdoor temperature and humidity values over a 24-hour period. Press the "MAX/MIN" button to cycle through these recorded values. To clear the records, press and hold the "MAX/MIN" button.
4.6 Temperature Alert
You can set upper and lower temperature limits for the outdoor sensor. If the outdoor temperature exceeds or falls below these set limits, an audible and/or visual alert will be triggered.

Image: The KETOTEK Weather Station main unit with an overlay showing a wide temperature range (-40°C to 70°C) and a yellow alert icon, indicating its temperature alert functionality for extreme conditions.
5. Specifications
| Feature | Detail |
|---|---|
| Model Number | E0164-DE |
| Main Unit Dimensions | 150 x 100 x 23 mm |
| Outdoor Sensor Dimensions | 50 x 96 x 24 mm |
| Weight | Approximately 420 grams (main unit) |
| Power Source (Main Unit) | AC Power Adapter (included) or 2x AAA 1.5V Batteries (not included) |
| Power Source (Outdoor Sensor) | 2x AA 1.5V Batteries (not included) |
| Indoor Temperature Range | -9.9°C to +50°C / +14.2°F to +122°F |
| Outdoor Temperature Range | -40°C to +70°C / +40°F to +158°F |
| Humidity Range (Indoor/Outdoor) | 20%RH to 95%RH |
| Wireless Transmission Frequency | 433 MHz |
| Wireless Transmission Range | Up to 60 meters (197 feet) in open air |
| External Sensor Support | Up to 3 sensors |
| Special Features | DCF Radio-Controlled Clock, Weather Forecast, Barometer, Alarm with Snooze, Backlight Adjustment, Max/Min Records, Temperature Alerts |
6. Troubleshooting
- No display or faint display:
- Ensure the AC adapter is securely plugged in or that fresh batteries are installed in the main unit. If using batteries, the backlight only activates for 10 seconds after a button press.
- Outdoor sensor not connecting:
- Check if the outdoor sensor has fresh batteries and is powered on.
- Ensure the sensor is within the 60-meter transmission range of the main unit.
- Reduce obstacles (thick walls, metal objects, electronic devices) between the sensor and the main unit.
- Try re-pairing: Remove batteries from both units, wait a few minutes, then reinsert batteries into the outdoor sensor first, followed by the main unit.
- Incorrect time displayed:
- Verify that the DCF radio signal icon is solid, indicating successful reception. If it's flashing or absent, try placing the unit near a window or in an area with better signal reception.
- Manually set the time and date as described in the "Manual Time and Date Setting" section.
- Check the time zone setting.
- Inaccurate temperature/humidity readings:
- Ensure both the main unit and outdoor sensor are not exposed to direct sunlight, heat sources, or extreme drafts, which can affect readings.
- Place the outdoor sensor in a shaded, well-ventilated area.
- Compare readings with another reliable thermometer/hygrometer to confirm accuracy.
7. Maintenance
- Clean the display and unit surfaces with a soft, damp cloth. Avoid abrasive cleaners or solvents.
- Do not immerse the unit or sensor in water. The outdoor sensor is weather-resistant but not waterproof.
- If the unit will not be used for an extended period, remove all batteries to prevent leakage.
- Keep the unit and sensor away from extreme temperatures, direct sunlight, and strong vibrations.
8. Warranty and Support
KETOTEK products are designed for reliability and performance. For warranty information or technical support, please refer to the contact details provided on the product packaging or the official KETOTEK website. Please have your model number (E0164-DE) and purchase information ready when contacting support.


