
1. Introduction
Thank you for purchasing the YeeSite YS-062-720S 200W Stage Strobe Light Bar. This manual provides essential information for the safe installation, operation, and maintenance of your lighting fixture. Please read this manual thoroughly before use to ensure proper function and to prevent damage.

Image 1.1: The YeeSite YS-062-720S 200W Stage Strobe Light Bar, a versatile lighting fixture for various events.
2. Safety Information
To reduce the risk of electrical shock, fire, or injury, always follow these basic safety precautions:
- Read all instructions: Before operating the device, read and understand all safety and operating instructions.
- Power source: Connect the device only to a 110V AC, 50/60Hz power supply. Ensure the power cord is not damaged.
- Grounding: Always ensure the device is properly grounded to prevent electrical shock.
- Ventilation: Do not block ventilation openings. Ensure adequate airflow around the unit to prevent overheating.
- Moisture: Do not expose the device to rain or moisture. Do not use it in wet or damp locations.
- Servicing: Do not attempt to service this unit yourself. Refer all servicing to qualified service personnel.
- Mounting: Ensure the mounting surface or structure can support the weight of the fixture. Use appropriate mounting hardware.
- Eye protection: Avoid direct eye exposure to the light source, as it can be extremely bright and cause eye damage.
3. Product Overview
The YeeSite YS-062-720S is a high-performance stage lighting fixture combining strobe and wash functionalities. It features a robust all-metal construction and advanced LED technology for vibrant and dynamic lighting effects.
3.1 Key Features
- LED Configuration: Equipped with 480 x 0.2W RGB LEDs and 240 x 0.5W cool white LEDs.
- Beam Angle: Provides a wide 135° beam angle for extensive coverage.
- Controllable Segments: Features 72 individually controllable segments (48 RGB pixel zones and 24 cool white pixel zones) for intricate chasing and strobe effects.
- Control Modes: Supports DMX control (4, 16, and 168 channels), Master-Slave, and Stand-alone modes.
- Display: Intuitive LCD display with a 4-button menu for easy configuration.
- Mounting: Includes 180-degree variable mounting brackets for flexible installation (wall mount or floor stand).
- Power Linking: Mains input and output for power linking up to 4 units.
- Cooling: Integrated temperature-controlled fans within a cast aluminum housing for reliable cooling.
3.2 Components

Image 3.1: Detailed view of the light bar's components. Key features include DMX In/Out ports, a cooling fan, advanced optical LED chips, an LCD display with control buttons, heat sink, power In/Out connectors, a 180° mounting bracket, and durable metal housing.
- DMX In/Out: 3-pin DMX connectors for signal input and output.
- Cooling Fan: Ensures optimal operating temperature.
- Advanced Optical LED Chip: High-quality LEDs for bright and consistent output.
- LCD Display with Control Buttons: For navigating menus and setting parameters (MENU, UP, DOWN, ENTER).
- Heat Sink: Dissipates heat from the LEDs.
- Power In/Out: Power locking connectors for daisy-chaining multiple units.
- 180° Mounting Bracket: Adjustable bracket for various installation angles.
- Durable Metal Housing: Provides protection and structural integrity.
4. Setup
4.1 Unpacking
Carefully remove the light bar and all accessories from the packaging. Verify that all components listed in the 'Included Components' section of the specifications are present and undamaged. If any items are missing or damaged, contact your retailer immediately.
4.2 Mounting
The light bar can be mounted in various positions using the included 180-degree adjustable brackets. These brackets can serve as floor stands or be used for truss/wall mounting.
- Attach the mounting brackets to the desired surface or truss using appropriate clamps and safety cables (not included).
- Ensure the mounting point is secure and can support the weight of the fixture.
- Adjust the angle of the light bar using the bracket's locking mechanism.
4.3 Power Connection
Connect the provided power cord to the 'POWER IN' port on the light bar and then to a suitable 110V AC power outlet. For linking multiple units, connect the 'POWER OUT' of the first unit to the 'POWER IN' of the next unit. A maximum of 4 units can be power-linked.
4.4 DMX Connection (Optional)
If using DMX control, connect a DMX controller to the 'DMX IN' port of the first light bar using a 3-pin DMX cable. For multiple units, connect the 'DMX OUT' of the first unit to the 'DMX IN' of the next unit in a daisy-chain configuration. Terminate the last unit in the DMX chain with a DMX terminator (not included) to prevent signal reflection.
5. Operation
The light bar can be operated in several modes: DMX, Stand-alone (Auto Programs), and Master-Slave.
5.1 LCD Display and Control Buttons
The rear panel features an LCD display and four buttons: MENU, UP, DOWN, and ENTER. These buttons are used to navigate through the settings and select operating modes.
- MENU: Cycles through main menu options.
- UP/DOWN: Navigates through options or adjusts parameter values.
- ENTER: Confirms selection or saves changes.
5.2 DMX Control Mode
This mode allows external control of the light bar via a DMX controller. The light bar offers 3 DMX channel modes: 4, 16, and 168 channels, providing varying levels of control granularity.
- Press the MENU button until 'DMX Address' or similar option appears.
- Use UP/DOWN to set the desired DMX starting address. Press ENTER to confirm.
- Select the desired DMX channel mode (4, 16, or 168 channels) from the menu.
- Refer to the DMX chart in the full user manual for specific channel functions (e.g., dimmer, strobe, RGB control, segment control).
5.3 Stand-alone Mode (Auto Programs)
The light bar has built-in programs that can run automatically without an external controller.

Image 5.1: Visual representation of some of the 128 RGB and 64 cool white built-in programs available in stand-alone mode.
- Press the MENU button until 'Auto Program' or 'Show Mode' appears.
- Use UP/DOWN to browse through the available pre-programmed shows (128 RGB programs, 64 cool white programs).
- Press ENTER to select and activate a program.
- Adjust program speed or brightness if available in the menu.
5.4 Master-Slave Mode
This mode allows multiple light bars to synchronize their effects, with one unit acting as the master and others as slaves.
- Master Unit: Set one light bar to either DMX mode (if controlled by a DMX controller) or Stand-alone mode (if running internal programs).
- Slave Units: For all other light bars, navigate to the menu and select 'Slave Mode'.
- Connect the DMX OUT of the master unit to the DMX IN of the first slave unit, and continue daisy-chaining for subsequent slave units.
- The slave units will now mirror the effects of the master unit.
5.5 Individually Controllable Segments
The light bar features 72 individually controllable segments. The cool white LEDs can be managed in 24 pixel segments, while the RGB LEDs offer 48 controllable areas. This allows for advanced pixel mapping and dynamic chasing effects when using a DMX controller with sufficient channels (e.g., 168-channel mode).
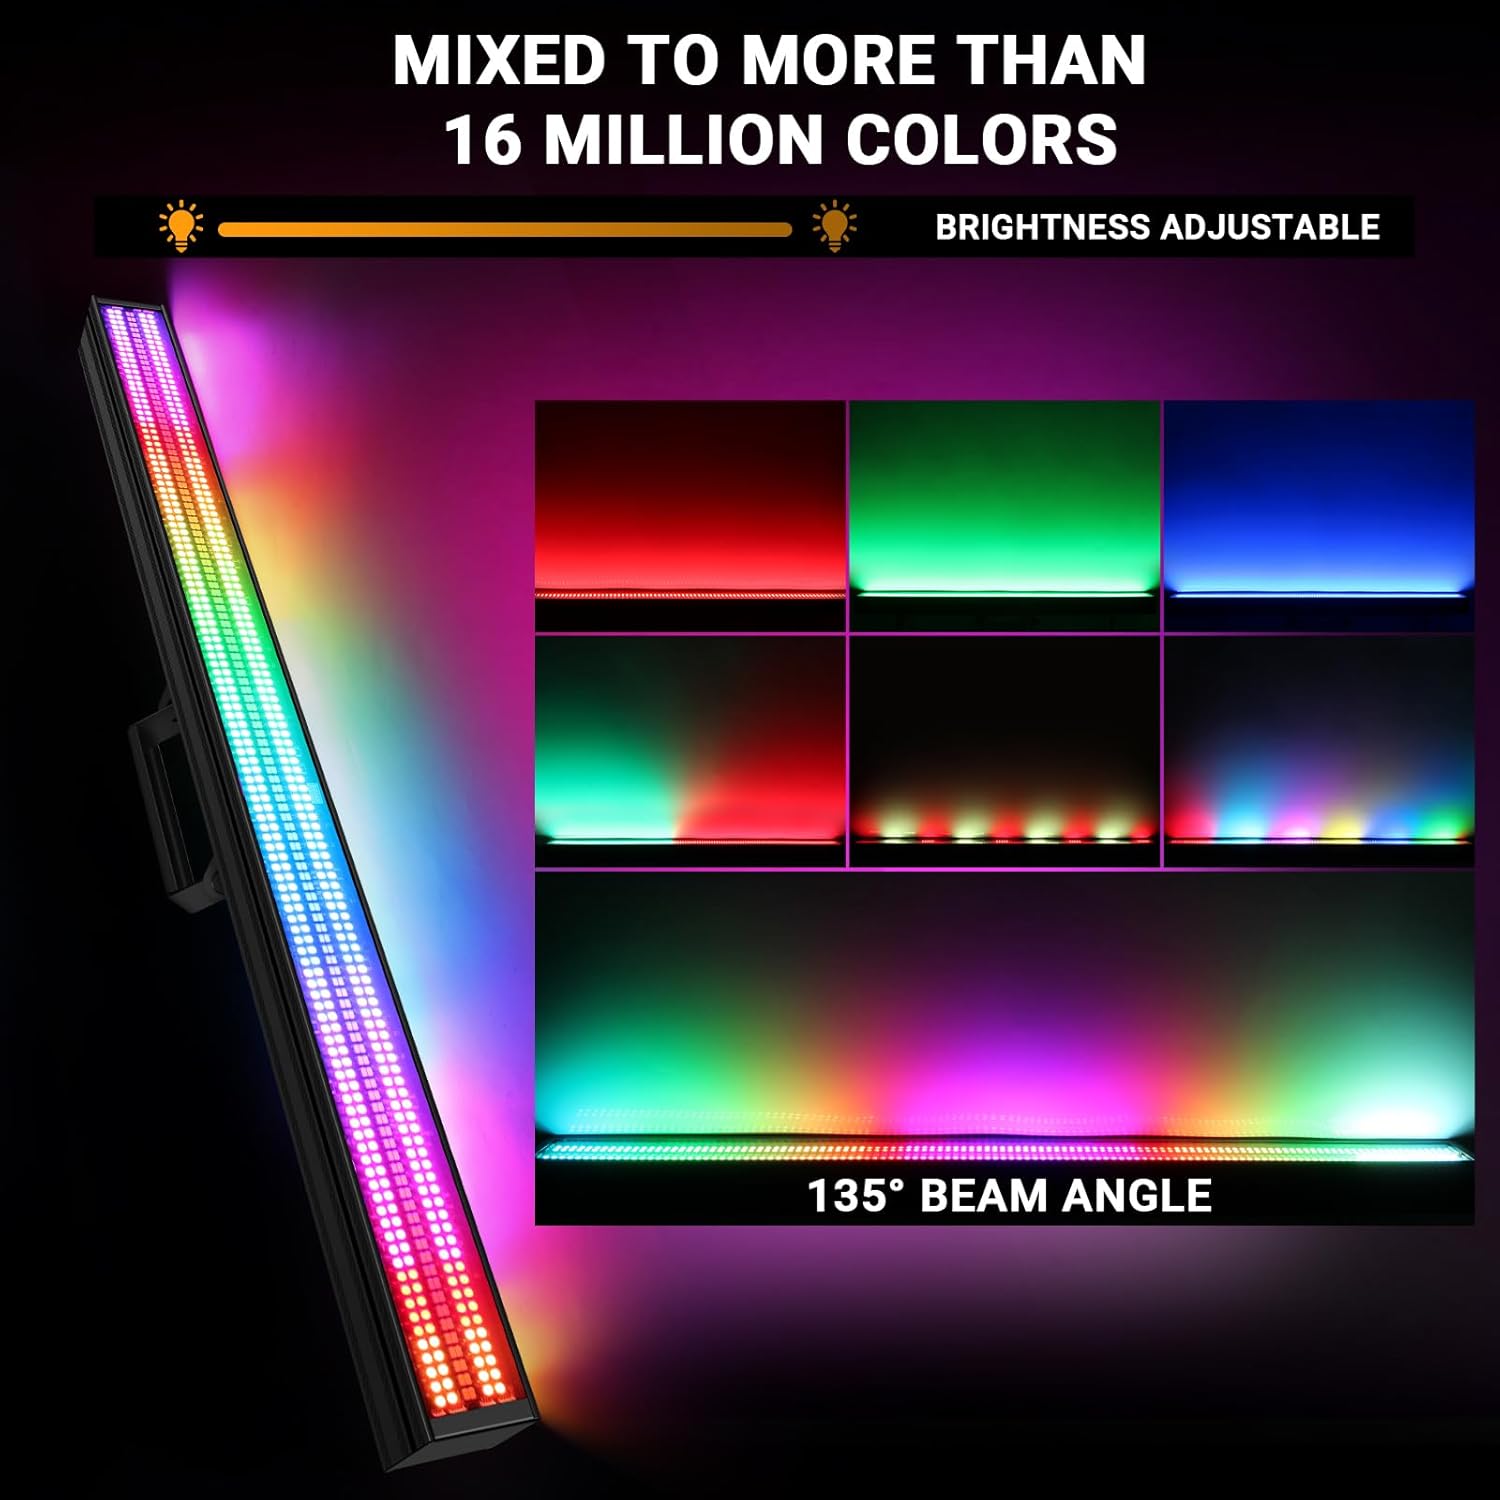
Image 5.2: The light bar's capabilities, showing RGB wash light, high brightness cool white strobe, and the granular control over 48 RGB pixel segments and 24 cool white pixel segments, totaling 72 pixel mapping zones.
6. Maintenance
Regular maintenance ensures the longevity and optimal performance of your light bar.
- Cleaning: Periodically clean the exterior of the fixture with a soft, dry cloth. Do not use harsh chemicals or abrasive materials.
- Lens Cleaning: Gently clean the LED lenses with a soft, lint-free cloth and a mild glass cleaner if necessary. Ensure no liquid enters the fixture.
- Fan and Vents: Ensure the cooling fan and ventilation openings are free from dust and debris. Use compressed air to clear blockages if needed.
- Cable Inspection: Regularly inspect power and DMX cables for any signs of damage, fraying, or loose connections. Replace damaged cables immediately.
- Storage: When not in use for extended periods, store the light bar in a dry, dust-free environment, preferably in its original packaging or a protective case.
7. Troubleshooting
If you encounter issues with your light bar, refer to the following common problems and solutions:
| Problem | Possible Cause | Solution |
|---|---|---|
| Light bar does not power on. | No power supply; faulty power cable; internal fuse blown. | Check power connection; test power cable; contact service personnel for fuse replacement. |
| No DMX control. | Incorrect DMX address; faulty DMX cable; no DMX signal; missing DMX terminator. | Verify DMX address and channel mode; check DMX cable connections; ensure DMX controller is active; add DMX terminator to the last unit. |
| Lights flicker or behave erratically. | Poor DMX signal; power fluctuations; overheating. | Check DMX connections and termination; ensure stable power supply; ensure adequate ventilation. |
| Some LEDs or segments are not working. | Internal component failure. | Contact qualified service personnel. |
| Display shows error code. | Specific internal issue. | Refer to the full user manual for error code definitions or contact support. |
If the problem persists after attempting these solutions, please contact YeeSite customer support or a qualified technician.
8. Specifications
| Feature | Detail |
|---|---|
| Model Number | YS-062-720S |
| Light Source | 720 LEDs (480 x 0.2W RGB, 240 x 0.5W Cool White) |
| Wattage | 200 Watts |
| Light Output Maximum | 36000 Lumens |
| Beam Angle | 135 Degrees |
| Control Modes | DMX (4, 16, 168 channels), Stand-alone, Master-Slave |
| Strobe Rate | 1Hz - 30Hz |
| Dimming | 0-100% Smooth Dimming |
| Display | LCD display with 4-button menu |
| DMX Data Connectors | 3-pin DMX In/Out |
| Power Connection | Power locking In/Out (up to 4 units linkable) |
| Voltage | 110 Volts |
| Material | All-Metal Construction (Aluminum) |
| Cooling | Temperature-controlled fans |
| Mounting Type | Wall Mount / Floor Mount (180° bracket) |
| Product Dimensions | 101.6 x 10.16 x 15.24 cm (40 x 4 x 6 inches) |
| Product Weight | 3.29 kg (7.25 lbs) |
| Included Components | 1 * 720LED DJ Stage Light Bar, 1 * Power Cord, 1 * User Manual |
9. Warranty & Support
YeeSite products are designed for reliability and performance. For specific warranty details, please refer to the warranty card included with your product or visit the official YeeSite website. Keep your purchase receipt as proof of purchase for warranty claims.
For technical support, troubleshooting assistance, or service inquiries, please contact YeeSite customer service through the contact information provided on the official website or your retailer's support channels.


