
1. Introduction
Thank you for choosing the Soozier Wall Mount Adjustable Speed Bag. This manual provides essential information for the safe and effective assembly, operation, and maintenance of your new speed bag. Please read these instructions thoroughly before use and retain them for future reference.
2. Safety Information
To reduce the risk of serious injury, please observe the following safety precautions:
- Consult a physician before starting any new exercise program.
- Ensure the speed bag platform is securely mounted to a sturdy wall structure capable of supporting the weight and impact forces.
- Regularly inspect all components for wear, damage, or loose fasteners before each use. Do not use if any part is damaged.
- Keep children and pets away from the speed bag during use.
- Wear appropriate protective gear, such as hand wraps and boxing gloves, when using the speed bag.
- Do not hang or climb on the speed bag platform.
3. Package Contents
Verify that all components are present before beginning assembly:
- Speed Bag
- Brackets (Wall Mount Platform Assembly)
- Mounting Hardware (Screws, Washers, Anchors - specific to wall type, user may need to provide)
If any parts are missing or damaged, please contact customer support.
4. Setup and Installation
Proper installation is crucial for safety and performance. It is recommended that two people perform the installation.
4.1 Choosing a Location
Select a sturdy wall in your home gym or training area. The wall must be capable of supporting the weight of the speed bag platform and the dynamic forces generated during use. Ensure there is adequate clearance around the speed bag for safe movement.

Image 4.1: Soozier Speed Bag installed in a home gym setting.
4.2 Assembly Steps
- Assemble the Platform: Attach the main support arm to the wall mounting plate using the provided bolts and nuts. Ensure all connections are tight.
- Mount to Wall: Position the assembled wall mounting plate at the desired height on the wall. Mark the drilling points. Drill pilot holes appropriate for your wall type (wood studs, concrete, etc.) and insert suitable wall anchors if necessary. Securely fasten the wall mounting plate to the wall using heavy-duty screws.
- Attach Speed Bag Platform: Slide the adjustable vertical post into the main support arm. Attach the circular speed bag platform to the bottom of the vertical post using the provided hardware.
- Install Swivel and Speed Bag: Attach the swivel mechanism to the center of the speed bag platform. Inflate the speed bag to the recommended pressure (firm but not overinflated) and attach it to the swivel.
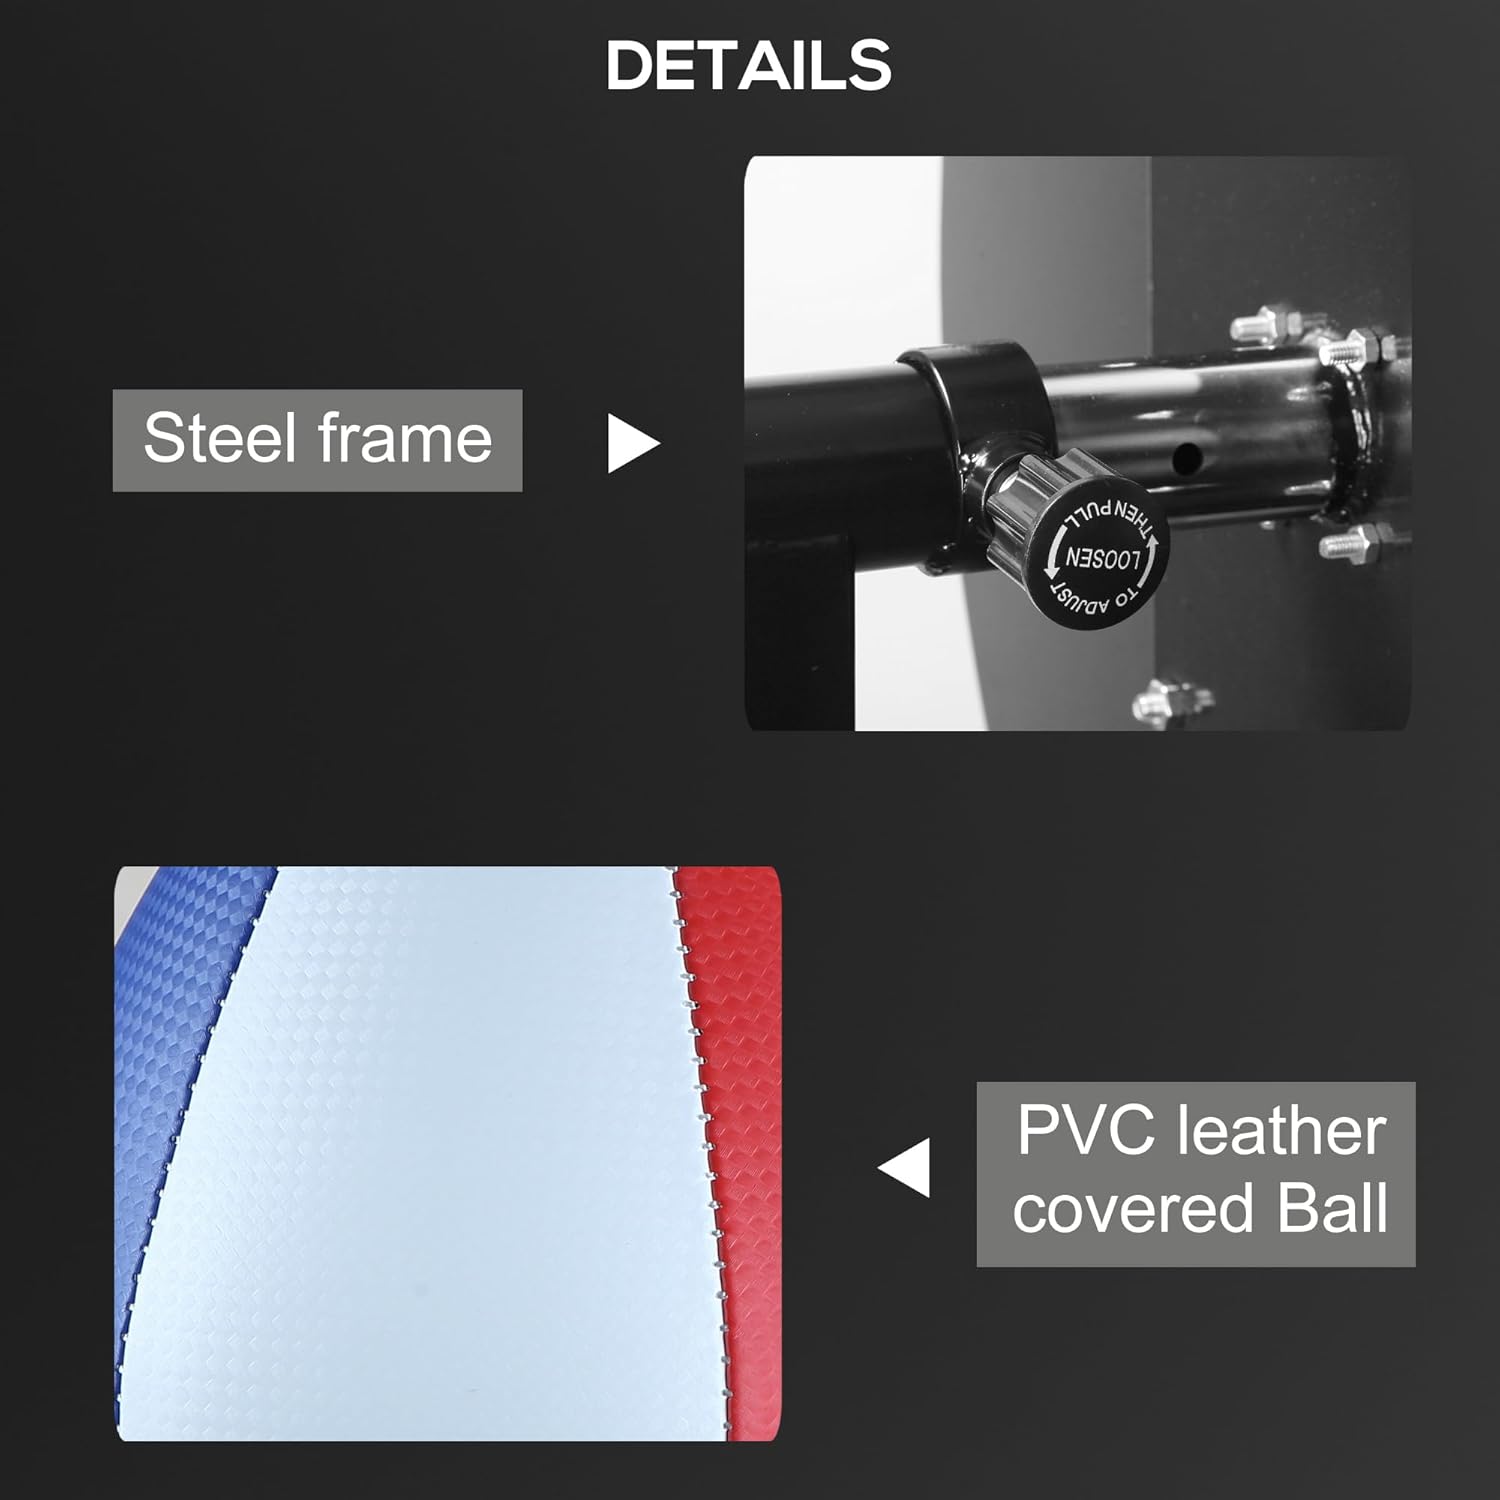
Image 4.2: Product dimensions for installation planning.
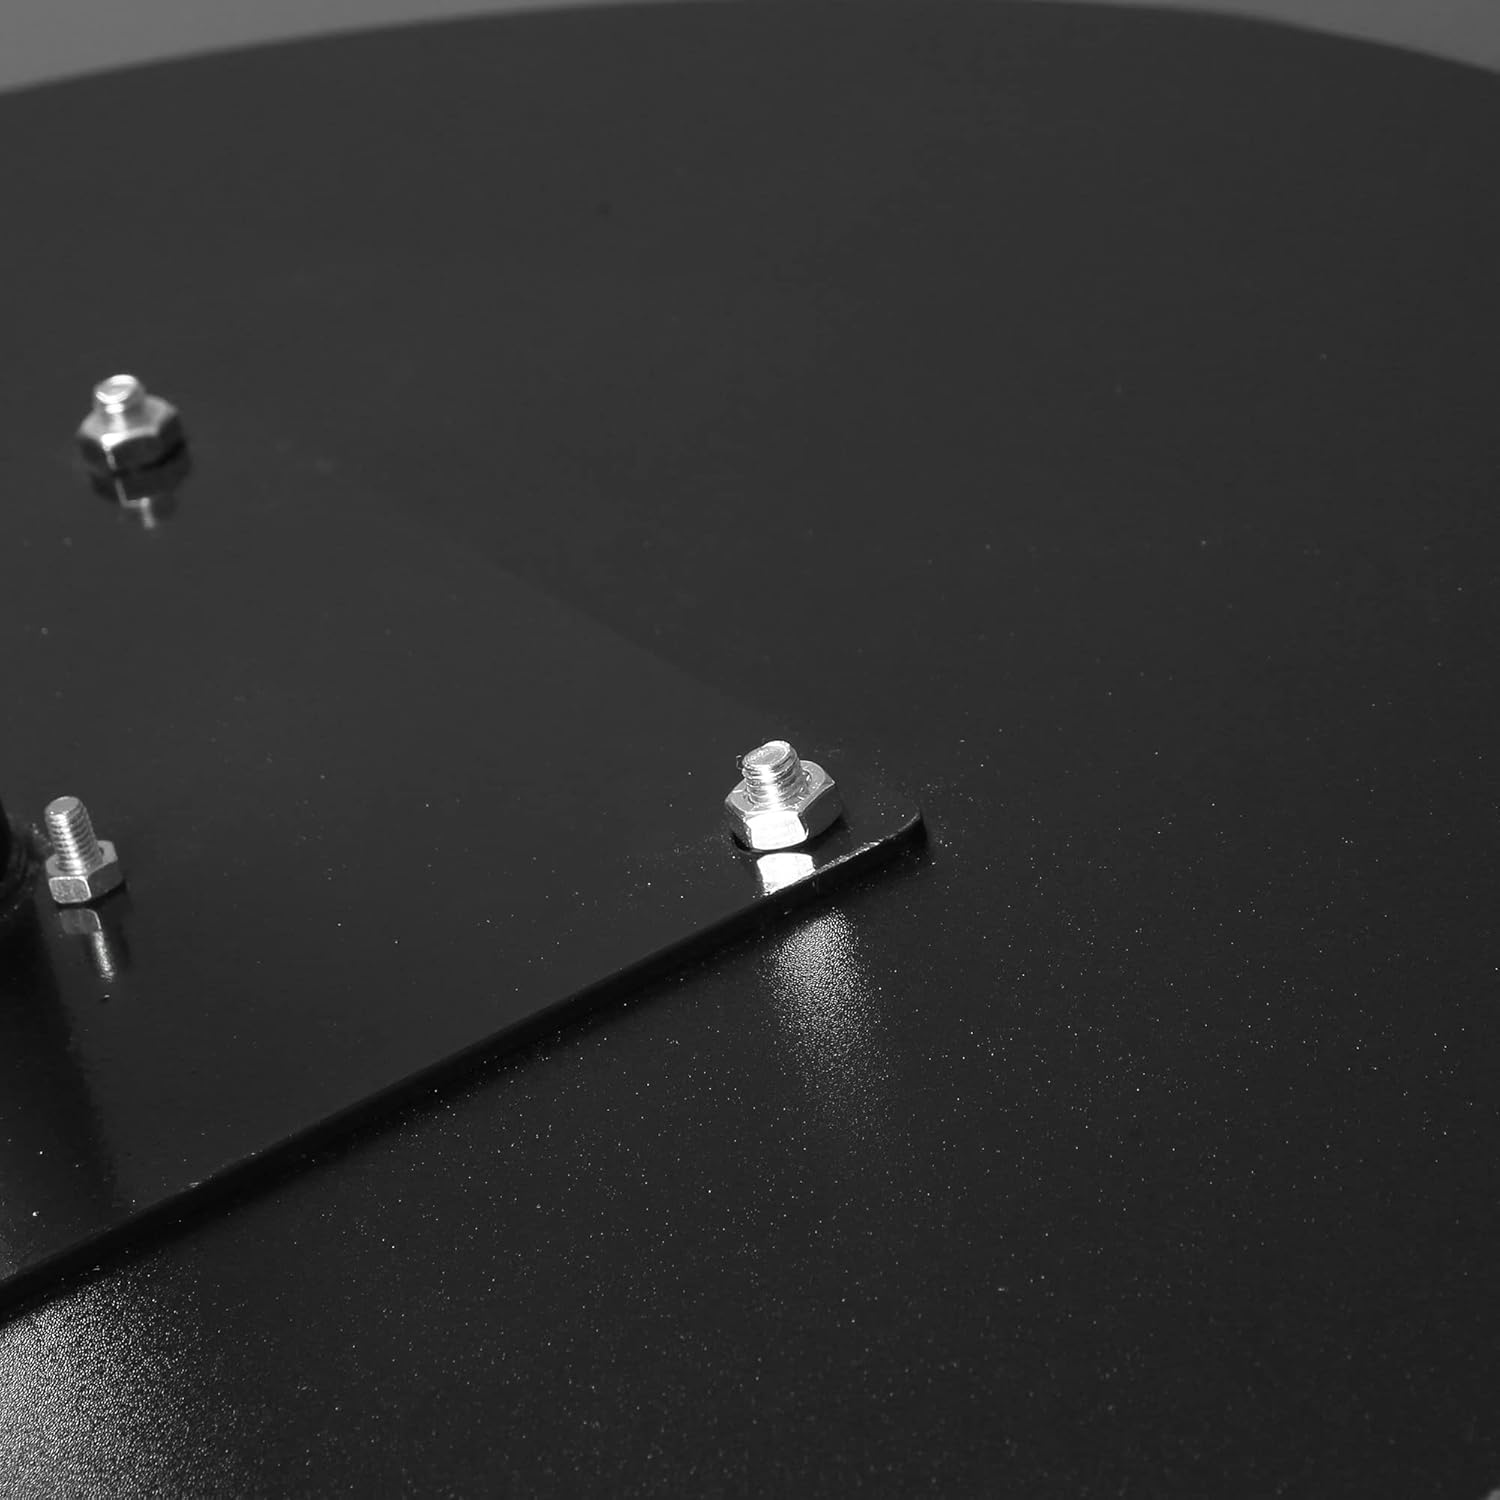
Image 4.3: Detail of the platform attachment to the wall mount.

Image 4.4: Detail of the speed bag swivel mechanism.
5. Operating Instructions
5.1 Adjusting Height
The Soozier Speed Bag features an adjustable height mechanism to accommodate different users and training preferences. To adjust the height:
- Locate the twist knob on the vertical post of the platform.
- Loosen the knob by turning it counter-clockwise.
- Slide the platform up or down to your desired height. The bottom of the speed bag should typically be at eye level or slightly above, depending on your preference and training goals.
- Tighten the knob securely by turning it clockwise to lock the platform in place.
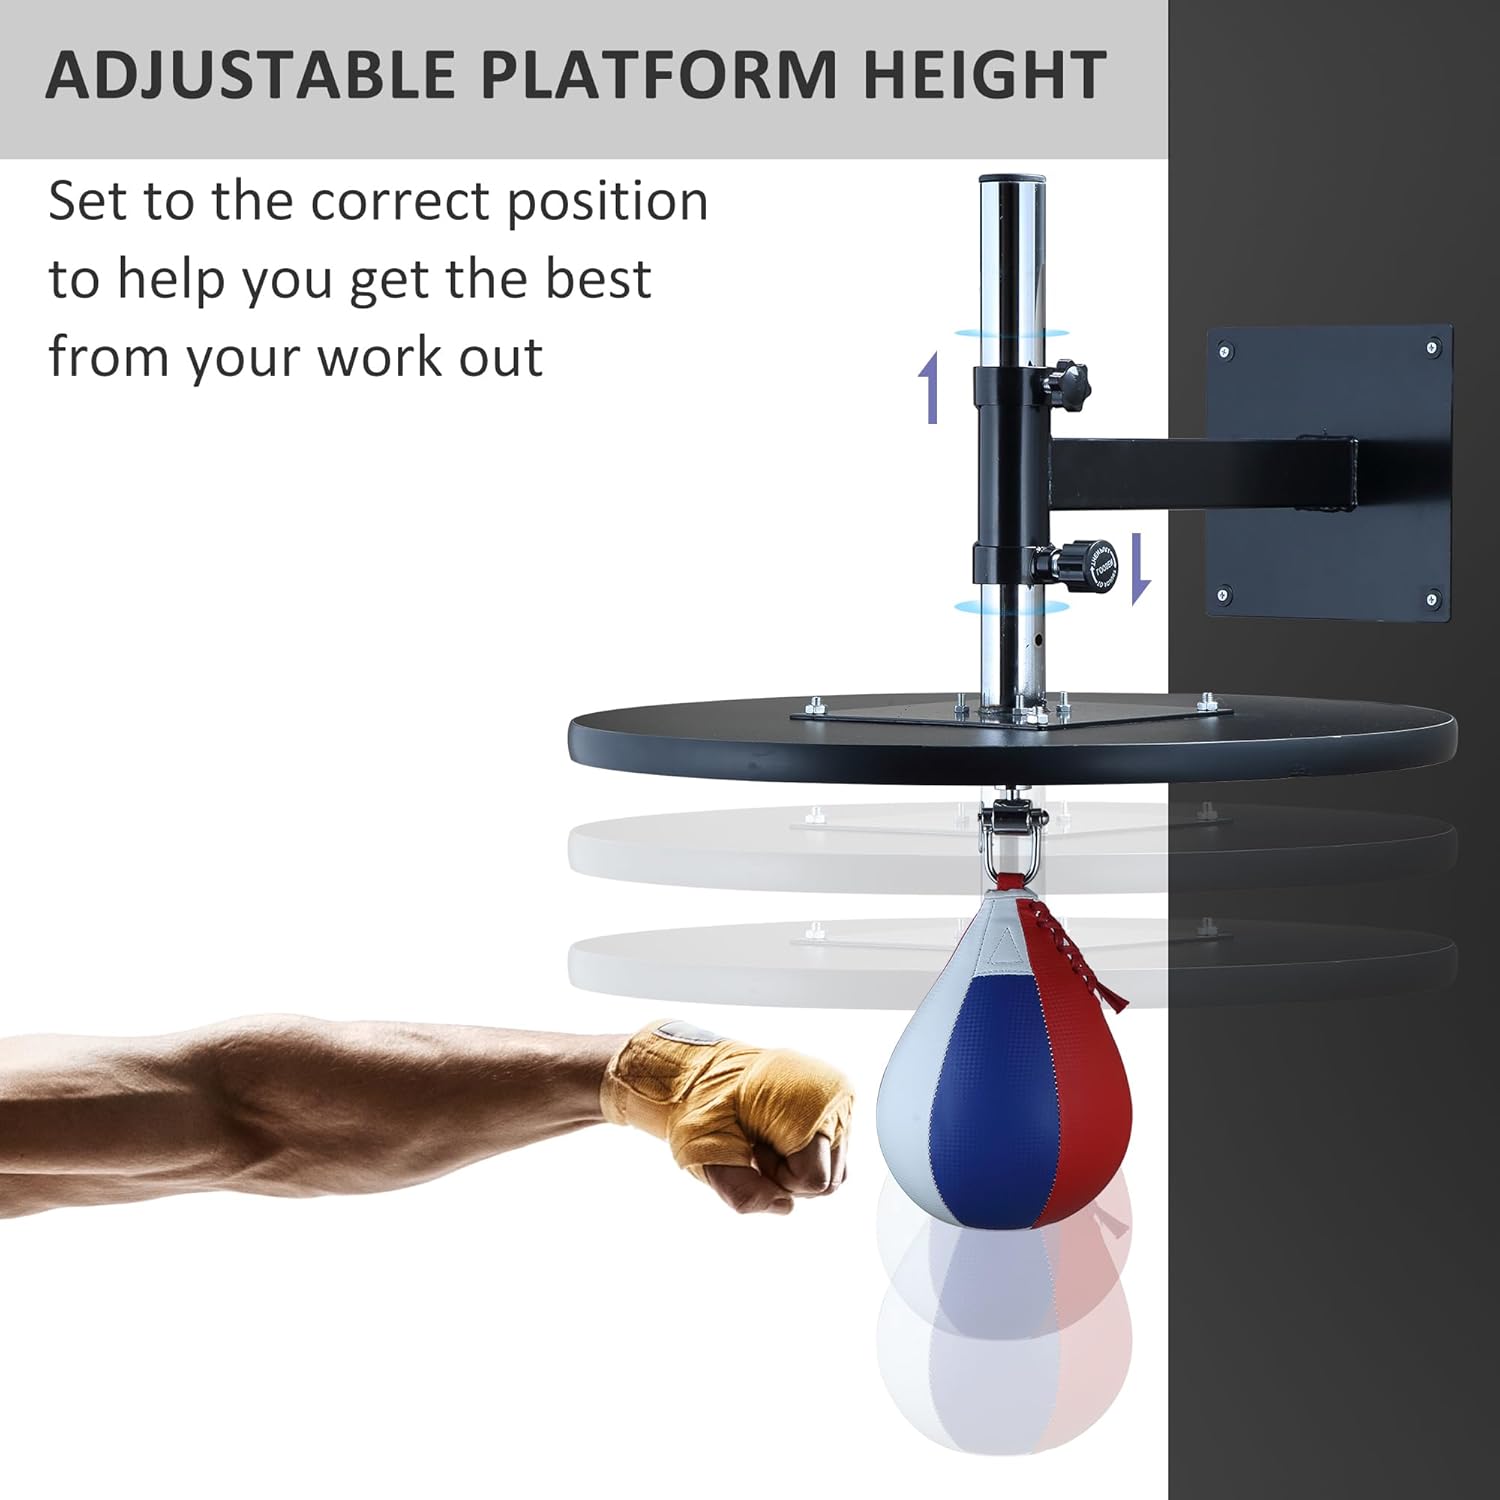
Image 5.1: Adjustable platform height mechanism.

Image 5.2: Detail of the height adjustment knob.
5.2 Using the Speed Bag
The speed bag is designed to improve hand-eye coordination, punching speed, accuracy, shoulder and arm strength, and stamina. Begin with light, controlled punches and gradually increase intensity as your skill improves. Focus on rhythm and timing.

Image 5.3: Multifunctional benefits of speed bag training.
6. Maintenance
Regular maintenance ensures the longevity and safe operation of your speed bag.
- Cleaning: Wipe down the plastic leather surface of the speed bag and the steel platform with a damp cloth after each use to remove sweat and dirt. Avoid harsh chemicals.
- Fastener Check: Periodically check all bolts, screws, and the height adjustment knob for tightness. Tighten any loose fasteners to prevent instability during use. Pay particular attention to the top screw on the cylindrical adjustment bar, as it may loosen over time.
- Speed Bag Inflation: Check the inflation of the speed bag regularly. If the bag feels soft or deflates overnight, re-inflate it using a standard ball pump with a needle adapter. Do not overinflate.
- Swivel Lubrication: Apply a small amount of silicone-based lubricant to the swivel mechanism periodically to ensure smooth rotation.

Image 6.1: Details of steel frame and PVC leather ball.
7. Troubleshooting
Common issues and their solutions:
- Issue: The speed bag deflates overnight.
Solution: Check the inflation valve on the speed bag for any leaks or damage. Ensure the valve is properly seated. Re-inflate the bag to the correct firmness. If deflation persists, the inner bladder may be compromised, and the speed bag may need replacement. - Issue: The platform feels loose or wobbly during use.
Solution: Immediately stop using the speed bag. Inspect all wall mounting bolts and platform assembly fasteners. Tighten any loose connections, especially the height adjustment knob and the top screw on the cylindrical adjustment bar. Ensure the wall mount is securely attached to a solid structural element. - Issue: The speed bag does not rebound smoothly.
Solution: Check the swivel mechanism for any obstructions or stiffness. Clean and apply a small amount of silicone lubricant to the swivel. Ensure the speed bag is properly inflated.
8. Specifications
| Overall Dimension | 28" L x 23.5" W x 26.75" H |
| Platform Dimension | 23.5" Dia. |
| Speed Bag Dimension | 7" Dia. x 9" H |
| Item Weight | 11 Pounds |
| Outer Material | Plastic (PVC Leather Surface) |
| Frame Material | Heavy-duty Steel |
| Color | Black, Red, Blue, White |
| Model Number | USA91-2030131 |
| UPC | 196393037928 |
9. Warranty and Support
For warranty information or technical support, please refer to the documentation included with your purchase or contact Soozier customer service directly. Keep your purchase receipt as proof of purchase.
Manufacturer: Aosom LLC