Introduction
This manual provides detailed instructions for the setup, operation, and maintenance of your NUROUM V403 PTZ Camera. Please read this manual thoroughly before using the product to ensure proper functionality and to maximize its performance. Keep this manual for future reference.
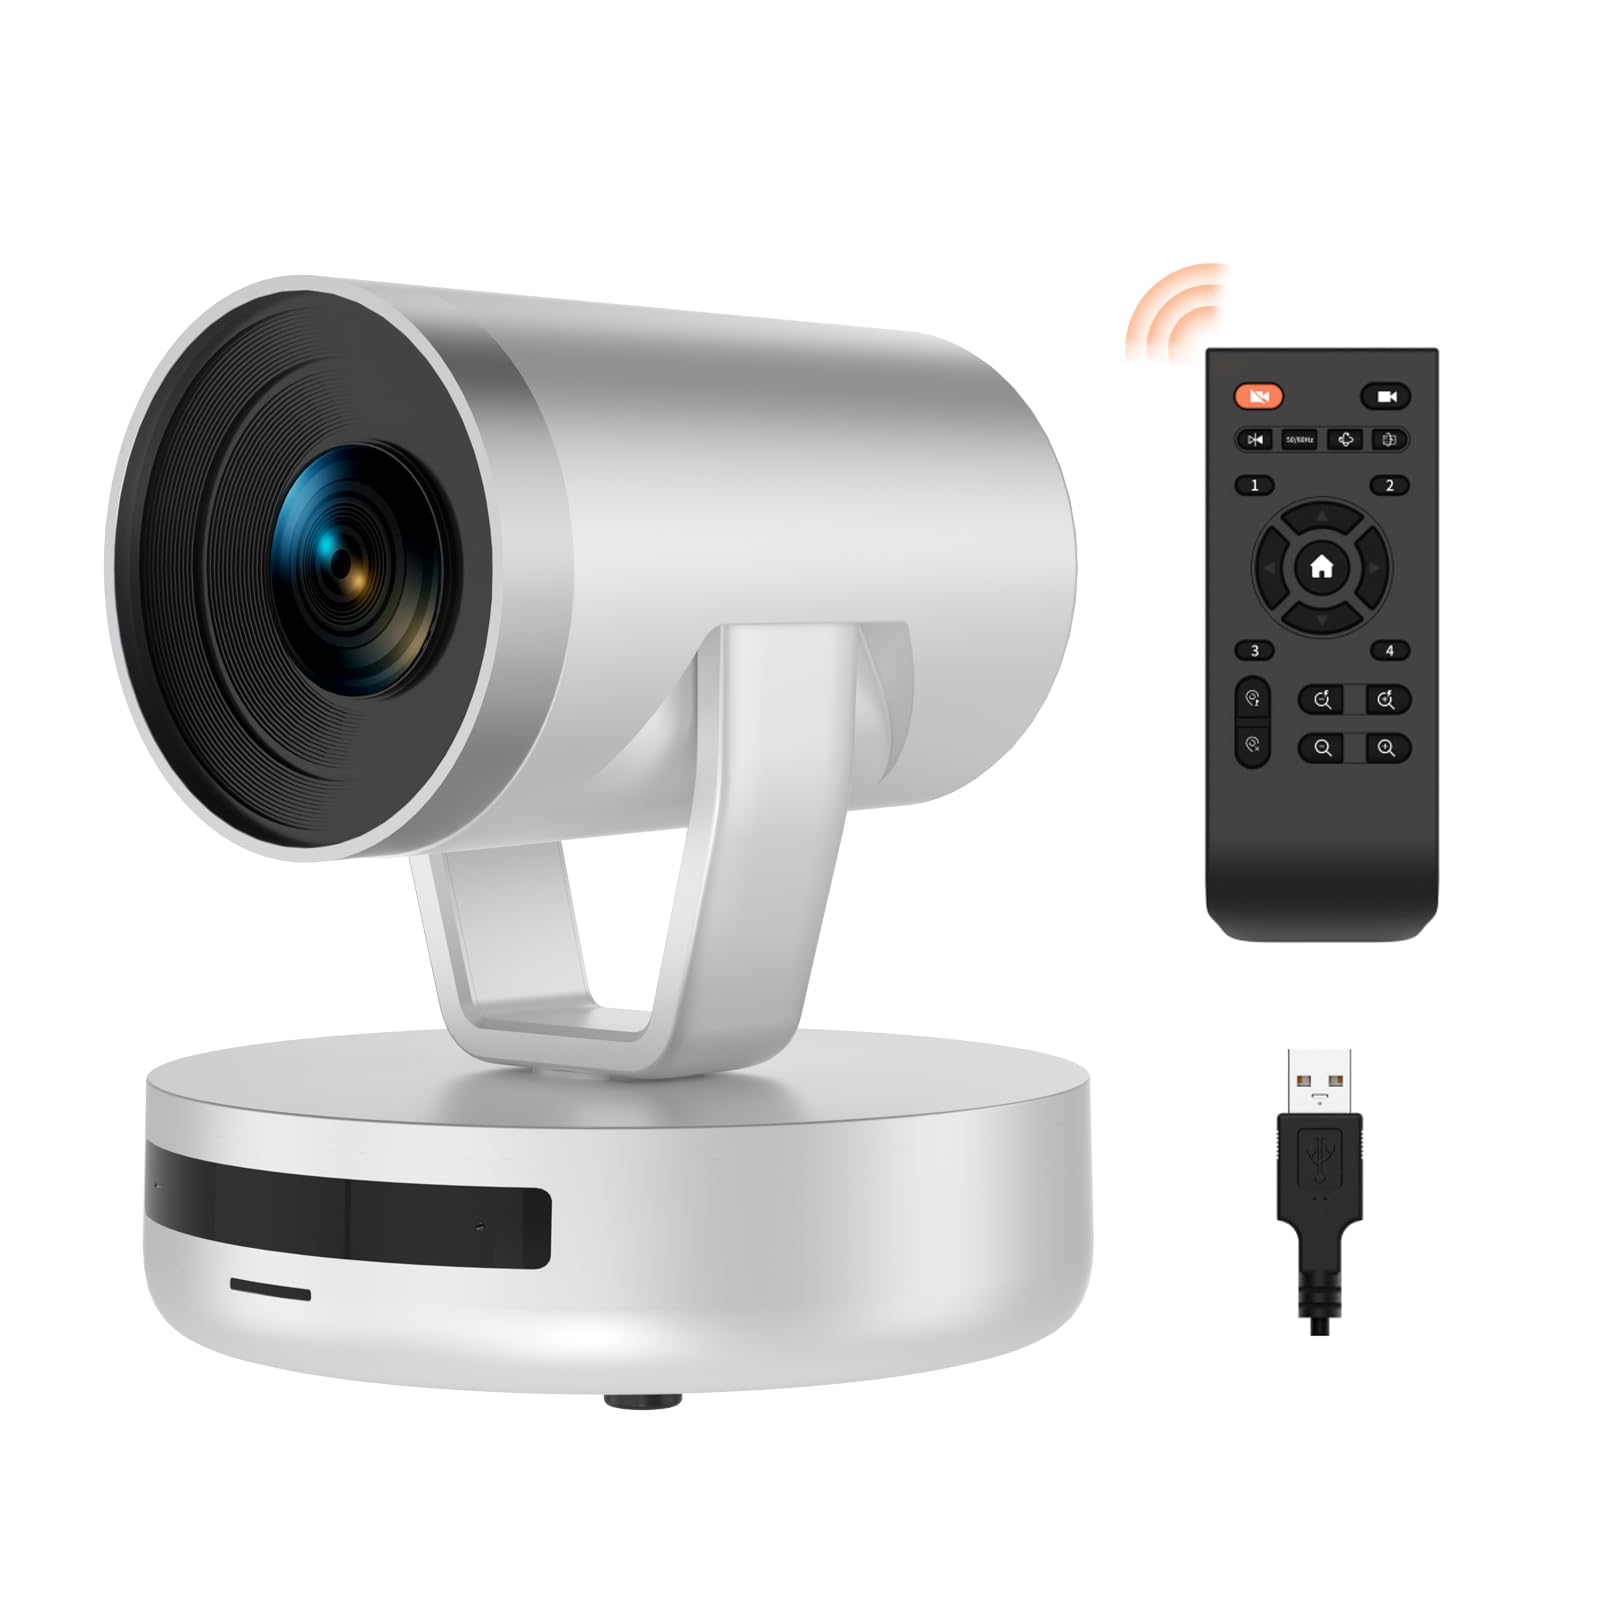
Image: The NUROUM V403 PTZ Camera, showcasing its sleek design, accompanied by its remote control and connection cables.
Product Overview
The NUROUM V403 is a professional PTZ (Pan-Tilt-Zoom) webcam designed for high-quality video conferencing and streaming. It features 5x optical zoom, 1080P Full HD resolution, a 350° pan range, 60° tilt range, and AI noise-cancelling microphones.

Image: An overview diagram highlighting the camera's main features: 1080P FHD, 5x optical zoom, USB Plug and Play, 350° pan, 122° field of view, 4 preset positions, dual noise reduction microphones, multiple interfaces (Type-C, PoE, LAN/NDI), and NDI/RTSP protocol support.
What's in the Box
Verify that all items are present in the package:
- 1x V403 PTZ Webcam
- 1x USB Cable
- 1x Power Cable with Adapter
- 1x Remote Control
- 1x User Manual

Image: The NUROUM V403 PTZ Camera, its remote control, and the included USB and power cables, representing the package contents.
Setup
Follow these steps to set up your NUROUM V403 PTZ Camera:
- Placement: Position the camera on a stable surface, such as a desk, or mount it on a tripod using the screw thread under the base. The camera can also be wall-mounted.
- Power Connection: Connect the power cable adapter to the camera's DC 12V power input and plug it into a power outlet.
- USB Connection: Connect the provided USB cable from the camera's Type-C port to an available USB port on your computer.
- Network Connection (Optional for NDI/RTSP): If using NDI or RTSP protocols, connect an Ethernet cable to the LAN/NDI port on the camera and to your network switch.
- Driver Installation: The camera is typically plug-and-play and should be recognized automatically by your operating system (Windows, macOS, ChromeOS, Linux). No specific drivers are usually required.

Image: Visual guide for connecting the V403 camera as a USB webcam for video conferences (PC, power supply) and as an NDI camera for streaming (network switch, PC, power supply), highlighting compatibility with various platforms.
Operating Instructions
Basic Camera Control (Pan, Tilt, Zoom)
Use the provided remote control to adjust the camera's view:
- Pan: Rotate the camera horizontally up to 350° (±175°) using the directional buttons on the remote.
- Tilt: Adjust the camera vertically up to 60° (±30°) using the directional buttons.
- Zoom: Use the 'Zoom In' and 'Zoom Out' buttons to control the 5x optical zoom. The camera features true autofocus for clear images at all zoom levels.

Image: A visual representation of the camera's pan (±175°) and tilt (±30°) ranges, with the remote control for operation.
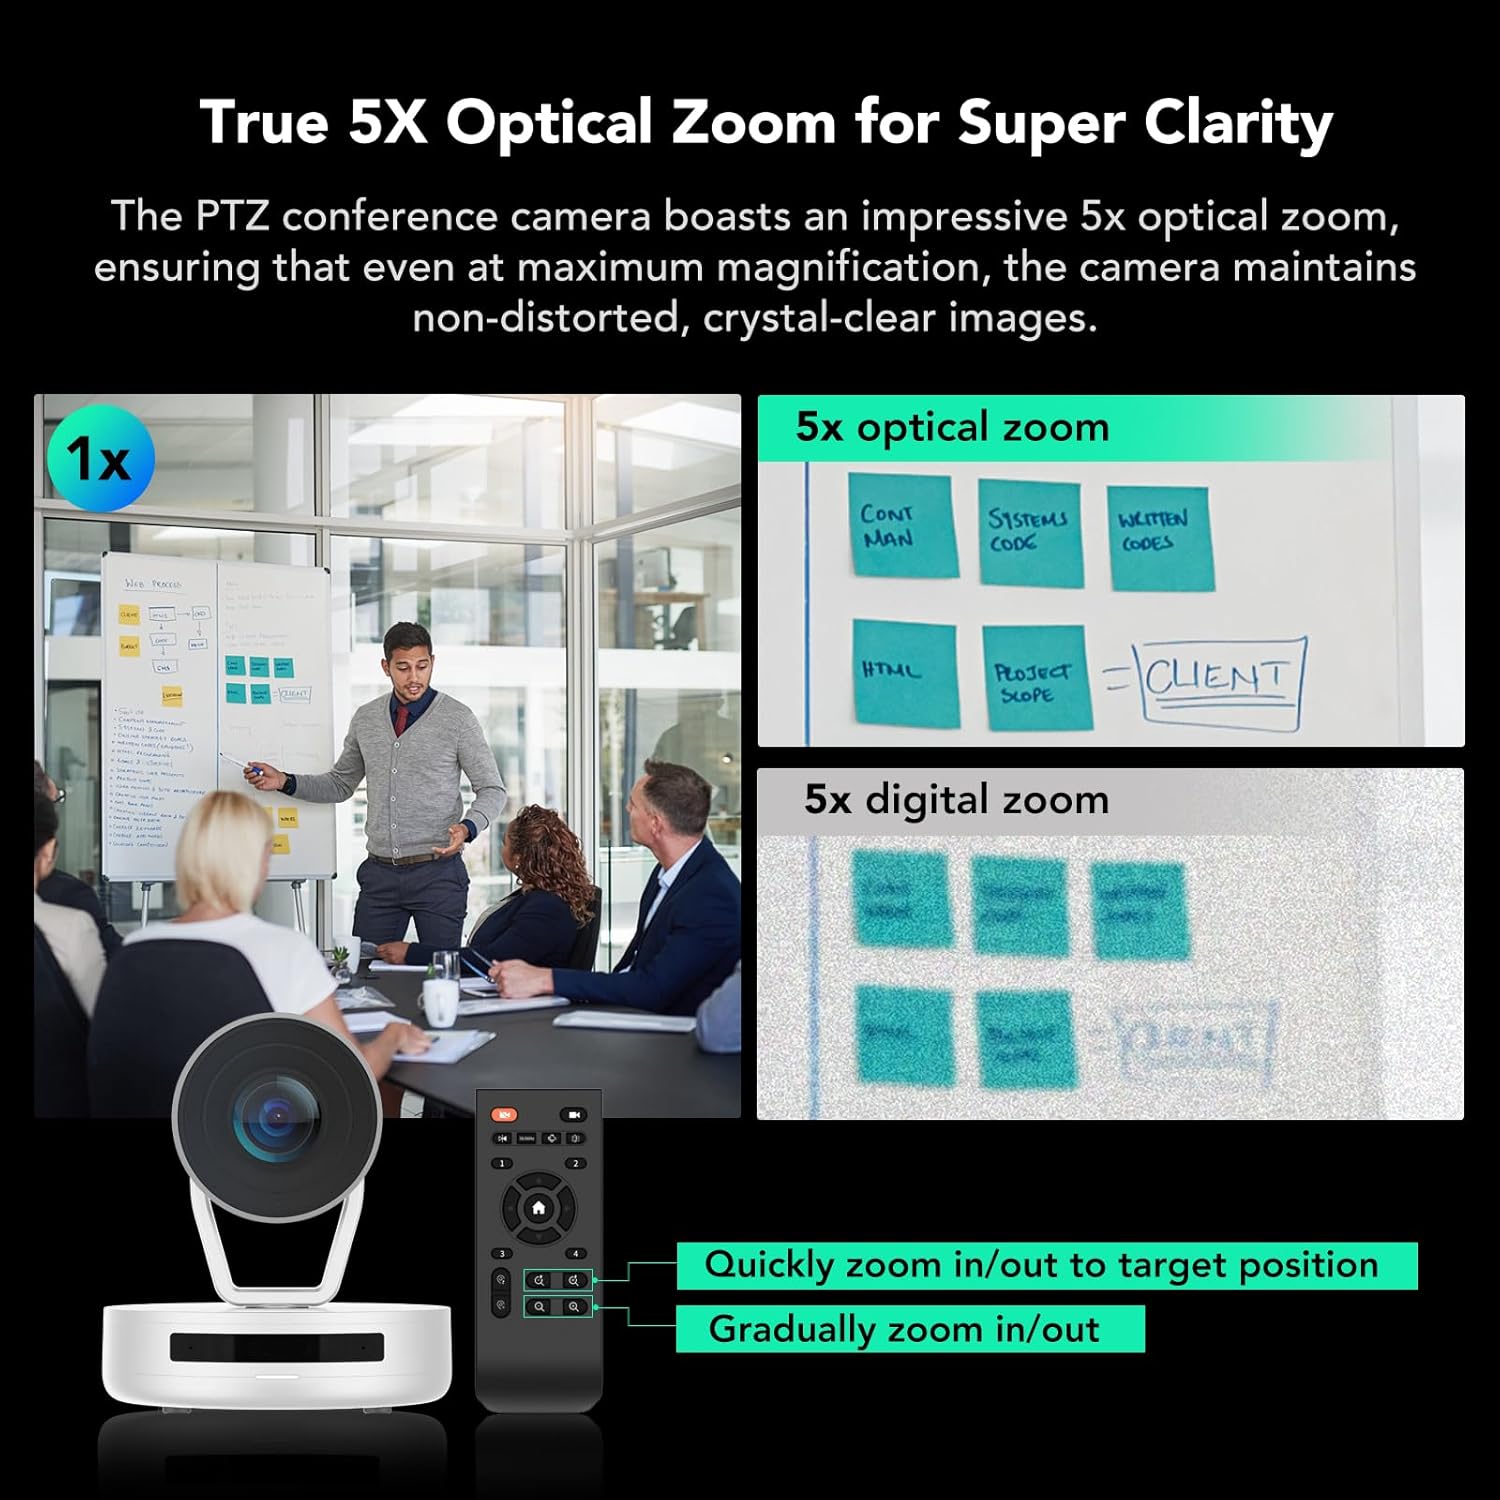
Image: A demonstration of the 5x optical zoom capability, showing a clear, undistorted image at maximum magnification compared to a standard view and a pixelated digital zoom.
Preset Positions
The V403 camera allows you to save and recall up to 4 preset positions:
- Setting a Preset: Adjust the camera to your desired pan, tilt, and zoom settings. Press the 'SET PRESET' button on the remote, then press a number (1, 2, 3, or 4) to save the current position.
- Recalling a Preset: Press the corresponding number button (1, 2, 3, or 4) on the remote to instantly move the camera to the saved position.
- Clearing a Preset: Press the 'CLEAR PRESET' button, then press the number of the preset you wish to clear.
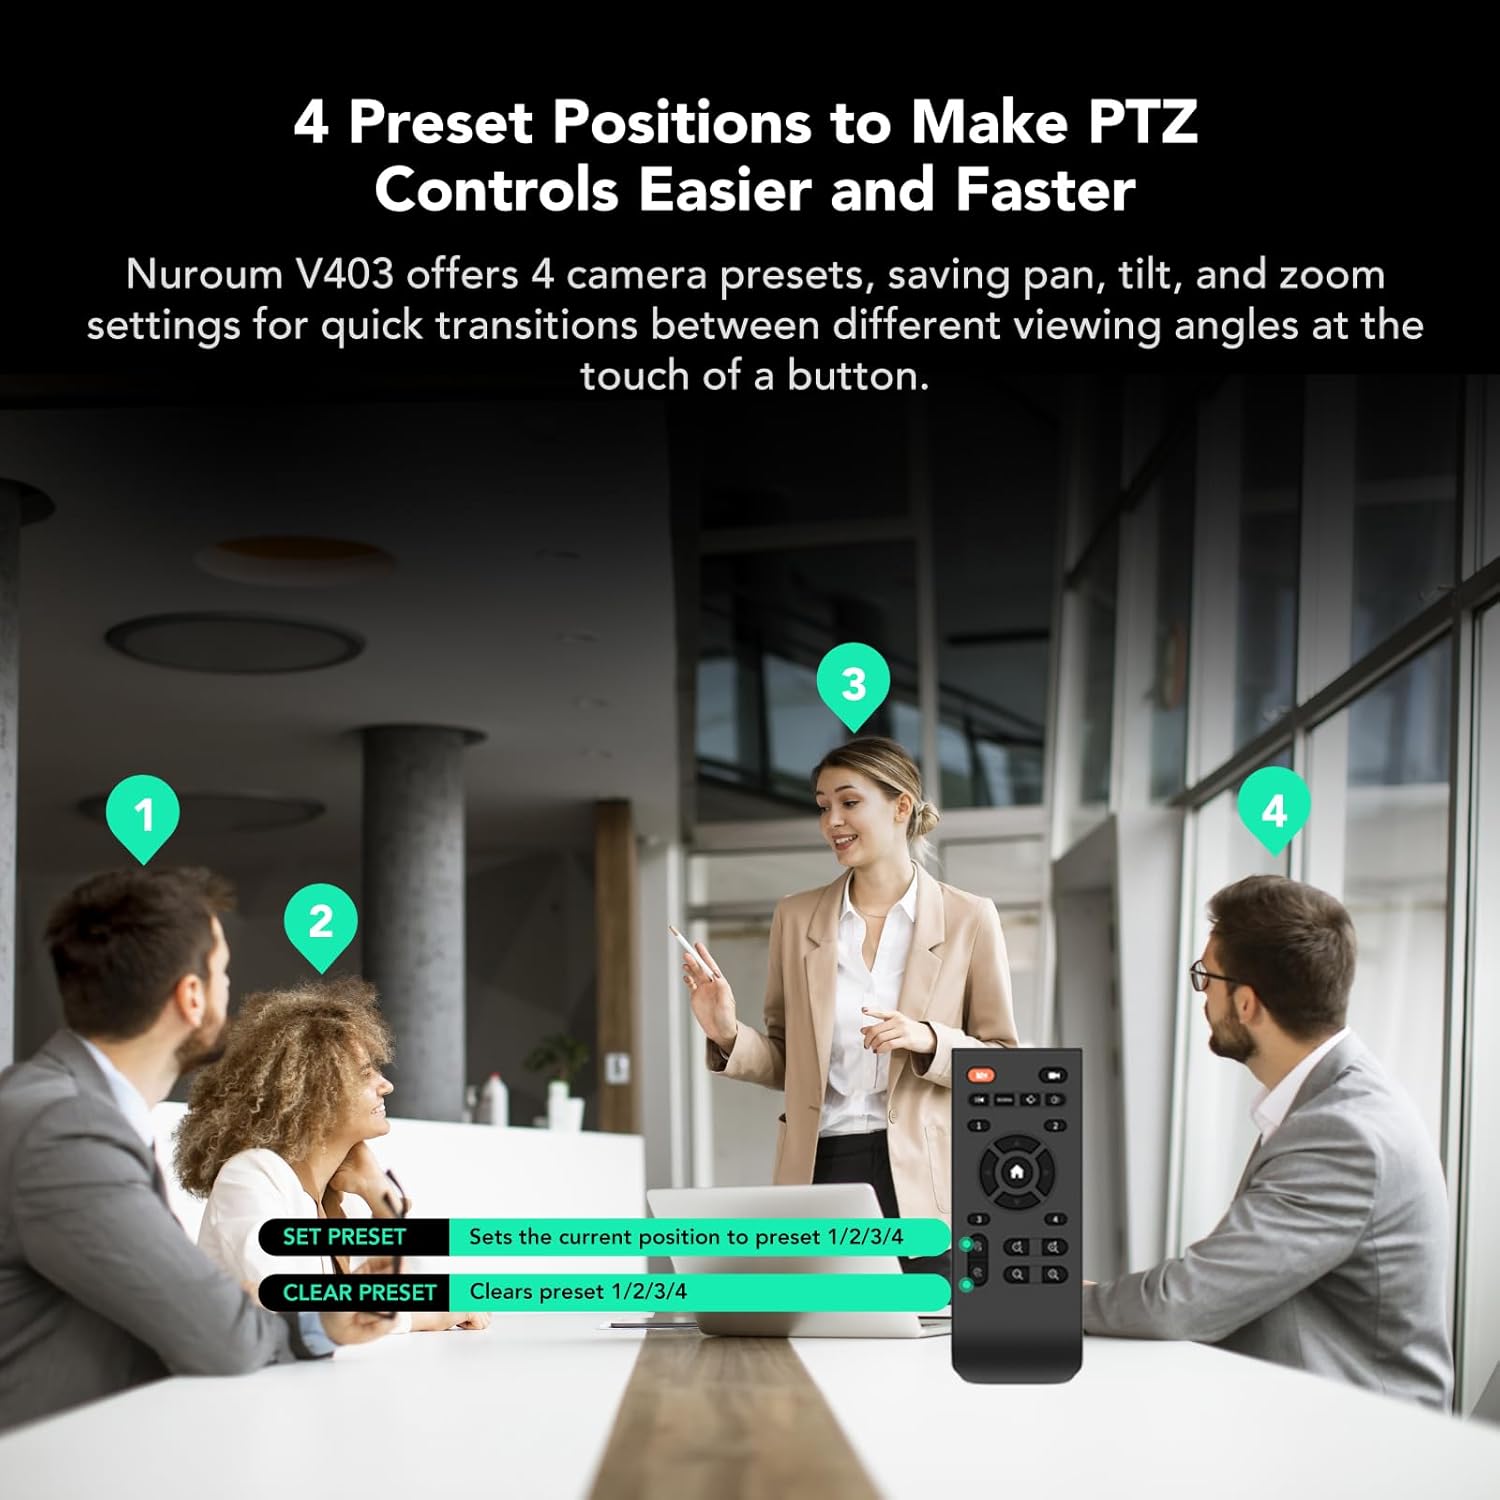
Image: An illustration of using the 4 preset positions feature in a meeting, demonstrating quick transitions between different viewing angles with the remote control.
Audio Features
The V403 is equipped with AI noise-cancelling microphones:
- Dual Microphones: Built-in microphones capture stereo sound within an 8-meter radius.
- AI Noise Cancellation: Advanced algorithms reduce ambient noise, ensuring clear voice pickup even in noisy environments.
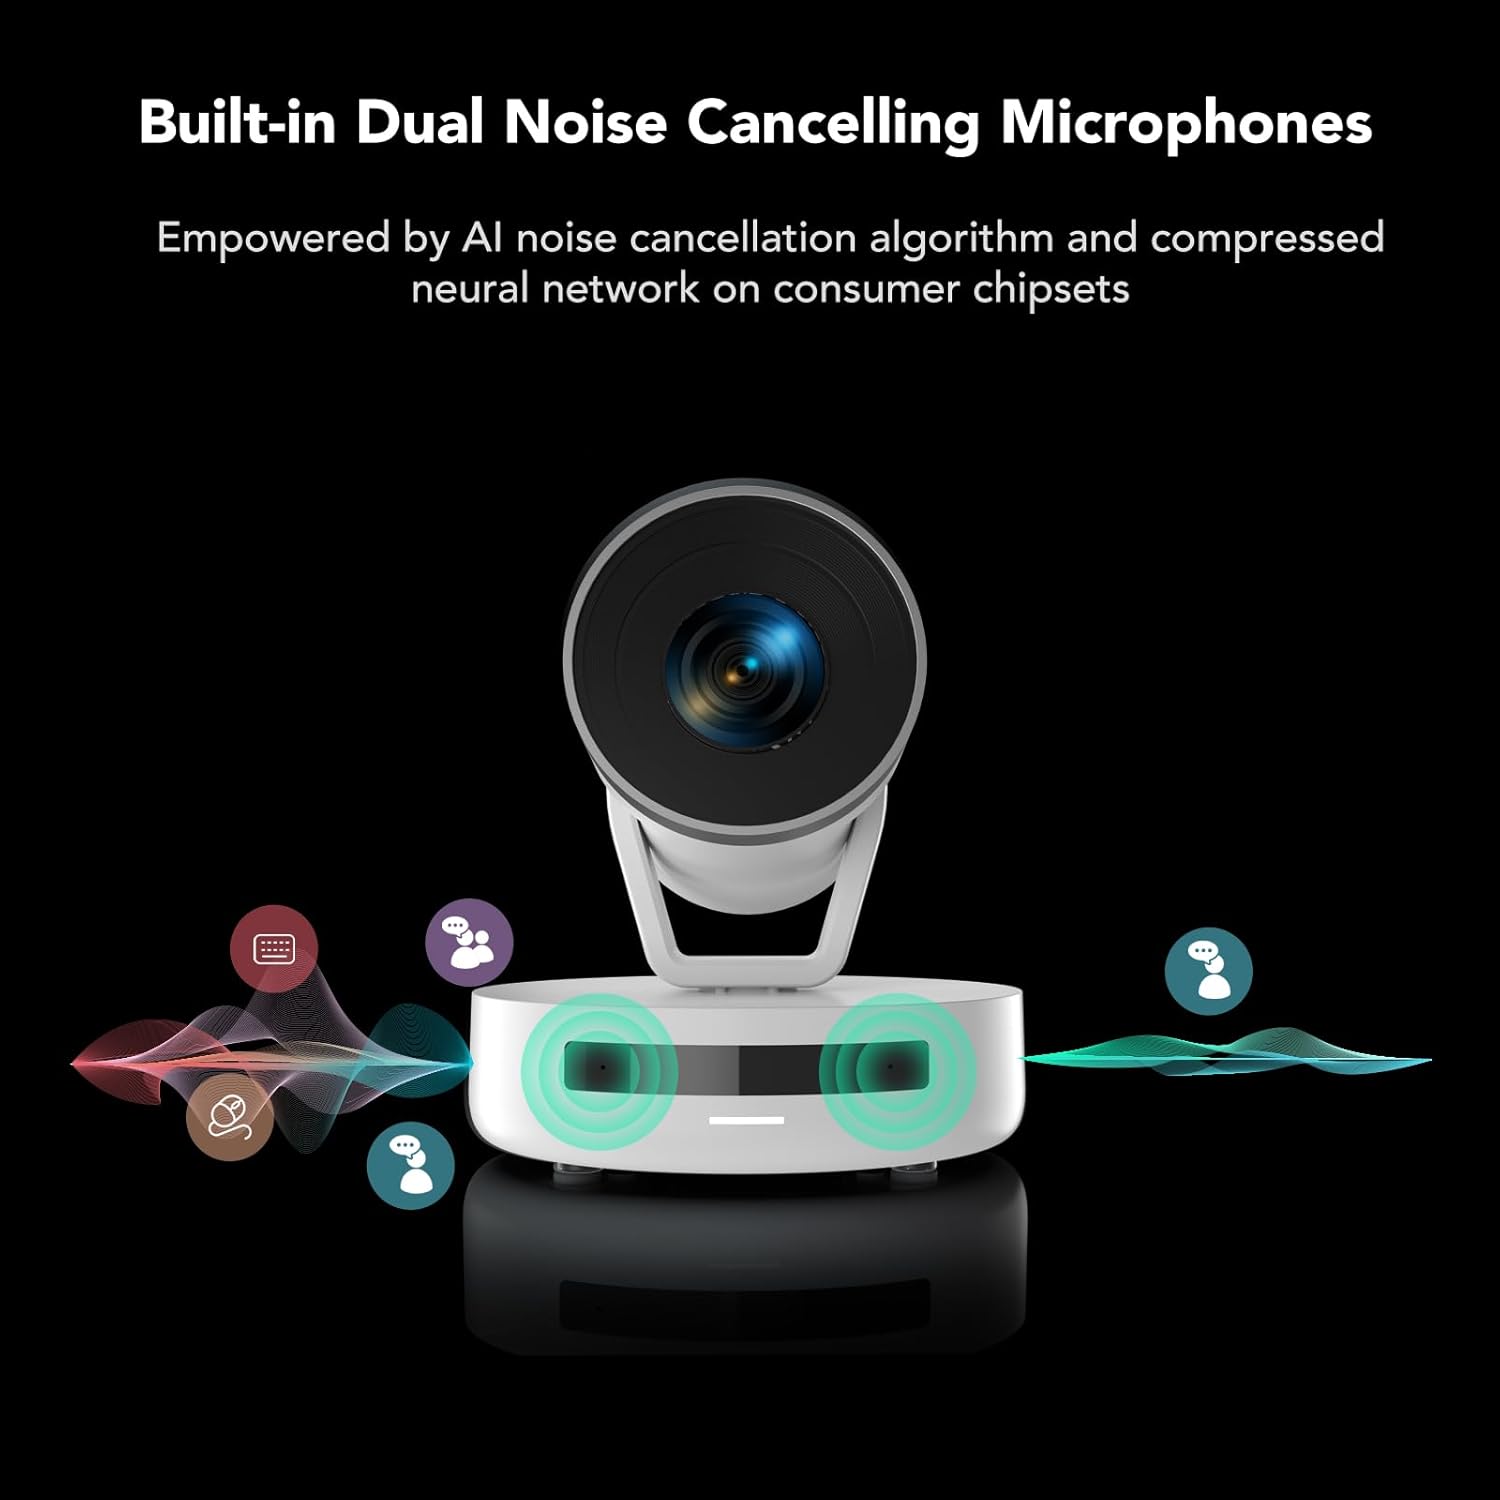
Image: A visual representation of the camera's dual noise-cancelling microphones, illustrating their ability to filter out background noise for clear audio.
Privacy Protection
The camera includes features to protect your privacy:
- Automatic Lens Retraction: The camera lens automatically retracts to its original position when the video feed is disabled, safeguarding your workspace.
- Rubber Lens Cover: An additional rubber lens cover is provided for enhanced physical privacy and lens protection.
NearSync Software
For tailored configuration and firmware updates, use the NUROUM NearSync software:
- Image Parameters: Adjust settings such as saturation, brightness, contrast, hue, and white balance.
- Firmware Updates: Ensure optimal performance by updating the device firmware to the latest version. Refer to the NUROUM website for software download and update instructions.
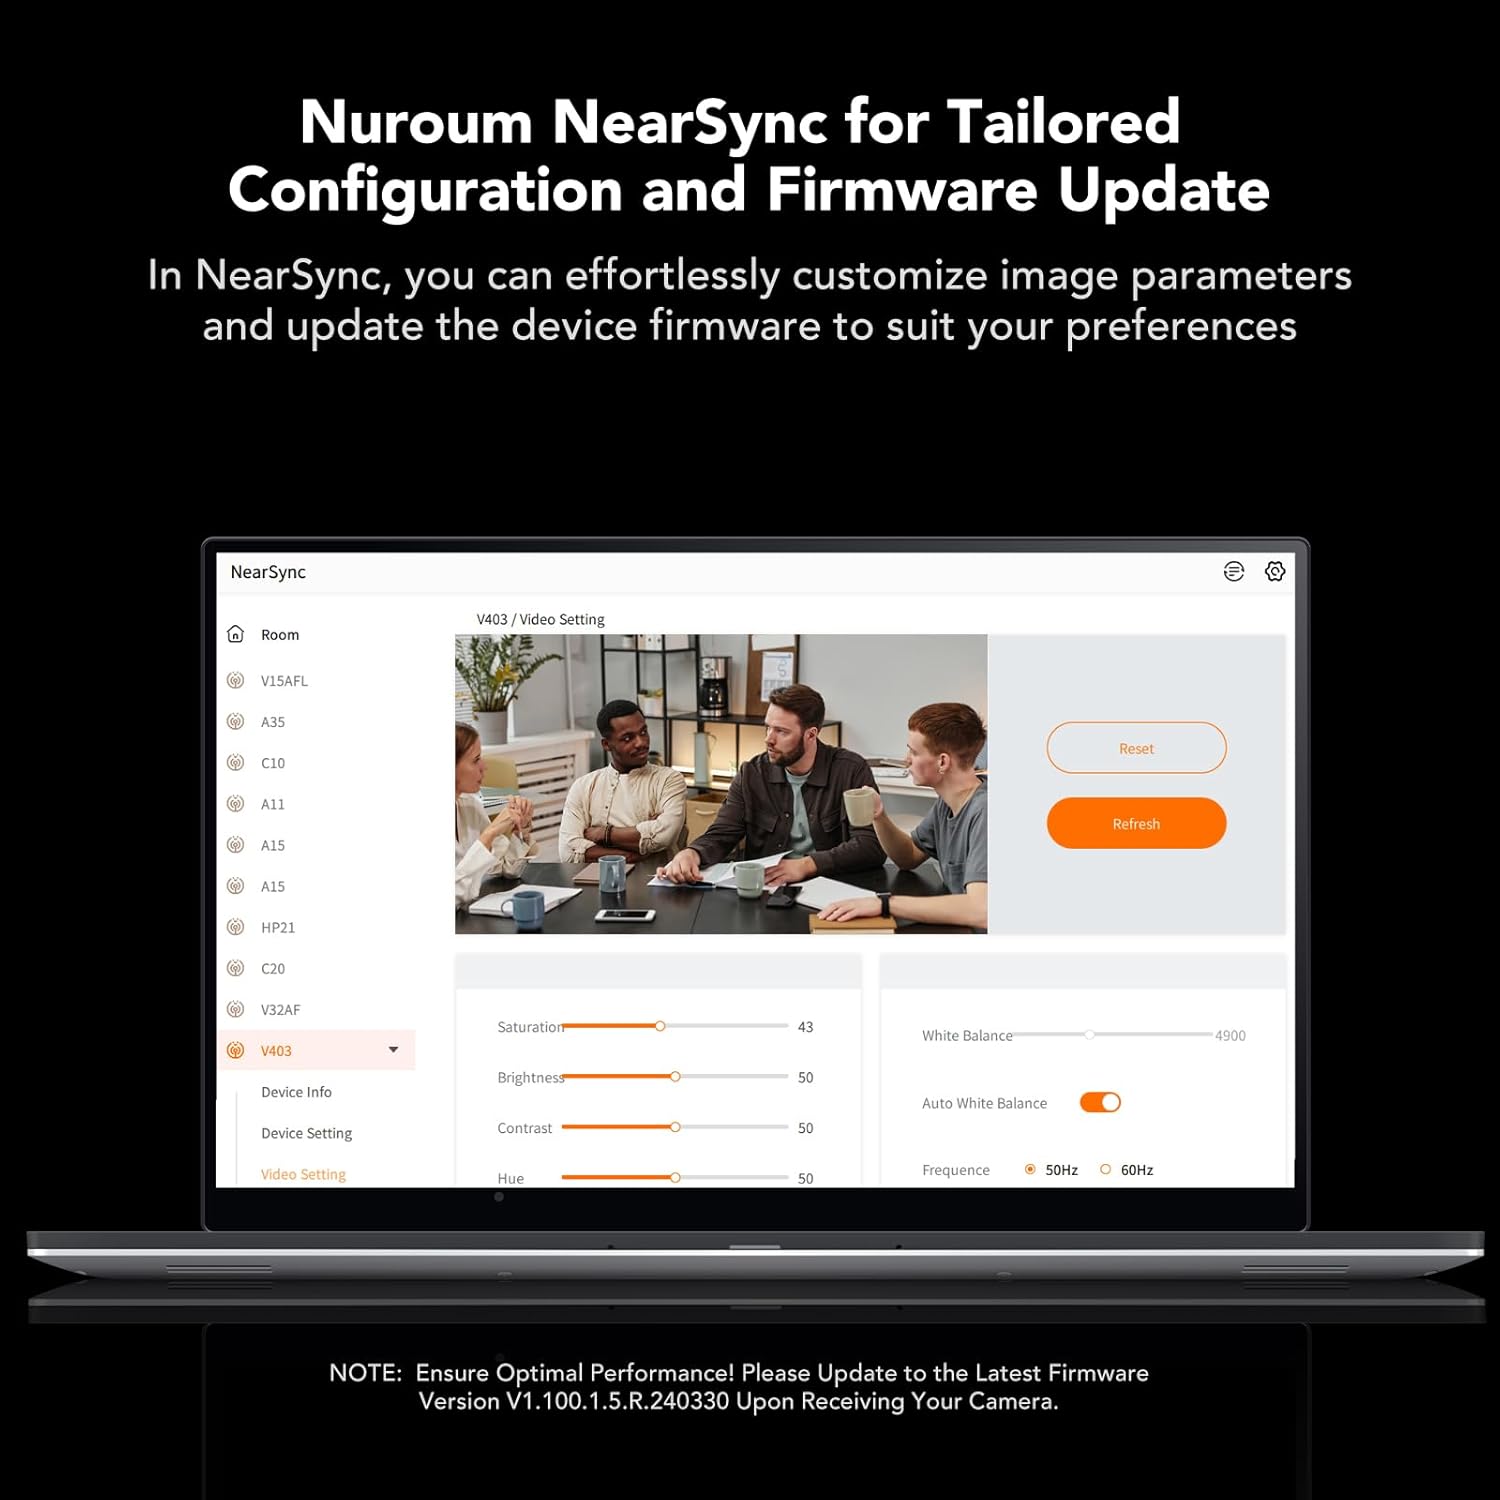
Image: A screenshot of the NearSync software interface, demonstrating options for customizing image parameters and managing device settings.
Maintenance
To ensure the longevity and optimal performance of your NUROUM V403 PTZ Camera, follow these maintenance guidelines:
- Cleaning: Use a soft, dry cloth to clean the camera body. For the lens, use a specialized lens cleaning cloth and solution to avoid scratches. Do not use harsh chemicals or abrasive materials.
- Storage: When not in use for extended periods, store the camera in a cool, dry place, away from direct sunlight and extreme temperatures. Use the provided rubber lens cover to protect the lens.
- Cable Care: Avoid bending or crimping the USB and power cables excessively. Ensure connections are secure but do not force them.
- Firmware Updates: Regularly check for and install firmware updates via the NearSync software to benefit from performance improvements and new features.
Troubleshooting
If you encounter issues with your NUROUM V403 PTZ Camera, refer to the following common solutions:
| Problem | Possible Cause | Solution |
|---|---|---|
| No image/video output | Loose cable connection, power issue, incorrect software selection. | Ensure USB and power cables are securely connected. Verify the camera is powered on. Select the V403 as the video source in your conferencing software. Try a different USB port or computer. |
| Camera not responding to remote | Remote batteries low/dead, line of sight blocked, camera in tracking mode (if applicable). | Replace remote batteries. Ensure no obstructions between remote and camera. Note that angle adjustments are not available in tracking mode; switch to manual mode if necessary. |
| Poor image quality | Insufficient lighting, dirty lens, incorrect software settings. | Ensure adequate lighting in the room. Clean the camera lens with a soft cloth. Adjust image parameters (brightness, contrast, etc.) using the NearSync software. |
| Audio issues (no sound/poor quality) | Microphone muted, incorrect audio input selected, excessive background noise. | Ensure the camera's microphone is not muted in your software or operating system. Select the V403 as the audio input device. The AI noise cancellation should mitigate most background noise. |
| Software (NearSync) issues | Outdated software, compatibility issues. | Download the latest version of NearSync from the official NUROUM website. Ensure your operating system meets the software requirements. |
Specifications
| Feature | Detail |
|---|---|
| Model Number | AW-V403 |
| Video Capture Resolution | 1080p |
| Optical Zoom | 5x |
| Pan Range | 350° (±175°) |
| Tilt Range | 60° (±30°) |
| Preset Positions | 4 |
| Microphones | AI Noise Cancelling, Stereo, 8-meter pickup radius |
| Photo Sensor Technology | CMOS |
| Connectivity Technology | USB, PoE support+, LAN/NDI support |
| Video Capture Format | MJPG |
| Product Dimensions | 5.91 x 5.91 x 6.3 inches |
| Item Weight | 3.5 pounds |
| First Available Date | May 2, 2024 |
Warranty and Support
For warranty information and technical support, please refer to the official NUROUM website or contact NUROUM customer service directly. Details regarding specific warranty periods and support channels are typically provided with your purchase documentation or on the manufacturer's website.


