Introduction
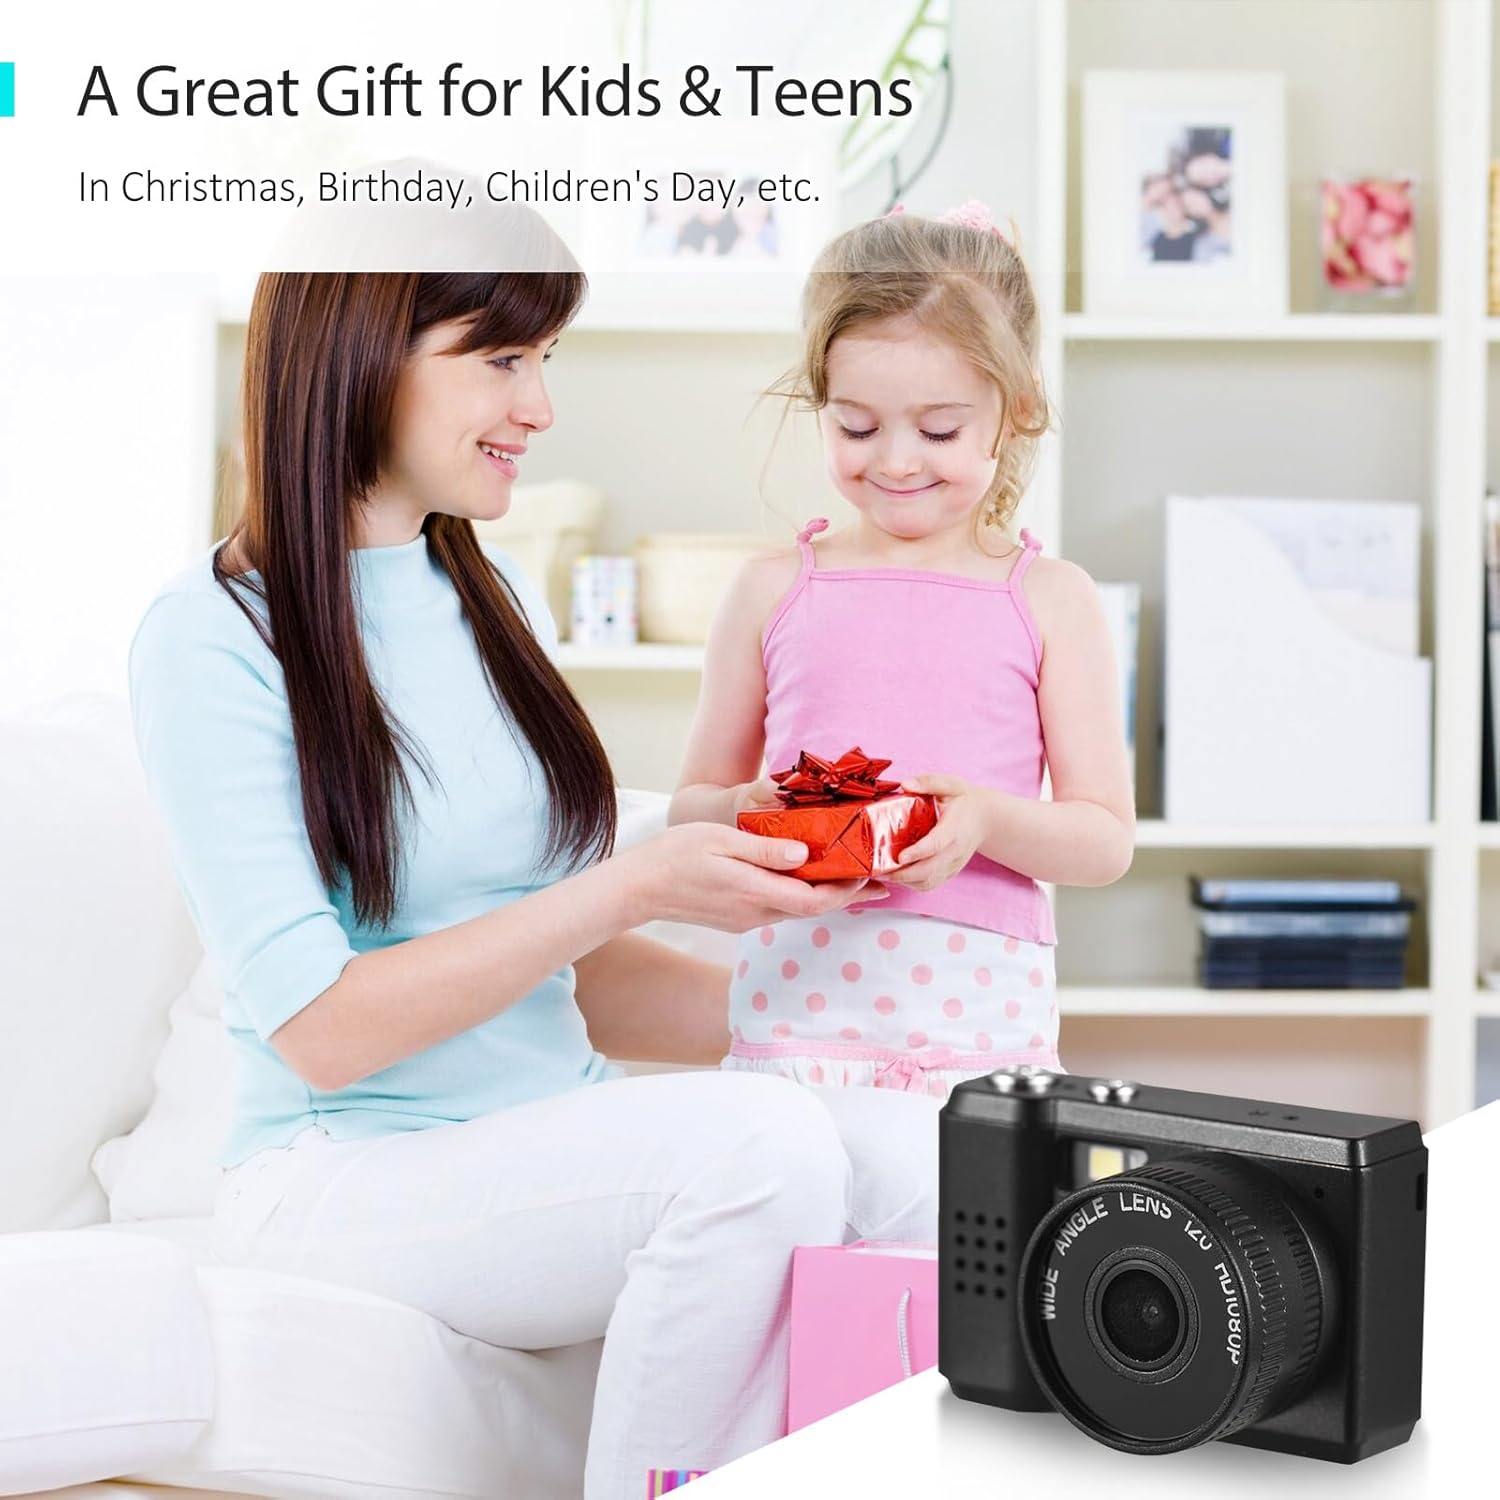
Thank you for purchasing the Andoer Mini Compact Digital Camera. This camera is designed for ease of use, offering 1080P video recording and high-quality photo capture in a super mini and lightweight form factor. It is an ideal device for beginners, kids, and adults looking to capture everyday moments. This manual provides detailed instructions on how to set up, operate, and maintain your camera to ensure optimal performance and longevity.
Product Overview
Key Features
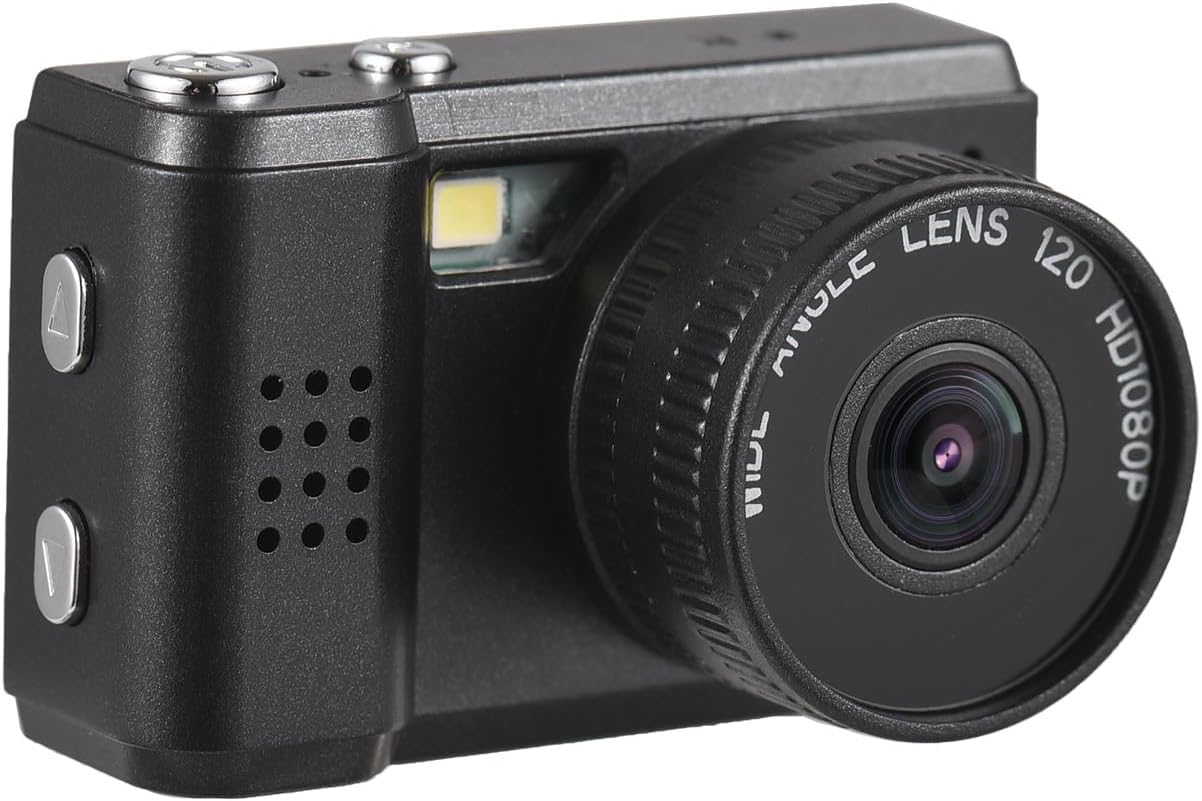
- Super mini size, only 18g net weight, easy to carry.
- Capable of taking pictures and recording 1080P videos.
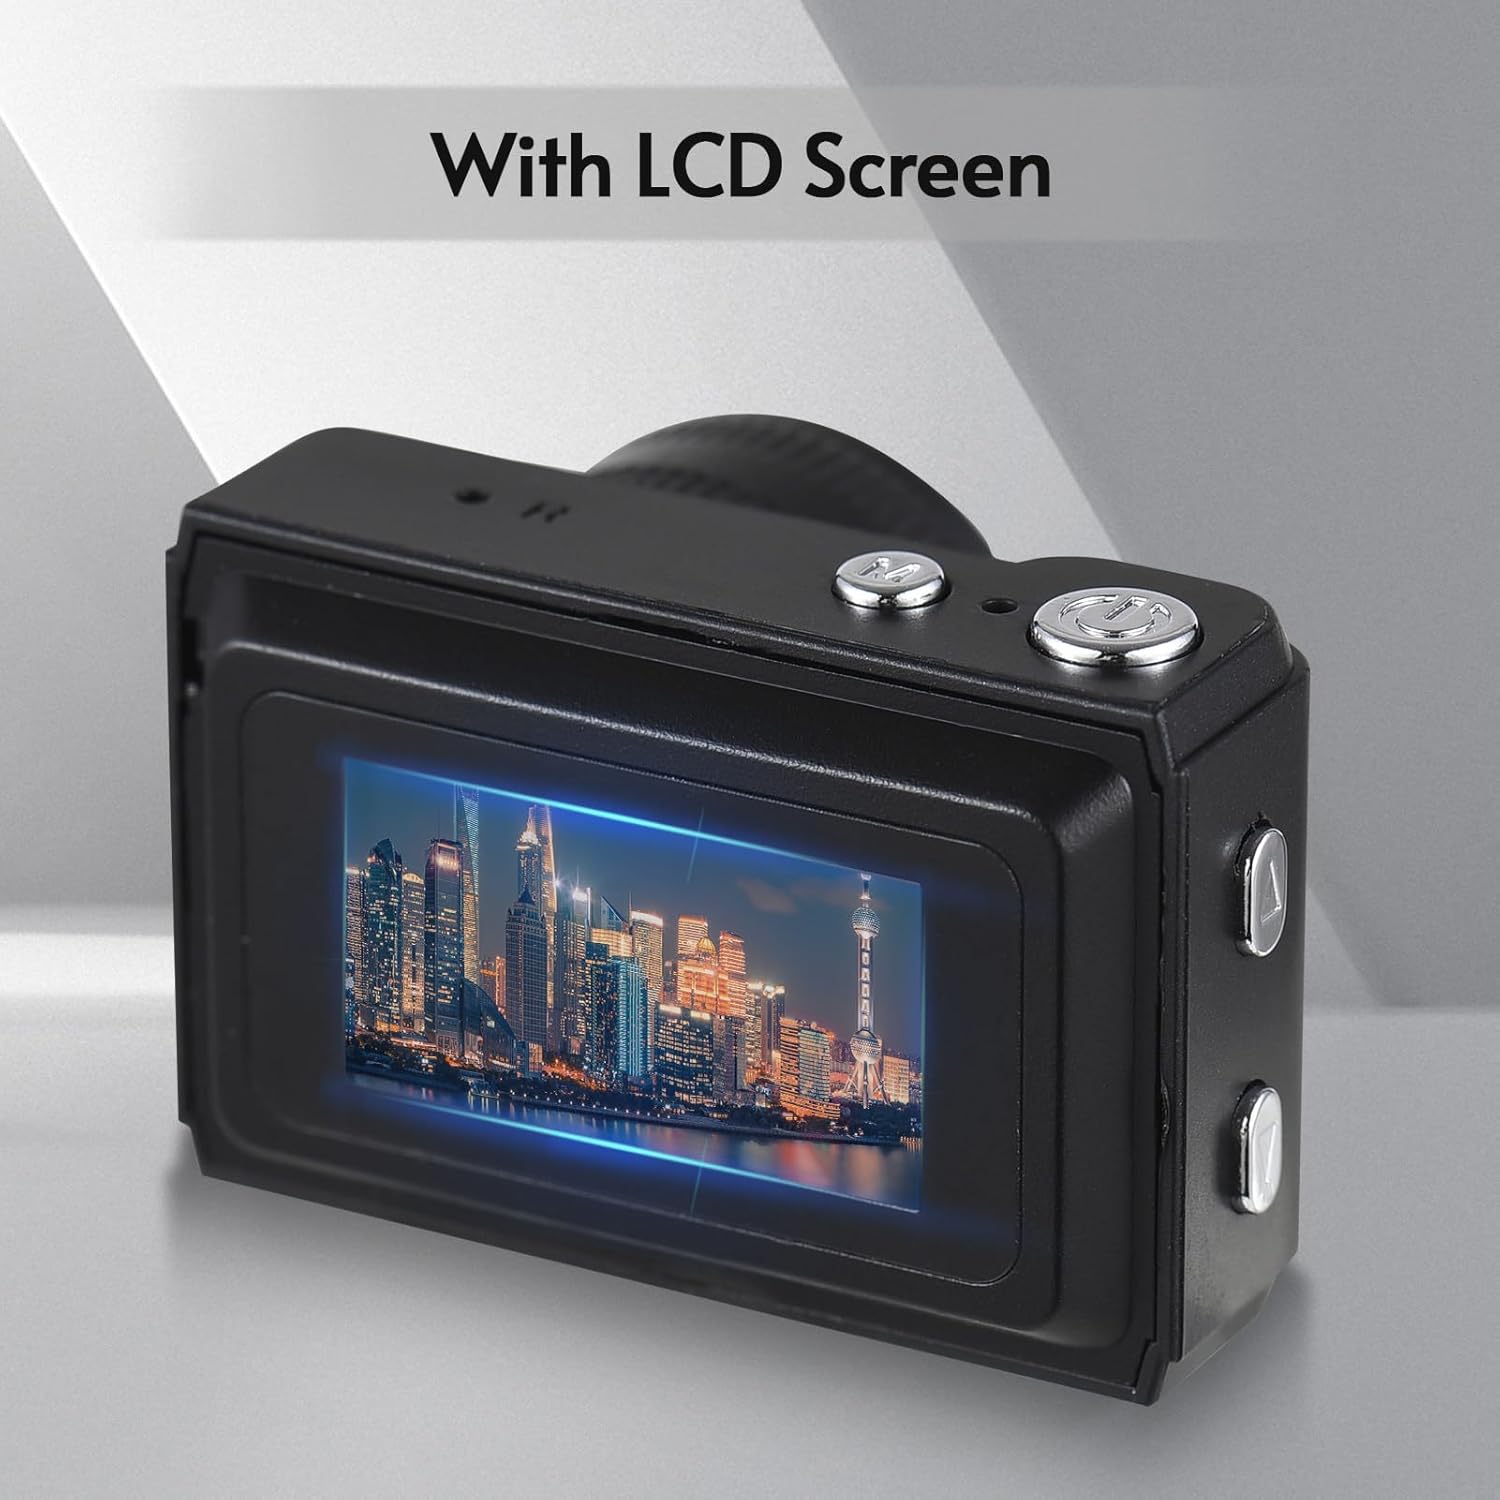
- Built-in LCD screen for direct viewing of photos and videos.
- Integrated flash and 5 filter effects for enhanced photography.
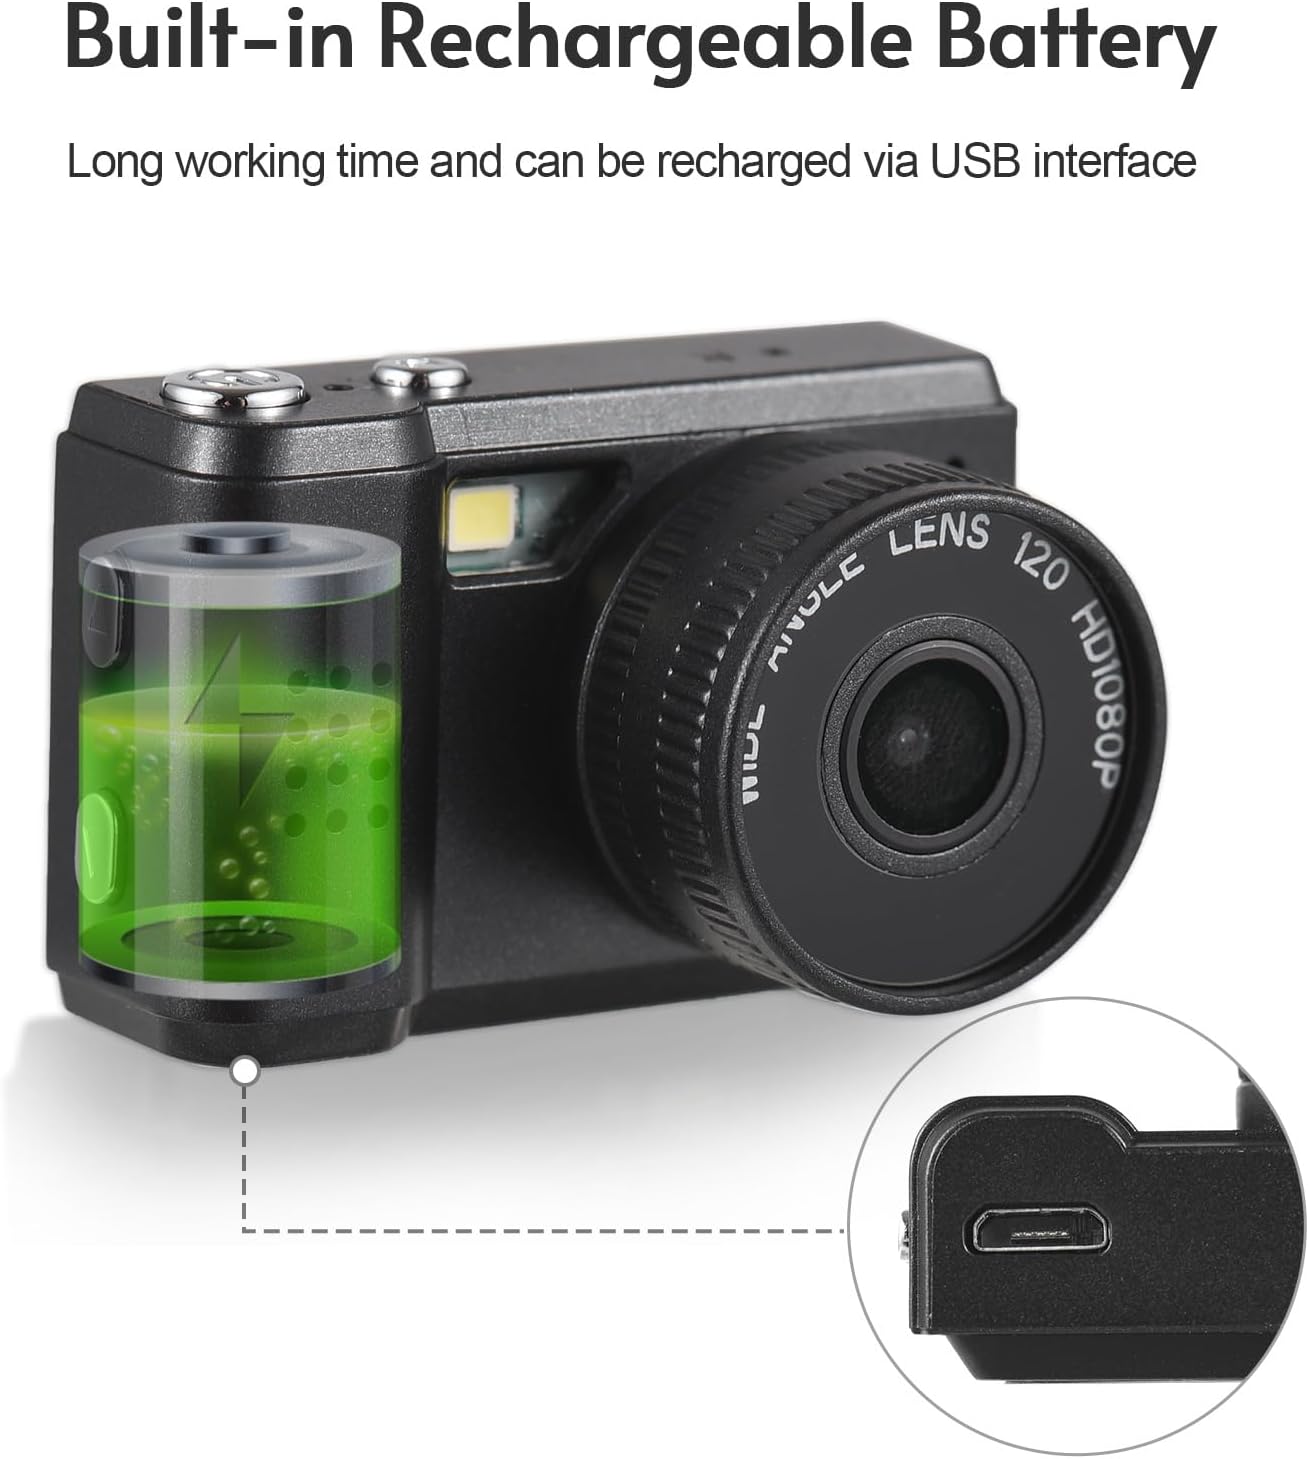
- Built-in rechargeable battery, charged via USB.
Camera Components


Setup
Charging the Battery
The camera comes with a built-in rechargeable battery. Before first use, ensure the battery is fully charged.
- Locate the USB charging port on the camera.
- Connect the camera to a power source (e.g., computer USB port, USB wall adapter) using the provided USB charging cable.
- The charging indicator light will illuminate. Once charging is complete, the light may change color or turn off.

Inserting a Memory Card (Not Included)
To store photos and videos, a compatible memory card (e.g., microSD card) is required. Ensure the camera is powered off before inserting or removing the card.
- Locate the memory card slot on the camera.
- Insert the memory card into the slot with the gold contacts facing the correct direction (refer to the diagram on the camera or in the quick start guide).
- Push the card gently until it clicks into place. To remove, push it again until it springs out.
Operating Instructions
Powering On/Off
- To Power On: Press and hold the Power button (usually marked with a power symbol) for a few seconds until the LCD screen illuminates.
- To Power Off: Press and hold the Power button again until the screen turns off.
Taking Photos
Once the camera is powered on and a memory card is inserted, you can begin taking photos.
- Ensure the camera is in photo mode (if there's a mode switch).
- Frame your shot using the LCD screen.
- Press the Shutter button (usually a larger button on top or front) to capture the image.
Recording Videos
The camera can record videos in 1080P resolution.
- Switch the camera to video recording mode (if applicable).
- Press the Record button (often marked with a red dot or video camera icon) to start recording.
- Press the Record button again to stop recording.
Viewing Photos and Videos
You can review your captured media directly on the camera's LCD screen.
- Enter Playback mode (usually via a dedicated button or menu option).
- Use the navigation buttons (up/down or left/right arrows) to browse through your photos and videos.
- Press the OK/Play button to view a photo or play a video.
Using the Built-in Flash
The camera is equipped with a built-in flash for illuminating subjects in low-light conditions.
- The flash typically activates automatically in low light when in photo mode.
- Some models may have a dedicated flash button or menu option to cycle through flash modes (e.g., Auto, Fill-flash, Off).
Applying Filter Effects
Enhance your photos with the camera's built-in filter effects.
- Access the filter options through the camera's menu settings while in photo mode.
- Select from the available 5 filter effects to add a unique touch to your images.
Maintenance
Cleaning the Camera
- Use a soft, lint-free cloth to gently wipe the camera body.
- For the lens and LCD screen, use a specialized lens cleaning cloth and solution if necessary. Avoid harsh chemicals.
- Do not use excessive force or abrasive materials, as this may scratch the surfaces.
Storage
- Store the camera in a cool, dry place away from direct sunlight and extreme temperatures.
- If storing for an extended period, ensure the battery is partially charged (around 50%) to preserve its lifespan.
- Keep the camera in a protective case to prevent dust and scratches.
Troubleshooting
| Problem | Solution |
|---|---|
| Camera does not turn on. | Ensure the battery is charged. Connect the camera to a power source and try again. Check if the battery is properly inserted. |
| Cannot take photos/record videos. | Check if a memory card is inserted and has sufficient free space. Ensure the camera is in the correct mode (photo/video). |
| Images are blurry. | Ensure the lens is clean. Hold the camera steady when taking pictures. Check lighting conditions. |
| LCD screen is blank or flickering. | Restart the camera. Check battery level. If the problem persists, contact customer support. |
| Camera freezes. | Remove and reinsert the battery (if removable) or press and hold the power button for 10 seconds to force a shutdown. |
Specifications
- Brand: Andoer
- Model Name: Mini
- Item Weight: 1.97 ounces
- Package Dimensions: 3.94 x 3.35 x 1.38 inches
- Photo Sensor Technology: CMOS
- Supported File Format: MJPEG
- Image Stabilization: Digital
- Aspect Ratio: 4:3
- Min Shutter Speed: 1/30 seconds
- Expanded ISO Minimum: 100
- Metering Description: Center Weighted
- Photo Sensor Size: 1/2.3-inch
Warranty and Support
For warranty information and customer support, please refer to the documentation included with your purchase or visit the official Andoer website. Keep your proof of purchase for any warranty claims.
Safety Warnings
Please read and adhere to the following safety warnings to ensure safe operation and prevent damage to the product or injury.

- Do not disassemble or modify the camera. Unauthorized modifications can lead to electric shock, fire, or damage to the product.
- Keep the camera away from water and moisture. Do not operate with wet hands.
- Avoid exposing the camera to extreme temperatures, direct sunlight, or high humidity.
- Use only the specified charging cable and power adapter.
- Keep small parts, such as memory cards, out of reach of children to prevent choking hazards.


