
1. Introduction
Thank you for choosing the Orient Electric Lyvi 1100W Heavy Weight Dry Iron. This manual provides essential information for the safe and efficient use, maintenance, and care of your new appliance. Please read these instructions carefully before first use and keep them for future reference.
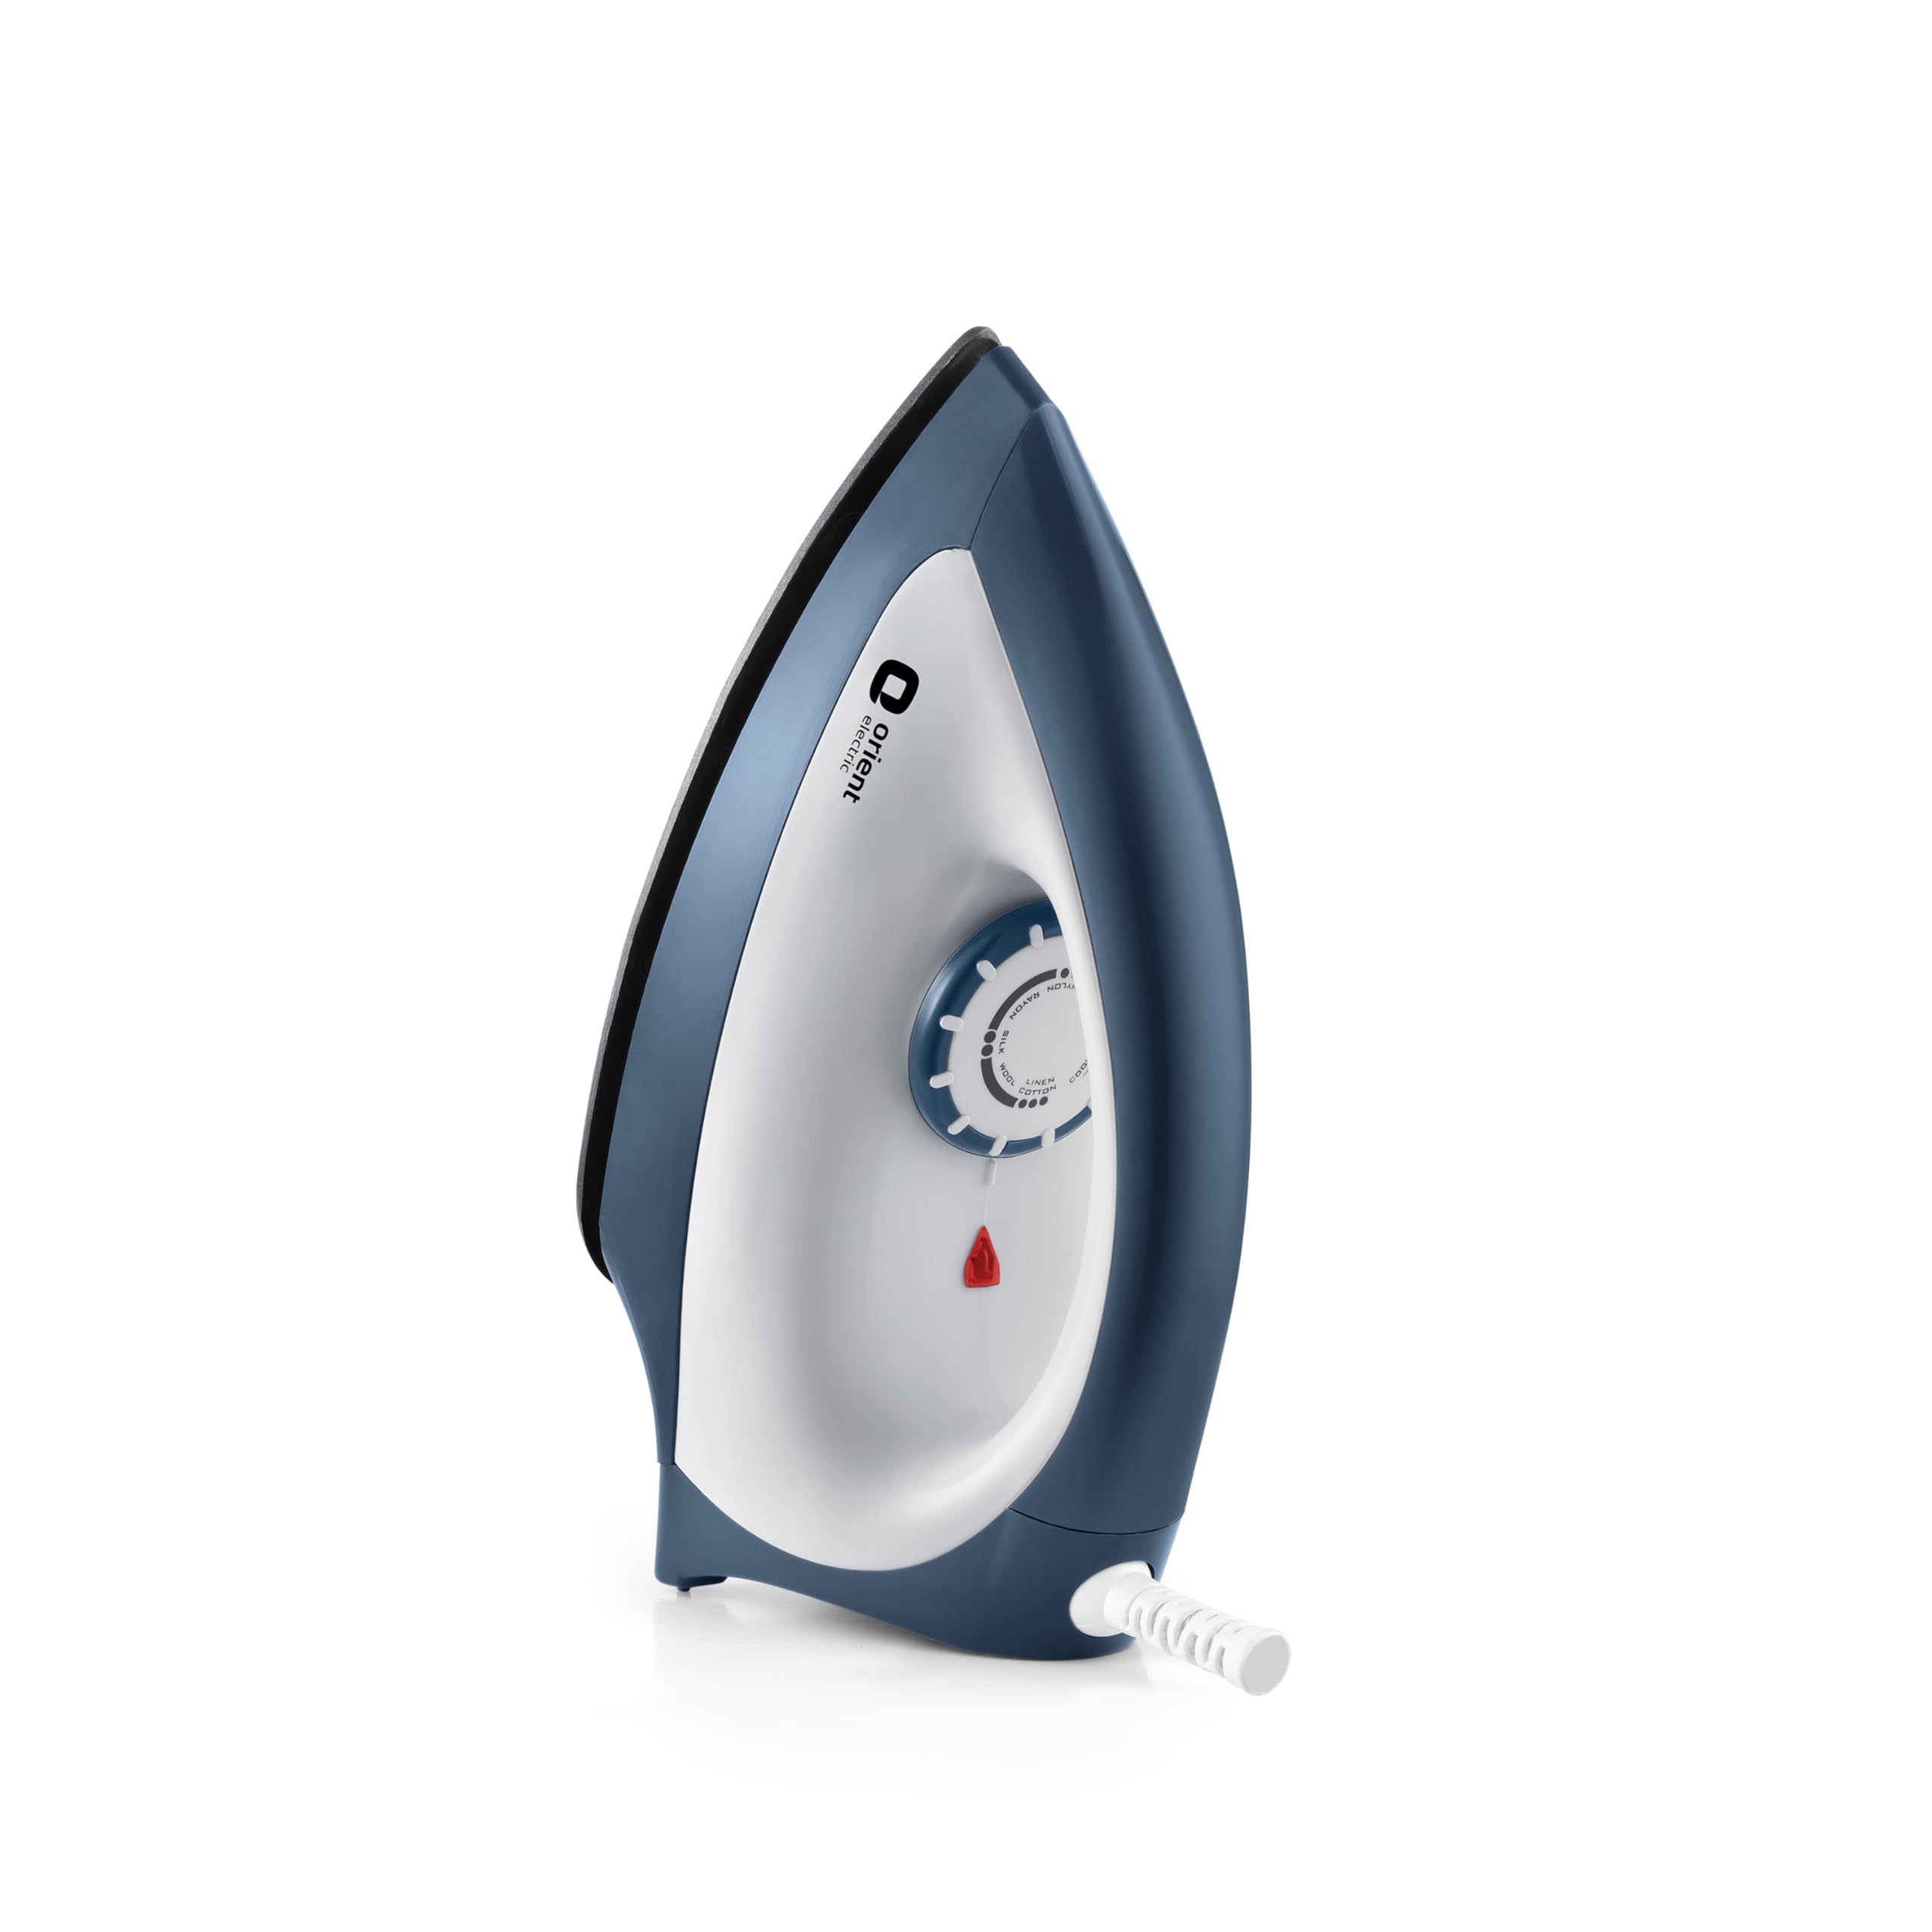
Image 1.1: The Orient Electric Lyvi 1100W Heavy Weight Dry Iron, designed for effective crease removal.
2. Important Safety Instructions
To ensure safe operation and prevent damage, please observe the following safety precautions:
- Always unplug the iron from the power outlet when filling with water (if applicable, though this is a dry iron), emptying, or when not in use.
- Do not operate the iron with a damaged cord or plug, or if the iron has been dropped or damaged. Contact customer service for repair.
- Keep the iron and its cord out of reach of children and pets when it is switched on or cooling down.
- Never immerse the iron, cord, or plug in water or other liquids.
- Use the iron only for its intended household purpose.
- Ensure the voltage indicated on the iron matches your local mains voltage before connecting.
- The iron is equipped with a 5-level safety shield for enhanced protection:
- PBT Insulator: Ensures a cool-touch body, preventing accidental burns.
- Thermal Fuse: Provides protection against overheating by cutting off power if temperatures exceed safe limits.
- Shock-Proof Plastic Body: Designed to prevent electric shocks.
- Thermostat: Offers maximum protection against overheating and fabric damage by maintaining selected temperature.
- Earthing in Cord Wire: Provides safety against electric shocks.

Image 2.1: Visual representation of the iron's 5-level safety shield, highlighting features like the PBT insulator, thermal fuse, shock-proof body, thermostat, and earthing wire.
3. Product Features
The Orient Electric Lyvi Dry Iron is engineered for efficient and safe ironing with several key features:
- Heavyweight Design: The iron's substantial weight assists in effortlessly smoothing out stubborn creases.
- 1100W Powerful Heating Element: Ensures rapid heating and consistent performance to tackle tough wrinkles.
- German-Made Non-Stick Weilburger Coating: The soleplate features a scratch-resistant coating for smooth gliding across various fabrics.
- Uniform Heating: A U-shaped heating element distributes heat evenly across the soleplate for consistent results.
- Convenient 1.5m Cord with 360-Degree Swivel: Provides flexibility and ease of movement during ironing, preventing tangles.
- Silver-Layered Thermostat Contacts: Enhances heat conductivity for superior temperature control and ironing experience.
- Ergonomic Handle: Designed for a comfortable and firm grip during use.
- Button Groove: Facilitates easy ironing around buttons and seams.

Image 3.1: Illustration of the iron's soleplate, highlighting the non-stick Weilburger coating and the U-shaped heating element for uniform heat distribution.

Image 3.2: Details of the iron's design, including the LED power indicator, the 360-degree swivel cord for multi-directional movement, and the extended 1.5-meter cord.
4. Setup
- Unpacking: Carefully remove the iron from its packaging. Retain the packaging for storage or future transport.
- First Use: When using the iron for the first time, a slight odor or light smoke may occur. This is normal and will disappear after a short period as manufacturing residues burn off.
- Placement: Place the iron on a stable, heat-resistant surface, such as an ironing board.
- Power Connection: Ensure the iron is switched off (temperature dial set to minimum) before plugging the power cord into a suitable electrical outlet (240V, 50Hz).
5. Operating Instructions
Follow these steps for effective and safe ironing:
- Prepare Garment: Ensure the garment is clean and suitable for ironing. Check the fabric care label for recommended ironing temperature.
- Set Temperature: Turn the temperature control dial to the appropriate setting for your fabric type. Refer to the fabric guide on the dial or the garment's care label.
- Heat Up: Plug in the iron. The power indicator light will illuminate, indicating the iron is heating. Once the desired temperature is reached, the light may turn off or cycle on and off to maintain heat.
- Ironing: Begin ironing the garment. For best results, iron in long, even strokes. The heavyweight design will help flatten creases effectively.
- Using the Button Groove: Utilize the specially designed button groove to easily iron around buttons, zippers, and seams without damaging them.
- Finishing: Once ironing is complete, turn the temperature dial to the minimum setting and unplug the iron from the power outlet.

Image 5.1: Close-up of the iron's precision temperature control dial, showing recommended settings for different fabric materials.

Image 5.2: Detail of the iron's button groove, designed for easy ironing along buttons and seams, and the ergonomic handle for a firm grip.
6. Maintenance
Proper care ensures the longevity and performance of your iron:
- Cleaning the Soleplate: After the iron has cooled completely, wipe the soleplate with a soft, damp cotton cloth. Do not use abrasive cleaners, scourers, or sharp objects as these can damage the non-stick coating.
- Cleaning the Body: Wipe the exterior of the iron with a soft, damp cloth.
- Storage: Store the iron upright on its heel rest in a dry, safe place once it has completely cooled down. Do not wrap the cord tightly around the iron; instead, loosely coil it.
- General Tips:
- Select the fabric setting as per the label of the cloth.
- Use a flat surface/ironing board for effortless ironing.
- Do not iron on zippers, rivets, stickers, sequins, etc., as this can damage the soleplate.
- Keep the iron upright after every use.
- Do not leave the iron unattended when plugged in.

Image 6.1: A visual guide to care and usage tips, including fabric setting, using an ironing board, avoiding ironing over embellishments, keeping the iron upright, cleaning the soleplate, and not leaving it unattended.
7. Troubleshooting
If you encounter issues with your iron, refer to the following common problems and solutions:
| Problem | Possible Cause | Solution |
|---|---|---|
| Iron does not heat up. | Not plugged in, power outlet faulty, temperature dial set to minimum, thermal fuse activated. | Check power connection. Test outlet with another appliance. Turn temperature dial to desired setting. If thermal fuse activated, contact customer service. |
| Iron is not hot enough for fabric. | Incorrect temperature setting. | Increase temperature setting according to fabric type. Allow sufficient time for the iron to heat up. |
| Soleplate sticks to fabric. | Temperature too high for fabric, soleplate is dirty. | Reduce temperature setting. Clean the soleplate as per maintenance instructions. |
| Smoke or odor during first use. | Manufacturing residues burning off. | This is normal. It will subside after a few minutes of use. Ensure good ventilation. |
If the problem persists after trying these solutions, please contact Orient Electric customer support.
8. Specifications
| Feature | Detail |
|---|---|
| Brand | Orient Electric |
| Model Name | Lyvi_Parent |
| Model Number | Lyvi 1100W (DILY11BP) |
| Wattage | 1100 Watts |
| Voltage | 240 Volts |
| Frequency | 50 Hz |
| Product Dimensions (L x W) | 25.5L x 13W Centimeters |
| Item Weight | 1400 Grams |
| Colour | White & Blue |
| Base Material | Stainless Steel (with Weilburger Non-Stick Coating) |
| Special Feature | Heavyweight design, 5-level safety shield |
| Included Components | Iron, User Manual |
9. Warranty Information
Your Orient Electric Lyvi 1100W Heavy Weight Dry Iron comes with a 2-year replacement warranty against manufacturing defects from the date of purchase. Please retain your purchase receipt as proof of purchase for warranty claims.
The warranty covers defects in materials and workmanship under normal household use. It does not cover damage resulting from misuse, accident, unauthorized modification, or failure to follow the instructions in this manual.
For warranty service, please contact Orient Electric customer support.
10. Customer Support
For any queries, assistance, or service requests regarding your Orient Electric Lyvi Dry Iron, please contact Orient Electric customer support.
You can find more information and contact details on the official Orient Electric website or through your local authorized service center.
Manufacturer: 295/78, TRILOKPUR ROAD VILLAGE JOHRON, Kala Amb - 173030, Himachal Pradesh, Sunstar Industries & Orient Electric
Importer Contact Information: Orient Electric