
klarus EP12
Klarus EP12 Ultra Bright Zoomable Flashlight User Manual
Model: EP12 | Brand: Klarus
1. Introduction
Thank you for choosing the Klarus EP12 Ultra Bright Zoomable Flashlight. This manual provides essential information for the safe and effective use, maintenance, and troubleshooting of your device. The EP12 is a high-performance flashlight designed for various applications, including outdoor exploration, search and rescue, security patrols, and general daily use. It features a powerful 30W LED, 2000 lumens output, adjustable focus, and multiple lighting modes.
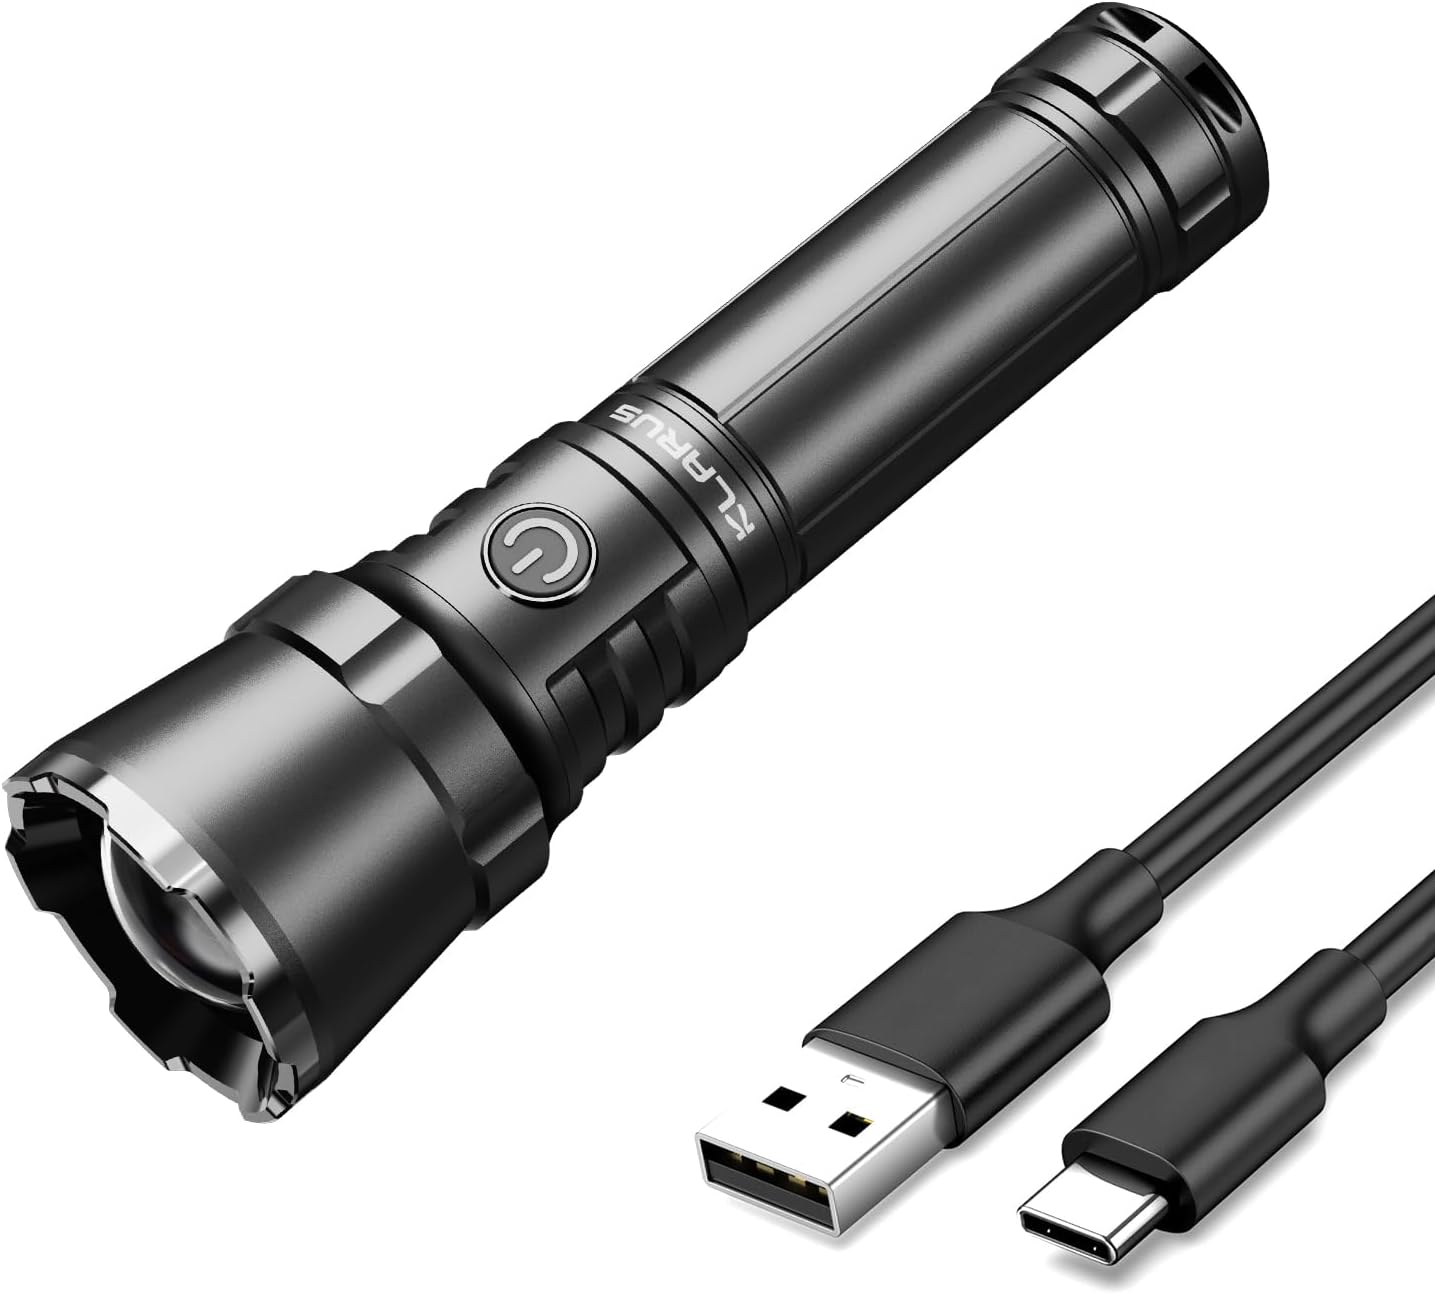
Image 1.1: The Klarus EP12 flashlight shown with its accompanying USB-C charging cable.
2. Product Overview and Components
Familiarize yourself with the various parts of your Klarus EP12 flashlight to ensure proper operation and maintenance.
2.1 Package Contents
- Klarus EP12 Flashlight
- USB-C Charging Cable
- O-Ring (Spare)
- User Manual
- Battery (Pre-installed)

Image 2.1: The complete package contents for the Klarus EP12 flashlight.
2.2 Flashlight Diagram

Image 2.2: An exploded diagram illustrating the main components of the EP12 flashlight.
- Strike Bezel: Used for adjusting focus.
- LED: Light Emitting Diode, the primary light source.
- Helical Focusing Column: Mechanism for beam adjustment.
- Side Switch/Battery Capacity Indicator: Controls power and modes, also displays battery status.
- USB-C Charging Port: For direct battery charging.
- Aluminum Alloy Body: Durable and corrosion-resistant housing.
- Battery: Power source (pre-installed).
- Lanyard Hole: Attachment point for a lanyard.
- Tailcap: Rear cap of the flashlight.
3. Setup
3.1 Initial Battery Preparation
Before first use, ensure the insulating disc is removed from the battery compartment. This disc prevents accidental activation during shipping.
- Unscrew the tailcap of the flashlight.
- Remove the pre-installed battery.
- Locate and remove the small insulating disc placed at the end of the battery.
- Reinsert the battery with the positive (+) end facing towards the head of the flashlight.
- Screw the tailcap back on securely.
3.2 Charging the Battery
The Klarus EP12 features a convenient USB-C charging port, allowing direct charging without battery removal.

Image 3.1: The EP12 flashlight connected for USB-C charging.
- Locate the USB-C charging port on the side of the flashlight body.
- Connect the provided USB-C cable to the flashlight and a compatible USB power source (e.g., wall adapter, power bank, computer USB port).
- The side switch will illuminate to indicate charging status:
- Green light: Battery level above 70%.
- Orange light: Battery level between 30% and 70%.
- Red light: Battery level below 30%.
- Blinking red light: Battery level below 10%, indicating critical low power.
- Charging is complete when the indicator light turns solid green (if it was red/orange) or turns off.

Image 3.2: Visual representation of the battery indicator during USB-C charging.
4. Operating Instructions
The Klarus EP12 offers intuitive controls for power, mode selection, and focus adjustment.
4.1 Power On/Off
- To Turn On: Press the side switch once.
- To Turn Off: Press and hold the side switch for approximately 1 second.
4.2 Mode Selection
The flashlight features 7 light modes: Floodlight (High, Medium, Low), Spotlight (High, Medium, Low), and SOS.
- With the flashlight on, single-click the side switch to cycle through the brightness levels (High > Medium > Low) within the current beam type (Flood or Spot).
- To switch between Floodlight and Spotlight modes, quickly double-click the side switch.
- To activate SOS mode, triple-click the side switch from any state (on or off). Single-click to exit SOS mode.
4.3 Adjustable Focus
The EP12 allows you to easily switch between a wide floodlight beam and a concentrated spotlight beam by twisting the strike bezel.

Image 4.1: Illustration of the adjustable focus feature, showing both spot and flood modes.
- To adjust focus: Simply twist the strike bezel (the front part of the flashlight head) clockwise or counter-clockwise.
- Twist in one direction for a wider, diffused Floodlight beam, ideal for illuminating a large area at close range.
- Twist in the other direction for a narrow, concentrated Spotlight beam, suitable for long-distance illumination.

Image 4.2: Flashlight in Floodlight mode for wider illumination.

Image 4.3: Flashlight in Spotlight mode for focused, long-distance light.
5. Maintenance
Proper maintenance ensures the longevity and optimal performance of your Klarus EP12 flashlight.
5.1 Cleaning
- Wipe the flashlight body with a clean, soft cloth.
- For stubborn dirt, use a slightly damp cloth and then dry thoroughly.
- Do not use harsh chemicals or abrasive cleaners.
5.2 Battery Care
- Recharge the battery regularly, especially if the flashlight will not be used for an extended period.
- Avoid fully depleting the battery to prolong its lifespan.
- Store the flashlight and battery in a cool, dry place.
5.3 Water Resistance
The EP12 is rated IPX6 waterproof, meaning it is protected against powerful water jets. While it can withstand heavy rain and splashes, it is not designed for submersion.

Image 5.1: The EP12 flashlight demonstrating its water resistance.

Image 5.2: Close-up of the EP12 flashlight with water droplets, emphasizing its IPX6 rating.
6. Troubleshooting
If you encounter issues with your Klarus EP12 flashlight, refer to the following common problems and solutions.
6.1 Flashlight Not Turning On
- Check Battery Installation: Ensure the battery is inserted correctly with the positive (+) end facing the head of the flashlight.
- Remove Insulating Disc: Verify that the insulating disc has been removed from the battery compartment (refer to Section 3.1).
- Charge Battery: The battery may be depleted. Connect the flashlight to a USB-C charger and observe the battery indicator (refer to Section 3.2).
- Tighten Tailcap: Ensure the tailcap is fully tightened to establish proper electrical contact.
6.2 Dim or Flickering Light
- Recharge Battery: A dim or flickering light often indicates a low battery. Recharge the flashlight fully.
- Clean Contacts: Ensure the battery contacts and the flashlight's internal contacts are clean and free of debris.
If these steps do not resolve the issue, please contact Klarus customer support for further assistance.
7. Specifications
Detailed technical specifications for the Klarus EP12 flashlight.
| Feature | Specification |
|---|---|
| Model | EP12 |
| Brand | Klarus |
| Light Source Type | LED |
| Brightness | 2000 Lumens (Max) |
| Beam Distance | Up to 2460 Feet (750 Meters) |
| Special Features | Adjustable Focus, Ultra Bright |
| Light Modes | 7 (Flood High/Medium/Low, Spot High/Medium/Low, SOS) |
| Power Source | Battery Powered |
| Battery Type | 4000mAh Lithium Ion (Included) |
| Charging Interface | USB-C |
| Runtime | Up to 11 hours |
| Material | 6063-T6 Space Aluminum Alloy |
| Water Resistance Level | IPX6 (Waterproof) |
| Product Dimensions | 6.89"D x 2.36"W x 1.77"H (approx. 17.5cm x 6cm x 4.5cm) |
| Item Weight | 10.2 ounces (approx. 289 grams) |
| Color | Black |
8. Warranty and Support
Klarus products are manufactured to high-quality standards. For warranty information or technical support, please refer to the official Klarus website or contact your authorized dealer. Keep your purchase receipt as proof of purchase.
For further assistance, you may visit the Klarus store on Amazon: Klarus Store
Related documentsEP12


Ask a question about this manual
Ask about setup, troubleshooting, compatibility, parts, safety, or missing instructions. Manuals+ will review the question and use this page’s manual context to help answer it.