
1. Introduction
Thank you for choosing the Yansoo Dual Dash Cam X88-2. This manual provides essential information for setting up, operating, and maintaining your dash camera. Please read it thoroughly before use to ensure optimal performance and safety.
What's in the Box:
- User Manual
- Dash Cam with 64 GB Card (pre-inserted)
- Installation Tool
- Car Charger
- Suction Cup
Important Notes Before Use:
- The included mini USB cable is for transferring video to your computer only. It cannot be used as a power cord. Always use the provided car charger to power the dash cam.
- The dash cam has a built-in battery for emergency recording. For 24-hour parking monitoring, continuous power is required, typically via a separately purchased Hardwire Kit (e.g., Yansoo Hardwire Kit: B0BNH1WJS7).
- Always format the 64GB memory card in the camera menu before its first use and periodically thereafter to ensure stable recording.
- Before permanent installation, power up the dash cam using the car charger to test its functionality, including the display of both front and interior cameras.
2. Product Overview
The Yansoo X88-2 is a compact yet powerful dual dash camera designed to provide comprehensive coverage of your driving environment. It features both front and interior cameras, ensuring detailed recording for various situations.
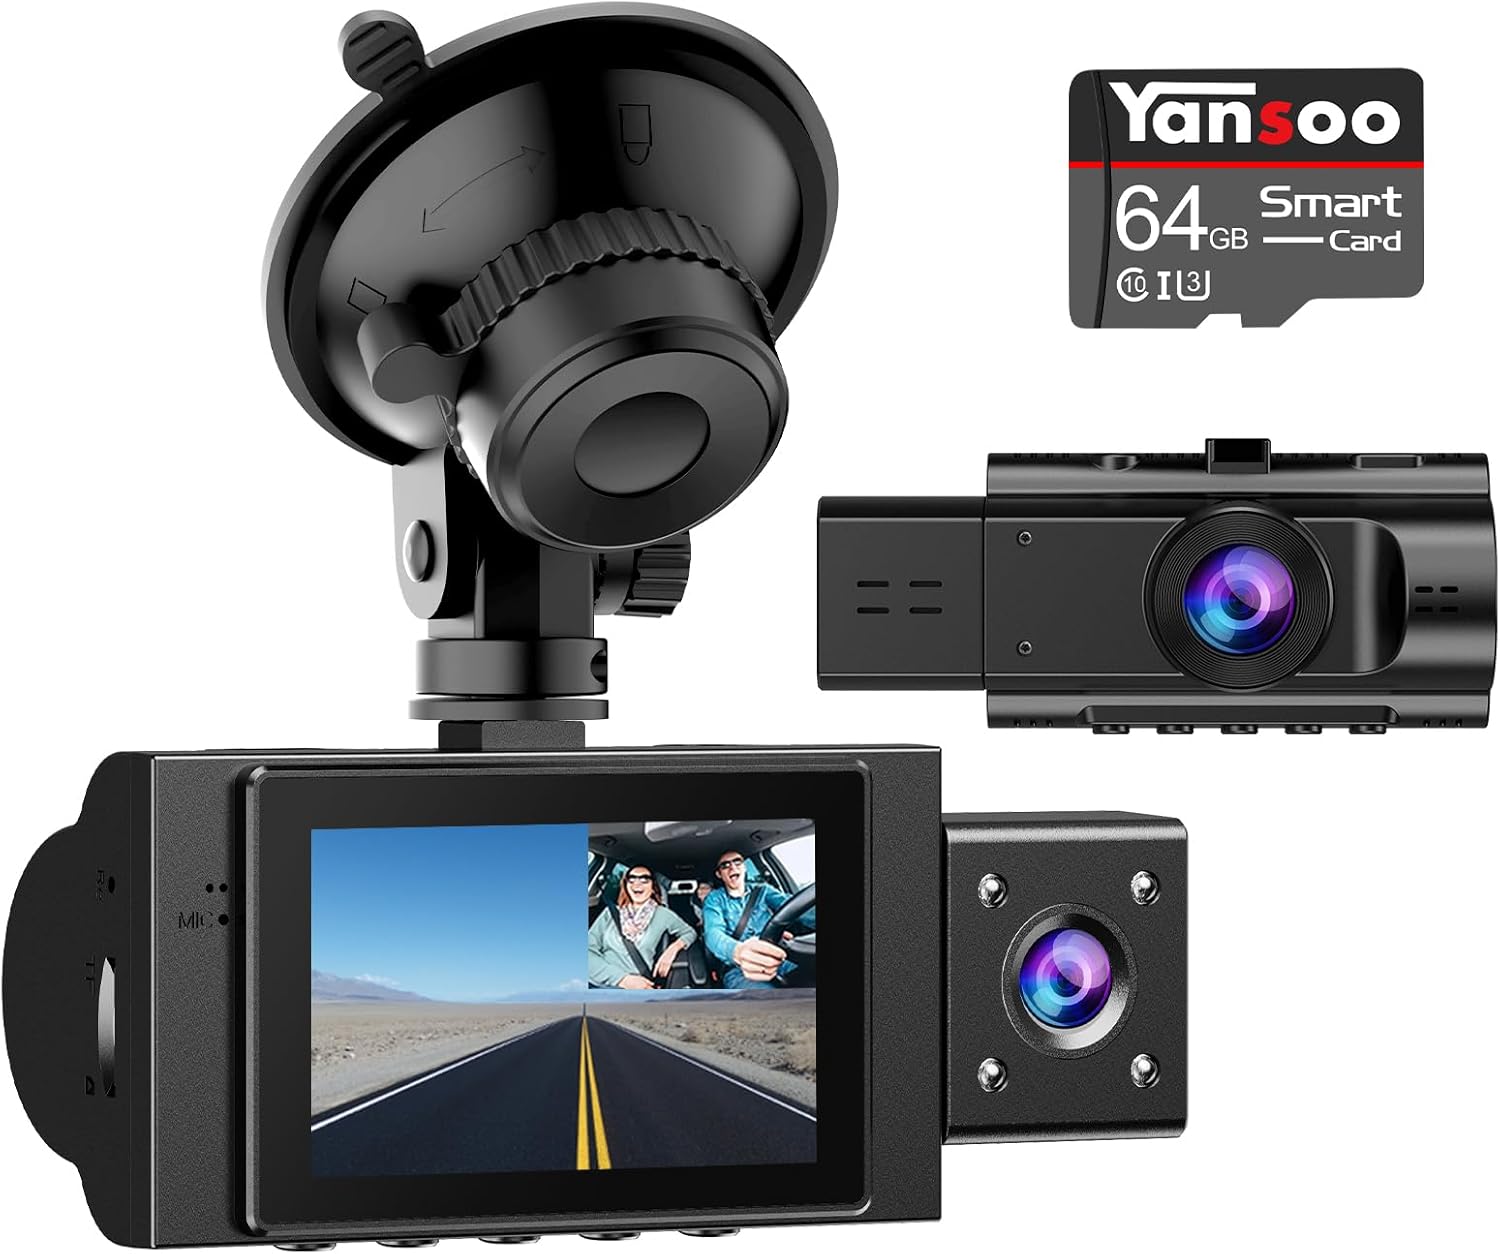
Figure 2.1: Yansoo Dual Dash Cam X88-2 with included accessories.
Key Features:
- Dual 1080P Recording: Records both front and interior views in Full HD 1920x1080 resolution at 30 frames per second.
- Wide Angle Lenses: Features a 170° wide-angle front lens and a 140° wide-angle interior lens to capture a broad field of view without blind spots.
- Super Infrared Night Vision & WDR: Equipped with 4 infrared LED fill lights, F1.8 aperture, and WDR (Wide Dynamic Range) technology for optimal performance in low-light conditions, ensuring clear recordings day and night.
- 24-Hour Parking Monitor & Motion Detection: Protects your vehicle even when parked. The dash cam enters standby mode and automatically records 31-second videos upon detecting shocks.
- Emergency Lock Video (G-Sensor): Built-in G-sensor automatically detects sudden shakes or collisions and locks the current video footage to prevent it from being overwritten, serving as crucial evidence.
- Loop Recording: Continuously records by automatically overwriting the oldest unlocked video files when the memory card is full, ensuring uninterrupted recording.
- Easy Installation & Use: Simple and secure windshield mounting with the included suction cup. Powers on and records automatically when connected to the car's cigarette lighter interface.
3. Setup and Installation
3.1 Inserting the Memory Card
The dash cam comes with a 64GB card pre-inserted. If you need to remove or re-insert it:
- Locate the memory card slot on the side of the dash cam.
- Gently push the card until it clicks into place. To remove, push again until it pops out.

Figure 3.1: Memory card insertion steps.
3.2 Mounting the Dash Cam
- Clean the area on your windshield where you intend to mount the dash cam.
- Attach the suction cup mount to the dash cam.
- Press the suction cup firmly against the windshield and flip the lever to secure it.
- Adjust the camera angle to ensure a clear view of the road ahead and the vehicle's interior.
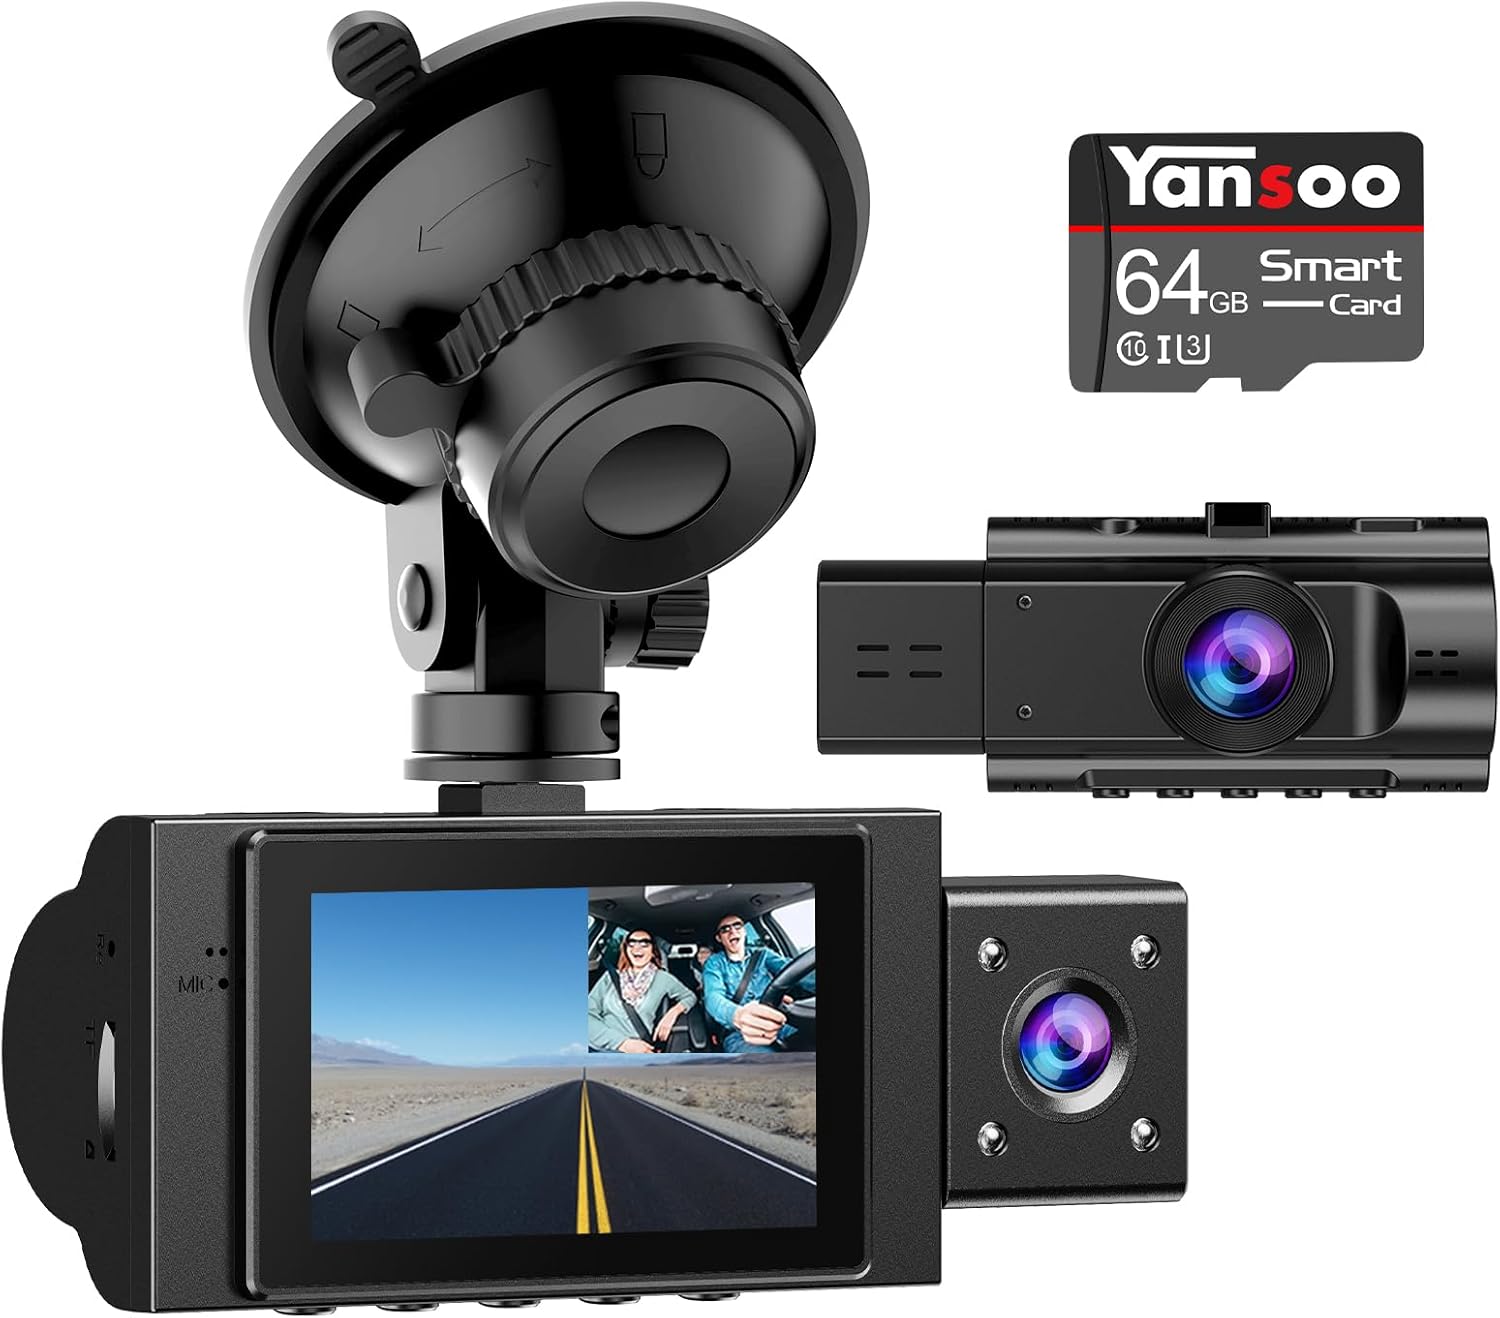
Figure 3.2: Dash cam installed on the windshield.
3.3 Power Connection
Connect the provided car charger to the dash cam's Type-C port and plug the other end into your car's cigarette lighter socket. The dash cam will automatically power on and begin recording when your car starts.

Figure 3.3: Recommended power cable routing.
4. Operating Instructions
4.1 Basic Operation
- Power On/Off: The dash cam powers on automatically with the car ignition. To manually turn it off, press and hold the power button.
- Start/Stop Recording: Recording typically starts automatically upon power-on. Press the 'OK' button to manually stop or start recording.
- Menu Navigation: Use the 'M' button to enter the menu. Use the up/down arrow buttons to navigate and 'OK' to select.
4.2 Recording Modes and Features
- Dual Recording (Front & Interior): The dash cam simultaneously records both views. The 2.0" LCD display supports real-time image and replay, allowing you to see both feeds clearly.

Figure 4.1: Multiple display modes for front and interior views.
- Infrared Night Vision: The interior camera utilizes 4 infrared LED lights for clear recording in low-light or nighttime conditions.

Figure 4.2: Infrared night vision capability for the interior camera.
- G-Sensor (Emergency Lock): When the G-sensor detects a sudden impact or collision, it automatically locks the current video file to a protected folder, preventing it from being overwritten during loop recording. This ensures critical event footage is preserved.
- Loop Recording: The dash cam records continuously in short segments (e.g., 1, 3, or 5 minutes). When the memory card is full, the oldest unlocked files are automatically overwritten to make space for new recordings.

Figure 4.3: G-Sensor and Loop Recording functionality.
- Parking Monitor & Motion Detection: With this function enabled, the dash cam will automatically turn on and record a 31-second video if it detects a shock while the car is parked and the camera is powered off. For continuous 24-hour parking monitoring, a hardwire kit is recommended.
4.3 Viewing Recorded Footage
You can view recorded videos directly on the dash cam's screen or by connecting the dash cam to a computer using the mini USB cable. Alternatively, you can remove the SD card and insert it into a card reader connected to your computer.

Figure 4.4: Connecting the dash cam to a computer.
4.4 Video Demonstrations
Video 4.1: Demonstration of the Yansoo X88 Dash Cam's FHD recording capabilities, showcasing both front and interior views during daytime driving. This video highlights the clarity and wide-angle coverage of the cameras.
Video 4.2: A demonstration of the Yansoo X88 Dash Cam's day and night recording quality. This video illustrates the effectiveness of the night vision feature in low-light conditions, providing clear footage for both front and interior cameras.
5. Maintenance
- Formatting the Memory Card: It is recommended to format the memory card every 2-4 weeks to prevent file corruption and ensure optimal recording performance. This can be done through the camera's menu settings.
- Cleaning the Lenses: Regularly clean the front and interior camera lenses with a soft, dry cloth to ensure clear video quality. Avoid using abrasive materials or chemical cleaners.
- Operating Temperature: The dash cam is designed to operate within a specific temperature range. Avoid exposing it to extreme temperatures (e.g., direct sunlight in a parked car for extended periods) to prevent damage.
6. Troubleshooting
If you encounter issues with your Yansoo Dual Dash Cam X88-2, please refer to the following common problems and solutions:
| Problem | Possible Cause / Solution |
|---|---|
| Dash cam does not power on. | Ensure the car charger is properly connected to both the dash cam and the car's cigarette lighter. Check if the car's cigarette lighter socket is receiving power. |
| Recording stops unexpectedly. | The memory card may be full or corrupted. Format the card in the camera's menu. Ensure you are using a high-speed (Class 10 or higher) memory card. |
| Video footage is blurry or unclear. | Clean the camera lenses. Ensure the protective film has been removed from the lenses. Check if the windshield area where the camera is mounted is clean. |
| Date and time settings are not saved. | The internal battery may be low. Keep the dash cam connected to power for a period to allow the internal battery to charge. Re-enter the date and time settings. |
| Parking monitor is not working. | Ensure the parking monitor feature is enabled in the settings. For continuous 24-hour monitoring, a hardwire kit is required as the built-in battery is for emergency recording only. |
7. Specifications
| Feature | Detail |
|---|---|
| Product Dimensions | 4.13 x 1.57 x 1.77 inches |
| Item Weight | 10.8 ounces |
| Model Number | X88-2 |
| Batteries | 1 Lithium Polymer batteries required (included) |
| Connectivity Technology | Type-C |
| Video Capture Resolution | Front and inside both 1080P |
| Mounting Type | Windshield Mount |
| Color | Black Car Dash Cam |
8. Warranty and Support
Yansoo is committed to providing high-quality products and excellent customer service. Your Yansoo Dual Dash Cam X88-2 is covered by a one-year warranty from the date of purchase.
For any questions, technical support, or warranty claims, please contact our professional after-sales team. We offer 7*24 hours live customer service to assist you with any inquiries.
Please refer to your purchase platform or the Yansoo official website for specific contact details and the full warranty policy.

Figure 8.1: Yansoo customer support.

