
Introduction
This manual provides detailed instructions for the safe and effective use of your Gofunly Instant Print Camera H2. Please read this manual thoroughly before operating the device to ensure optimal performance and longevity. Keep this manual for future reference.
Product Overview
The Gofunly Instant Print Camera H2 is a versatile digital camera designed for ease of use and instant photo printing. It features a 3.0-inch HD screen, 32MP photo resolution, 1080P video recording, and various creative functions.
Key Features:
- Instant Print Function: Print black and white photos directly from the camera.
- High-Resolution Imaging: Capture photos at 32MP and record videos in 1080P HD.
- Large IPS Screen: A 3.0-inch screen provides clear viewing and improved user experience.
- Creative Modes: Includes flash, time-lapse, burst shooting, various filters, and fun frames.
- Multimedia Capabilities: Supports MP3 playback and includes built-in games.
- Long Battery Life: Equipped with a 1000mAh rechargeable battery for extended use.
- Expandable Storage: Comes with a 32GB SD card for ample photo and video storage.
- Safe Printing: Uses BPA-free thermal printer paper.

Image: Comparison of the Gofunly H2's 3.0-inch HD screen with a smaller 2.0-inch screen, highlighting its clarity and size.

Image: The Gofunly H2 camera displaying its compact dimensions (8cm x 4cm x 10cm) and icons representing its features: 3.0-inch HD screen, 1080P video, print photo, album, time lapse, burst shooting, multi funny frames, 32G card, and USB charging.
What's in the Box
Your Gofunly Instant Print Camera H2 package includes the following items:
- Gofunly Instant Print Camera H2
- 3 Rolls of Thermal Printer Paper
- 32GB SD Card
- Type-C USB Charging Cable
- Lanyard
- 5 Color Pencils
- Instruction Manual (this document)

Image: The Gofunly Instant Print Camera H2 in pink, alongside its accessories: a 32GB SD card, three rolls of printer paper, five color pencils, a USB charging cable, and a lanyard.
Setup
1. Battery Charging
The camera has a built-in 1000mAh rechargeable battery. Before first use, fully charge the camera using the provided Type-C USB cable.
- Connect the Type-C end of the USB cable to the camera's charging port.
- Connect the USB-A end to a compatible USB power adapter (not included) or a computer's USB port.
- The charging indicator light will illuminate during charging and turn off when fully charged.
2. SD Card Installation
Your camera comes with a 32GB SD card pre-installed or included separately. Ensure it is properly inserted for photo and video storage.
- Locate the SD card slot on the side of the camera.
- Gently push the SD card into the slot until it clicks into place. Ensure the card is oriented correctly.
- To remove, gently push the SD card again until it pops out.
3. Printer Paper Installation
Follow these steps to load the thermal printer paper into your camera:
- Step 1: Pull open the film door on the front of the camera.
- Step 2: Insert a roll of printer paper into the compartment. Ensure the paper feeds from the bottom of the roll and extends about 1-2 inches in length.
- Step 3: Close the film door securely.
- Step 4: In photography mode, press the "Print" button to print photos.

Image: A four-panel illustration demonstrating the process of installing printer paper: opening the film door, inserting the paper roll with a leading edge, closing the door, and pressing the print button.
Operating Instructions
1. Power On/Off
- To power on, press and hold the power button until the screen illuminates.
- To power off, press and hold the power button until the screen turns off. The camera also features an auto-off function to conserve battery.
2. Taking Photos
- From the main menu, select the "Photo" icon.
- Frame your shot using the 3.0-inch screen.
- Press the shutter button (usually the main button in the center) to capture a photo.
- Use the navigation buttons to adjust zoom (if available) or apply filters/frames before taking the picture.

Image: The Gofunly H2 camera highlighting its flash function (on/off), 5-second time-lapse feature, and burst shooting capability (x1, x2, x3 photos).
3. Recording Videos
- From the main menu, select the "Video" icon.
- Press the shutter button to start recording. Press it again to stop recording.
- Videos are saved to the SD card.
4. Printing Photos
- After taking a photo, the camera can be set to instantly print.
- To print a saved photo, go to the "Playback" or "Album" section, select the desired photo, and press the "Print" button.
- The camera prints black and white thermal photos.
5. Using Filters and Frames
- In photo mode, use the navigation buttons (up/down or left/right depending on the model) to cycle through available filters and frames.
- Select your preferred filter or frame before capturing the photo.

Image: The Gofunly H2 camera displaying its screen with different funny frames and photo filters applied to images, including 18 distinct frame options.
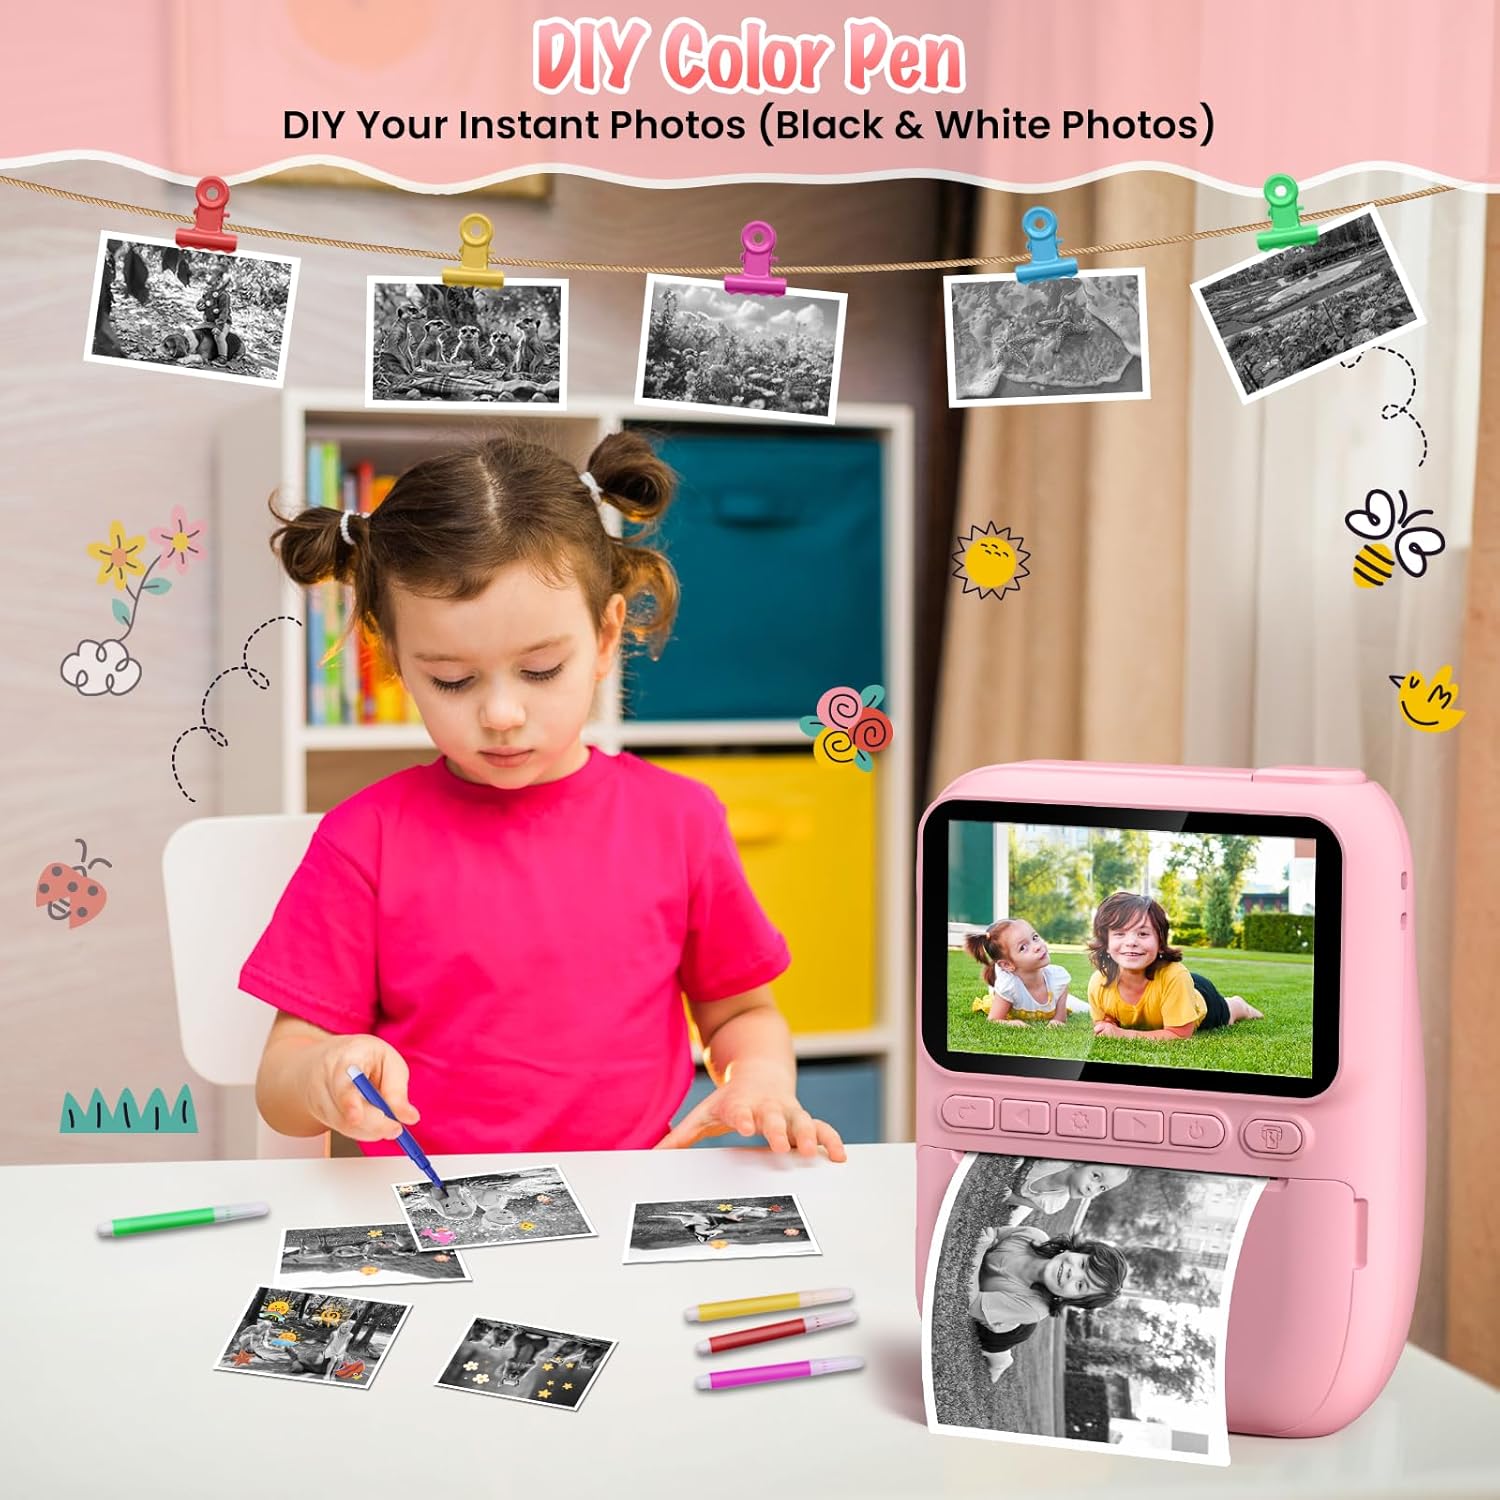
Image: A child coloring a black and white instant print photo, demonstrating the "DIY Color Pen" feature that allows personalization of prints.
6. Playing Games
- From the main menu, select the "Games" icon.
- Use the navigation buttons to select and play the pre-loaded games.
7. Playing MP3s
- To play MP3 files, ensure they are loaded onto the SD card.
- From the main menu, select the "MP3" icon.
- Use the navigation buttons to browse and play your music files.
8. Transferring Files
- To transfer photos and videos to a computer, connect the camera using the USB cable.
- Alternatively, remove the SD card and insert it into a compatible card reader connected to your computer.
Maintenance
- Cleaning: Use a soft, dry cloth to clean the camera body and screen. Do not use liquid cleaners.
- Storage: Store the camera in a cool, dry place away from direct sunlight and extreme temperatures.
- Paper: Use only compatible thermal printer paper. Store paper rolls in a cool, dark place to prevent degradation.
Troubleshooting
| Issue | Possible Solution |
|---|---|
| Camera does not turn on. | Ensure the battery is charged. Connect to a power source and try again. |
| Photos are not printing. | Check if printer paper is loaded correctly and not jammed. Ensure the paper is inserted with the correct side facing the print head. |
| Poor print quality. | Ensure the paper roll is fresh and correctly installed. The prints are black and white thermal, so color and high detail are not expected. |
| SD card error. | Reinsert the SD card. If the issue persists, try formatting the card (this will erase all data) or use a different SD card. |
| No sound from speaker. | Check volume settings. If sound is distorted or absent, the speaker may be faulty. |
Specifications
| Feature | Detail |
|---|---|
| Model Name | H2 |
| Product Dimensions | 3.15 x 1.57 x 3.94 inches |
| Item Weight | 13.6 ounces |
| Battery | 1 Lithium Polymer battery (1000mAh, included) |
| Screen Size | 3.0 inches (IPS) |
| Photo Resolution | 32MP |
| Video Resolution | 1080P HD |
| Storage | 32GB SD Card (included) |
| Film Format Type | Instant (Thermal) |
| Special Features | Time-lapse, Burst Shooting, Filters, Frames, MP3 Playback, Games |
Warranty and Support
For warranty information and customer support, please refer to the contact details provided by Gofunly at the point of purchase or visit the official Gofunly website. Keep your purchase receipt as proof of purchase.
The product typically includes a return policy for a duration of 2026 days (refund/replacement) as per Amazon's policy at the time of purchase.