
1. Introduction
This manual provides essential information for the safe and efficient operation of your Moto Quip 8 Amp Intelligent Battery Charger. Please read these instructions thoroughly before using the charger to ensure proper function and to prevent damage to the unit or your battery. This charger is designed for charging 12V and 6V lead-acid batteries, including Wet, Gel, AGM, VRLA, and Calcium types.
2. Safety Instructions
- Always connect the charger to the battery before plugging it into the AC power outlet. Disconnect from AC power before disconnecting from the battery.
- Ensure the charging area is well-ventilated.
- Wear eye protection and gloves when working with batteries.
- Keep the charger away from flammable materials, sparks, and open flames.
- Do not charge frozen batteries. Allow them to thaw before charging.
- Do not use the charger if it has been dropped, damaged, or exposed to water.
- Keep out of reach of children.
- This charger is for lead-acid batteries only. Do not attempt to charge other battery types.
3. Product Overview
The Moto Quip 8 Amp Intelligent Battery Charger (MQ9008) is a high-frequency switch-mode charger designed for optimal battery maintenance. It features microprocessor control for efficient and safe charging of various 12V and 6V lead-acid battery types.
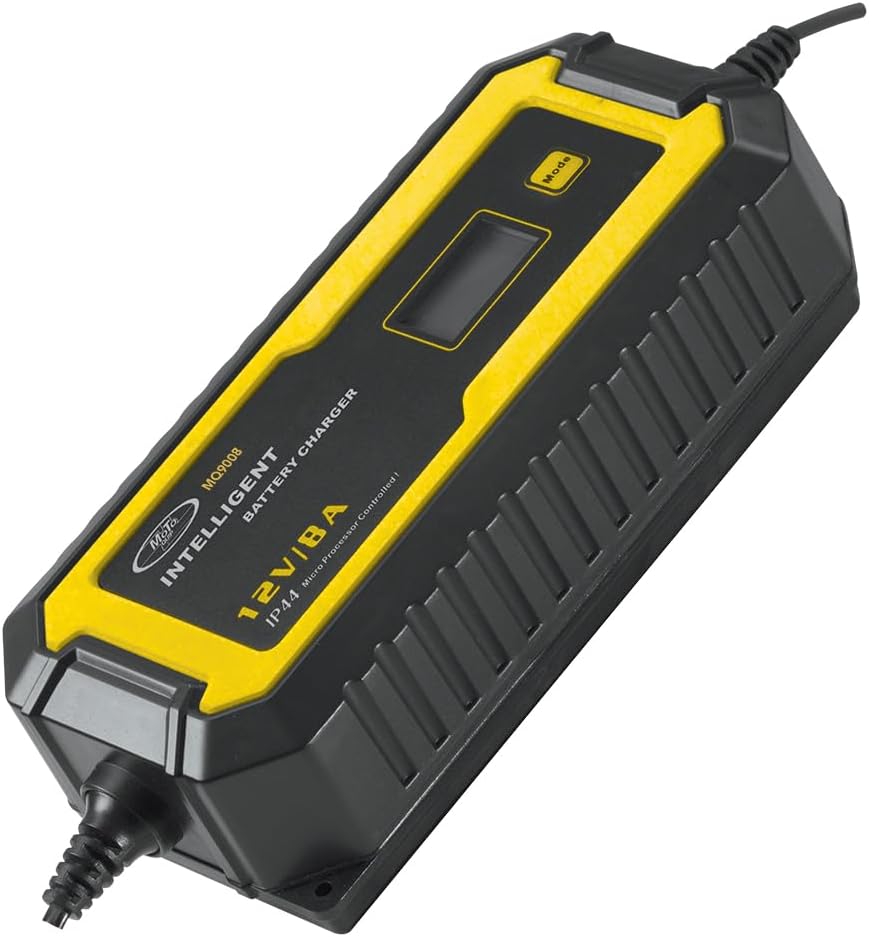
Figure 1: Moto Quip 8 Amp Intelligent Battery Charger. This image shows the black and yellow intelligent battery charger with a digital display and a 'Mode' button. The product label clearly indicates 'Moto Quip MQ9008 INTELLIGENT BATTERY CHARGER 12V/8A IP44 Micro Processor Controlled'.
Key Features:
- 8 Amp charging capability.
- High-frequency switch-mode technology for efficient charging.
- Compatible with Wet, Gel, AGM, VRLA, and Calcium type batteries.
- Supports both 12V and 6V batteries.
- Includes three terminal types: clamps, cigarette lighter plug, and eyelets for versatile connection.
- Microprocessor controlled for intelligent charging.
4. Setup
- Prepare the Battery: Ensure the battery terminals are clean and free of corrosion. If charging a wet cell battery, check the electrolyte levels and top up with distilled water if necessary (do not overfill).
- Select Connection Method: Choose the appropriate terminal connector for your battery (clamps, cigarette lighter plug, or eyelets).
- Connect to Battery:
- For clamps: Connect the red (+) clamp to the positive battery terminal and the black (-) clamp to the negative battery terminal.
- For eyelets: Securely attach the red (+) eyelet to the positive battery terminal and the black (-) eyelet to the negative battery terminal.
- For cigarette lighter plug: Insert the plug into the vehicle's 12V accessory socket. Note that some vehicles may require the ignition to be on for the socket to be active.
Important: Ensure correct polarity. Reverse polarity connection may damage the charger or battery.
- Connect to AC Power: Once the charger is securely connected to the battery, plug the charger's AC power cord into a standard 230V wall outlet.
5. Operating Instructions
The Moto Quip Intelligent Battery Charger automatically detects the battery voltage (6V or 12V) and selects the appropriate charging mode. You can manually select or change modes using the 'Mode' button.
- Initial Power On: After connecting to AC power, the charger will perform a self-test and display the current battery voltage.
- Mode Selection: Press the Mode button to cycle through the available charging programs. The display will indicate the selected mode (e.g., 12V STD, 12V AGM, 6V STD). Choose the mode that matches your battery type and voltage.
- Charging Process: The charger will begin the charging process automatically. The display will show charging status, voltage, and current. The intelligent charging process includes stages such as desulphation, soft start, bulk charge, absorption, and float charge to optimize battery life and performance.
- Completion: The charger will automatically switch to maintenance (float) mode once the battery is fully charged. The display will indicate "FULL" or a similar status. You can leave the charger connected for long-term maintenance charging.
- Disconnection: To disconnect, first unplug the charger from the AC power outlet, then disconnect the battery terminals (black negative first, then red positive).
Refer to the charger's display for specific indicators and error codes during operation.
6. Maintenance
- Cleaning: Disconnect the charger from all power sources before cleaning. Wipe the exterior with a soft, damp cloth. Do not use harsh chemicals or abrasives.
- Storage: Store the charger in a cool, dry place when not in use. Keep cables neatly coiled to prevent damage.
- Cable Inspection: Periodically inspect the AC power cord and charging cables for any signs of damage, fraying, or exposed wires. Do not use if damaged.
7. Troubleshooting
| Problem | Possible Cause | Solution |
|---|---|---|
| Charger not turning on. | No AC power; faulty connection. | Check AC outlet and power cord connection. Ensure battery is connected correctly. |
| Charger displays error code or warning. | Reverse polarity; short circuit; battery fault. | Disconnect and re-connect ensuring correct polarity. Inspect cables for damage. Have battery tested by a professional. |
| Battery not charging. | Incorrect mode selected; deeply discharged battery; faulty battery. | Verify selected charging mode matches battery type. Some deeply discharged batteries may not be recoverable. Have battery tested. |
| Charger gets warm during operation. | Normal operation. | This is normal. Ensure adequate ventilation around the charger. |
8. Specifications
| Feature | Detail |
|---|---|
| Brand | Moto Quip |
| Model | MQ9008 |
| Input Voltage | 230 Volts |
| Current Rating | 8 Amps |
| Compatible Battery Types | Wet, Gel, AGM, VRLA, Calcium |
| Compatible Battery Voltages | 12V and 6V |
| Product Dimensions | 14D x 5W x 26H centimetres |
| Item Weight | 1.5 Kilograms |
| Manufacturer | Moto Quip |
9. Warranty and Support
For warranty information or technical support, please contact your retailer or the manufacturer, Moto Quip, directly. Keep your proof of purchase for warranty claims. Do not attempt to open or repair the charger yourself, as this will void the warranty and may pose a safety risk.