1. Introduction
This manual provides essential information for the safe and efficient operation of your NANKADF DC Power Supply Variable 30V 5A. This device is designed to provide a stable and adjustable DC voltage and current output for various electronic applications, laboratory work, and repair tasks. It features a precision encoder knob for setting values, a 4-digit display, a USB charging port with output display, and multi-layer circuit protection.

Figure 1: NANKADF DC Power Supply Variable 30V 5A. This image shows the front view of the power supply unit, highlighting its display, control knobs, and output terminals.
2. Safety Instructions
To ensure safe operation and prolong the life of the device, please observe the following safety precautions:
- Power Source: Ensure the input voltage switch (located on the rear panel) is set correctly for your region (115V or 230V) before connecting to mains power.
- Ventilation: Do not block the ventilation openings on the device. Ensure adequate airflow around the unit to prevent overheating.
- Environment: Operate the power supply in a dry, well-ventilated area, away from direct sunlight, high temperatures, humidity, and dust.
- Connections: Always connect the output leads to the load before turning on the power supply. Ensure all connections are secure to prevent accidental short circuits.
- Grounding: The power supply must be properly grounded. Use the provided power cord with a grounded plug.
- Overload Protection: The device includes over-voltage, over-current, and overheating protection. However, avoid intentionally overloading the unit.
- Maintenance: Do not attempt to open or repair the unit yourself. Refer all servicing to qualified personnel.
3. Product Overview
Familiarize yourself with the components and controls of your NANKADF DC Power Supply.

Figure 2: Front Panel Layout. This image labels the key components on the front panel, including the voltage display, current display, USB output display, CV/CC indicators, current regulation knob, voltage regulation knob, power switch, and positive/negative output terminals.
- Voltage Display: Shows the set or output voltage in Volts (V).
- Current Display: Shows the set or output current in Amperes (A).
- USB Fast Charging Voltage/Current Display: Shows the output values for the USB port.
- CV Indicator: Illuminates when the power supply is operating in Constant Voltage mode.
- CC Indicator: Illuminates when the power supply is operating in Constant Current mode.
- USB Fast Charging Port: For charging compatible devices.
- Current Regulation Knob: Adjusts the output current limit.
- Voltage Regulation Knob: Adjusts the output voltage.
- Power Switch: Turns the unit on or off.
- Output Terminals: Red for positive (+), Black for negative (-).
4. Setup
- Unpacking: Carefully remove the power supply and all accessories from the packaging. Verify that all components listed in the "What you get" section are present.
- Input Voltage Selection: Locate the red voltage selector switch on the rear panel of the unit. Ensure it is set to the correct voltage for your region (e.g., 115V for North America, 230V for Europe). Incorrect setting can damage the unit.
- Power Connection: Connect the provided input power cord to the power supply's AC inlet and then to a grounded wall outlet.
- Output Lead Connection: Connect the provided output power cords to the red (+) and black (-) output terminals on the front panel. Ensure the connections are secure. If using custom leads, ensure they are properly crimped or soldered for reliable contact.
- Placement: Place the power supply on a stable, level surface, ensuring adequate space around the unit for ventilation.
5. Operating Instructions
5.1 Basic Operation
- Power On: Press the Power switch on the front panel to turn on the unit. The display will illuminate.
- Setting Voltage:
- Rotate the Voltage Regulation Knob to adjust the desired output voltage.
- For fine adjustment, press the Voltage Regulation Knob to select a specific digit on the display. Rotate the knob to change the value of the selected digit (0-9). Repeat for other digits as needed.

Figure 3: Encoder Knob Adjustment. This image illustrates how to use the encoder knob for precise voltage and current settings by pressing to select digits and rotating to change values.
- Setting Current Limit:
- Rotate the Current Regulation Knob to set the maximum allowable output current.
- Similar to voltage, press the Current Regulation Knob to select a digit for fine adjustment, then rotate to change its value.
- Note: The power supply will operate in Constant Voltage (CV) mode if the load current is below the set current limit. If the load current attempts to exceed the set limit, the power supply will switch to Constant Current (CC) mode, and the CC indicator will illuminate.
- Connecting Load: With the power supply off or output voltage/current set to zero, connect your device or circuit to the output terminals. Ensure correct polarity (red to positive, black to negative).
- Applying Power: Turn on the power supply (if off) or gradually increase voltage/current to the desired levels. Monitor the voltage and current displays.
5.2 USB Charging Port
The power supply includes a built-in USB charging port for convenience.
- Connect your USB-powered device to the USB charging port on the front panel.
- The USB fast charging voltage and current will be displayed on the main screen, allowing you to monitor the charging process.
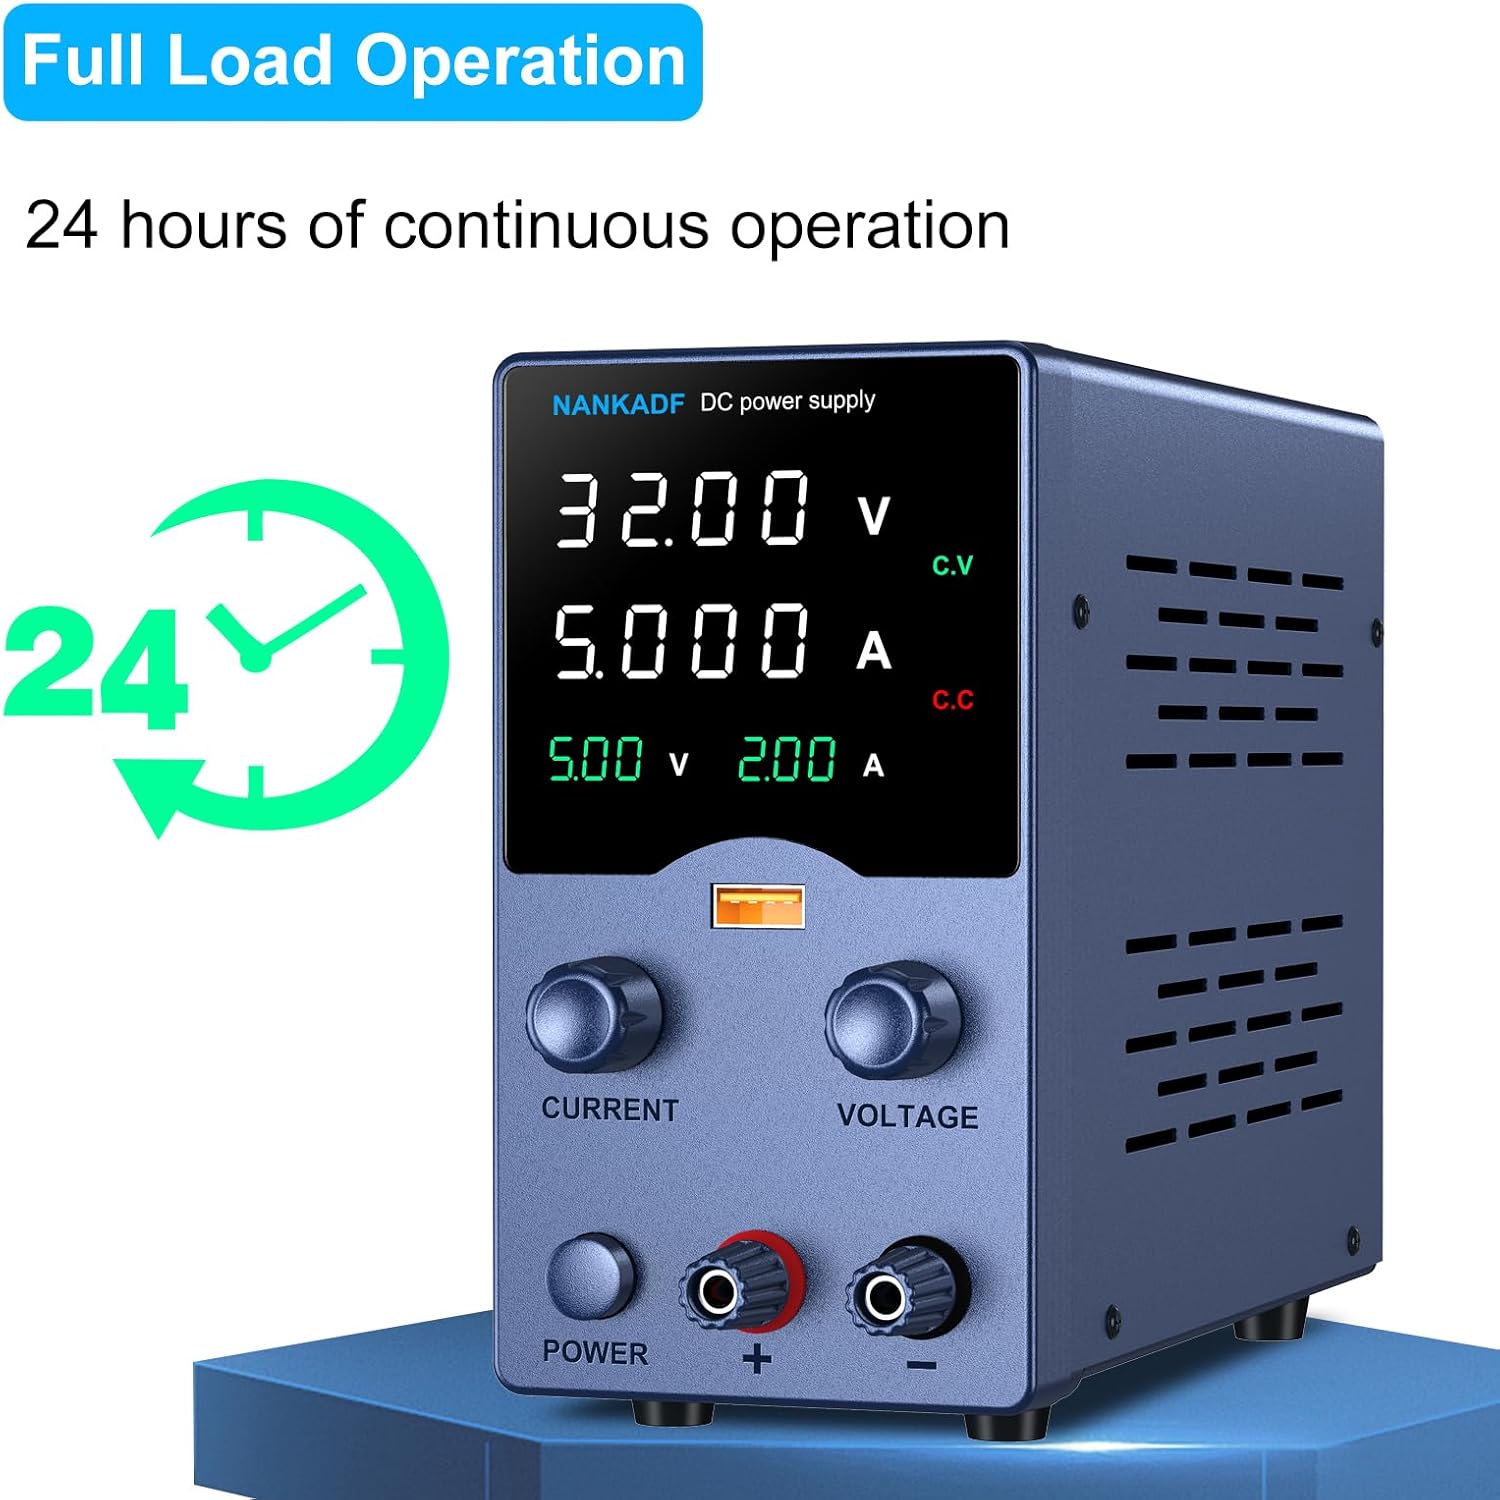
Figure 4: USB Charging Port and Display. This image demonstrates connecting a smartphone to the USB charging port and shows the corresponding voltage and current output displayed on the power supply's screen.
6. Maintenance
- Cleaning: Disconnect the power supply from the mains before cleaning. Use a soft, dry cloth to wipe the exterior. Do not use abrasive cleaners or solvents.
- Ventilation: Regularly check that the ventilation openings are clear of dust and debris. Use compressed air to gently clear any blockages if necessary.
- Output Leads: Periodically inspect the output power cords for any signs of wear or damage. Ensure the connections to the terminals are secure and maintain good electrical contact. If using leads with crimped connectors, verify the crimps are tight.
- Storage: When not in use for extended periods, store the power supply in a cool, dry place, protected from dust and extreme temperatures.
7. Troubleshooting
| Problem | Possible Cause | Solution |
|---|---|---|
| Unit does not power on. |
|
|
| No output voltage/current. |
|
|
| Output readings are inaccurate. |
|
|
8. Specifications
| Feature | Detail |
|---|---|
| Model | 30V 5A |
| Brand | NANKADF |
| Output Voltage | Adjustable, up to 30V |
| Output Current | Adjustable, up to 5A |
| Display | 4-Digit High-Definition Display (Voltage, Current, USB Output) |
| Control | Precision Encoder Knob for Voltage and Current |
| USB Output | Built-in USB Charging Port with Output Display |
| Protection Features | Over-Voltage Protection (OVP), Over-Current Protection (OCP), Over-Temperature Protection (OTP) |
| Continuous Operation | Up to 24 hours (Full Load) |
| Dimensions (L x W x H) | Approx. 7.48 x 5.71 x 3.15 inches (19 x 14.5 x 8 cm) |
| Item Weight | Approx. 2.53 lbs (1.15 kg) |
| Cooling Method | Air Cooling |
| Maximum Input Voltage | 120V AC (for 115V setting) / 240V AC (for 230V setting) |
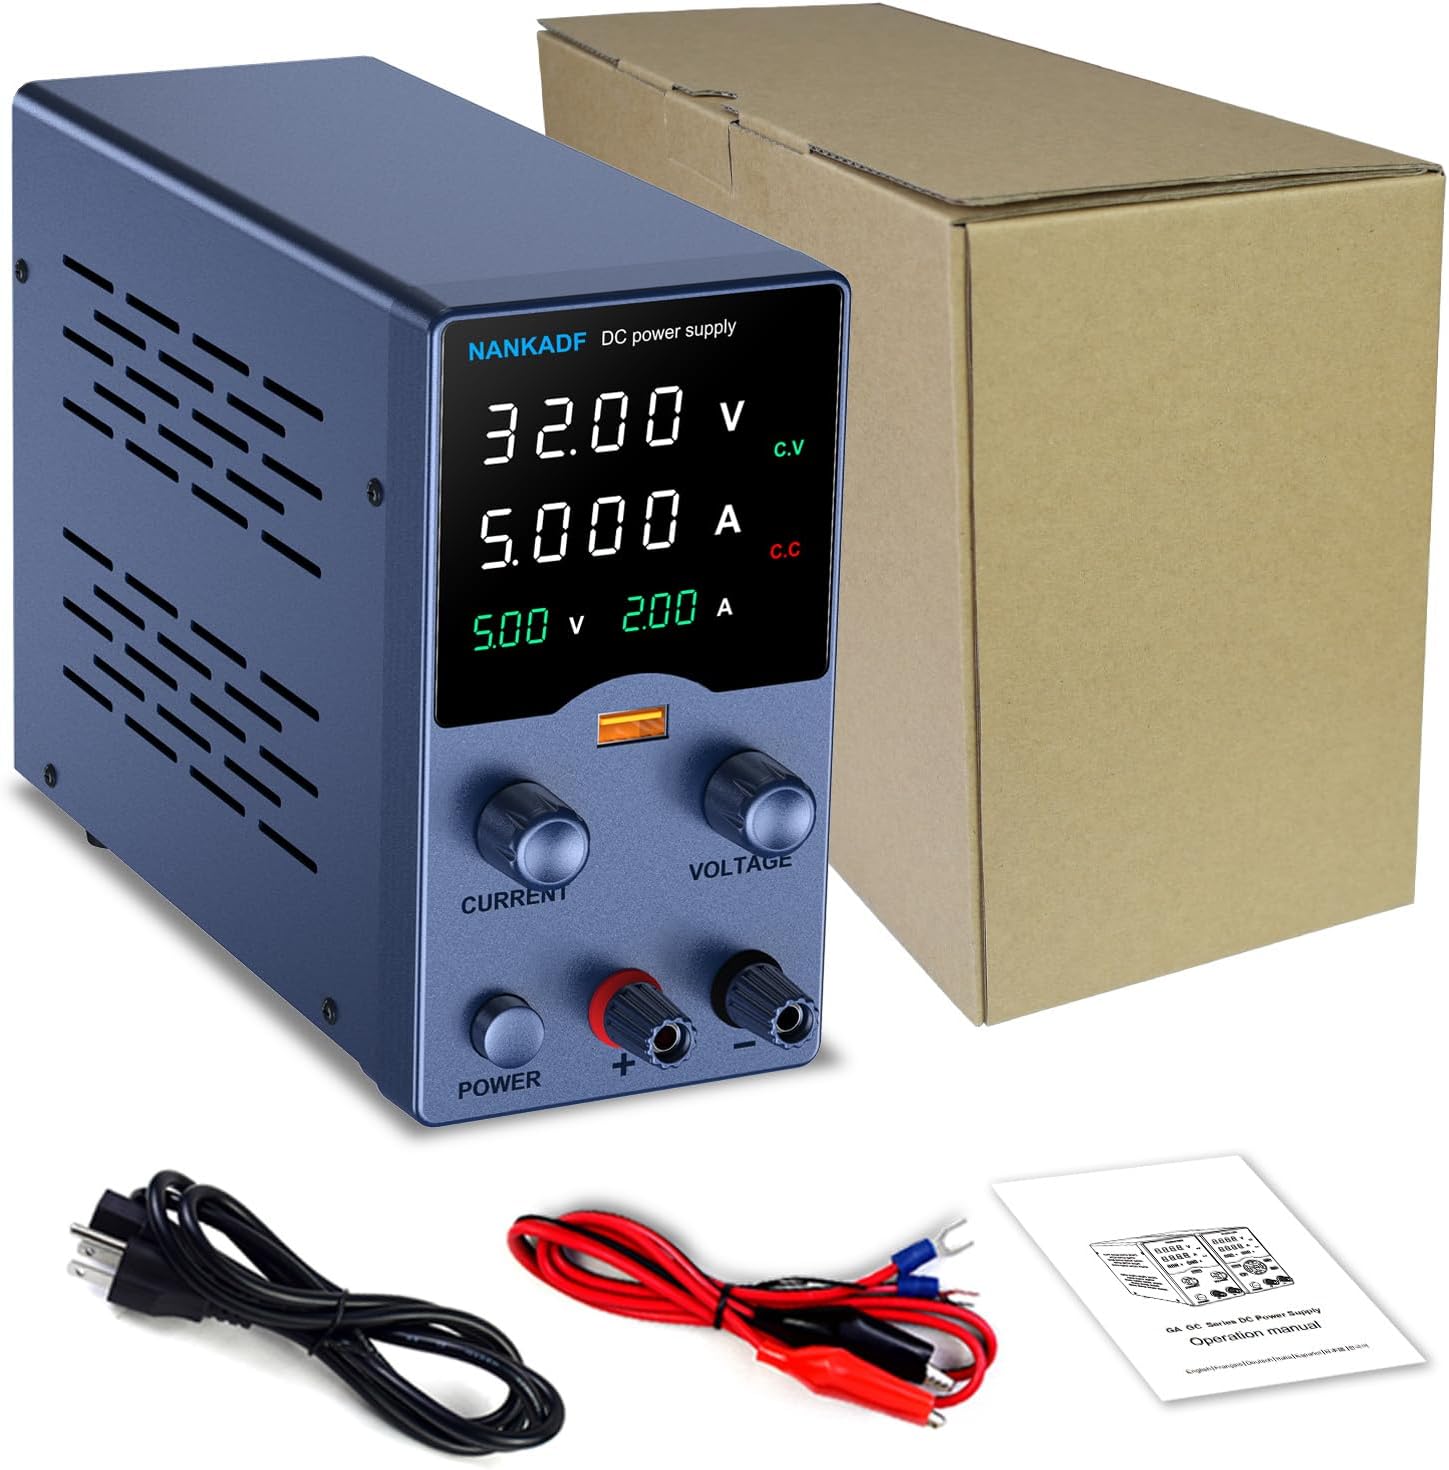
Figure 5: Compact Dimensions. This image shows the power supply with its dimensions labeled, illustrating its compact and portable design.
9. Warranty and Support
NANKADF provides technical support for this product. For assistance with setup, operation, troubleshooting, or any other inquiries, please refer to the contact information provided with your purchase documentation or visit the official NANKADF website.
Please retain your purchase receipt for any warranty claims.


