
1. Introduction
This manual provides essential instructions for the safe and efficient use of your NEC Sharp PNME502 50-inch Ultra High-Definition Commercial Display. Please read this manual thoroughly before operating the device and retain it for future reference. The PNME502 series is designed for commercial digital signage applications, offering high-resolution imagery and flexible operation.
2. Safety Information
- Ensure the display is installed by qualified personnel.
- Do not block ventilation openings.
- Avoid exposing the display to rain or moisture.
- Use only the power cord supplied with the unit.
- Disconnect power before cleaning or servicing.
3. Setup
3.1 Unpacking and Inspection
Carefully remove the display from its packaging. Inspect the unit for any signs of damage. Retain the original packaging for future transport or service needs.
3.2 Placement and Mounting
Position the display on a stable, level surface or mount it securely using a VESA-compatible mounting solution (not included). Ensure adequate ventilation around the display. The display measures approximately 47 x 6 x 28 inches and weighs 36.3 pounds. Consider these dimensions and weight for safe installation.
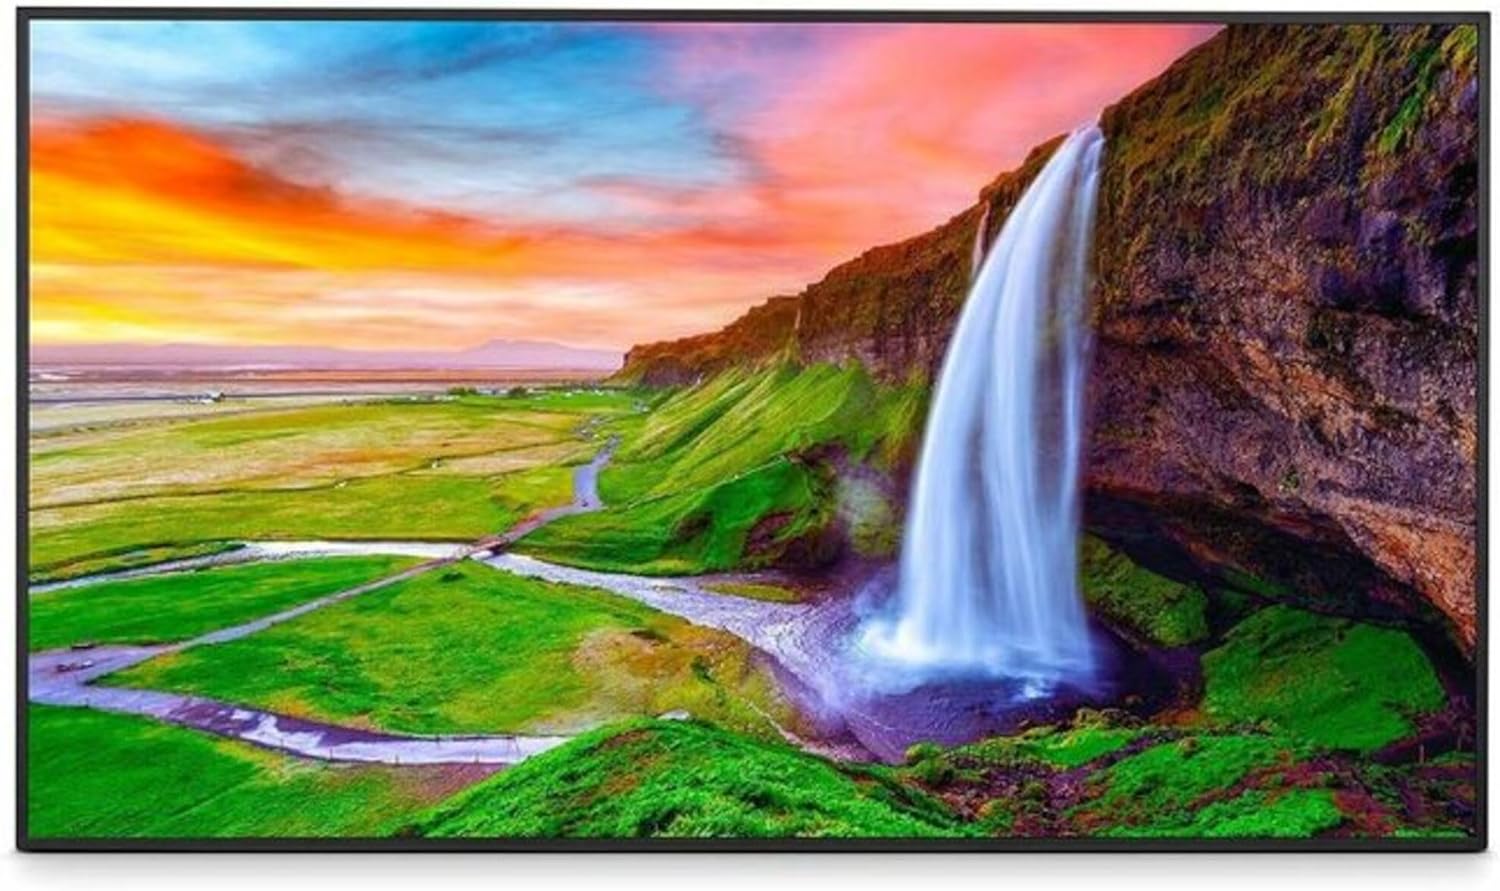
Figure 1: NEC Sharp PNME502 50-inch Commercial Display. This image shows the display screen presenting a vibrant landscape with a waterfall, illustrating its high-definition capabilities.
3.3 Connecting Cables
- Power Cable: Connect the power cable to the display's power input and then to a grounded electrical outlet.
- Video Input: Connect your video source (e.g., PC, media player) to the display using appropriate HDMI or DisplayPort cables.
- USB Devices: The display features 2 USB 3.0 ports for connecting external storage or peripherals.
- Network Connection: For network features and updates, connect an Ethernet cable or configure Wi-Fi.
3.4 Initial Power-On
After connecting all necessary cables, press the power button on the display or remote control. The display will power on and show the initial setup wizard or the last active input.
4. Operating the Display
4.1 Power On/Off
Press the power button on the remote control or the display's control panel to turn the unit on or off. For extended periods of non-use, it is recommended to disconnect the power cable.
4.2 On-Screen Display (OSD) Navigation
Use the remote control or the buttons on the display to access and navigate the OSD menu. The OSD allows adjustment of various settings including:
- Input Selection: Choose between connected video sources.
- Picture Settings: Adjust brightness, contrast, color temperature, sharpness, and enable/disable High Dynamic Range (HDR) features.
- Audio Settings: Control volume and audio output options.
- System Settings: Configure language, time, power management, and network settings.
4.3 Android 13 Platform
The display features an integrated Android 13 system-on-chip. This platform enables:
- Media Playback: Play content directly from USB storage or internal memory.
- Application Installation: Install third-party applications (APKs) to customize functionality for specific digital signage needs.
- Network Connectivity: Access online content and services via Wi-Fi or Ethernet.
4.4 Commercial Operation
This display is designed for extended commercial use, supporting 18 hours/7 days operation. Ensure proper ventilation and environmental conditions are maintained for optimal performance and longevity.
5. Maintenance
5.1 Cleaning the Display
- Always power off and unplug the display before cleaning.
- Use a soft, lint-free cloth slightly dampened with water or a non-abrasive screen cleaner.
- Do not spray liquid directly onto the screen or frame.
- Avoid using harsh chemicals, solvents, or abrasive materials.
5.2 Firmware Updates
Periodically check the manufacturer's website for available firmware updates. Updates can improve performance, add features, or resolve issues. Follow the instructions provided with the update package carefully.
6. Troubleshooting
Before contacting customer support, refer to the following common issues and solutions:
| Problem | Possible Cause | Solution |
|---|---|---|
| No power | Power cable disconnected; Power outlet fault | Ensure power cable is securely connected; Test outlet with another device. |
| No signal | Incorrect input selected; Video cable loose or faulty; Source device off | Select correct input via OSD; Check video cable connections; Ensure source device is powered on. |
| Poor picture quality | Incorrect picture settings; Low-resolution source | Adjust picture settings (brightness, contrast, sharpness) in OSD; Ensure source content is high resolution. |
| Display freezes or is unresponsive | Software issue; Temporary glitch | Power cycle the display (turn off, unplug, wait 30 seconds, plug in, turn on). |
7. Specifications
| Feature | Detail |
|---|---|
| Brand | NEC |
| Model Number | PN-ME502 |
| Screen Size | 50 Inches |
| Screen Resolution | 3840x2160 (4K UHD) |
| Panel Type | Vertical Alignment (VA) |
| High Dynamic Range (HDR) | Supported |
| Operating Hours | 18 Hours/7 Days |
| Processor | ARM Cortex A55 1.50 GHz |
| RAM | 4 GB |
| USB 3.0 Ports | 2 |
| Product Dimensions (LxWxH) | 47 x 6 x 28 inches |
| Item Weight | 36.3 pounds |
| Operating System | Android 13 (integrated SoC) |
8. Warranty and Support
For detailed warranty information, please refer to the warranty card included with your product or visit the official NEC website. Technical support and service inquiries can be directed to NEC customer service. Please have your model number (PN-ME502) and serial number ready when contacting support.
Online Resources: For the latest drivers, firmware, and additional support documentation, please visit the official NEC support portal.


