1. Introduction
Thank you for purchasing the Lisowod 360° Rotating Projector. This portable 1080P FHD projector is designed to provide a versatile and immersive viewing experience with its unique 360-degree rotating stand, advanced connectivity options including WiFi 6 and Bluetooth 5.4, and automatic keystone correction. This manual will guide you through the setup, operation, and maintenance of your new projector.
2. Safety Information
- Do not look directly into the projector lens when the lamp is on.
- Ensure proper ventilation around the projector to prevent overheating.
- Do not expose the projector to rain, moisture, or extreme temperatures.
- Use only the power adapter supplied with the projector.
- Keep the projector away from water and other liquids.
- Do not attempt to disassemble or repair the projector yourself. Contact qualified service personnel.
3. Package Contents
Please check that all the following items are included in your package:
- Lisowod 360° Rotating Projector
- Remote Control
- Power Adapter
- HDMI Cable
- User Manual
4. Product Overview
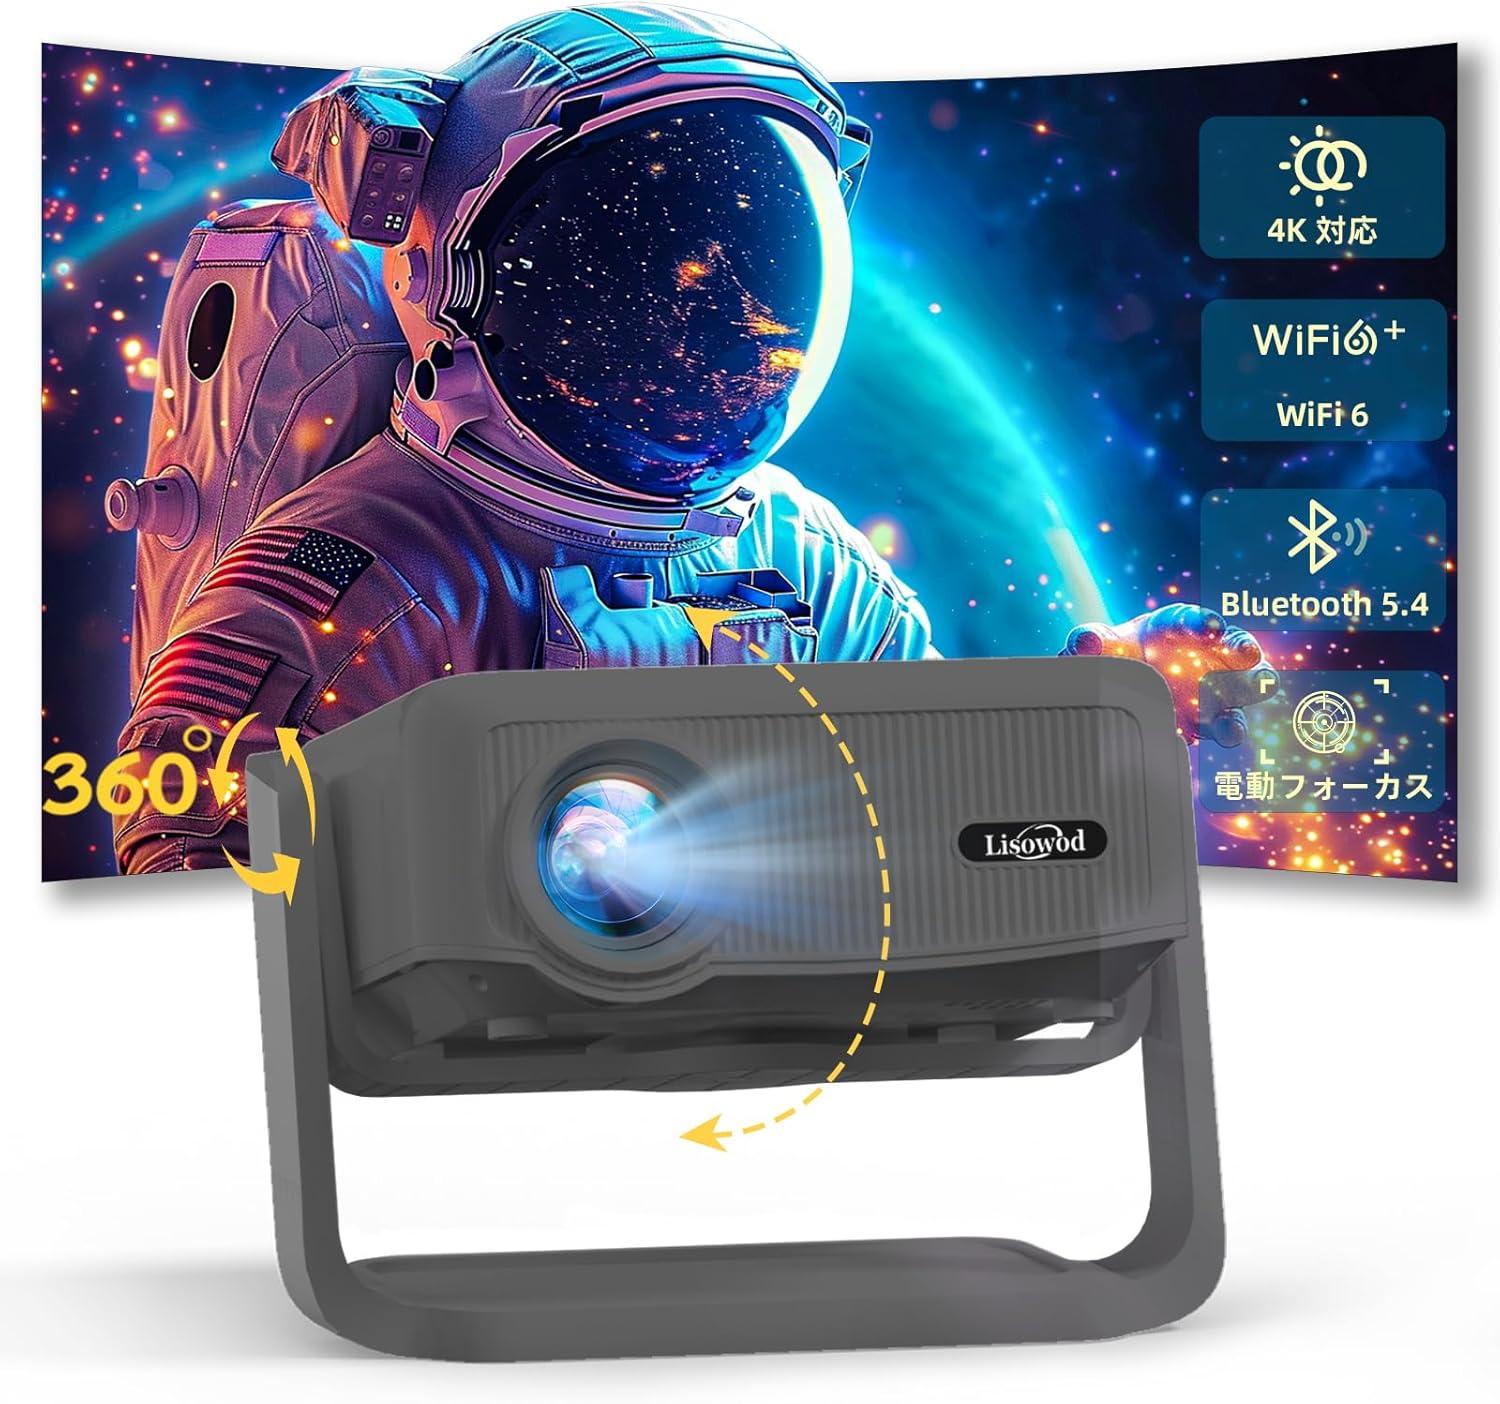
Figure 4.1: Front view of the Lisowod 360° Rotating Projector, highlighting its lens and compact design.
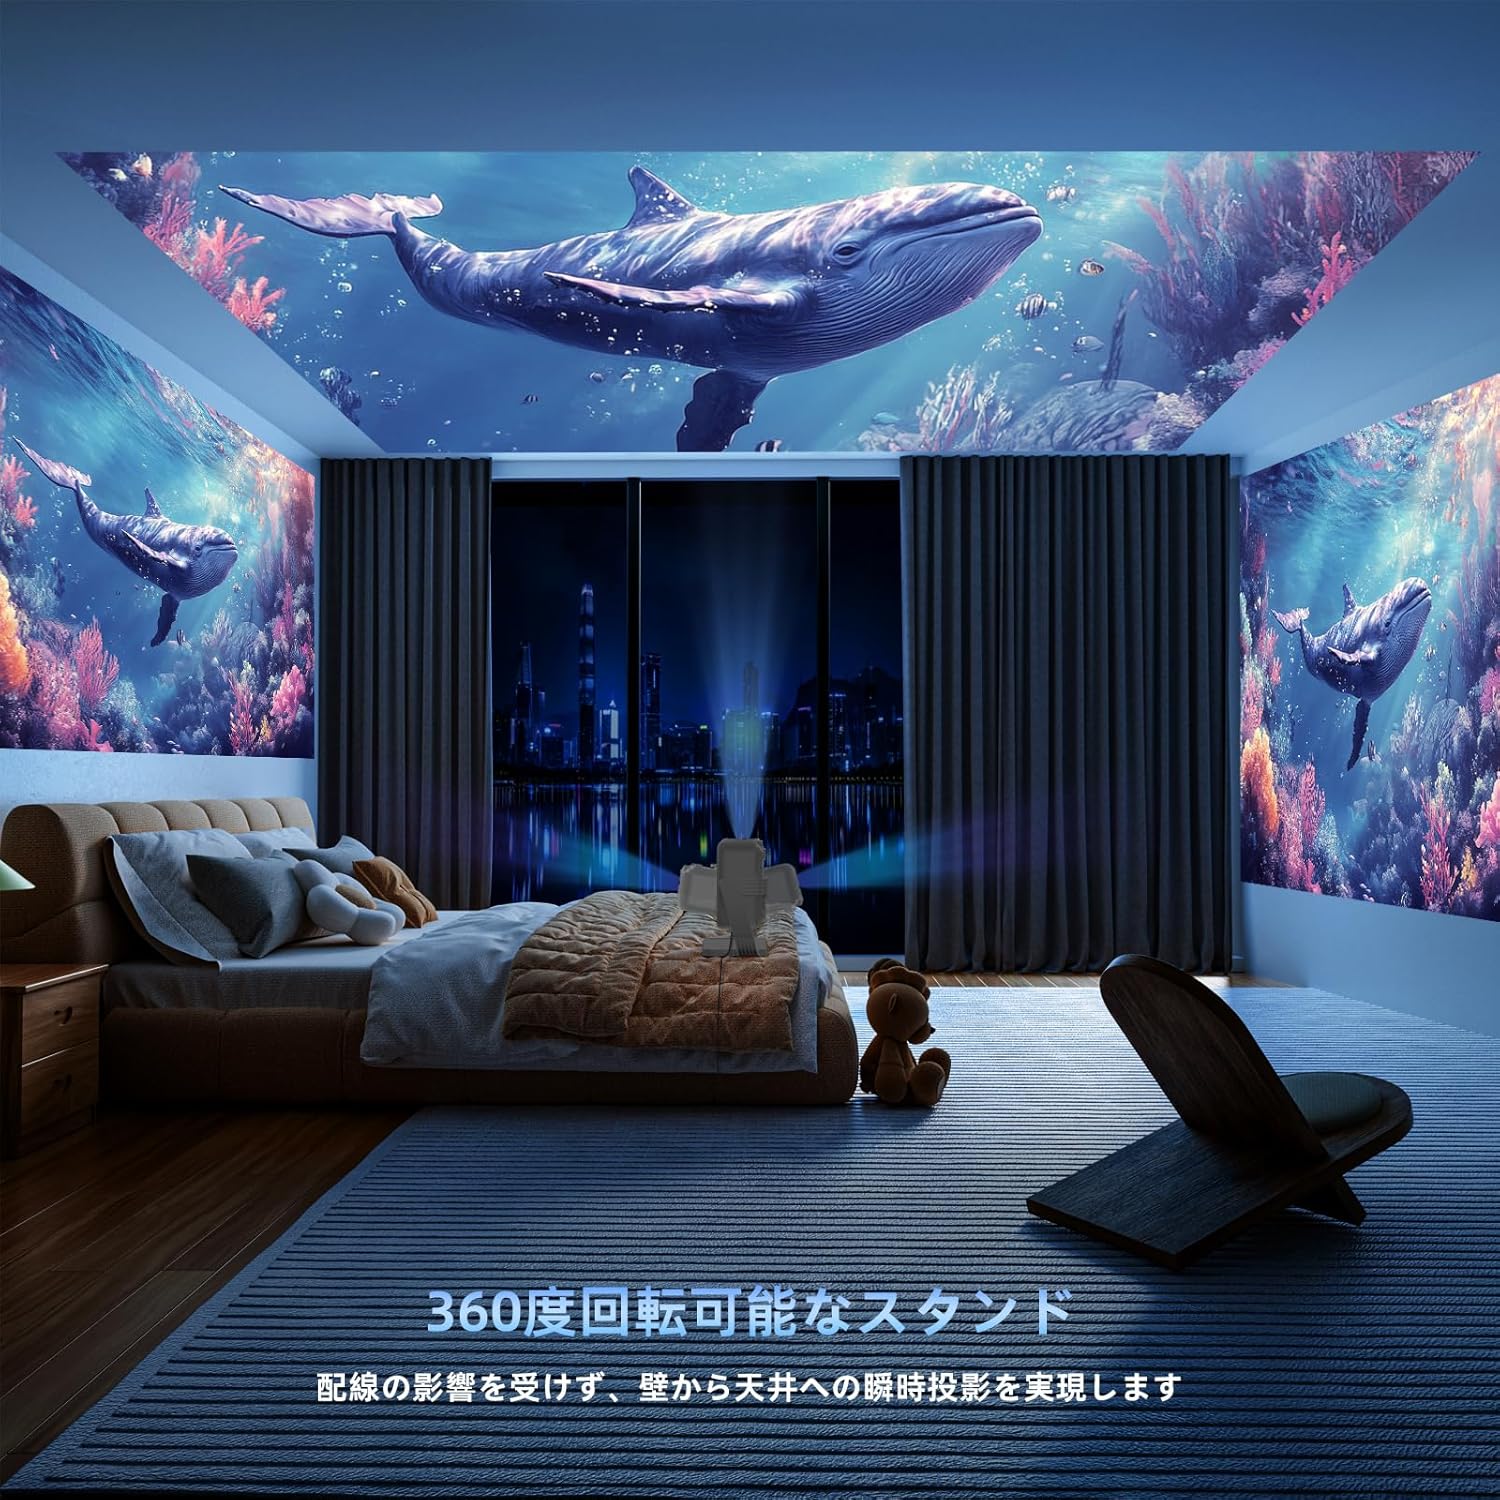
Figure 4.2: The projector showcasing its 360-degree rotating stand, allowing for flexible projection angles.
4.1. Components
- Projection Lens: Emits the image.
- 360° Rotating Stand: Allows for versatile positioning and projection onto walls, ceilings, or floors.
- Control Panel: Buttons for basic navigation and settings.
- Input Ports: HDMI, USB for connecting external devices.
- Power Port: For connecting the power adapter.
- Speaker: Built-in audio output.

Figure 4.3: Detailed view of the projector's stand, illustrating its adjustable nature for optimal positioning.
4.2. Controls and Ports
Familiarize yourself with the various buttons and ports on your projector for seamless operation.
- Power Button: Turns the projector on/off.
- Navigation Buttons: Up, Down, Left, Right, OK for menu navigation.
- Back Button: Returns to the previous menu.
- Source Button: Selects input source (HDMI, USB, Screen Mirroring).
- HDMI Port: Connects to devices like laptops, gaming consoles, or streaming sticks.
- USB Port: Connects to USB drives for media playback.
5. Setup
5.1. Placement
The Lisowod projector's 360° rotating stand allows for flexible placement. You can project onto a wall, ceiling, or even the floor. For optimal viewing, ensure the projection surface is flat and clear. The maximum recommended projection distance is 6.0 meters.
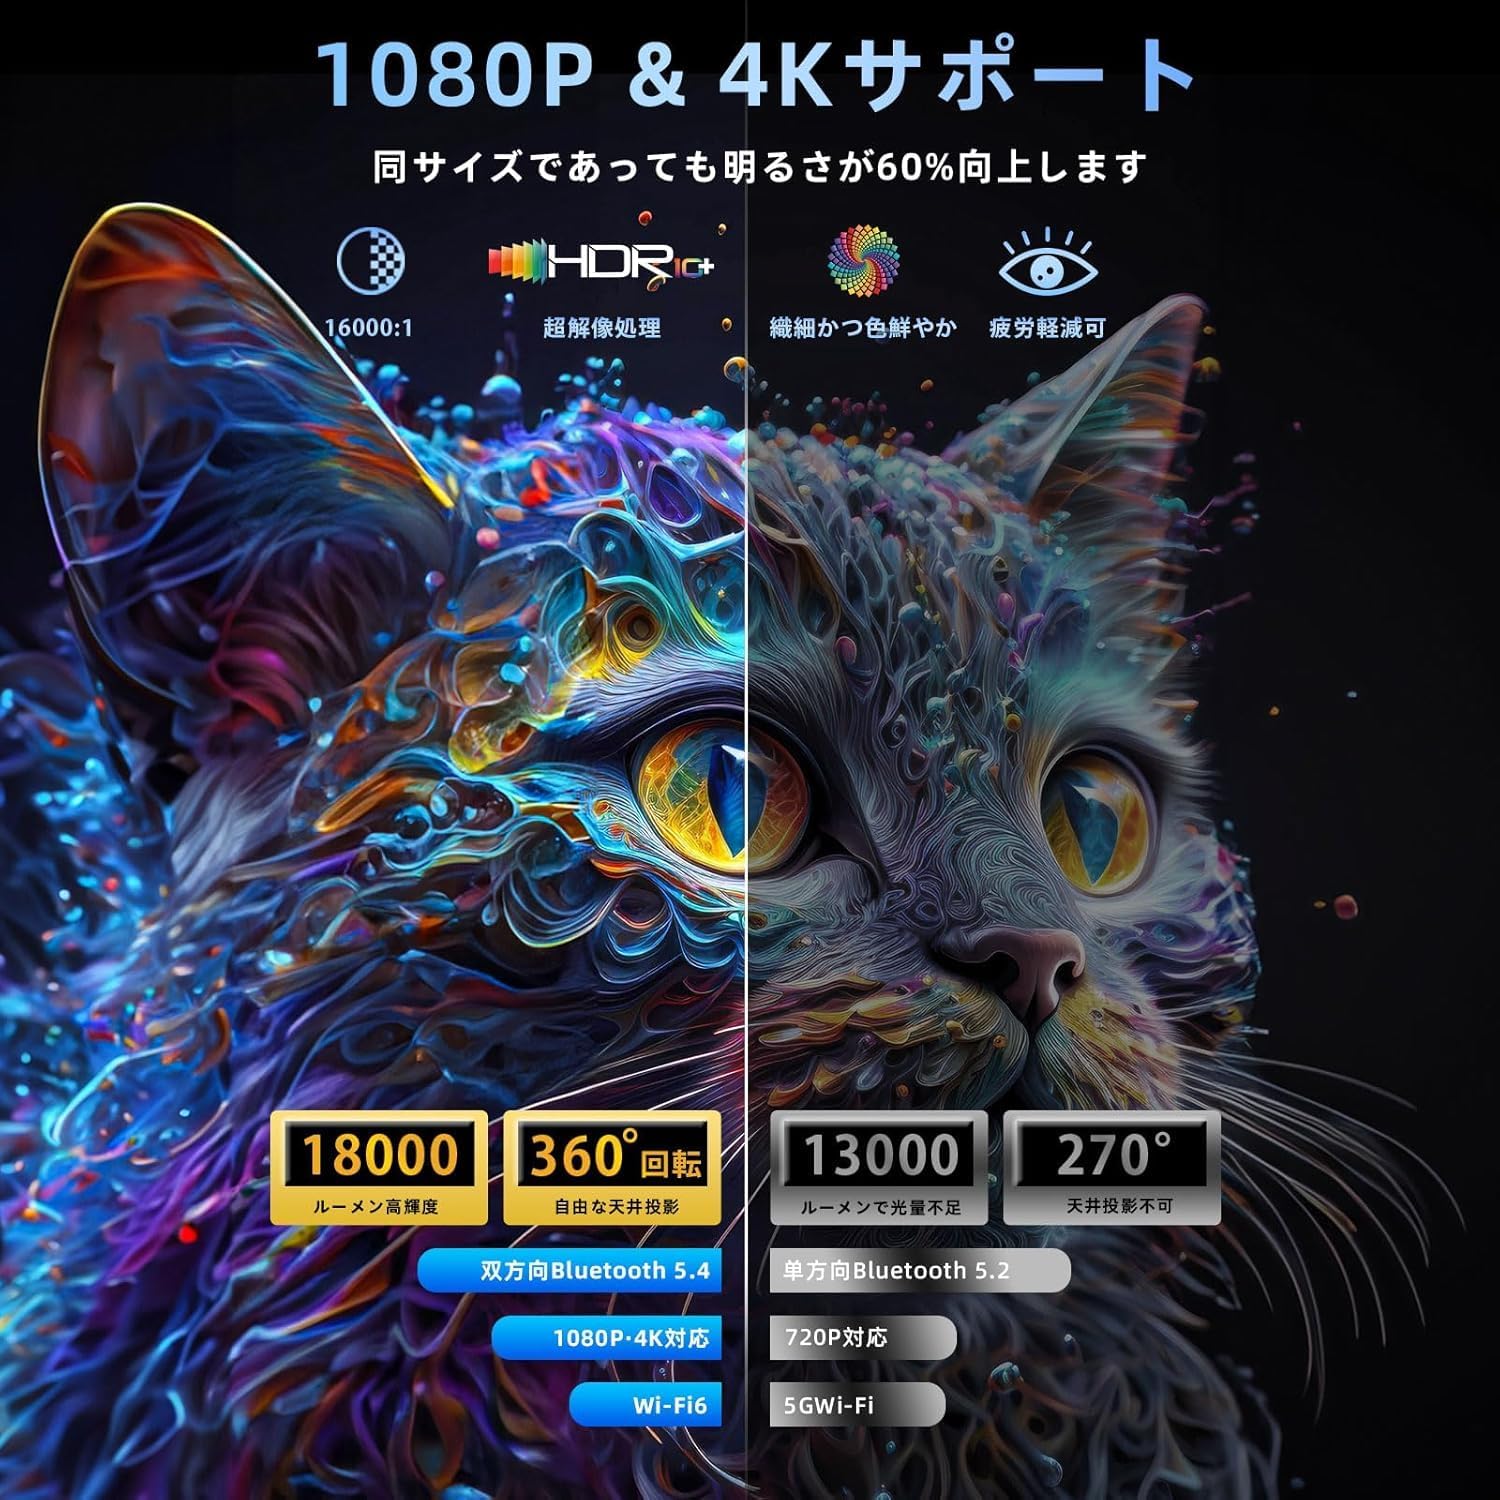
Figure 5.1: The projector's ability to project onto a ceiling, demonstrating its 360-degree rotation for versatile home cinema setups.
5.2. Power Connection
- Connect the power adapter to the projector's power port.
- Plug the power adapter into a wall outlet.
- The projector will enter standby mode.
5.3. Initial Setup (Focus and Keystone Correction)
The projector features automatic keystone correction and focus for a clear image. If manual adjustment is needed:
- Focus: Use the focus ring on the projector lens or the remote control to sharpen the image.
- Keystone Correction: The projector automatically corrects trapezoidal distortion. If the image appears skewed, navigate to the 'Keystone Correction' setting in the menu to adjust it manually.

Figure 5.2: The projector demonstrating its automatic step correction and zoom features for optimal image display.
6. Operating Instructions
6.1. Basic Operation
- Power On/Off: Press the power button on the projector or remote control.
- Menu Navigation: Use the navigation buttons on the projector or remote to browse the on-screen menu. Press 'OK' to confirm selections.
- Volume Control: Adjust the volume using the remote control.
6.2. Connectivity
6.2.1. WiFi Connection (WiFi 6)
The projector supports both 2.4GHz and 5GHz WiFi networks, including the latest WiFi 6 standard for faster and more stable connections.
- Go to the 'Settings' menu and select 'Network' or 'WiFi'.
- Turn on WiFi and select your desired network from the list.
- Enter the password if prompted and connect.

Figure 6.1: The projector displaying content with WiFi 6 connectivity, indicating high-speed and low-latency performance.
6.2.2. Bluetooth Connection (Bluetooth 5.4)
Connect external Bluetooth speakers or headphones for enhanced audio. The projector features bidirectional Bluetooth 5.4.
- Go to the 'Settings' menu and select 'Bluetooth'.
- Turn on Bluetooth and search for available devices.
- Select your Bluetooth device from the list to pair.
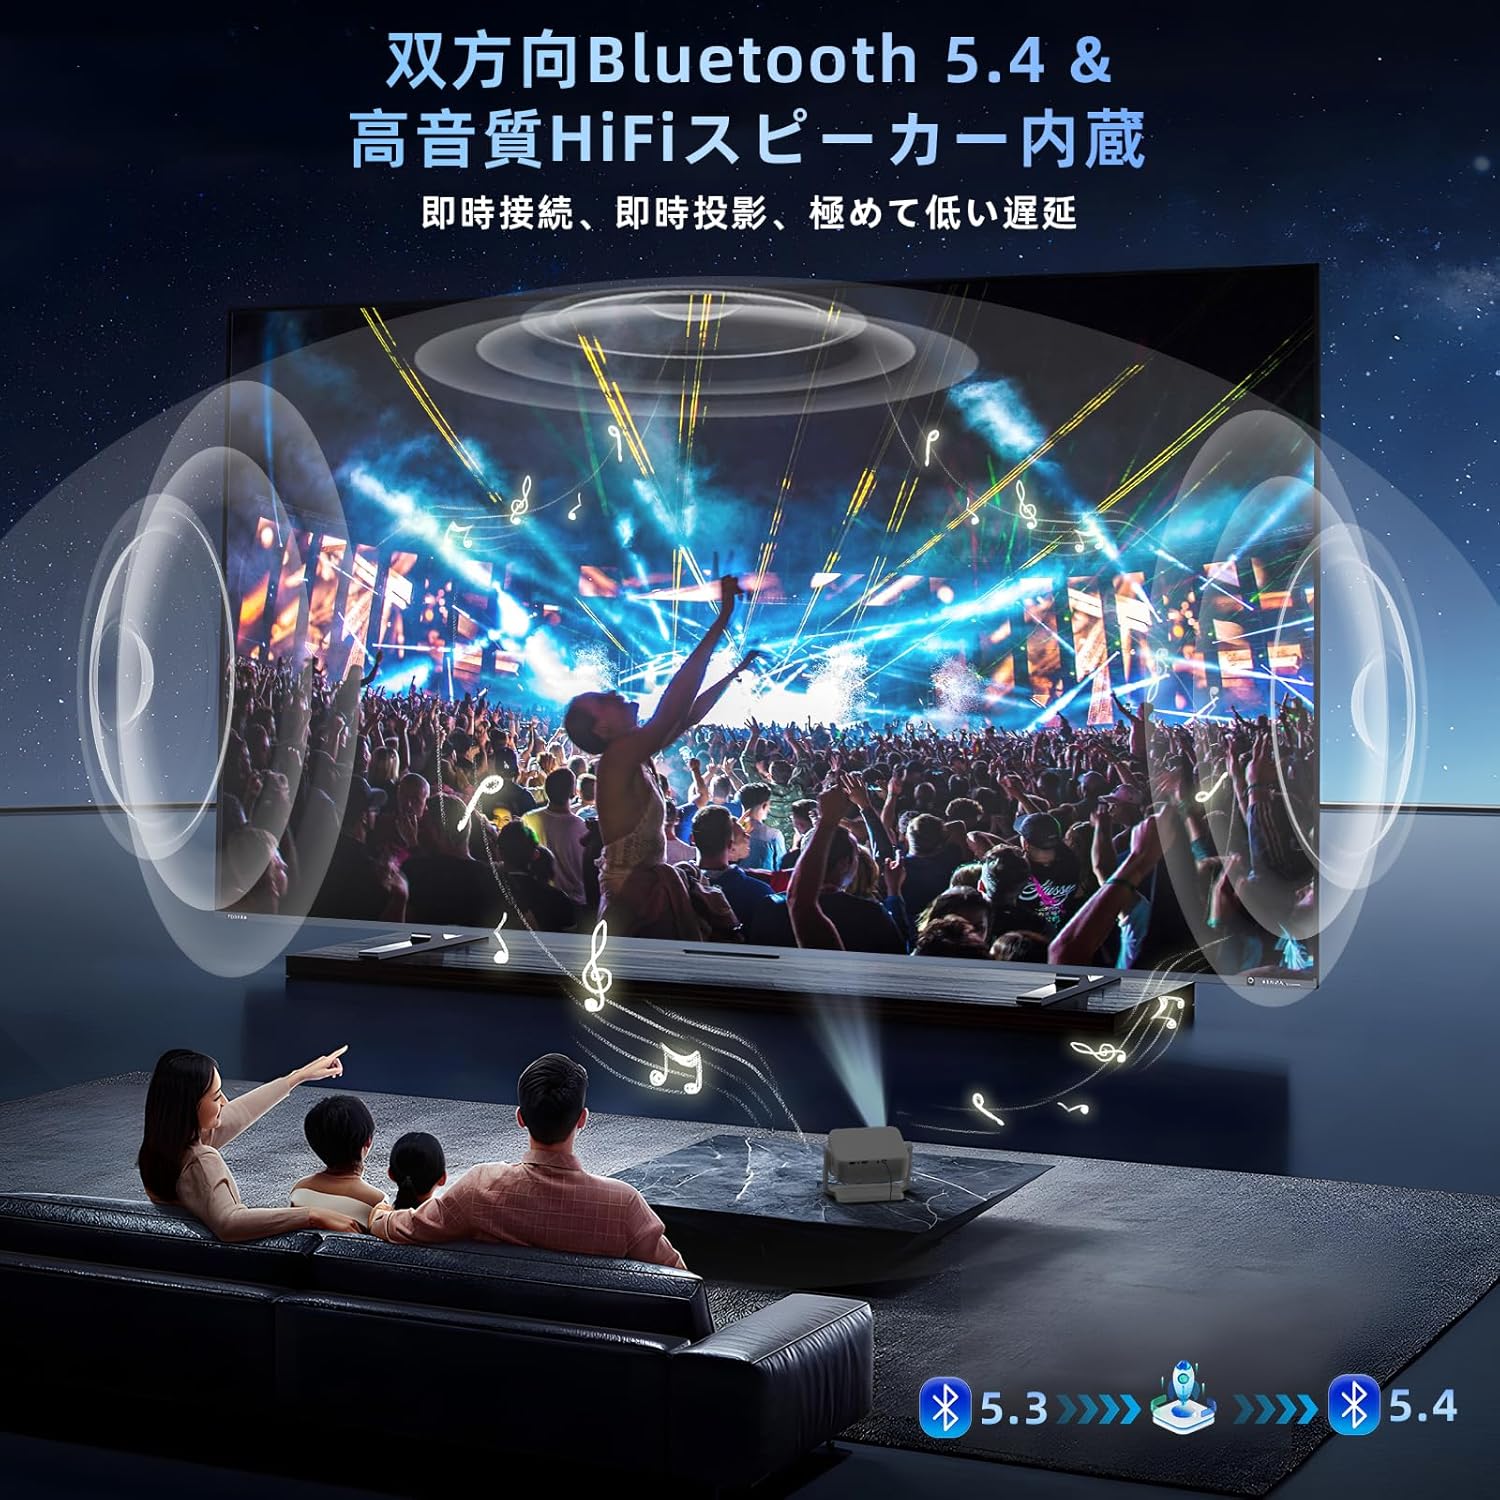
Figure 6.2: The projector connected via Bluetooth 5.4, providing high-quality audio through external speakers for an immersive experience.
6.2.3. HDMI Connection
Connect devices such as laptops, gaming consoles (PS5), or streaming sticks (Fire Stick) via the HDMI port.
- Connect one end of the HDMI cable to your external device and the other end to the projector's HDMI port.
- Press the 'Source' button on the projector or remote and select 'HDMI'.
6.2.4. USB Connection
Play media files directly from a USB flash drive.
- Insert your USB flash drive into the projector's USB port.
- The projector should automatically detect the USB drive and prompt you to select media files. If not, navigate to the 'Media' or 'USB' option in the main menu.
6.2.5. Screen Mirroring (Phone/Tablet)
Mirror the screen of your smartphone or tablet wirelessly.
- Ensure your projector and mobile device are connected to the same WiFi network.
- On the projector, select the 'Screen Mirroring' or 'Cast' option from the main menu.
- On your mobile device, enable screen mirroring (e.g., 'Smart View' for Android, 'Screen Mirroring' for iOS) and select the projector from the list of available devices.
7. Maintenance
7.1. Cleaning the Lens
Use a soft, lint-free cloth specifically designed for optical lenses. Do not use abrasive cleaners or solvents.
7.2. Cleaning the Projector Body
Wipe the projector's exterior with a soft, dry cloth. For stubborn stains, dampen the cloth slightly with water, then wipe dry.
7.3. Storage
When not in use for extended periods, store the projector in a cool, dry place, away from dust and direct sunlight. Use the original packaging or a protective case if available.
8. Troubleshooting
| Problem | Possible Cause | Solution |
|---|---|---|
| No image displayed | Power cable not connected; Incorrect input source; Device not powered on. | Check power connection; Select correct input source (HDMI, USB); Ensure connected device is on. |
| Image is blurry | Out of focus; Incorrect projection distance. | Adjust the focus ring; Move the projector closer or further from the screen. |
| Image is distorted (trapezoid) | Projector not perpendicular to screen. | Adjust the projector's position or use the keystone correction feature in the settings. |
| No sound | Volume too low; Muted; External audio device not connected properly. | Increase volume; Unmute; Check Bluetooth or HDMI audio connections. |
| Remote control not working | Batteries low/dead; Obstruction between remote and projector. | Replace batteries; Remove any obstructions. |
9. Specifications
| Feature | Specification |
|---|---|
| Brand | Lisowod |
| Model Number | L02 |
| Display Resolution | 1920 x 1080 (FHD) |
| Maximum Display Resolution | 1920 x 1080 |
| Brightness | 15000 Lumens |
| Image Contrast Ratio | High |
| Connectivity Technology | HDMI, WiFi (2.4G & 5G, WiFi 6), Bluetooth 5.4 |
| Maximum Throw Distance | 6.0 Meters |
| Power Consumption | 15 Watts |
| Controller Type | Button Control |
| Display Type | LED |
| Special Features | 360° Rotating Stand, Automatic Keystone Correction |
10. Warranty and Support
For warranty information and technical support, please refer to the contact details provided on the product packaging or the official Lisowod website. Keep your purchase receipt as proof of purchase for warranty claims.


