
1. Introduction
This manual provides essential information for the safe and effective use of your QNIGLO Q-168 Plus Rechargeable FRS Walkie Talkies. Please read these instructions thoroughly before operating the device and retain this manual for future reference.
2. Package Contents
Upon opening your QNIGLO Q-168 Plus Walkie Talkies package, please verify that all the following items are included:
- 2 x QNIGLO Q-168 Plus Walkie Talkies
- 2 x Type-C USB Charging Cables
- 2 x Wearable Lanyards
- 1 x User Manual (this document)
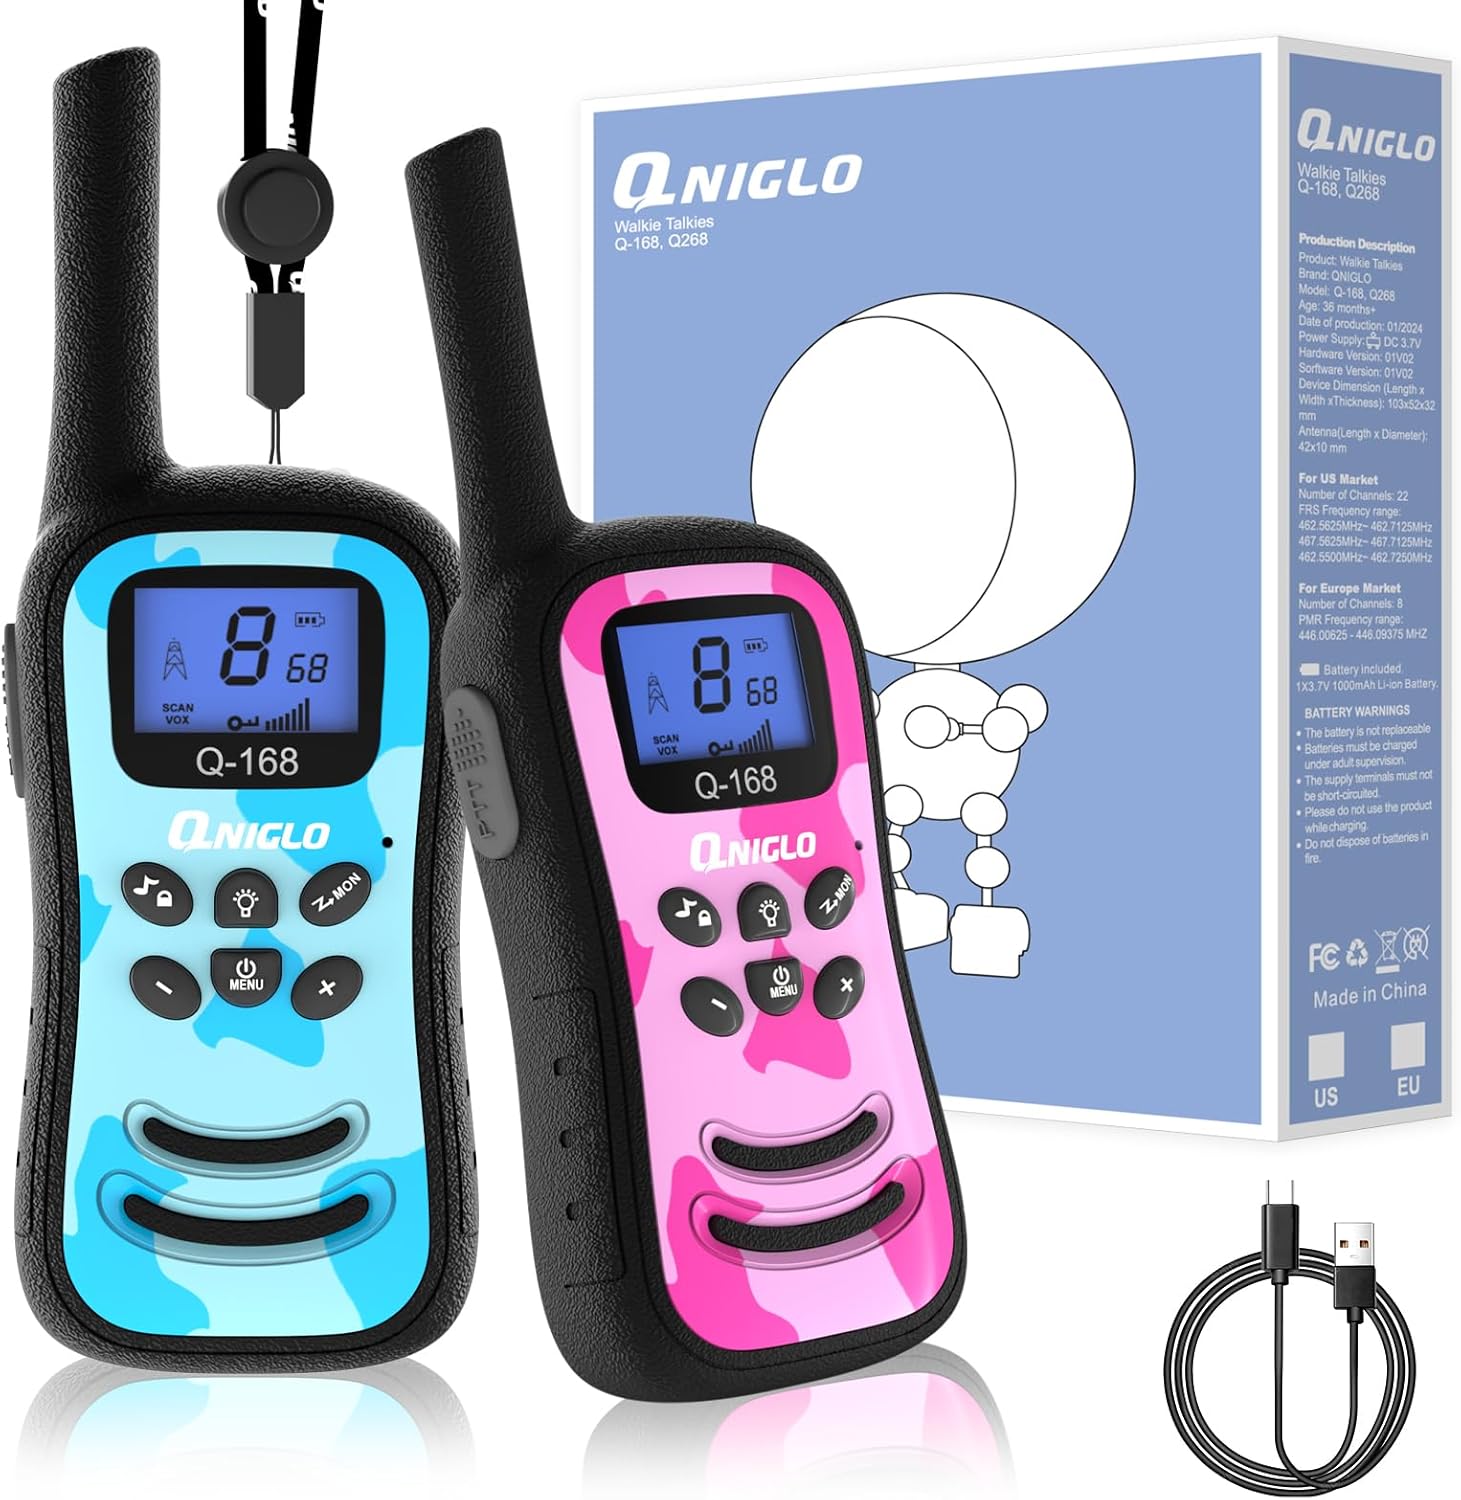
Image 2.1: Contents of the QNIGLO Q-168 Plus Walkie Talkies package.
3. Product Overview
The QNIGLO Q-168 Plus Walkie Talkies are designed for clear and reliable two-way communication. They feature 22 FRS channels, VOX functionality, an integrated LED flashlight, and a rechargeable battery system.

Image 3.1: Key features of the QNIGLO Q-168 Plus Walkie Talkies.
3.1 Controls and Display
Familiarize yourself with the buttons and display on your walkie talkie:

Image 3.2: Multifunctional features and controls diagram.
- PTT Button: Press and hold to transmit your voice. Release to listen.
- MENU Button: Access settings such as channel, privacy code, VOX sensitivity, and call tone.
- Up/Down Buttons: Navigate menu options and adjust values.
- Power/Volume Knob: Turn clockwise to power on and increase volume; turn counter-clockwise to decrease volume and power off.
- Flashlight Button: Activates the integrated LED flashlight.
- LCD Screen: Displays current channel, privacy code, battery level, VOX status, and other indicators. The screen features a blue backlight for visibility in low light.
4. Setup
4.1 Charging the Walkie Talkies
Your QNIGLO Q-168 Plus Walkie Talkies come with a built-in rechargeable Lithium Polymer battery. Before first use, fully charge both units.
- Connect the supplied Type-C USB charging cable to the charging port on the walkie talkie.
- Plug the other end of the USB cable into a compatible USB power adapter (not included) or a computer USB port.
- The battery indicator on the LCD screen will show charging status. A full charge typically takes approximately 2.5 hours.
- Once fully charged, disconnect the walkie talkie from the charging cable.
A full charge provides approximately 36 hours of working time, depending on usage.

Image 4.1: USB Type-C charging for the walkie talkie.
4.2 Powering On/Off
- To power on, rotate the Power/Volume knob clockwise until you hear a click and the LCD screen illuminates.
- To power off, rotate the Power/Volume knob counter-clockwise until you hear a click and the LCD screen turns off.
4.3 Attaching the Lanyard
The included lanyards can be attached to the designated loop on the walkie talkie for convenient carrying and to prevent loss.
5. Operating Instructions
5.1 Adjusting Volume
Rotate the Power/Volume knob to adjust the listening volume. Turn clockwise to increase volume, and counter-clockwise to decrease it.
5.2 Push-to-Talk (PTT) Function
To communicate, press and hold the PTT button on the side of the walkie talkie. Speak clearly into the microphone. Release the PTT button to stop transmitting and listen for a response.
5.3 Channel Selection and Privacy Codes
Your walkie talkies operate on 22 FRS channels with 99 privacy codes, offering 2178 possible combinations for private conversations.
- Press the MENU button once to enter channel selection mode. The channel number will flash on the LCD.
- Use the Up/Down buttons to select your desired channel (1-22).
- Press the MENU button again to enter privacy code selection mode. The privacy code will flash.
- Use the Up/Down buttons to select your desired privacy code (0-99). Code 0 means no privacy code.
- Press the PTT button or wait a few seconds for the setting to be saved automatically.
For successful communication, all walkie talkies in your group must be set to the same channel and privacy code.
5.4 VOX (Voice Activated Transmission)
The VOX function allows for hands-free communication. When activated, the walkie talkie will automatically transmit when it detects your voice, without needing to press the PTT button.

Image 5.1: VOX hands-free communication in use.
- Press the MENU button repeatedly until the VOX icon appears and the sensitivity level flashes.
- Use the Up/Down buttons to select the desired VOX sensitivity level (e.g., 1 for low sensitivity, 3 for high sensitivity). Higher sensitivity means the walkie talkie will transmit with softer voices.
- Press the PTT button or wait to save the setting.
5.5 Using the Flashlight
The integrated LED flashlight can be activated for illumination in low-light conditions.
- Press the dedicated Flashlight button (usually located on the front panel) once to turn the flashlight on.
- Press the Flashlight button again to turn it off.
5.6 Scan Function
The scan function allows the walkie talkie to automatically scan through all 22 channels to find active conversations.
- Press the SCAN button (often combined with another function, refer to your device's button layout). The scan icon will appear on the LCD.
- The walkie talkie will cycle through channels until it detects a signal. It will pause on the active channel.
- To stop scanning, press the SCAN button again.
5.7 Call Tone
You can send a call tone to alert other users on the same channel.
- Press the CALL button (often combined with another function) once to send a distinct call tone.
5.8 Keypad Lock
The keypad lock prevents accidental changes to your settings.
- To lock the keypad, press and hold the MENU button until the lock icon appears on the LCD.
- To unlock, press and hold the MENU button again until the lock icon disappears.
5.9 Communication Range
The effective communication range varies depending on terrain and environmental conditions.
- In urban areas or areas with obstructions, the range is typically 0.5 to 1 mile.
- In open areas with clear line of sight, the range can extend up to 3 miles.

Image 5.2: Illustration of communication range in an urban environment.
6. Maintenance
6.1 Battery Care
- To prolong battery life, avoid fully discharging the battery frequently.
- Charge the walkie talkies regularly, even if not in frequent use.
- Do not attempt to replace the internal Lithium Polymer battery yourself. Contact customer support if battery issues arise.
6.2 Cleaning
- Wipe the walkie talkie surfaces with a soft, damp cloth.
- Do not use harsh chemicals or abrasive cleaners.
- Ensure the charging port cover is securely closed to prevent dust and moisture ingress.
6.3 Storage
- Store the walkie talkies in a cool, dry place away from direct sunlight and extreme temperatures.
- If storing for extended periods, ensure the batteries are partially charged (around 50%) to maintain battery health.
7. Troubleshooting
If you encounter issues with your QNIGLO Q-168 Plus Walkie Talkies, refer to the following common problems and solutions:
| Problem | Possible Cause | Solution |
|---|---|---|
| No power | Battery is depleted. | Charge the walkie talkie fully using the provided USB-C cable. |
| Cannot communicate with other units | Different channel or privacy code. | Ensure all units are set to the same channel and privacy code. |
| Poor sound quality or static | Out of range; obstructions; low battery. | Move closer to the other unit; move to an open area; charge the battery. |
| VOX not activating or activating too easily | Incorrect VOX sensitivity setting. | Adjust VOX sensitivity level in the MENU settings. |
| Short battery life | Frequent transmission; old battery; cold environment. | Reduce transmission time; ensure full charge; operate in moderate temperatures. |
If the problem persists after attempting these solutions, please contact QNIGLO customer support for further assistance.
8. Specifications
Detailed technical specifications for the QNIGLO Q-168 Plus Walkie Talkies:
| Feature | Specification |
|---|---|
| Model Number | Q-168 Plus |
| Number of Channels | 22 FRS Channels |
| Privacy Codes | 99 CTCSS/DCS Codes |
| Frequency Range | 462-467 MHz |
| Maximum Talking Range | Up to 1.5 miles (city), up to 3 miles (open areas) |
| Battery Type | 1 x Lithium Polymer (included) |
| Charging Time | Approx. 2.5 hours (USB-C) |
| Working Time | Approx. 36 hours |
| Voltage | 3.6V |
| Item Weight | 2.88 ounces (per unit) |
| Package Dimensions | 7.91 x 5.24 x 1.65 inches |
| Special Features | Battery Strength Indicator, Digital Display, Integrated Flashlight, Lightweight, Rechargeable, VOX |
| Water Resistance Level | Not Water Resistant |
| Manufacturer | QNIGLO |
| Date First Available | January 14, 2022 |
9. Warranty Information
QNIGLO provides a 12-month (365 days) full device warranty from the date of purchase. This warranty covers manufacturing defects and ensures the product functions as intended under normal use. Please retain your proof of purchase for warranty claims.
The warranty does not cover damage caused by misuse, accidents, unauthorized modifications, or failure to follow the instructions in this manual.
10. Customer Support
For any questions, concerns, or technical assistance regarding your QNIGLO Q-168 Plus Walkie Talkies, please contact our professional after-sales team. We are committed to providing support and will respond to inquiries within 24 hours.
Please refer to the contact information provided with your purchase or visit the official QNIGLO website for support details.
