
1. Introduction
Thank you for choosing the Wisoqu Gooseneck Microphone. This microphone is designed for clear sound transmission in various professional settings. Its flexible design and noise reduction features make it suitable for meeting rooms, lecture halls, and similar environments.

Figure 1: Overall view of the Wisoqu Gooseneck Microphone.
2. Product Features
- High-Grade Microphone Core: Ensures effective sound transmission.
- Power Indicator: Illuminates when the microphone is active.
- Flexible Gooseneck Hose: Allows for free twisting and easy angle adjustment.
- Durable Aluminum Alloy Shell: Provides low density, high strength, and high plasticity.
- Windproof Cotton: Reduces noise interference and external sounds.
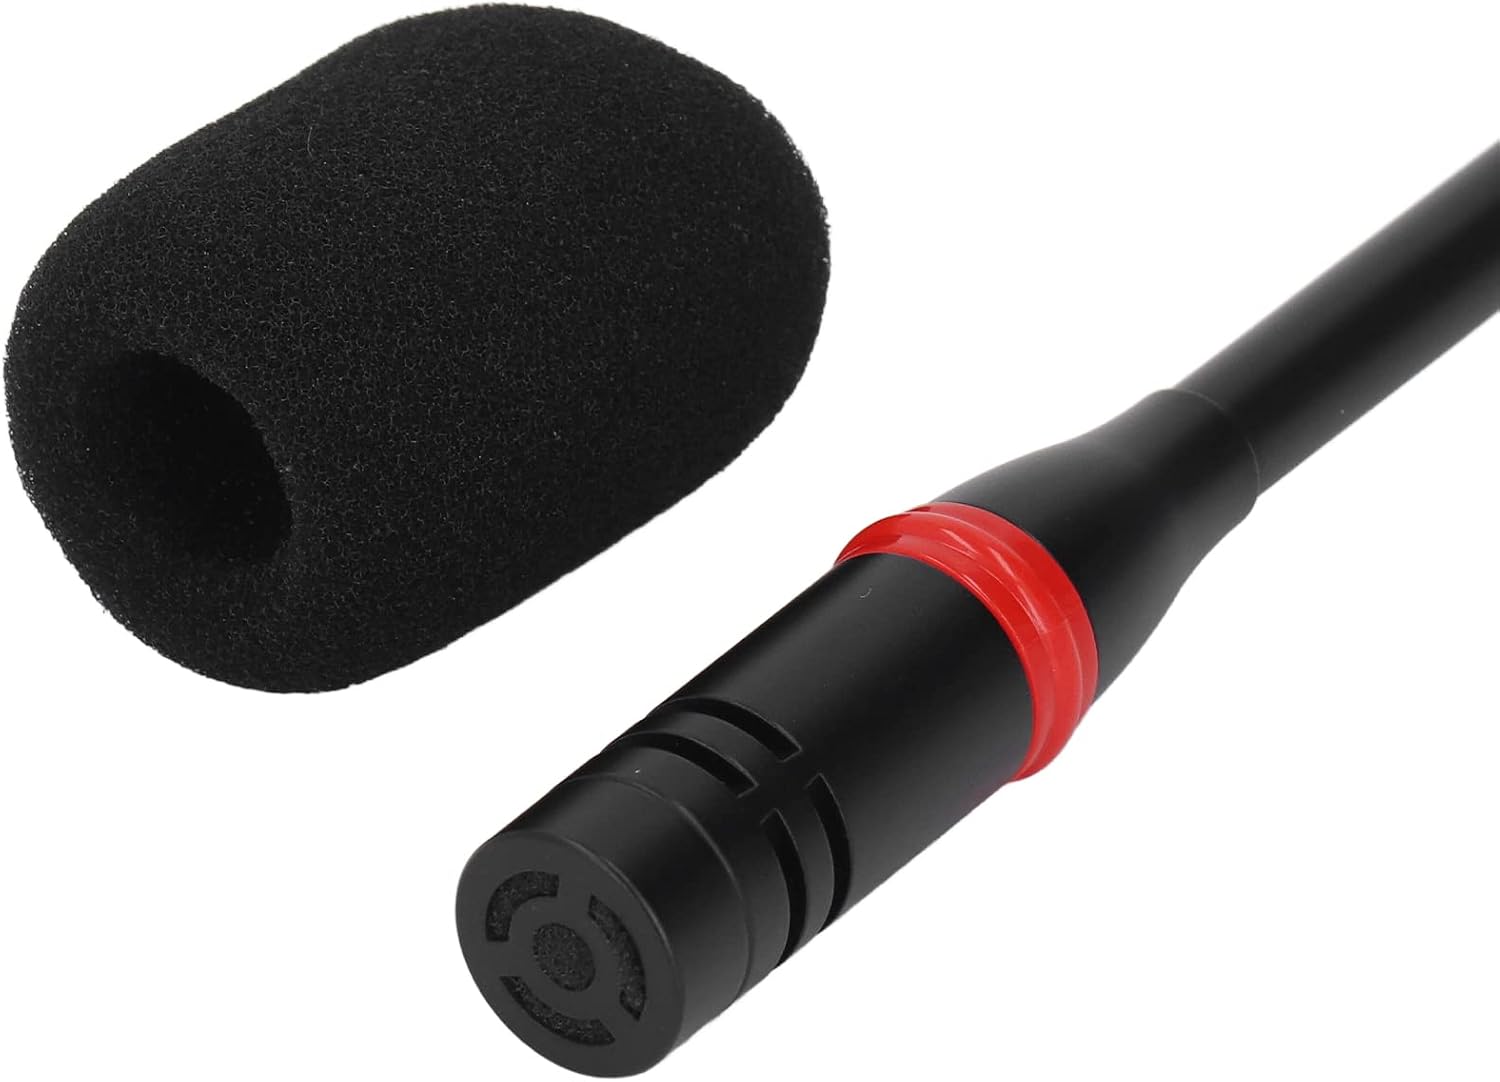
Figure 2: Close-up of the microphone head, showing the windproof cotton for noise reduction.
3. Setup Instructions
- Unpack: Carefully remove the microphone from its packaging.
- Connect: Insert the 3-pin connector of the gooseneck microphone into the appropriate input port on your audio system or device. Ensure a secure connection.
- Position: Adjust the flexible gooseneck hose to the desired angle and height for optimal sound capture.
4. Operating Instructions
- Power On: Once connected, activate your audio system. The microphone's power indicator light will illuminate, indicating it is ready for use.
- Speak Clearly: Speak directly into the microphone head for the best sound quality. The windproof cotton helps minimize plosive sounds and background noise.
- Adjust Angle: Utilize the flexible gooseneck to fine-tune the microphone's position during use, ensuring consistent audio input.
- Power Off: When finished, power off your audio system. The microphone's indicator light will turn off.

Figure 3: Examples of suitable environments for the gooseneck microphone, such as meeting rooms and lecture halls.
5. Maintenance
- Cleaning: Use a soft, dry cloth to clean the microphone's exterior. Do not use liquid cleaners or solvents.
- Storage: Store the microphone in a cool, dry place away from direct sunlight and extreme temperatures when not in use.
- Handle with Care: Avoid excessive bending or forceful manipulation of the gooseneck to prevent damage.
6. Troubleshooting
| Problem | Possible Cause | Solution |
|---|---|---|
| No sound output | Microphone not connected properly; Audio system not powered on; Microphone not selected as input device. | Ensure the 3-pin connector is fully inserted. Power on the audio system. Check audio settings on your device to select the microphone as the input. |
| Distorted or unclear sound | Microphone too far or too close; Environmental noise; Damaged cable. | Adjust microphone position. Ensure windproof cotton is properly installed. Test with another cable if possible. |
| Humming or static noise | Electrical interference; Faulty connection; Ground loop issue. | Ensure all connections are secure. Try connecting to a different power outlet. Keep microphone cables away from power cables. |
7. Specifications
| Feature | Detail |
|---|---|
| Brand | Wisoqu |
| Model Name | Wisoquzvq5mrkwug |
| Connectivity Technology | Bluetooth (Note: Product description indicates 3-pin plug-in, this specification might be generic or refer to internal components not directly user-facing for audio input) |
| Connector Type | USB (Note: Product description indicates 3-pin plug-in, this specification might be generic or refer to internal components not directly user-facing for audio input) |
| Special Feature | Adjustable |
| Compatible Devices | Laptop (and other devices with compatible 3-pin input) |
| Length of Pole | Approx. 45cm/17.7in |
| Material | Aluminum Alloy |
| Audible Noise | 20 Decibels |
8. Warranty and Support
For warranty information or technical support, please refer to the documentation provided with your purchase or contact Wisoqu customer service through their official channels. Keep your proof of purchase for warranty claims.