Introduction
This manual provides essential instructions for the safe and efficient operation, maintenance, and troubleshooting of your INGCO 8V Cordless Screwdriver Machine. Please read this manual thoroughly before first use and retain it for future reference.
Safety Instructions
Always follow basic safety precautions to reduce the risk of fire, electric shock, and personal injury.
- Wear appropriate personal protective equipment, such as safety glasses.
- Keep the work area clean and well-lit.
- Do not operate power tools in explosive atmospheres, such as in the presence of flammable liquids, gases, or dust.
- Keep children and bystanders away while operating a power tool.
- Ensure the tool is switched off before making any adjustments, changing accessories, or storing.
- Use the correct tool for your application. Do not force the tool.
- Store idle tools out of reach of children and do not allow persons unfamiliar with the power tool or these instructions to operate the power tool.
Product Components
Your INGCO 8V Cordless Screwdriver Machine package includes the following items:
- INGCO 8V Cordless Screwdriver
- 10-piece drill/screwdriver bits set
- 1-piece Magnetic Bit Holder
- Canvas Storage Bag
- USB Type-C Charging Cable (implied)

Figure 1: INGCO 8V Cordless Screwdriver Machine and accessories.
Setup
1. Charging the Battery
The screwdriver is powered by an integrated 8V Lithium-Ion battery. Before first use, fully charge the battery.
- Locate the Type-C charging port on the screwdriver.
- Connect the provided USB Type-C charging cable to the port.
- Connect the other end of the cable to a suitable USB power adapter (not included) or a USB port.
- The battery level indicator will show the charging status. Charge until the indicator shows a full charge.

Figure 2: Type-C Charging Port.
2. Attaching Screwdriver Bits
The screwdriver features a magnetic 1/4 inch hex shank chuck for quick bit changes.
- Select the appropriate screwdriver bit for your task.
- Insert the hex end of the bit into the chuck until it is securely held by the magnet.
- To remove, simply pull the bit out.

Figure 3: Included screwdriver bits and magnetic bit holder.
Operating Instructions
1. Powering On/Off and Direction Control
The screwdriver is activated by a trigger switch. A forward/reverse switch controls the rotation direction.
- To drive screws, push the direction switch to the forward position (usually left).
- To remove screws, push the direction switch to the reverse position (usually right).
- To lock the tool and prevent accidental starting, place the direction switch in the center position.
2. Adjusting Torque Settings
The screwdriver features 15+1 torque settings, allowing you to adjust the amount of rotational force applied. This prevents overtightening or damaging screw heads and work surfaces.
- Rotate the torque adjustment collar located near the chuck.
- Select a lower setting for smaller screws or softer materials, and a higher setting for larger screws or harder materials.
- The "+1" setting is typically for drilling or maximum torque applications.
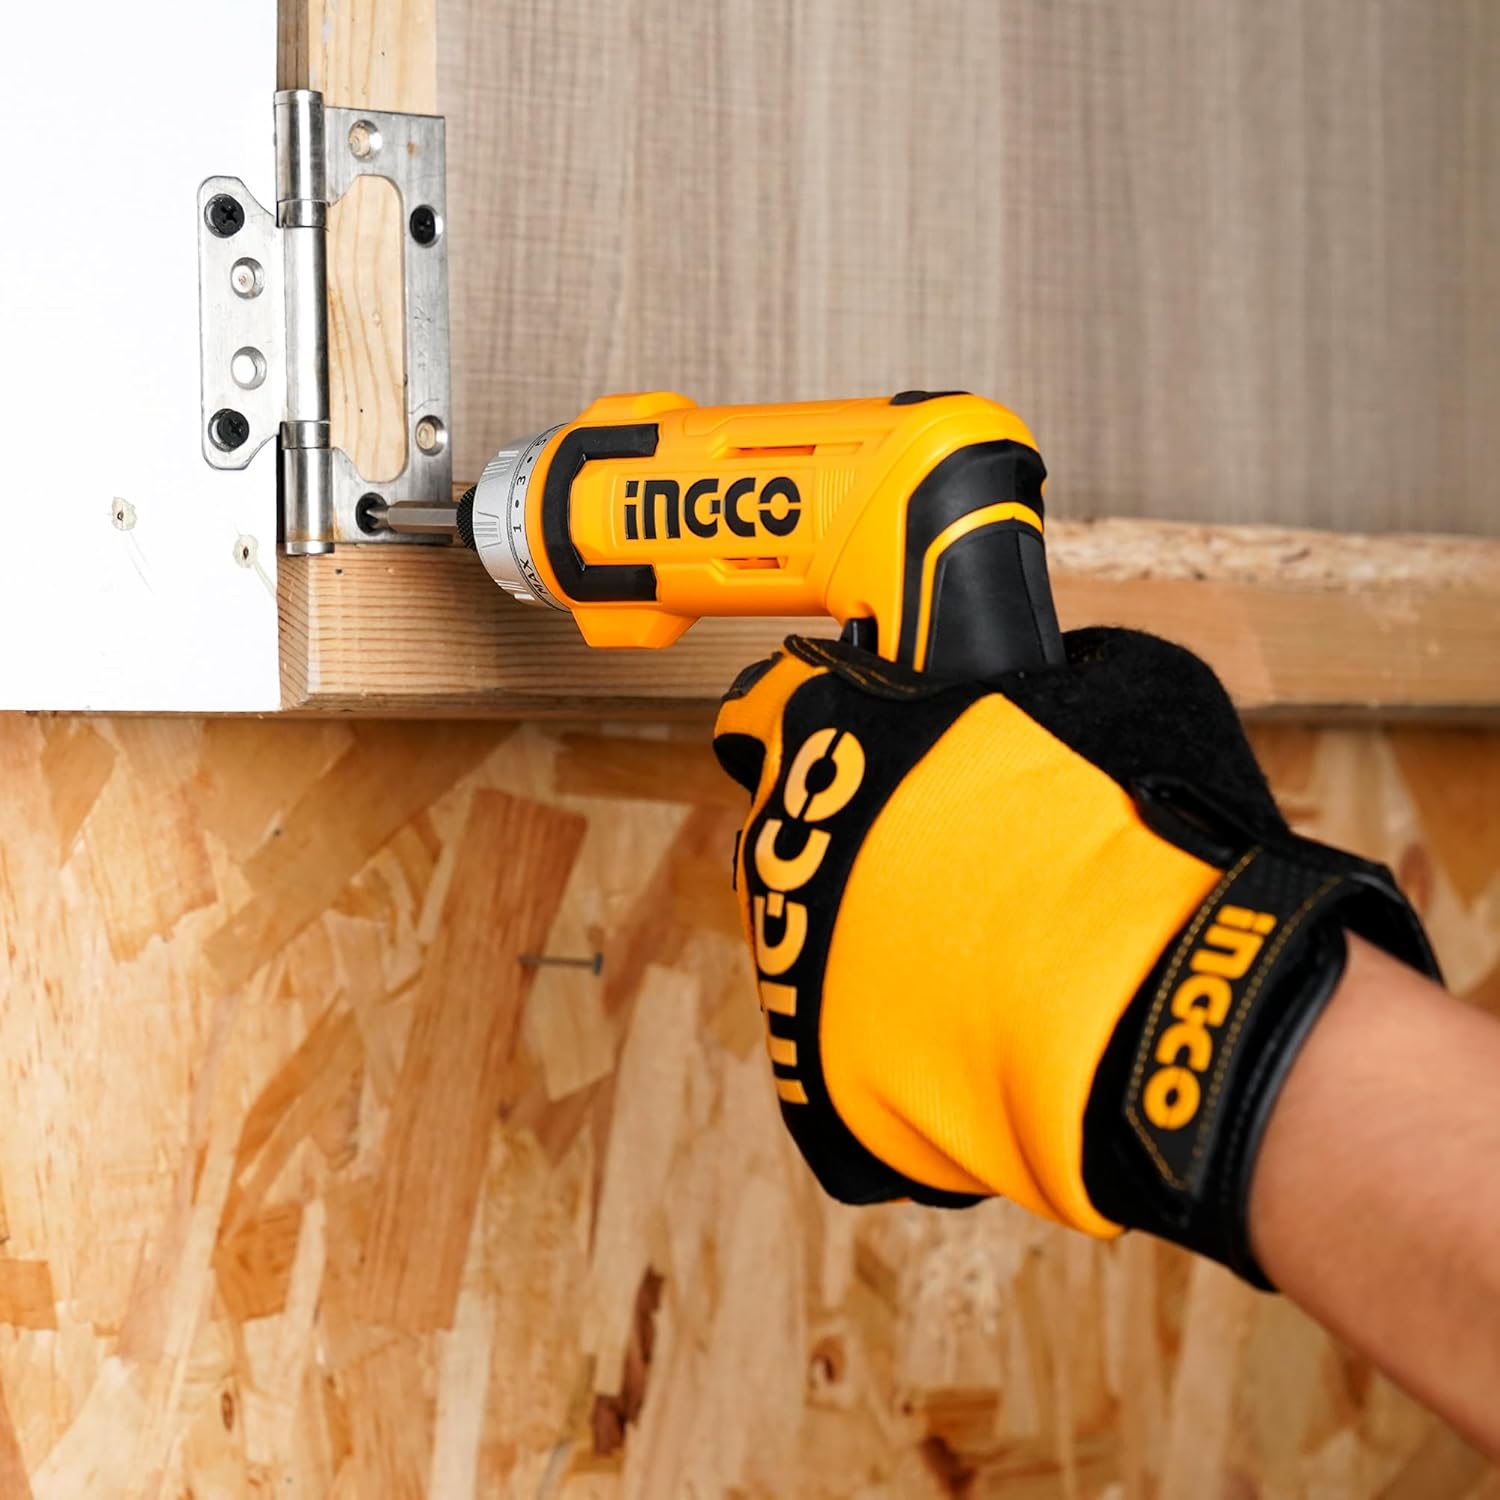
Figure 4: LED Work Light and Torque Adjustment Collar.
3. Using the LED Work Light
An integrated LED work light illuminates the work area, improving visibility in dimly lit spaces. The light activates automatically when the trigger is pressed.
4. Adjusting the Handle Position
The screwdriver features a two-position adjustable handle, allowing for both straight and pistol-grip configurations to suit different working conditions and tight spaces.
- To adjust the handle, locate the pivot point on the tool.
- Gently rotate the handle to switch between the straight and pistol-grip positions until it locks securely into place.
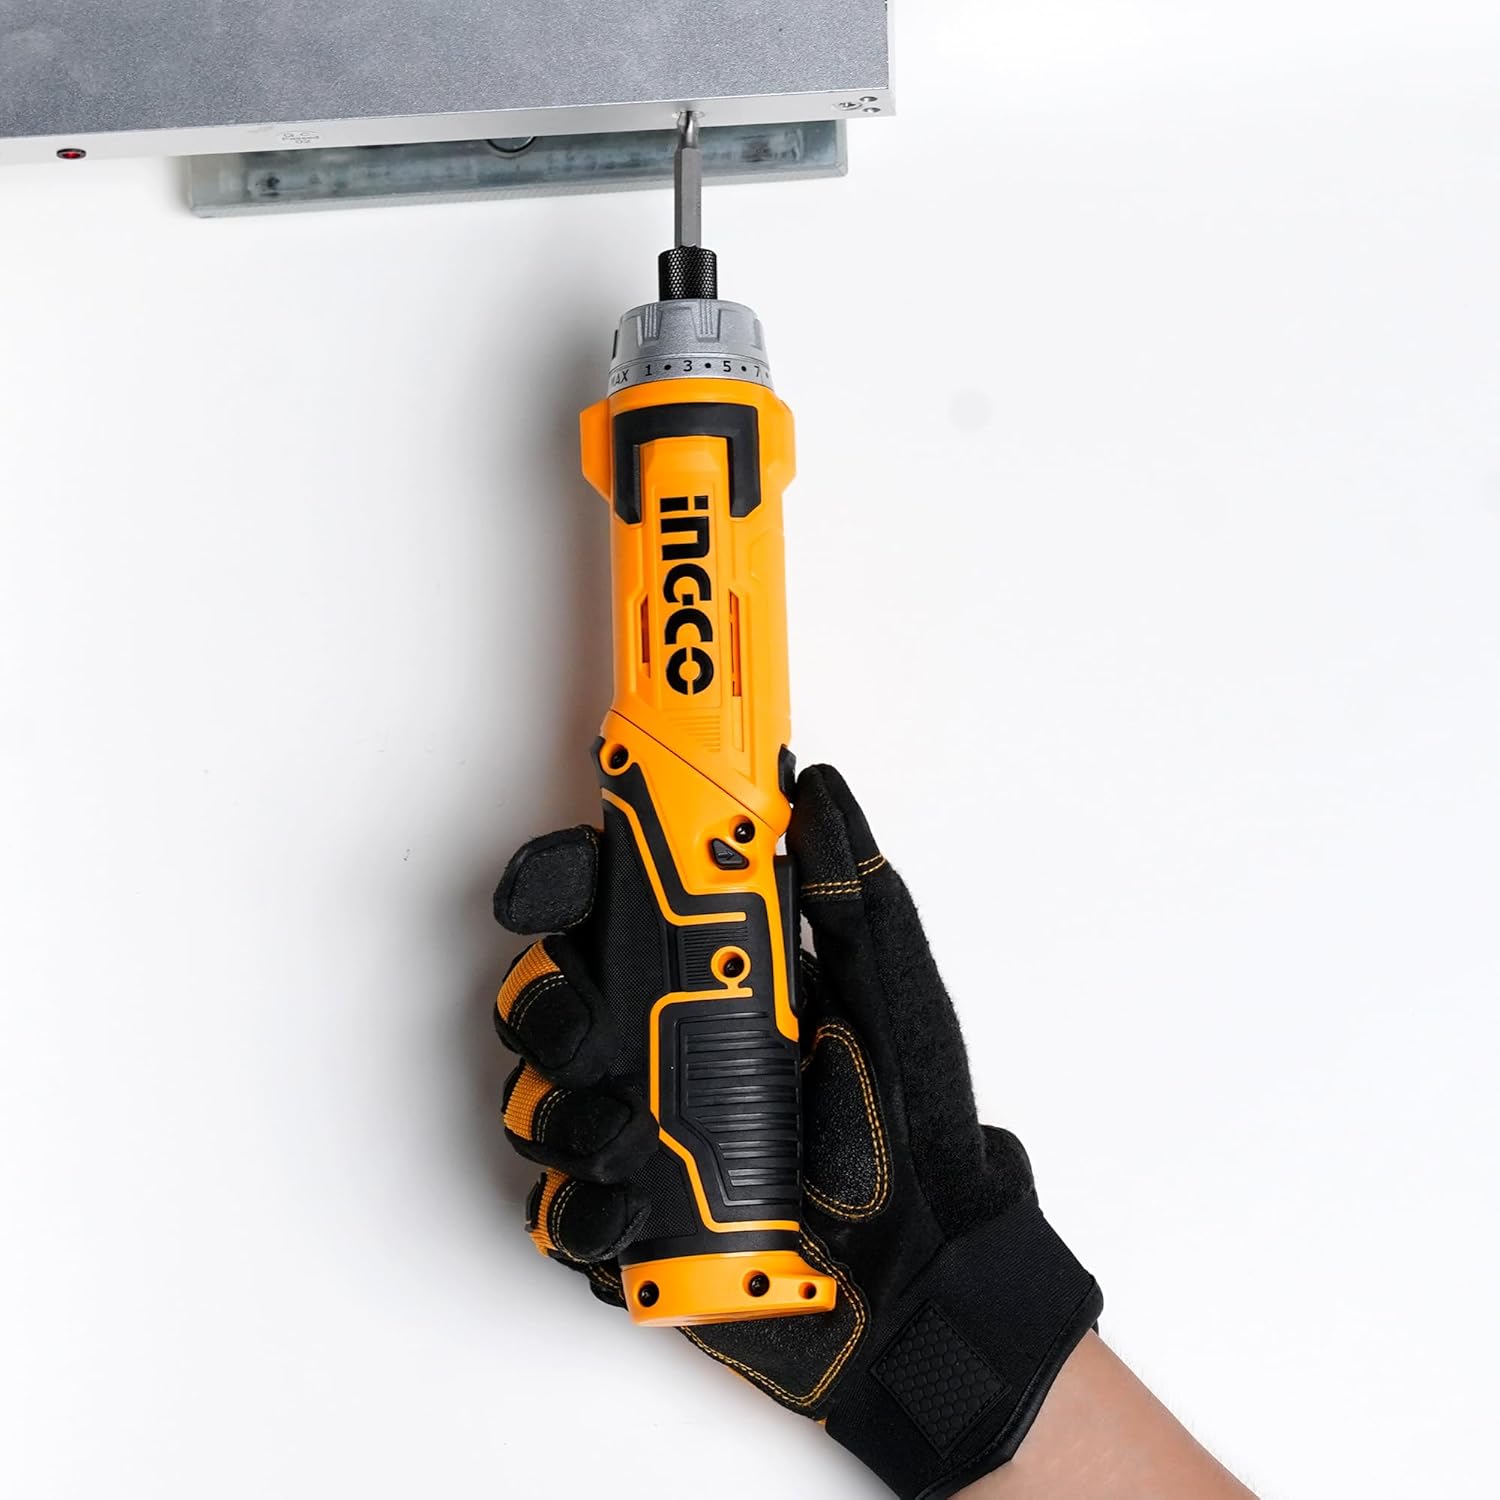
Figure 5: Rotary Handle Adjustment.
Maintenance
1. Cleaning
- Always disconnect the charger before cleaning.
- Wipe the tool with a clean, damp cloth. Do not use harsh chemicals or abrasive cleaners.
- Keep ventilation openings clear of dust and debris.
2. Storage
- Store the screwdriver and accessories in the provided canvas storage bag.
- Store in a dry place, away from direct sunlight and extreme temperatures.
- Ensure the battery is partially charged before long-term storage to prolong battery life.
Troubleshooting
| Problem | Possible Cause | Solution |
|---|---|---|
| Tool does not start | Battery is discharged | Charge the battery fully. |
| Tool does not start | Direction switch is in the center (locked) position | Move the direction switch to forward or reverse. |
| Screws are not driven fully or are stripped | Torque setting is too low | Increase the torque setting. |
| Screws are overtightened or material is damaged | Torque setting is too high | Decrease the torque setting. |
Specifications
- Model: Deluxe Version
- Voltage: 8V
- Hex Shank: 6.35mm (1/4 inch)
- No-load Speed: 220 rpm
- Max. Torque: 6 Nm
- Torque Settings: 15+1
- Handle: Two-positions adjustable
- Light: Integrated LED work light
- Battery Type: Lithium-Ion
- Item Weight: 1.2 Kilograms
- Product Dimensions: 10L x 5W x 22H Centimeters
Warranty and Support
For warranty information or technical support, please refer to the warranty card included with your product or contact INGCO customer service. You can also visit the official INGCO website for further assistance.
Brand: Ingco
Manufacturer: Ingco
Importer: INGCO
ASIN: B0D2MFW5Z7