1. Important Safety Instructions
Please read all instructions carefully before using your Shark StainStriker PX200EUCP. Failure to follow these instructions may result in electric shock, fire, or serious injury.
- Always disconnect the appliance from the power supply before cleaning or performing maintenance.
- Do not immerse the appliance in water or other liquids.
- Use only Shark cleaning solutions specifically designed for this appliance. Do not use on wool carpets.
- Keep hair, loose clothing, fingers, and all parts of the body away from openings and moving parts.
- Do not use with a damaged cord or plug. If the appliance is not working as it should, has been dropped, damaged, left outdoors, or dropped into water, return it to SharkNinja Operating LLC for examination, repair, or adjustment.
- This appliance is for household use only.
2. What's Included
Your Shark StainStriker PX200EUCP comes with the following components:
- Shark StainStriker Main Unit
- Hand Tool for Tough Stains
- Pet Stain Tool
- Crevice Tool
- Hose Cleaning Tool
- Shark CarpetXpert Deep Clean Pro Formula (946 ml)
- Shark StainStriker OXY Multiplier Formula (474 ml)
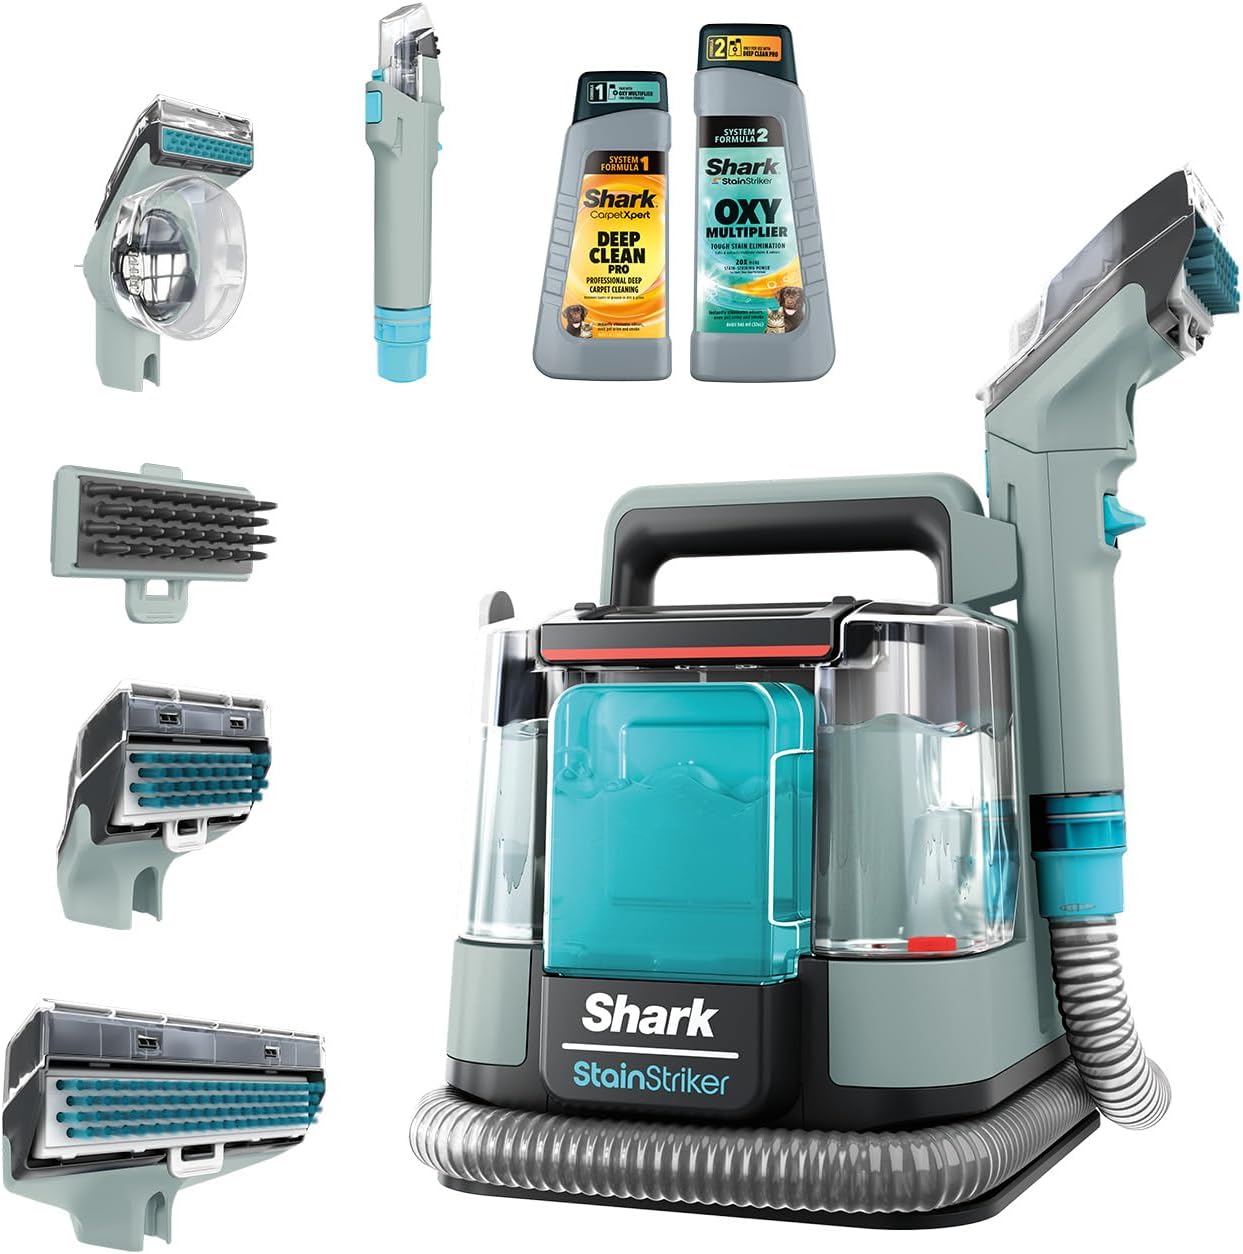
Image 2.1: The Shark StainStriker PX200EUCP with its various attachments and cleaning solutions.
3. Setup
3.1 Filling the Solution Tanks
- Locate the two solution tanks on the main unit. The larger tank is for the CarpetXpert Deep Clean Pro formula and water, and the smaller tank is for the StainStriker OXY Multiplier formula.
- Fill the larger tank with water up to the indicated line, then add the Shark CarpetXpert Deep Clean Pro formula to its designated fill line.
- Fill the smaller tank with the Shark StainStriker OXY Multiplier formula up to its designated fill line.
- Ensure both tanks are securely closed and placed back into the main unit.

Image 3.1: The two Shark cleaning formulas, CarpetXpert Deep Clean Pro and StainStriker OXY Multiplier, which combine for powerful stain removal.
4. Operating Instructions
4.1 General Operation
- Plug the StainStriker into a power outlet.
- Select the appropriate attachment for the surface you are cleaning (e.g., Hand Tool for Tough Stains, Pet Stain Tool, Crevice Tool).
- Position the attachment over the stain.
- Press the spray trigger to apply the cleaning solution to the stained area. The dual formulas will activate upon application.
- Gently scrub the stain with the attachment's brush.
- Release the spray trigger and tilt the attachment to engage the powerful suction, extracting the dirty solution and moisture from the surface.
- Repeat steps 4-6 as necessary until the stain is removed and the area is as dry as possible.
Important: Do not use this appliance on wool carpets.
4.2 Using Attachments
- Hand Tool for Tough Stains: Ideal for general spot cleaning on carpets and upholstery.
- Pet Stain Tool: Designed to effectively remove pet messes and odors from various surfaces, including stairs and pet beds.
- Crevice Tool: Perfect for reaching tight spaces, such as corners of sofas or between car seats.
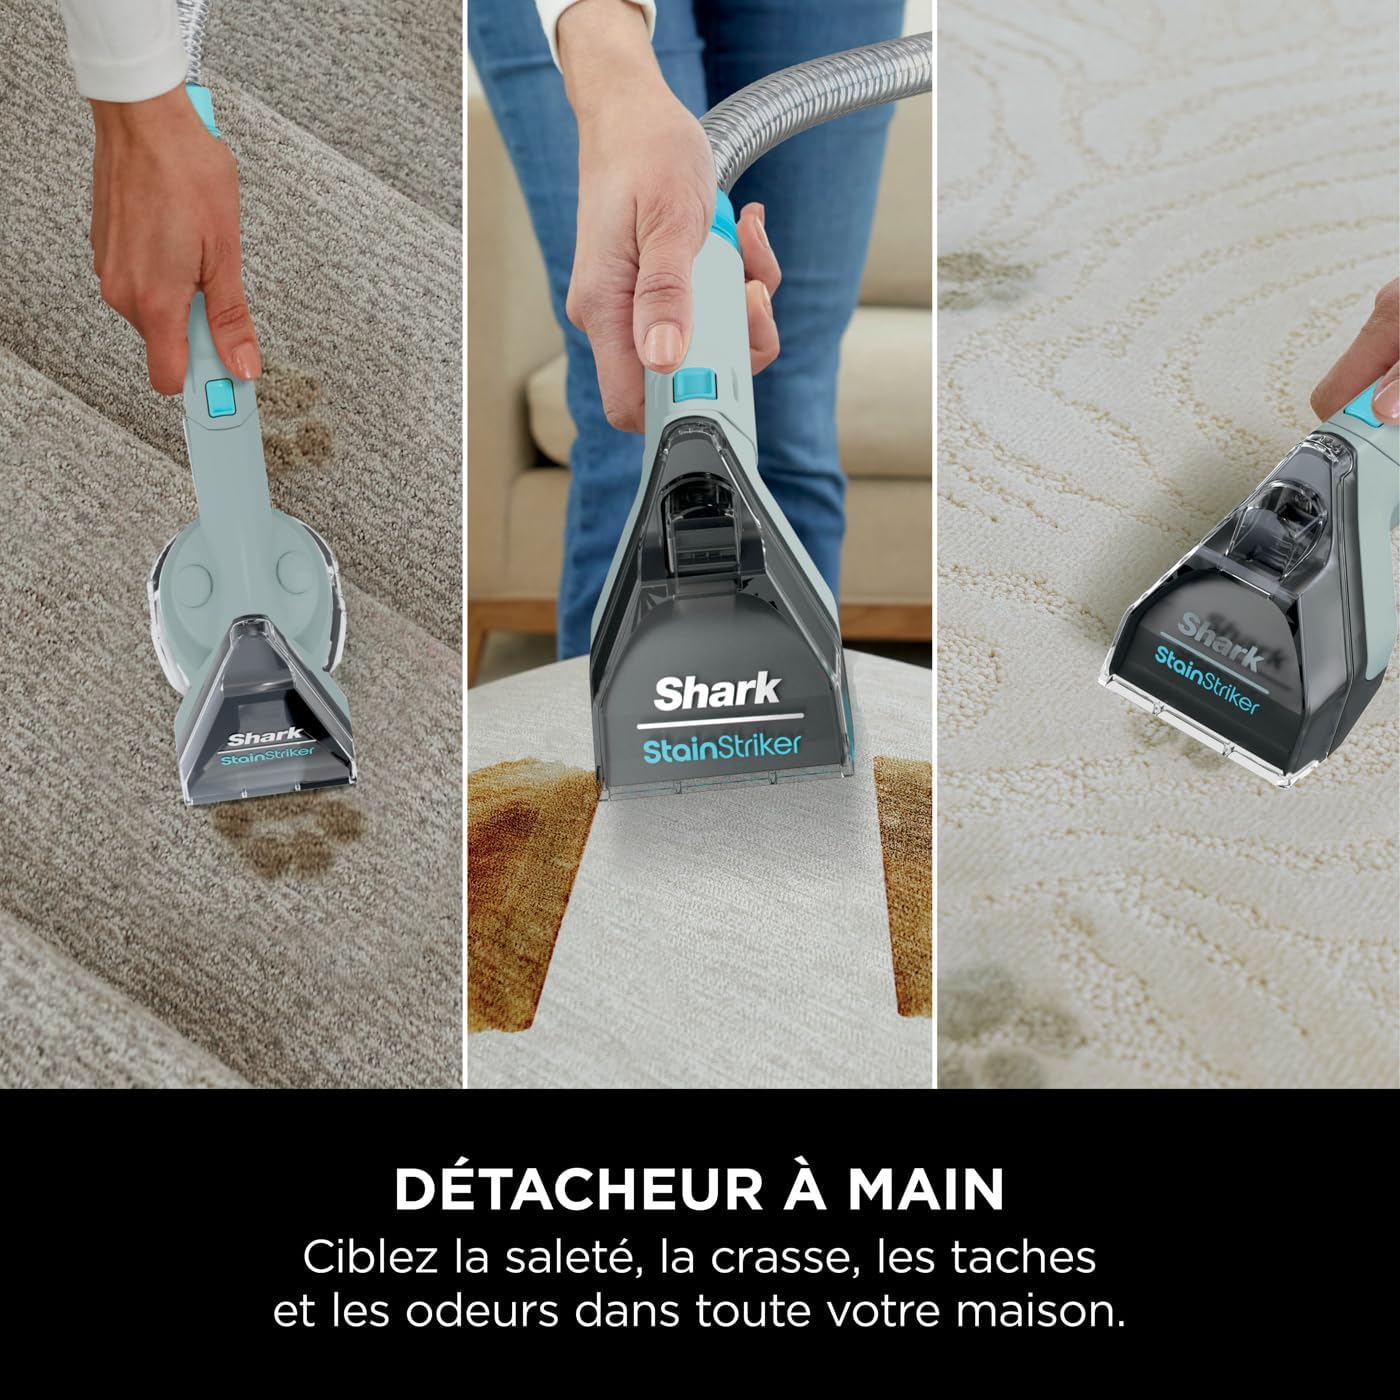
Image 4.1: The hand tool effectively cleaning a stain on a carpet.

Image 4.2: The pet stain tool being used on carpeted stairs, demonstrating its versatility for pet-related messes.

Image 4.3: Cleaning upholstery with the hand tool, targeting a spill on a sofa.
5. Maintenance
5.1 Emptying and Cleaning the Dirty Water Tank
After each use, or when the dirty water tank reaches its maximum fill line, it must be emptied and cleaned.
- Remove the dirty water tank from the main unit.
- Carefully pour out the dirty water into a sink or drain.
- Rinse the tank thoroughly with clean water.
- Allow the tank to air dry before reattaching it to the unit.
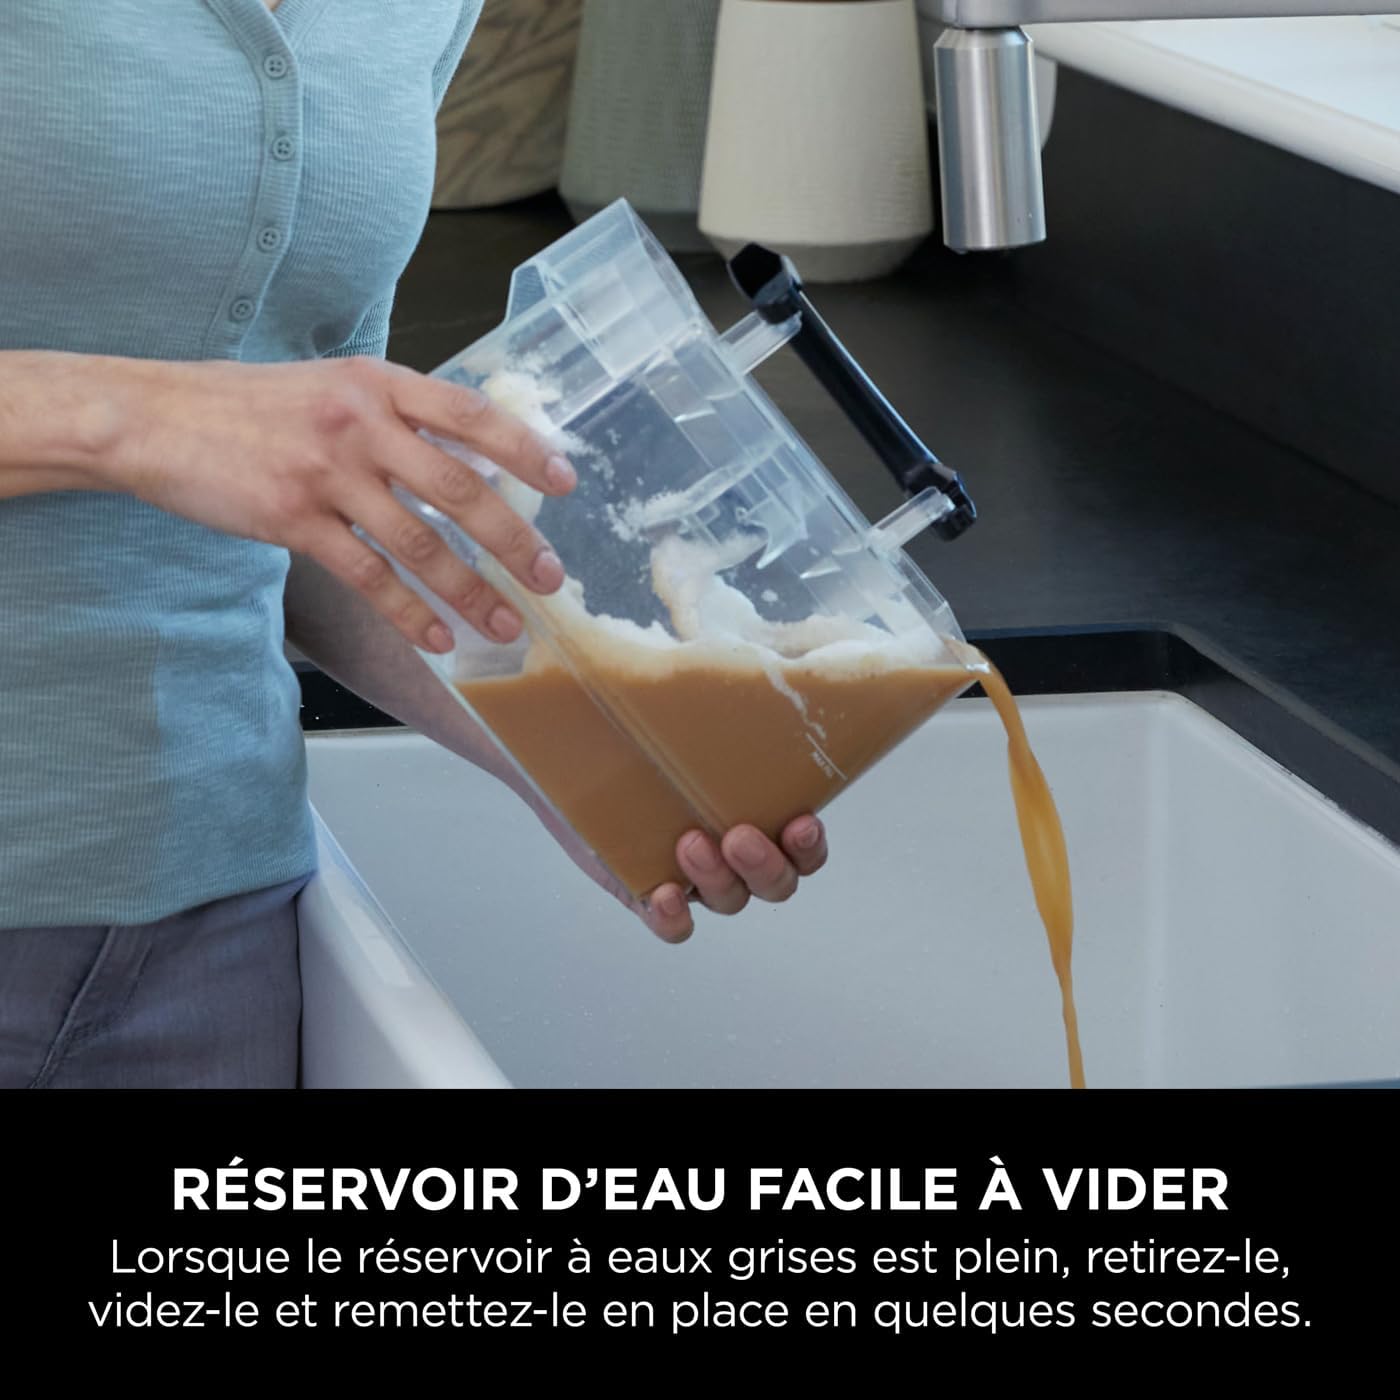
Image 5.1: The dirty water tank being emptied, showing the collected grime.
5.2 Cleaning Attachments and Hose
- Rinse all attachments under clean running water after each use.
- Use the provided hose cleaning tool to flush out any debris from the hose. Attach the tool, run clean water through the hose, and then use the unit's suction to clear the water.
- Ensure all parts are dry before storing.
6. Troubleshooting
| Problem | Possible Cause | Solution |
|---|---|---|
| No suction or weak suction | Dirty water tank full; hose or attachment clogged; tank not properly seated. | Empty and clean dirty water tank; check hose and attachments for blockages; ensure tanks are securely in place. |
| No spray or weak spray | Clean water tank empty; solution tanks not properly seated; spray nozzle clogged. | Refill clean water tank; ensure tanks are securely in place; clean spray nozzle. |
| Unit not turning on | Not plugged in; power outlet not working. | Ensure unit is securely plugged into a working outlet. |
| Stains not fully removed | Insufficient application of solution; not enough scrubbing/suction passes; old/set-in stain. | Apply more solution and allow it to penetrate; make additional scrubbing and suction passes; for very old stains, multiple treatments may be required. |
7. Specifications
- Brand: Shark
- Model Number: PX200EUCP
- Color: Grey
- Product Dimensions (L x W x H): 28 x 29.8 x 28.7 cm
- Item Weight: 6.44 Kilograms
- Capacity: 1.25 Liters (water tank)
- Power Source: Corded Electric (450 W)
- Features: Spot cleaner, carpet cleaner, upholstery cleaner, pet stain remover, odor elimination, powerful suction, dual-activation cleaning formulas.
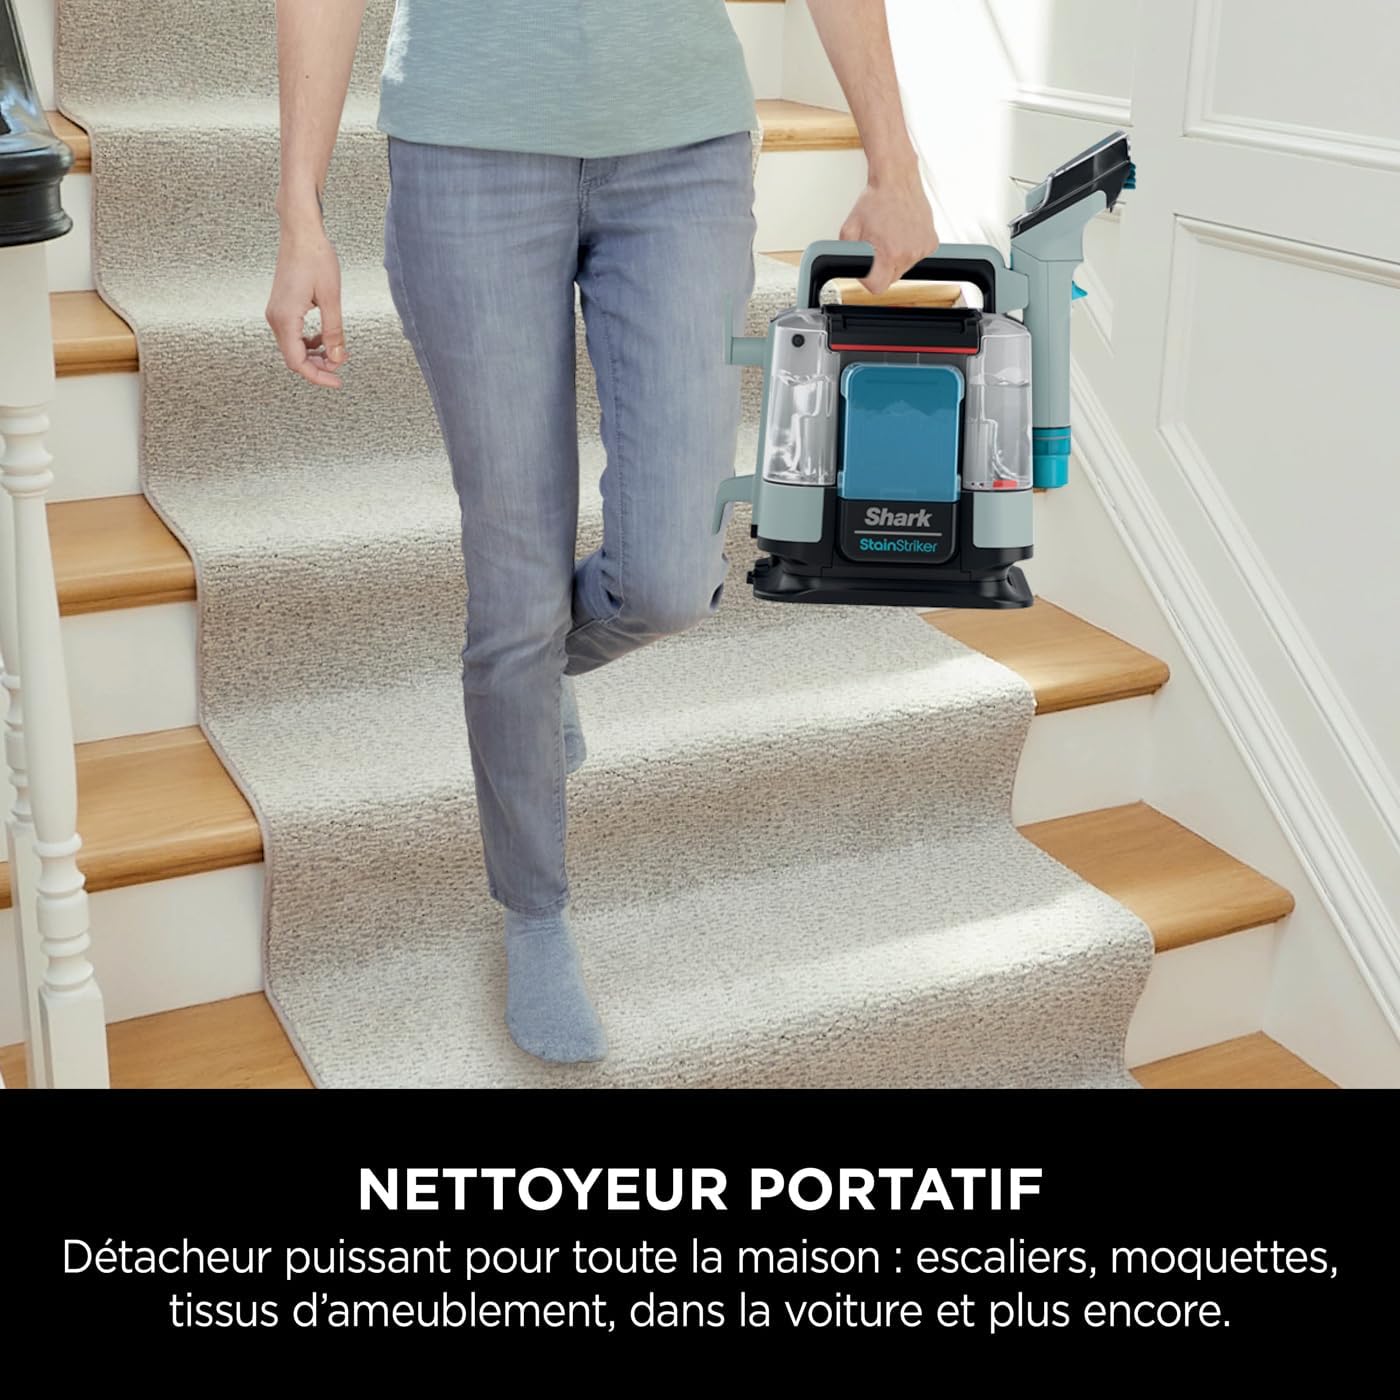
Image 7.1: The compact and portable design of the StainStriker makes it easy to carry and use throughout the home.
8. Warranty and Support
Your Shark StainStriker PX200EUCP comes with a standard warranty. Registering your product on the official Shark website may extend your warranty to 3 years. Please refer to the warranty card included in your packaging for specific terms and conditions.
For technical support, replacement parts, or warranty claims, please contact Shark customer service through their official website or the contact information provided in your product documentation.
Online Support: Visit the official Shark website for FAQs, troubleshooting guides, and product registration.


