
1. Product Overview
The MUSTART 40A Level 2 EV Charger is a portable charging station designed for electric vehicles. It offers flexible current selection and scheduled charging capabilities, making it suitable for various charging needs. The charger is compatible with SAE J1772 vehicles and includes an adapter for Tesla cars.
Key Features:
- Powerful Charging Capability: Maximum current output of 40A, with selectable settings for 8/12/16/24/32/40A.
- Scheduled Charging: Timer settings for 2/4/6/8 hours to optimize charging during off-peak electricity hours.
- Universal Compatibility: Compatible with all SAE J1772 compliant vehicles and includes a special adapter for Tesla cars.
- Portable Design: Comes with a mount and a carrying bag for convenient home installation and on-the-go use.
- Safety Features: Equipped with multiple protection mechanisms including overheat, lightning, grounding, over-current, leakage, overcharge, under-voltage, and over-voltage protection.

2. Setup Instructions
2.1 Electrical Requirements
The MUSTART 40A Level 2 EV Charger requires a 240V NEMA 14-50 outlet. It is recommended to have this outlet installed by a certified electrician on a dedicated circuit to ensure safe and optimal performance. Ensure your electrical panel can support the 40A current draw.
2.2 Mounting the Charger
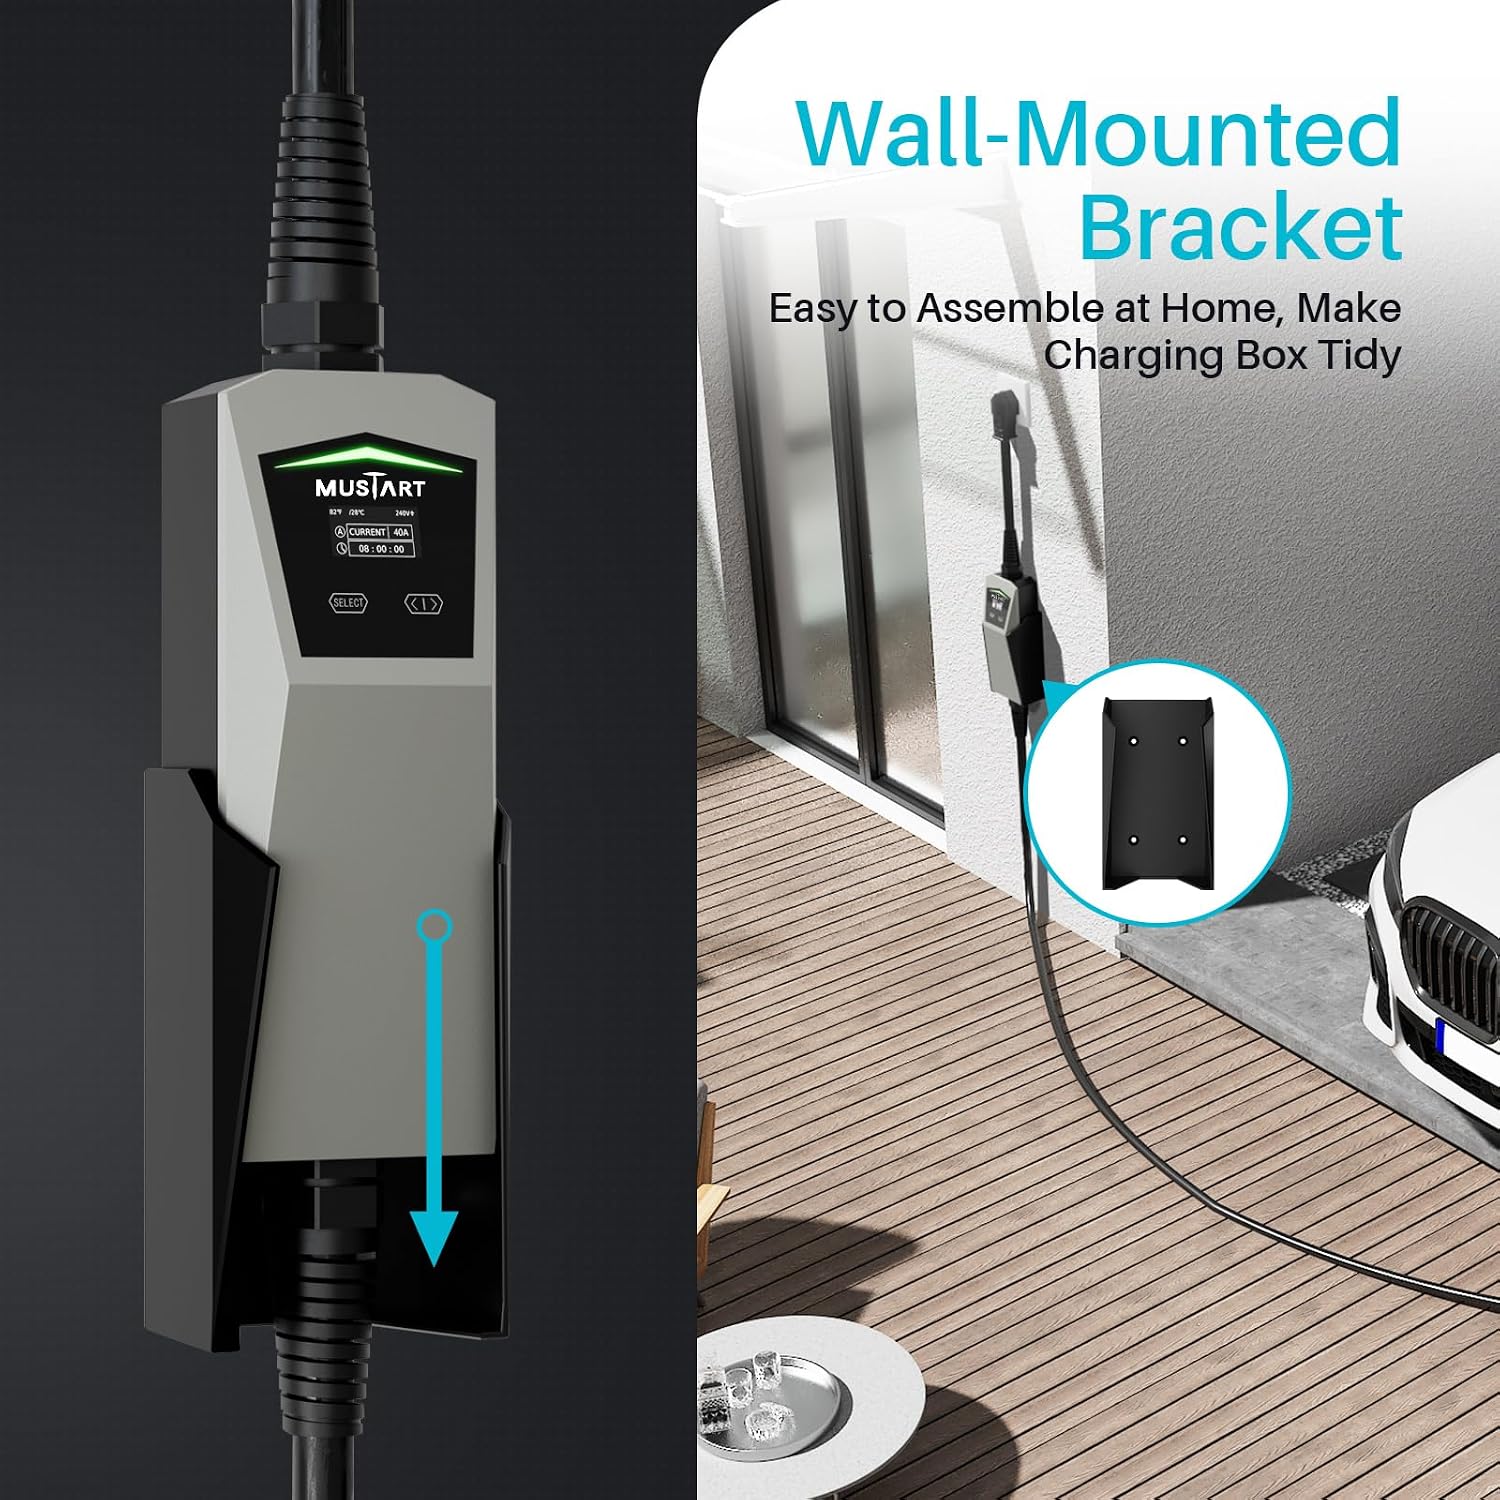
The charger comes with a wall-mounted bracket for neat and secure installation. Choose a suitable location near your NEMA 14-50 outlet, preferably in your garage or carport, that allows the 24.6ft cable to reach your vehicle's charging port.
- Mark the desired position for the wall mount on a sturdy surface.
- Drill pilot holes as indicated by the bracket.
- Secure the bracket to the wall using appropriate screws (not included).
- Slide the charger control box onto the mounted bracket.

2.3 Connecting to Power
Plug the NEMA 14-50 plug of the charger into the dedicated 240V NEMA 14-50 outlet. The charger's display will illuminate, indicating it is powered on and ready for use.
3. Operating Instructions
3.1 Connecting to Your Vehicle
- Open your electric vehicle's charging port.
- Remove the silicone dust cover from the J1772 connector.
- If charging a Tesla vehicle, attach the provided Tesla adapter to the J1772 connector.
- Insert the J1772 connector (with or without adapter) firmly into your vehicle's charging port until it clicks into place.
3.2 Adjusting Current and Scheduling Charge
The charger's display allows you to select the charging current and set a charging schedule.
- Current Selection: Use the 'SELECT' button on the charger's control box to cycle through available current settings: 8A, 12A, 16A, 24A, 32A, and 40A. Choose the appropriate current based on your vehicle's requirements and your electrical system's capacity.
- Scheduled Charging: Use the timer settings (2/4/6/8 hours) to initiate charging at a later time. This feature is useful for taking advantage of off-peak electricity rates. Consult the charger's display for current charging status and selected settings.

3.3 Starting and Stopping Charge
Once connected and settings are confirmed, the charging process will begin automatically. To stop charging, simply press the release button on the J1772 connector and pull it out from your vehicle's port. Always replace the silicone dust cover after use.
4. Maintenance
4.1 General Care
- Keep the charger unit and cables clean and free from debris.
- Always replace the silicone dust cover on the J1772 connector when not in use to protect it from dust and moisture.
- Store the charger in its carrying bag when transporting or not in active use to prevent damage.

4.2 Safety Features and Protection
The charger is equipped with multiple protection features to ensure safe operation:
- Overheat Protection
- Lightning Protection
- Grounding Detection
- Over-Current Protection
- Leakage Protection
- Overcharge Protection
- Under-Voltage Protection
- Over-Voltage Protection

5. Troubleshooting
If you encounter issues with your charger, please refer to the following general troubleshooting steps. For specific fault codes or persistent problems, contact customer support.
- No Power/Display Off: Ensure the NEMA 14-50 plug is securely inserted into the wall outlet and the circuit breaker is not tripped.
- Charging Not Initiating: Verify the J1772 connector is fully inserted into the vehicle's charging port. Check the vehicle's charging settings.


