1. Introduction
This manual provides comprehensive instructions for the safe and effective operation of your Elikliv Autofocus 4K Digital Microscope EM4K-AF. Please read this manual thoroughly before using the device and retain it for future reference.
The Elikliv EM4K-AF is an advanced digital microscope featuring 4K UHD video, 52MP imaging, and an 8-inch IPS screen. Its primary feature is the AI-powered autofocus system, designed for precise and effortless viewing of various objects, including PCBs, coins, and watch components. It offers versatile connectivity options including HDMI and USB outputs.
2. Safety Information
- Always handle the microscope with care to prevent damage to optical components and electronic circuits.
- Do not expose the device to extreme temperatures, humidity, or corrosive substances.
- Keep the microscope away from direct sunlight and strong vibrations.
- Ensure the power adapter is compatible with your local voltage and current specifications.
- Avoid looking directly into the LED lights at close range to prevent eye strain.
- Keep out of reach of children and pets.
- Disconnect power before cleaning or performing any maintenance.
3. Package Contents
Verify that all items listed below are included in your package:
- 1x EM4K-AF Auto-Focus Digital Microscope
- 1x Metal Base with 10 inch Stand
- 1x Controller (Remote Control)
- 1x HDMI Cable
- 1x 64GB Micro SD Card
- 1x Light Barrier
- 2x USB Cable

Image 3.1: Elikliv EM4K-AF Digital Microscope, stand, remote, and included accessories.
4. Product Overview and Components
Familiarize yourself with the main components of your Elikliv EM4K-AF digital microscope.
Image 4.1: Main components of the Elikliv EM4K-AF Digital Microscope.
- 8-inch IPS Display: High-resolution screen for viewing magnified images.
- Microscope Camera Unit: Contains the 4K sensor and autofocus lens.
- Adjustable Stand: Metal base with a 10-inch stand, extendable up to 6.3 inches for various working distances.
- Flexible Side Lights: Two adjustable LED lights for illuminating the specimen.
- Control Buttons: Located on the microscope unit for power, menu, and navigation.
- Remote Controller: For convenient operation, including photo/video capture and zoom.
- Micro SD Card Slot: For storage of captured images and videos.
- HDMI/USB Ports: For external display and data transfer.
5. Setup
5.1 Assembling the Microscope
- Unpack all components from the box.
- Attach the microscope camera unit to the adjustable stand. Ensure it is securely fastened.
- Position the flexible side lights to illuminate the working area on the base.
- Insert the provided 64GB Micro SD card into the designated slot on the microscope unit.

Image 5.1: The microscope assembled on its 10-inch stand, suitable for viewing larger objects like coins.
5.2 Powering On and Initial Use
- Connect the microscope to a power source using one of the provided USB cables. The built-in battery will charge automatically.
- Press and hold the Power button on the microscope unit or the remote control to turn on the device.
- The 8-inch IPS screen will display the live view from the microscope camera.
6. Operating Instructions
6.1 Autofocus Function
The EM4K-AF features an advanced AI-powered autofocus system. Place your specimen under the lens, and the microscope will automatically adjust focus for a clear image. This process typically takes about 2 seconds.
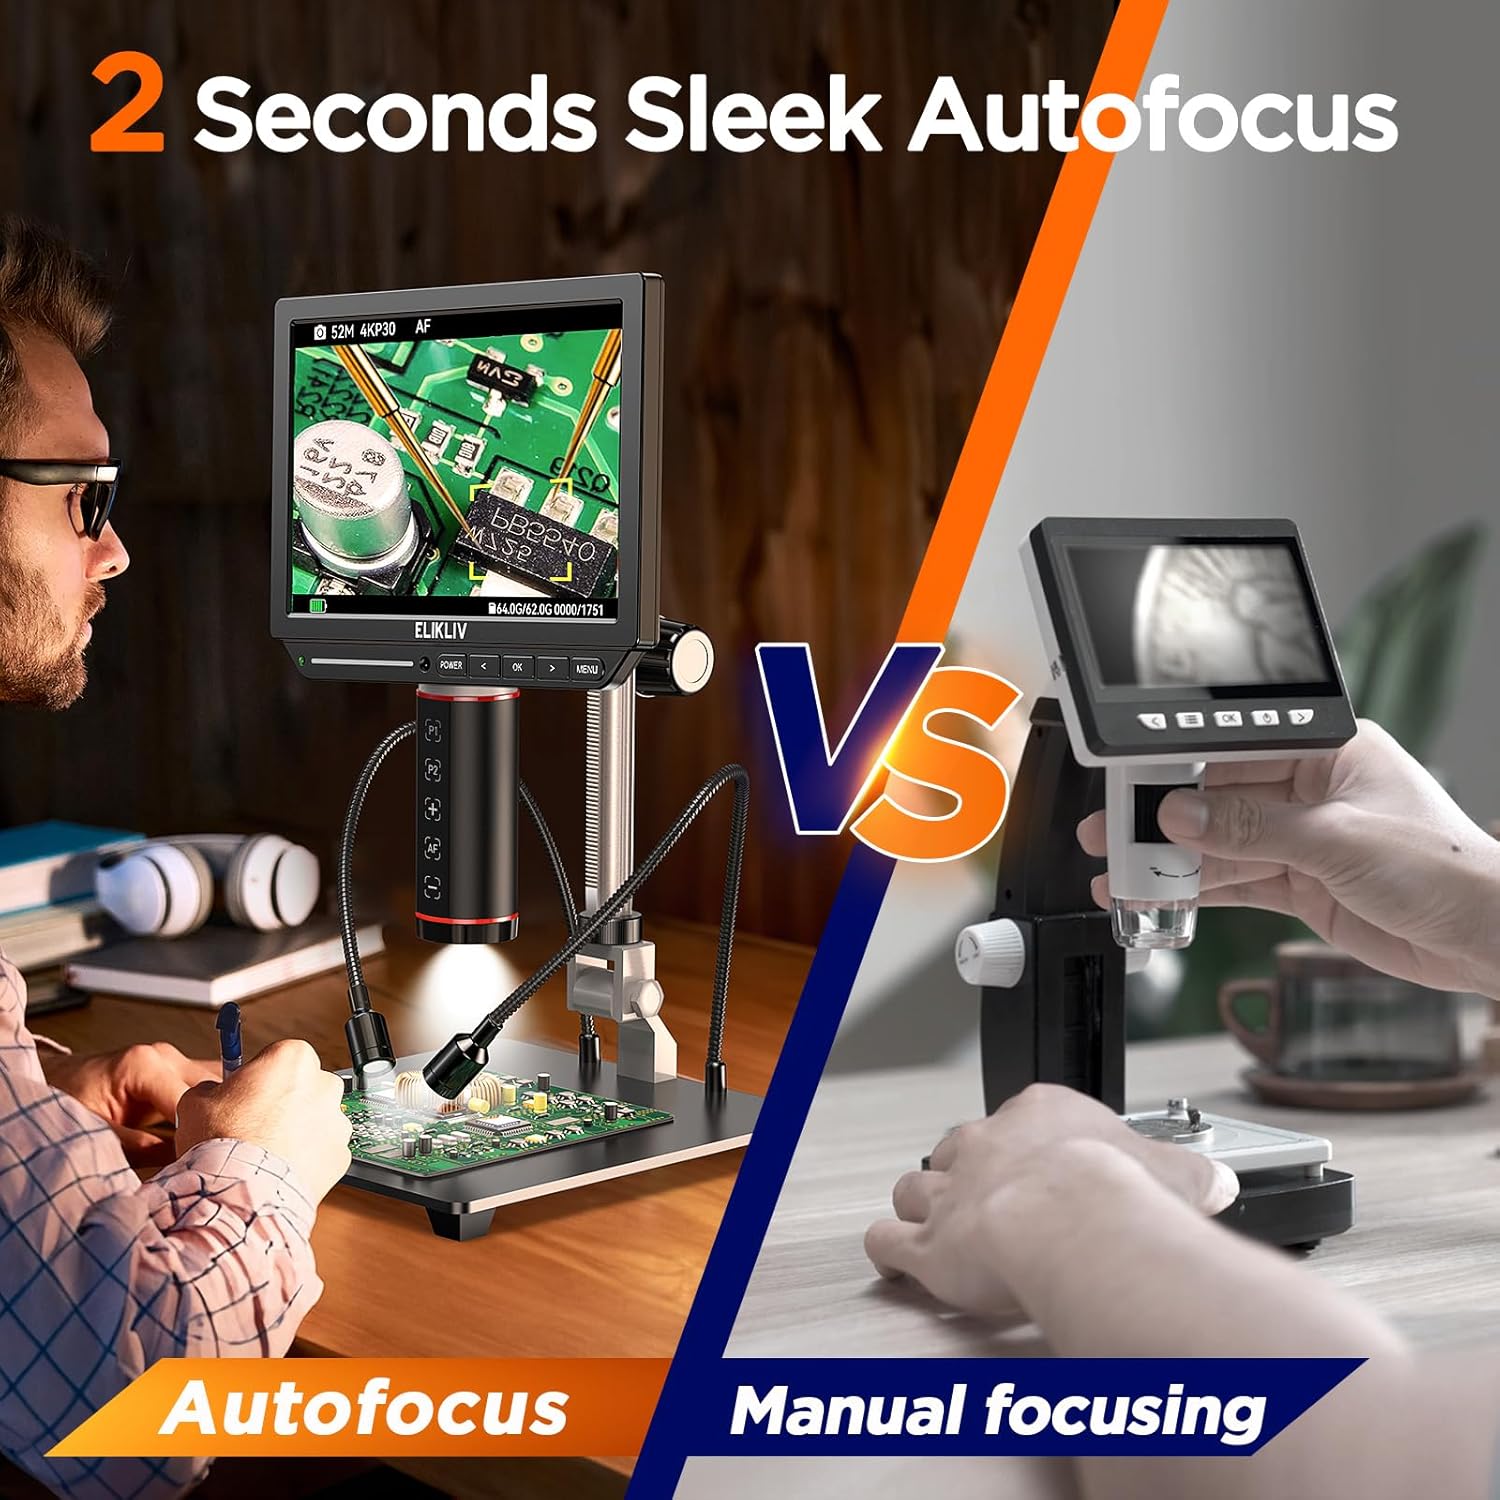
Image 6.1: The autofocus feature provides quick and clear imaging compared to manual focusing.

Image 6.2: Internal components showing the TOF sensor and AI autofocus mechanism for rapid focus adjustment.
6.2 Magnification Adjustment
Adjust the distance between the lens and the specimen by moving the microscope unit up or down on the stand to change the magnification. The digital zoom can be controlled via the remote or on-screen menu.
6.3 Image and Video Capture
Use the dedicated buttons on the remote controller or the microscope unit to capture still images (52MP) or record 4K UHD videos. All captures are saved to the inserted 64GB Micro SD card.
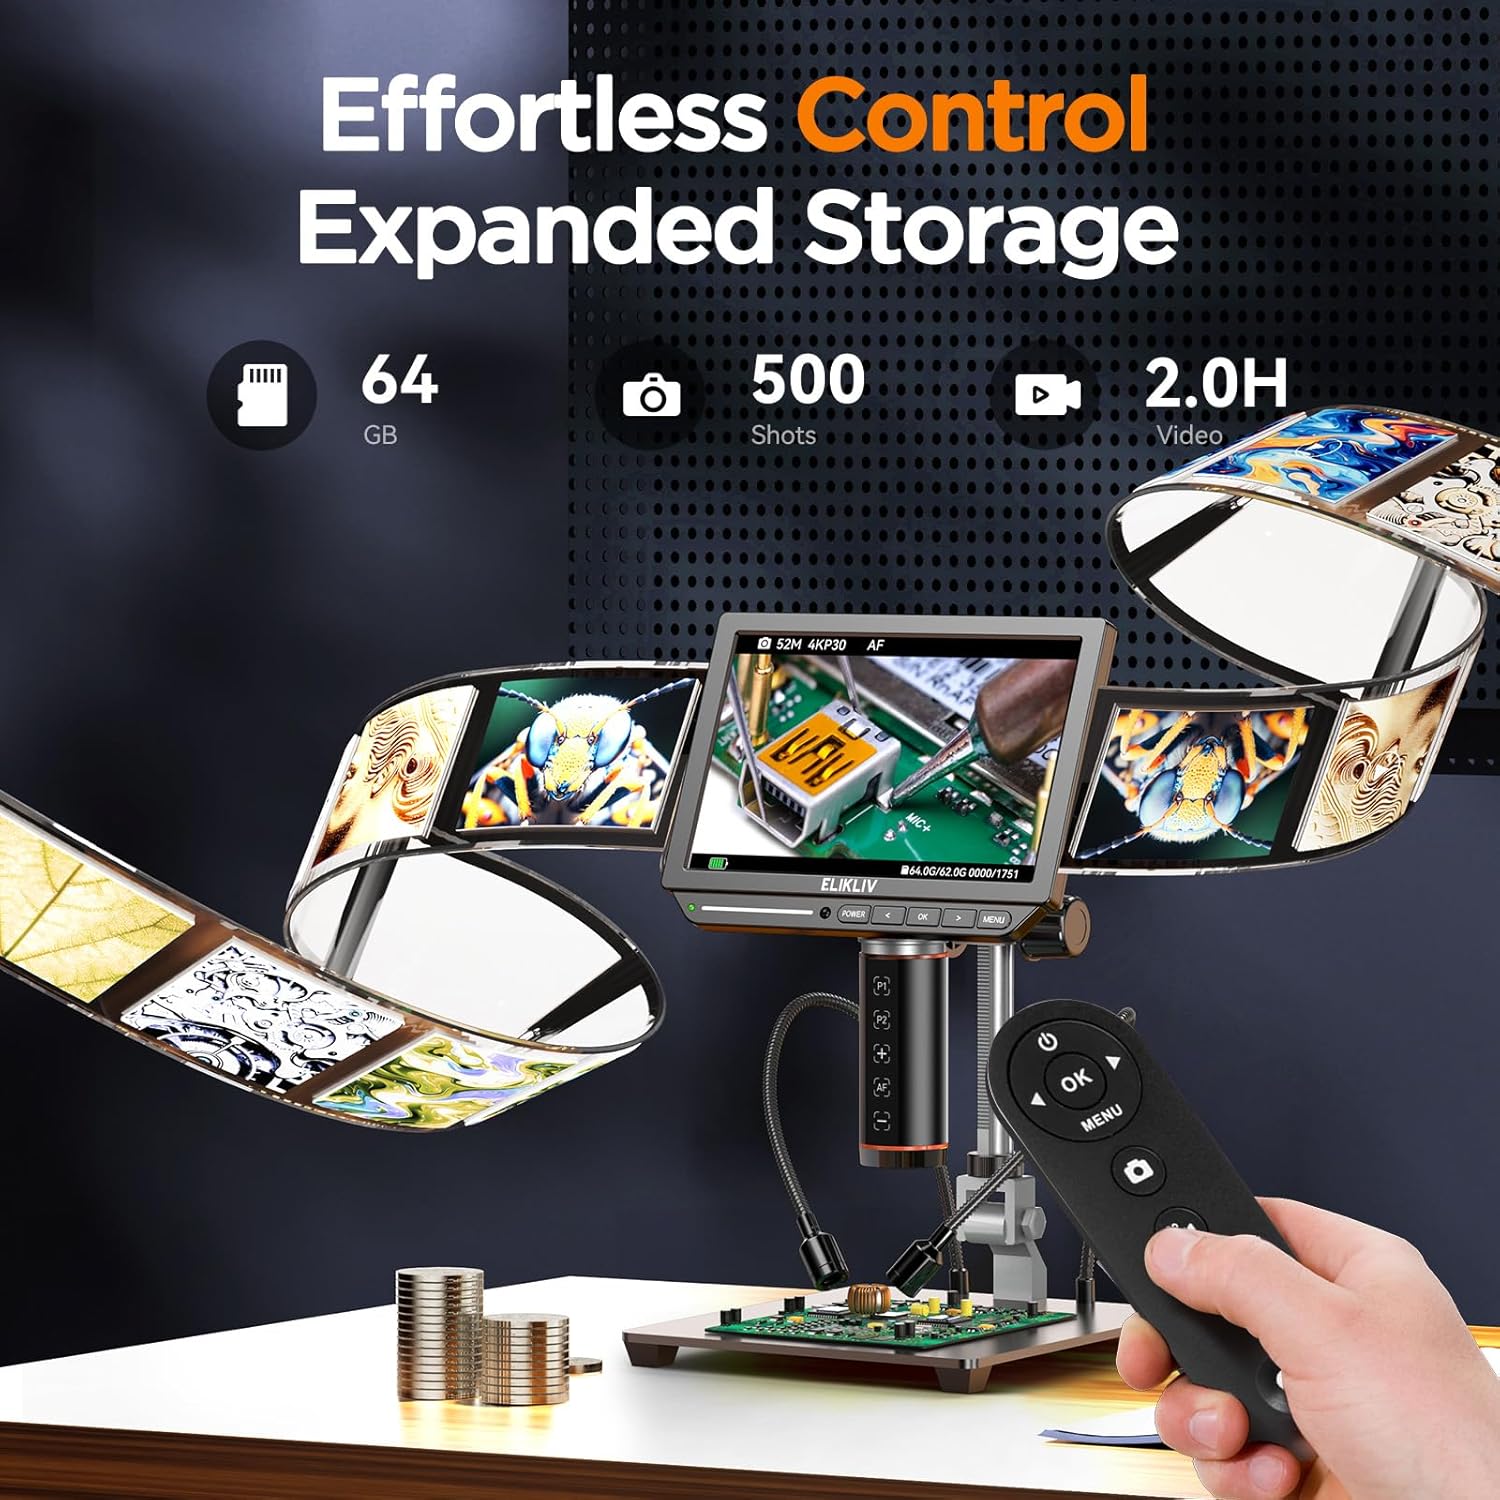
Image 6.3: The remote controller allows for effortless photo and video capture, with ample storage on the 64GB card.
6.4 Screen Functions (Freeze and Split-screen)
- Freeze Function: Press the designated button (refer to on-screen menu or remote layout) to freeze the current image for detailed analysis without live movement.
- Split-screen Function: This feature allows for side-by-side comparison of live view and a frozen image, or two different captured images.
6.5 External Display (HDMI/USB Output)
The microscope supports external display options for a larger viewing experience:
- HDMI Output: Connect an HDMI cable from the microscope to an external monitor or TV for real-time 4K display.
- USB Output: Connect a USB cable to a computer to view the microscope feed or transfer files.
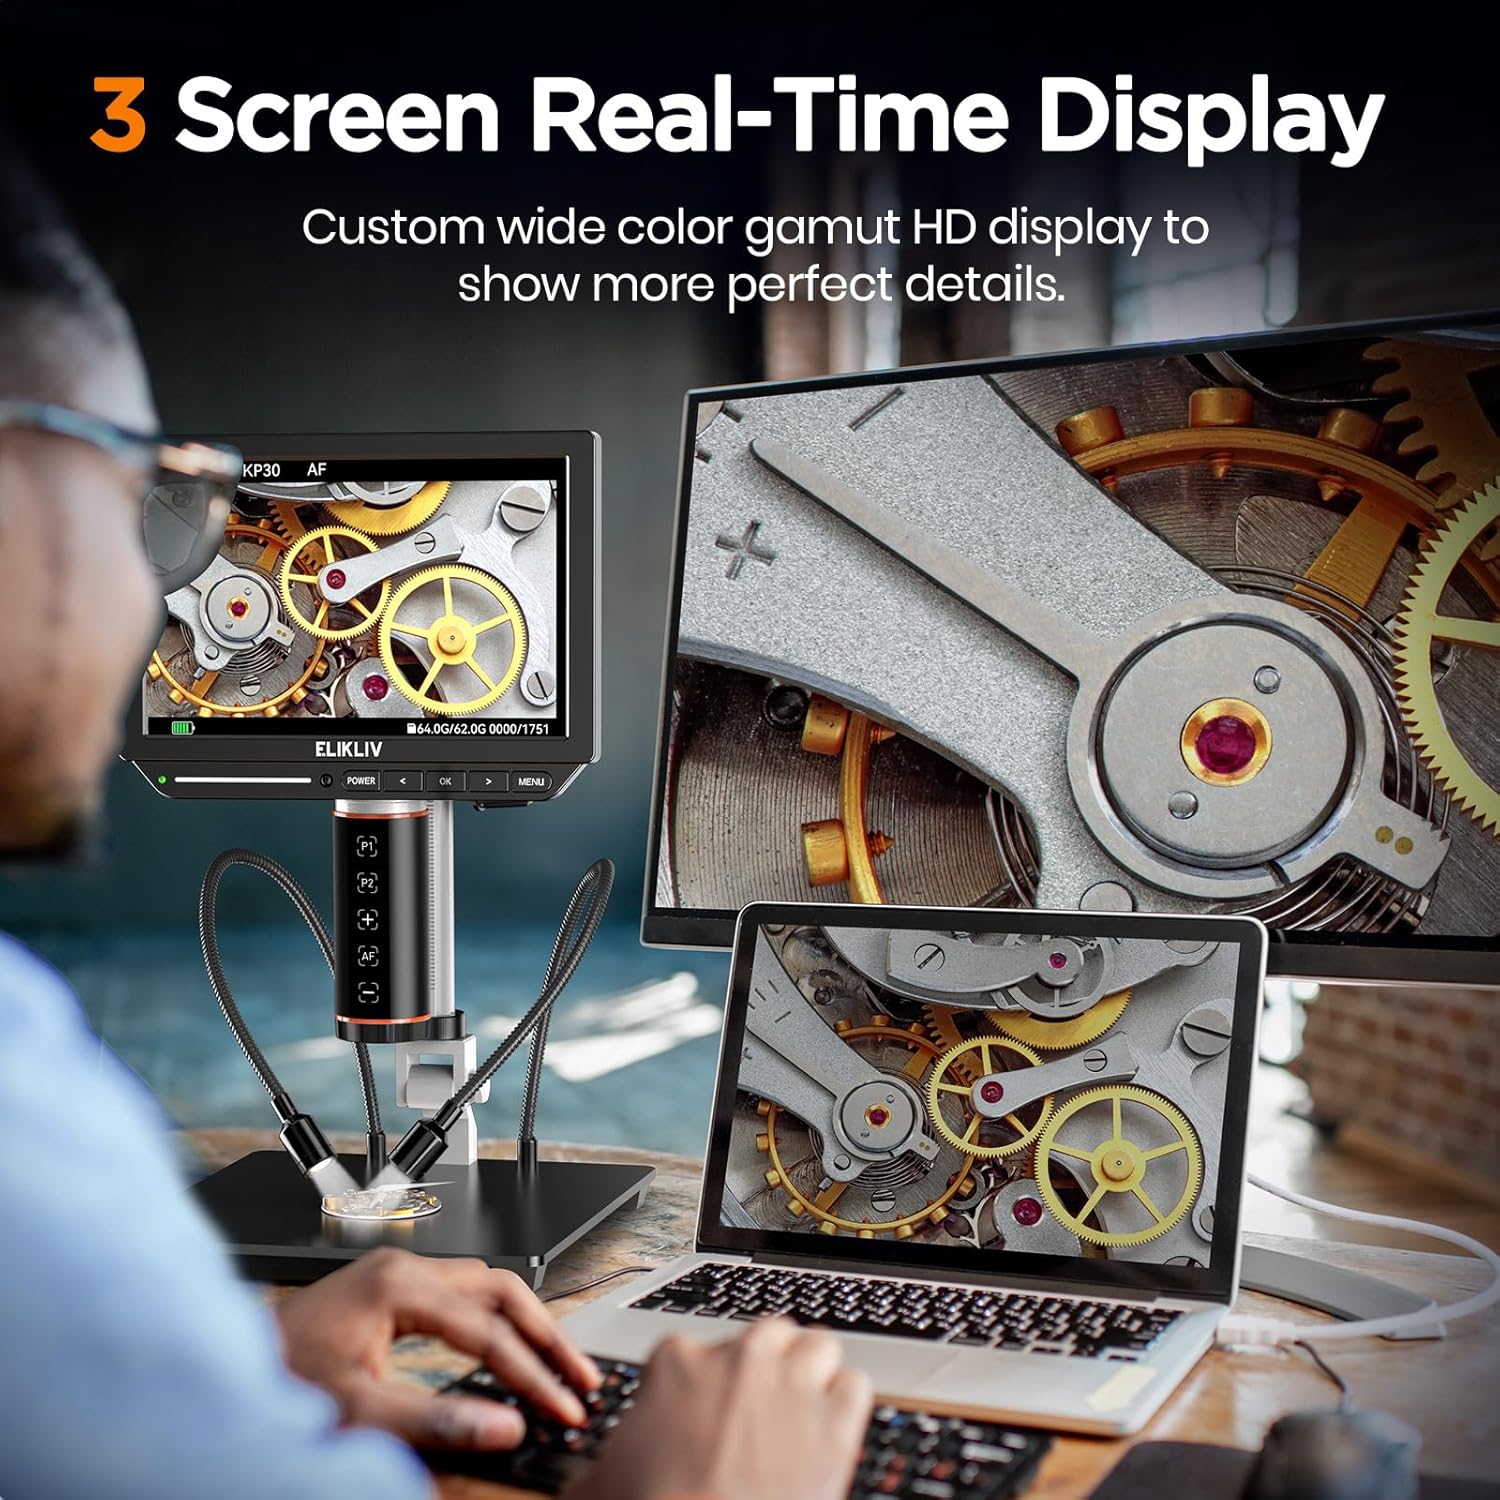
Image 6.4: The microscope displaying its feed simultaneously on its built-in screen, an external monitor, and a laptop via HDMI and USB.
6.6 Lighting Adjustment
The microscope is equipped with flexible side lights. Adjust their position and intensity to achieve optimal illumination for your specimen, minimizing shadows and glare.
6.7 Battery Information
The built-in rechargeable Lithium Ion battery provides portability. A full charge offers approximately 2 hours of working time. Connect the microscope via USB to charge the battery.
7. Maintenance
- Cleaning the Lens: Use a soft, lint-free cloth specifically designed for optical lenses. For stubborn smudges, a small amount of lens cleaning solution can be applied to the cloth, not directly to the lens.
- Cleaning the Screen: Wipe the IPS screen with a soft, dry microfiber cloth. Avoid harsh chemicals.
- General Cleaning: Use a soft, dry cloth to wipe the body of the microscope and stand.
- Storage: When not in use, store the microscope in a clean, dry, and dust-free environment. Use the light barrier to protect the lens.
8. Troubleshooting
| Problem | Possible Cause | Solution |
|---|---|---|
| No image on screen. | Microscope not powered on; battery drained; lens cap on. | Press power button; charge battery; remove lens cap. |
| Image is blurry. | Autofocus not engaged; specimen too far/close; dirty lens. | Ensure autofocus is active; adjust working distance; clean lens. |
| Cannot capture images/videos. | SD card full or not inserted correctly; SD card error. | Check SD card insertion; format or replace SD card. |
| No output to external monitor. | HDMI/USB cable not connected properly; incorrect input selected on monitor. | Verify cable connections; select correct input source on external monitor. |
9. Specifications
| Feature | Detail |
|---|---|
| Model Name | Elikliv EM4K-AF |
| Magnification Maximum | 2000x |
| Display Screen | 8-inch IPS, 1280x800P resolution, 178° viewing angle |
| Video Resolution | 4K UHD (3840x2160P) |
| Image Resolution | 52MP (9600x5400P) |
| Autofocus System | AI-powered with TOF sensor |
| Outputs | HDMI, USB |
| Storage | Supports Micro SD card (64GB included) |
| Stand | 10-inch metal stand, extendable up to 6.3 inches |
| Lighting | Flexible side LED lights |
| Battery | 1 Lithium Ion battery (included), 2500 mAh, approx. 2 hours working time |
| Product Dimensions | 10 x 4 x 11 inches |
| Item Weight | 3 pounds |
| Material | Metal |
| Color | Black |
10. Warranty and Support
For warranty information and technical support, please refer to the contact details provided with your product packaging or visit the official Elikliv website. Keep your purchase receipt as proof of purchase for warranty claims.
For additional assistance, you may contact Elikliv customer service through their official channels.


