
NEBULA D0719
Contents
NEBULA Capsule Gimbal Stand Instruction Manual
Model: D0719
Brand: NEBULA
1. Introduction
The NEBULA Capsule Gimbal Stand is designed to provide flexible and stable positioning for your NEBULA Capsule series projectors. This stand allows for 0-360 degree vertical and horizontal adjustment, enhancing your viewing experience in various environments. It is compatible with Capsule 3, Capsule 3 Laser, and Capsule Air models.
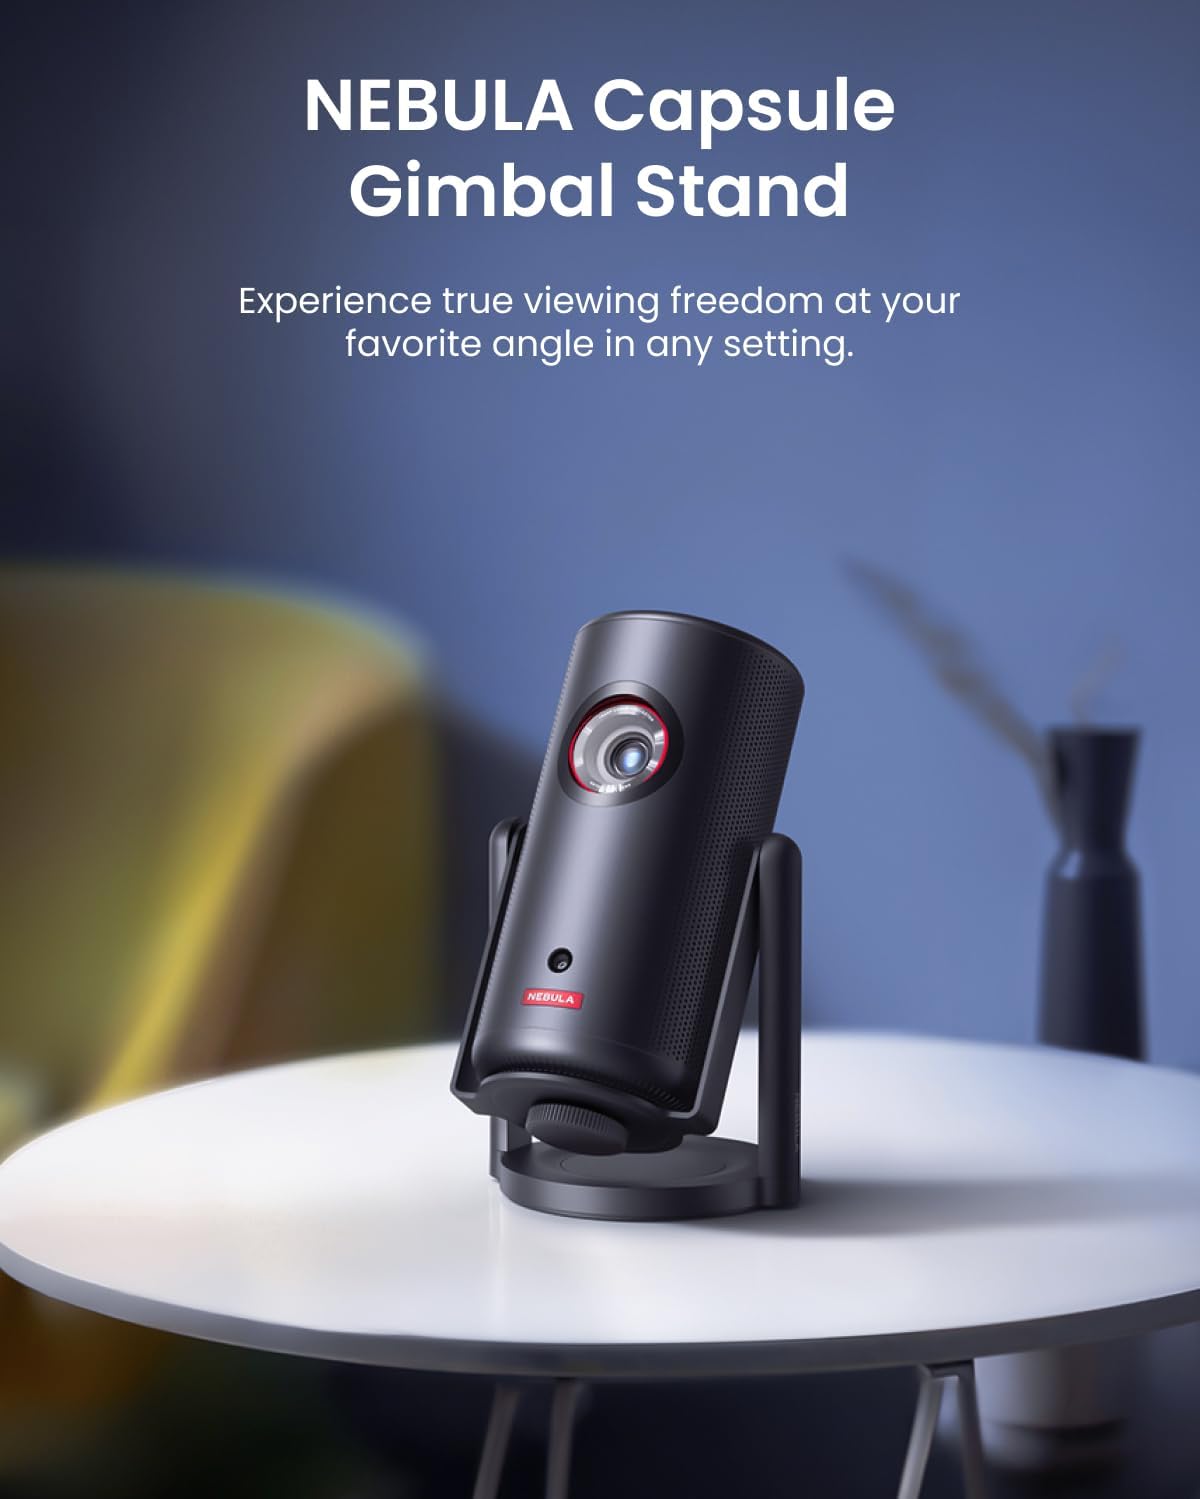
Image 1.1: The NEBULA Capsule Gimbal Stand supporting a NEBULA Capsule projector, demonstrating its compact and stable design.
Key Features:
- Lightweight and Durable: Weighs approximately 300g and is constructed from aluminum alloy for enhanced stability and longevity.
- Flexible Viewing Angles: Supports 360° vertical and horizontal rotation, enabling a wide range of projection angles.
- Wide Compatibility: Features a universal 1/4 inch screw mount with a maximum load capacity of 1 kg, suitable for various Capsule series projectors.
2. Product Components
The NEBULA Capsule Gimbal Stand consists of the following main parts:
- Gimbal Base
- Adjustable Arm
- 1/4-inch Mounting Screw
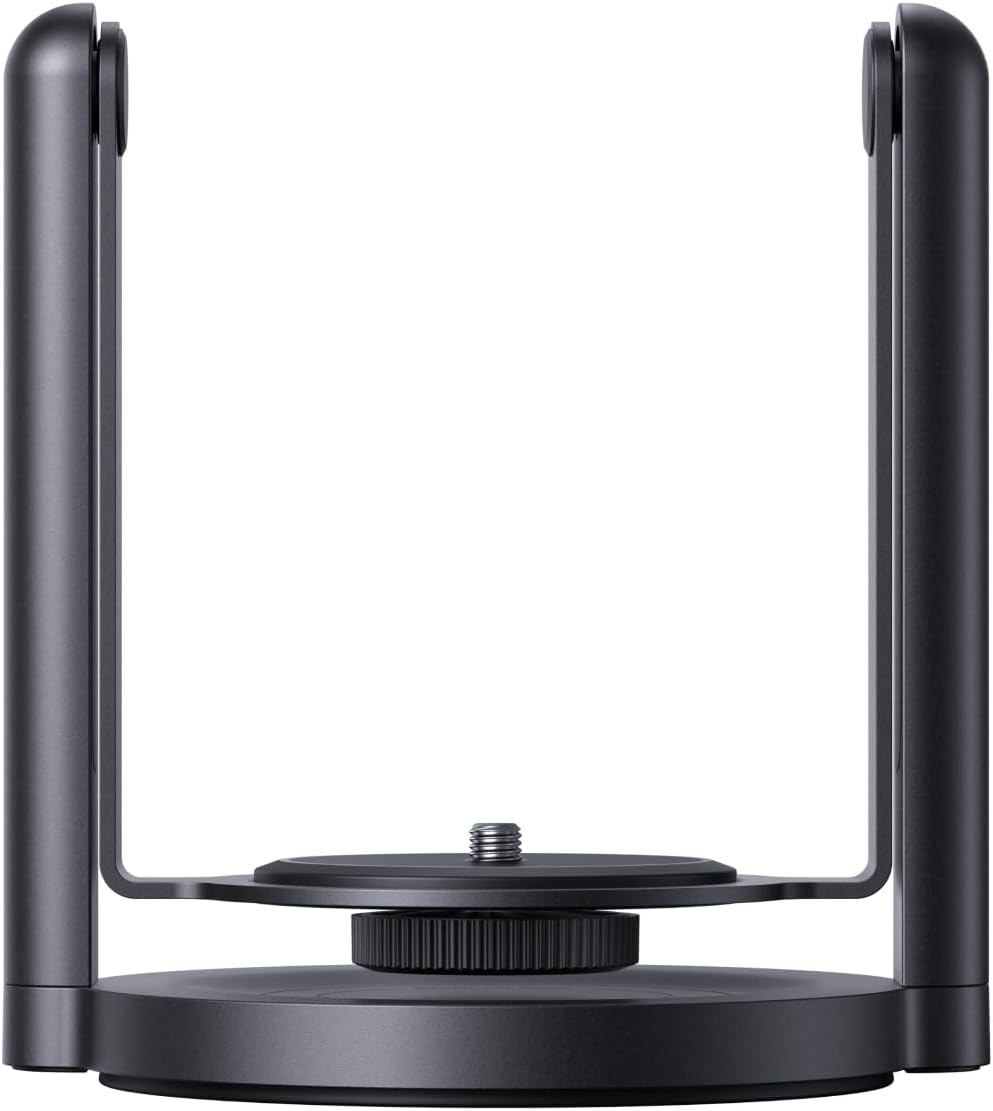
Image 2.1: A detailed view of the NEBULA Capsule Gimbal Stand, showcasing its base, adjustable arm, and mounting screw.
3. Setup Instructions
Setting up your NEBULA Capsule Gimbal Stand is a quick and straightforward process, typically taking only 3 seconds.
- Position the Stand: Place the gimbal stand on a stable, flat surface where you intend to use your projector.
- Attach the Projector: Locate the 1/4-inch screw mount on the top of the gimbal stand. Align the corresponding screw hole on the bottom of your NEBULA Capsule projector with this mount. Gently twist the projector clockwise onto the screw until it is securely fastened. Ensure it is snug but do not overtighten.

Image 3.1: A hand demonstrating the process of screwing a NEBULA Capsule projector onto the 1/4-inch mounting screw of the gimbal stand.
Your projector is now ready for adjustment and use.
4. Operating the Gimbal Stand
The NEBULA Capsule Gimbal Stand offers versatile positioning for optimal viewing.
- Horizontal Rotation: The base of the stand allows for a full 360° horizontal rotation. Gently turn the projector and stand assembly to adjust the projection direction left or right.
- Vertical Tilt: The adjustable arm enables 360° vertical tilting. Hold the projector firmly and tilt it up or down to achieve your desired projection height and angle. The stand is designed to hold its position once adjusted.
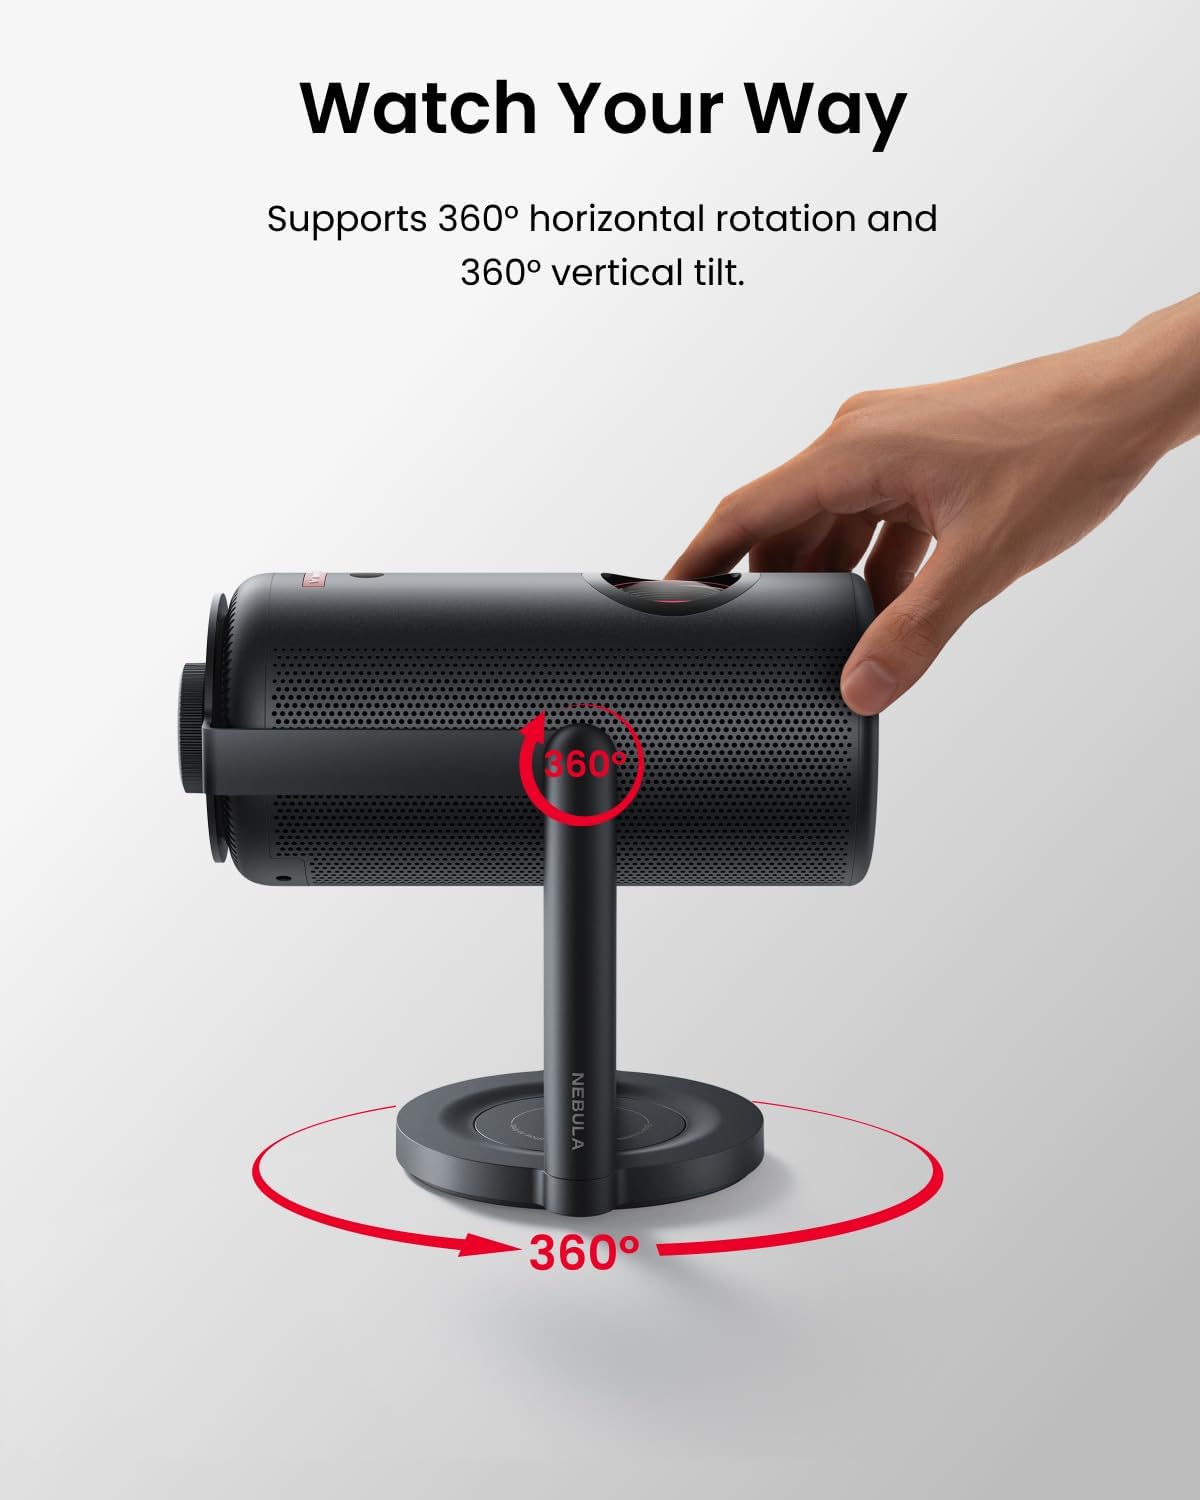
Image 4.1: A hand adjusting the angle of a projector mounted on the gimbal stand, illustrating the 360-degree horizontal and vertical rotation capabilities.
This flexibility allows you to project onto walls, ceilings, or any surface, adapting to various viewing environments such as bedrooms, RVs, or outdoor campsites.
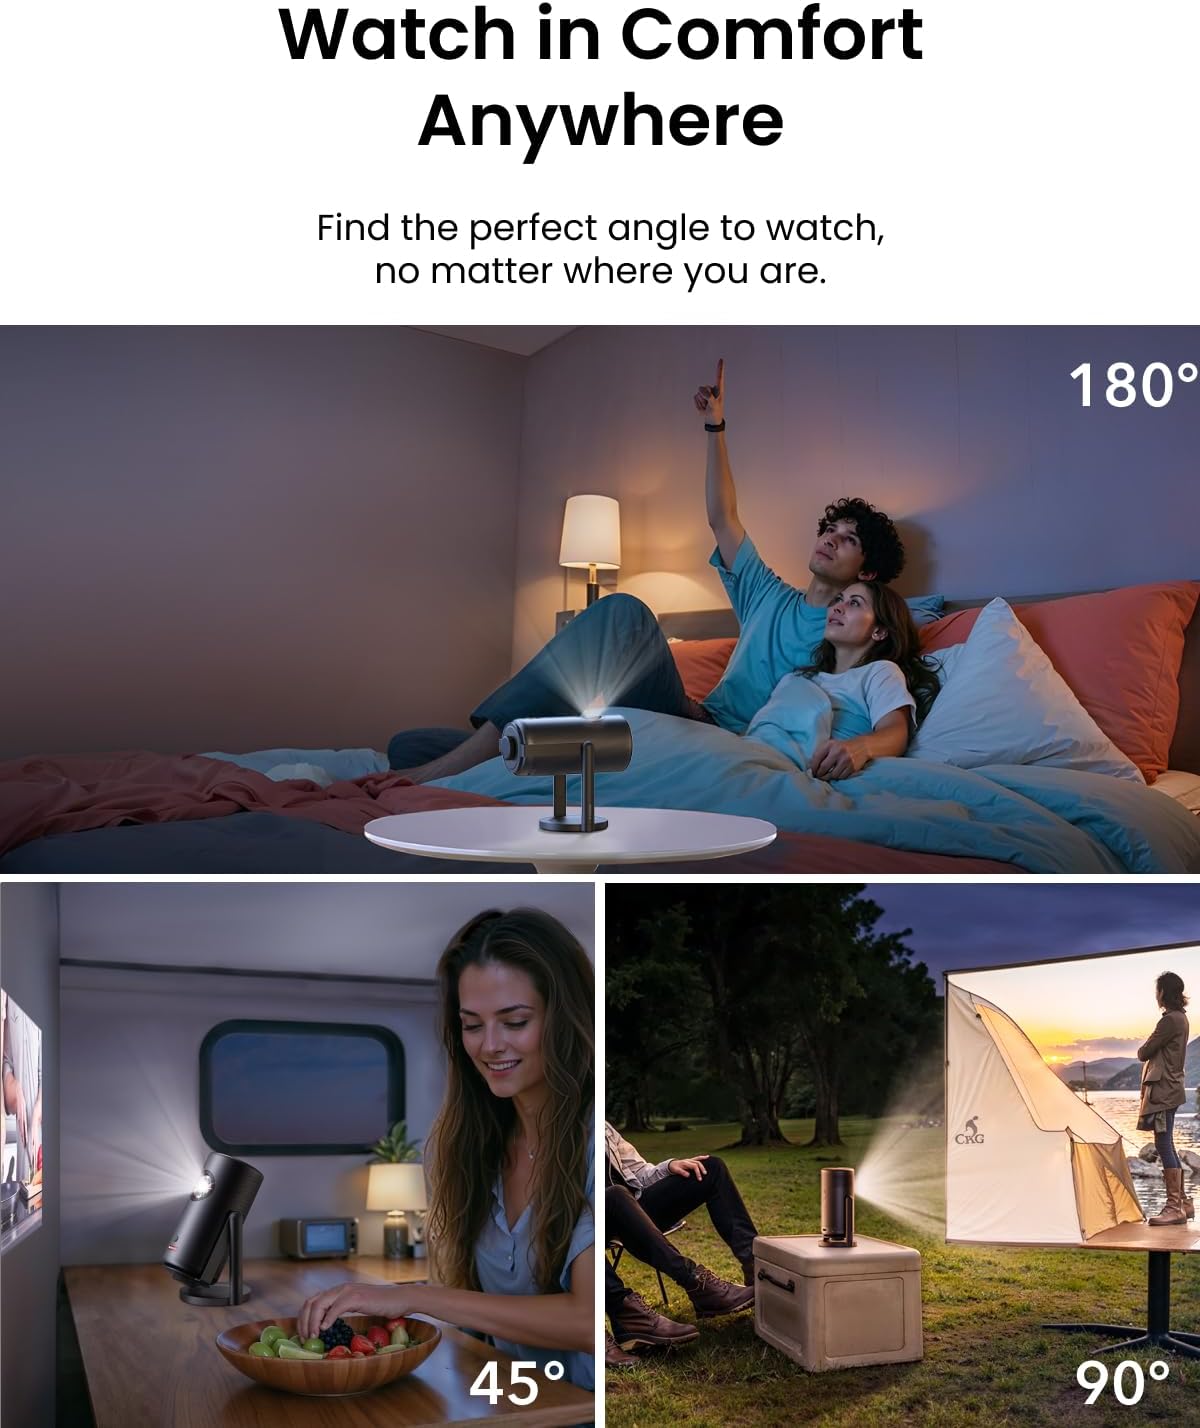
Image 4.2: Examples of the NEBULA Capsule projector used with the gimbal stand in different settings, including projecting onto a bedroom ceiling, inside an RV, and at a campsite.
5. Maintenance
To ensure the longevity and optimal performance of your NEBULA Capsule Gimbal Stand, follow these maintenance guidelines:
- Cleaning: Wipe the stand with a soft, dry cloth. Avoid using abrasive cleaners or solvents, as these can damage the finish.
- Storage: When not in use, store the stand in a cool, dry place away from direct sunlight and extreme temperatures.
- Inspection: Periodically check the mounting screw and adjustable joints for any signs of wear or looseness. Tighten the mounting screw if necessary, ensuring it is secure but not overtightened.
6. Troubleshooting
If you encounter any issues with your NEBULA Capsule Gimbal Stand, refer to the following common solutions:
- Projector is unstable:
- Ensure the projector is securely screwed onto the 1/4-inch mount.
- Verify that the stand is placed on a flat and stable surface.
- Check that the total weight of the projector does not exceed the stand's maximum load capacity of 1 kg.
- Difficulty adjusting angles:
- Ensure no cables are obstructing the movement of the projector or stand. Some users have noted that certain HDMI cables can interfere with full pivot range; consider using angled HDMI adapters if this is an issue.
- Apply gentle, even pressure when adjusting. The joints are designed to hold position firmly.
7. Specifications
| Feature | Detail |
|---|---|
| Model Number | D0719 |
| ASIN | B0D2HXBQV1 |
| Brand | NEBULA |
| Manufacturer | Anker |
| Color | Black |
| Item Weight | 300 Grams (10.6 ounces) |
| Package Dimensions | 6.14 x 5.51 x 4.69 inches |
| Compatible Devices | Projectors (NEBULA Capsule series) |
| Mounting Screw | Universal 1/4 inch |
| Max Load Capacity | 1 kg |
| Adjustable Angles | 360° Vertical and Horizontal |
| UPC | 194644034832 |
8. Warranty and Support
Specific warranty information for the NEBULA Capsule Gimbal Stand is not provided in the available product data. For detailed warranty terms and conditions, please refer to the official NEBULA website or contact NEBULA customer support directly.
For technical assistance, product inquiries, or to report any issues, please visit the official NEBULA support channels. You may find helpful resources, FAQs, and contact information on their website.
Ask a question about this manual
Ask about setup, troubleshooting, compatibility, parts, safety, or missing instructions. Manuals+ will review the question and use this page’s manual context to help answer it.