
1. Introduction
This manual provides detailed instructions for the safe and effective operation of your Godox Lux Master Retro TTL HSS Camera Flash. Please read this manual thoroughly before use to ensure optimal performance and to prevent damage to the product.
The Godox Lux Master is a versatile on-camera flash designed for various photography needs, featuring TTL auto flash, High-Speed Sync (HSS), a color touch screen, and 2.4G wireless X system compatibility.
2. Safety Precautions
- Do not disassemble or modify the product. Internal repairs should only be performed by authorized service personnel.
- Keep the product dry. Do not handle with wet hands or immerse in water.
- Do not use the flash in the presence of flammable gases, chemicals, or other materials.
- Avoid direct eye exposure to the flash light, especially at close range, as it may cause visual impairment.
- Keep out of reach of children.
- Ensure the product is securely mounted before use to prevent accidental drops.
- Use only the specified charging cable and power adapter.
3. What's in the Box
Please verify that all items are present in your package:
- Flash Body x1
- Fan Type Reflector LM-R27 x1
- Flash Bracket for Camera FBO1 x1
- Triggering Cable x1
- Charging Cable x1
- Protection Cover for Flash Tube x1
- Storage Bag x1

Image: All components included in the Godox Lux Master package.
4. Setup
4.1 Charging the Battery
The Lux Master features a built-in 7.2V 2980mAh lithium battery. Before initial use, fully charge the battery.
- Connect the provided USB-C charging cable to the USB-C port on the flash unit.
- Connect the other end of the charging cable to a compatible USB power adapter (not included) or a USB port.
- The charging indicator on the flash will show the charging status. A full charge typically takes approximately 2 hours.

Image: The Lux Master flash unit being charged via its USB-C port.
4.2 Attaching the Reflector
Attach the Fan Type Reflector LM-R27 to the flash head for optimal light shaping.
- Align the reflector with the flash head.
- Gently push and twist until it securely locks into place.
4.3 Mounting the Flash
The Lux Master can be mounted on a camera using the provided Flash Bracket FBO1 or directly onto a hotshoe (if compatible).
Using the Flash Bracket FBO1:
- Attach the flash unit to the bracket.
- Secure the bracket to your camera's tripod socket or a compatible mounting point.
Direct Hotshoe Mounting:
For cameras with a compatible hotshoe, the flash can be mounted directly. Ensure the flash is securely fastened to prevent accidental detachment.
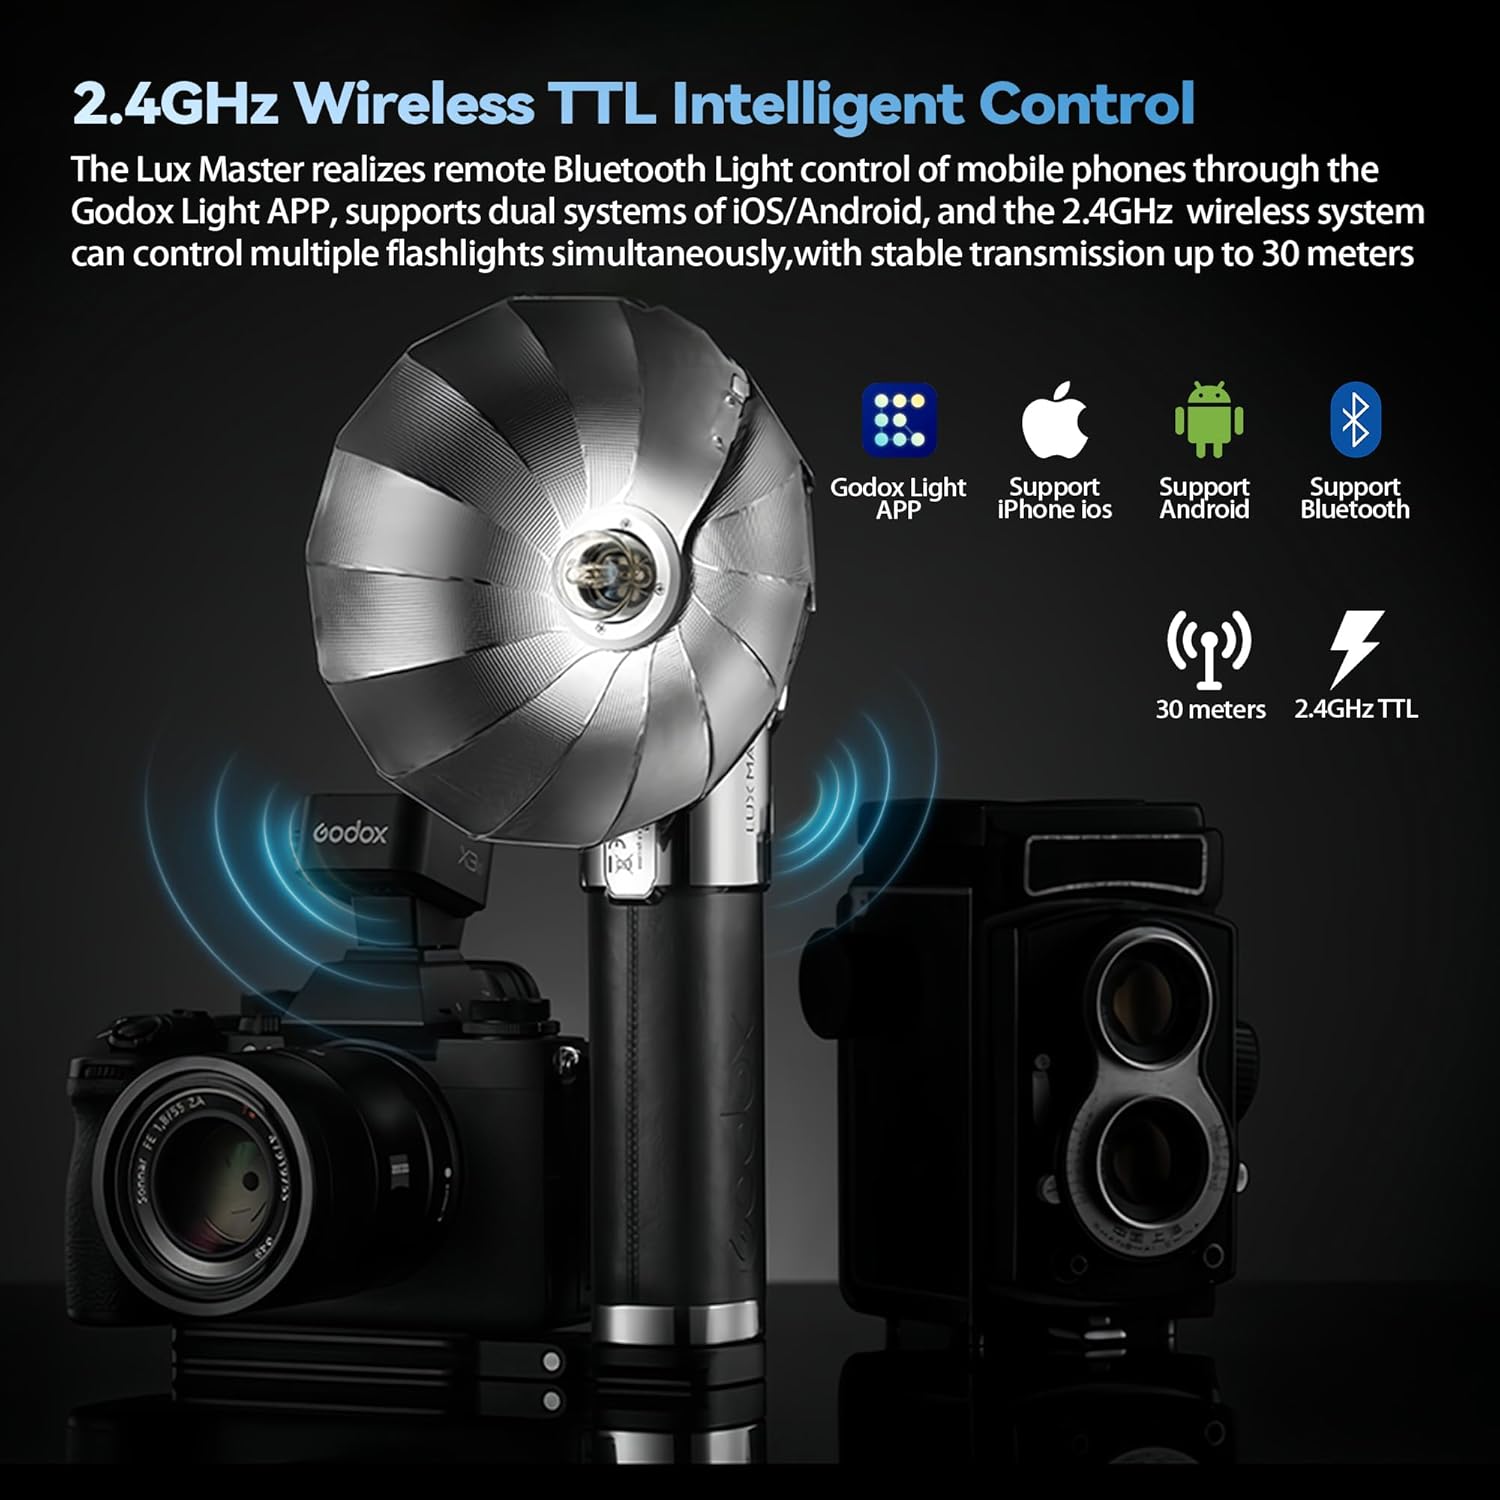
Image: The Godox Lux Master flash unit attached to a camera using the included bracket.
5. Operating Instructions
5.1 Power On/Off
Press and hold the power button to turn the flash unit on or off.
5.2 Touch Screen Interface
The Lux Master features an intuitive color touch screen for settings adjustment. Swipe or tap the screen to navigate menus and change parameters.
Video: Demonstration of the touch screen interface for adjusting flash settings.
5.3 Flash Modes
The Lux Master supports various flash modes:
- TTL Auto Flash: Automatically adjusts flash output for correct exposure.
- Manual Flash: Allows manual control over flash power output.
- Multi (Stroboscopic) Flash: Fires a series of rapid flashes to capture multiple movements in one frame.
- High-Speed Sync (HSS): Enables flash synchronization at shutter speeds faster than the camera's native sync speed.
- Front Curtain Sync: Flash fires at the beginning of the exposure.
- Rear Curtain Sync: Flash fires at the end of the exposure.

Image: The Lux Master flash unit showing TTL and HSS mode indicators.
5.4 Wireless Synchronization
The Lux Master integrates with the Godox 2.4G Wireless X System for remote triggering and control.
- One-Tap Wireless Sync: When using compatible triggers like the Godox X3, tap the wireless sync option on the X3 and then tap the sync icon on the Lux Master's screen to establish a connection.
- Manual Connection: The flash can also be manually connected to other Godox flashers such as XproII and X2T. Refer to your trigger's manual for specific pairing instructions.
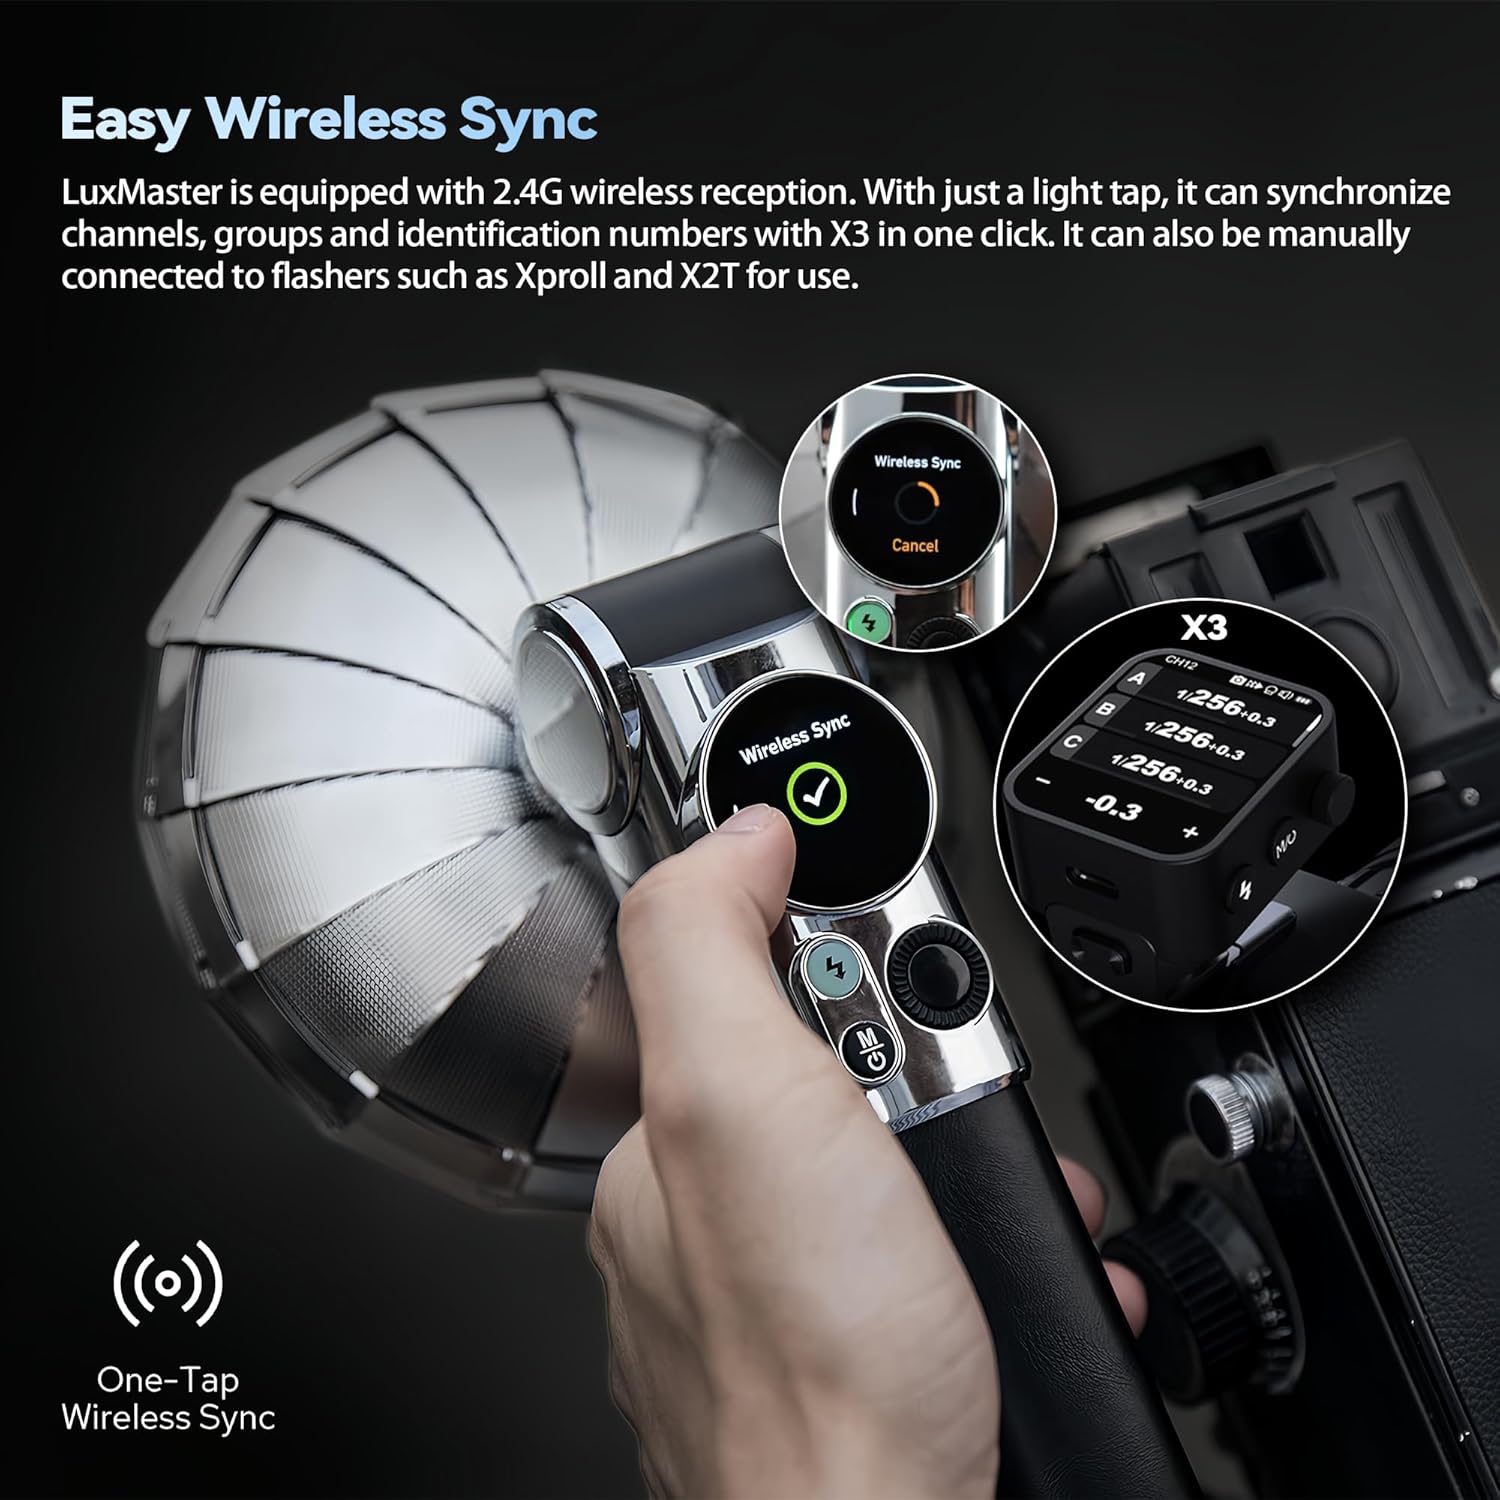
Image: The Lux Master's wireless sync feature in action with a Godox X3 trigger.
Video: Demonstration of the one-tap wireless sync feature between the Lux Master and a compatible trigger.
5.5 Versatile Triggering Options
Beyond the 2.4G Wireless X System, the Lux Master offers additional triggering methods:
- Built-in 2.4G Wireless Receiver: Compatible with Godox Wireless X system flash triggers.
- Shenniu X System Flash Starter: Can be purchased separately to trigger the flash.
- Light Control Triggering: Use other flashlights of Shenniu for light induction to trigger the flash.
- PC Cable: For cameras with a single contact, a PC cable can be used.
- Automatic Sensor AS-01: Can be used to trigger the flash.
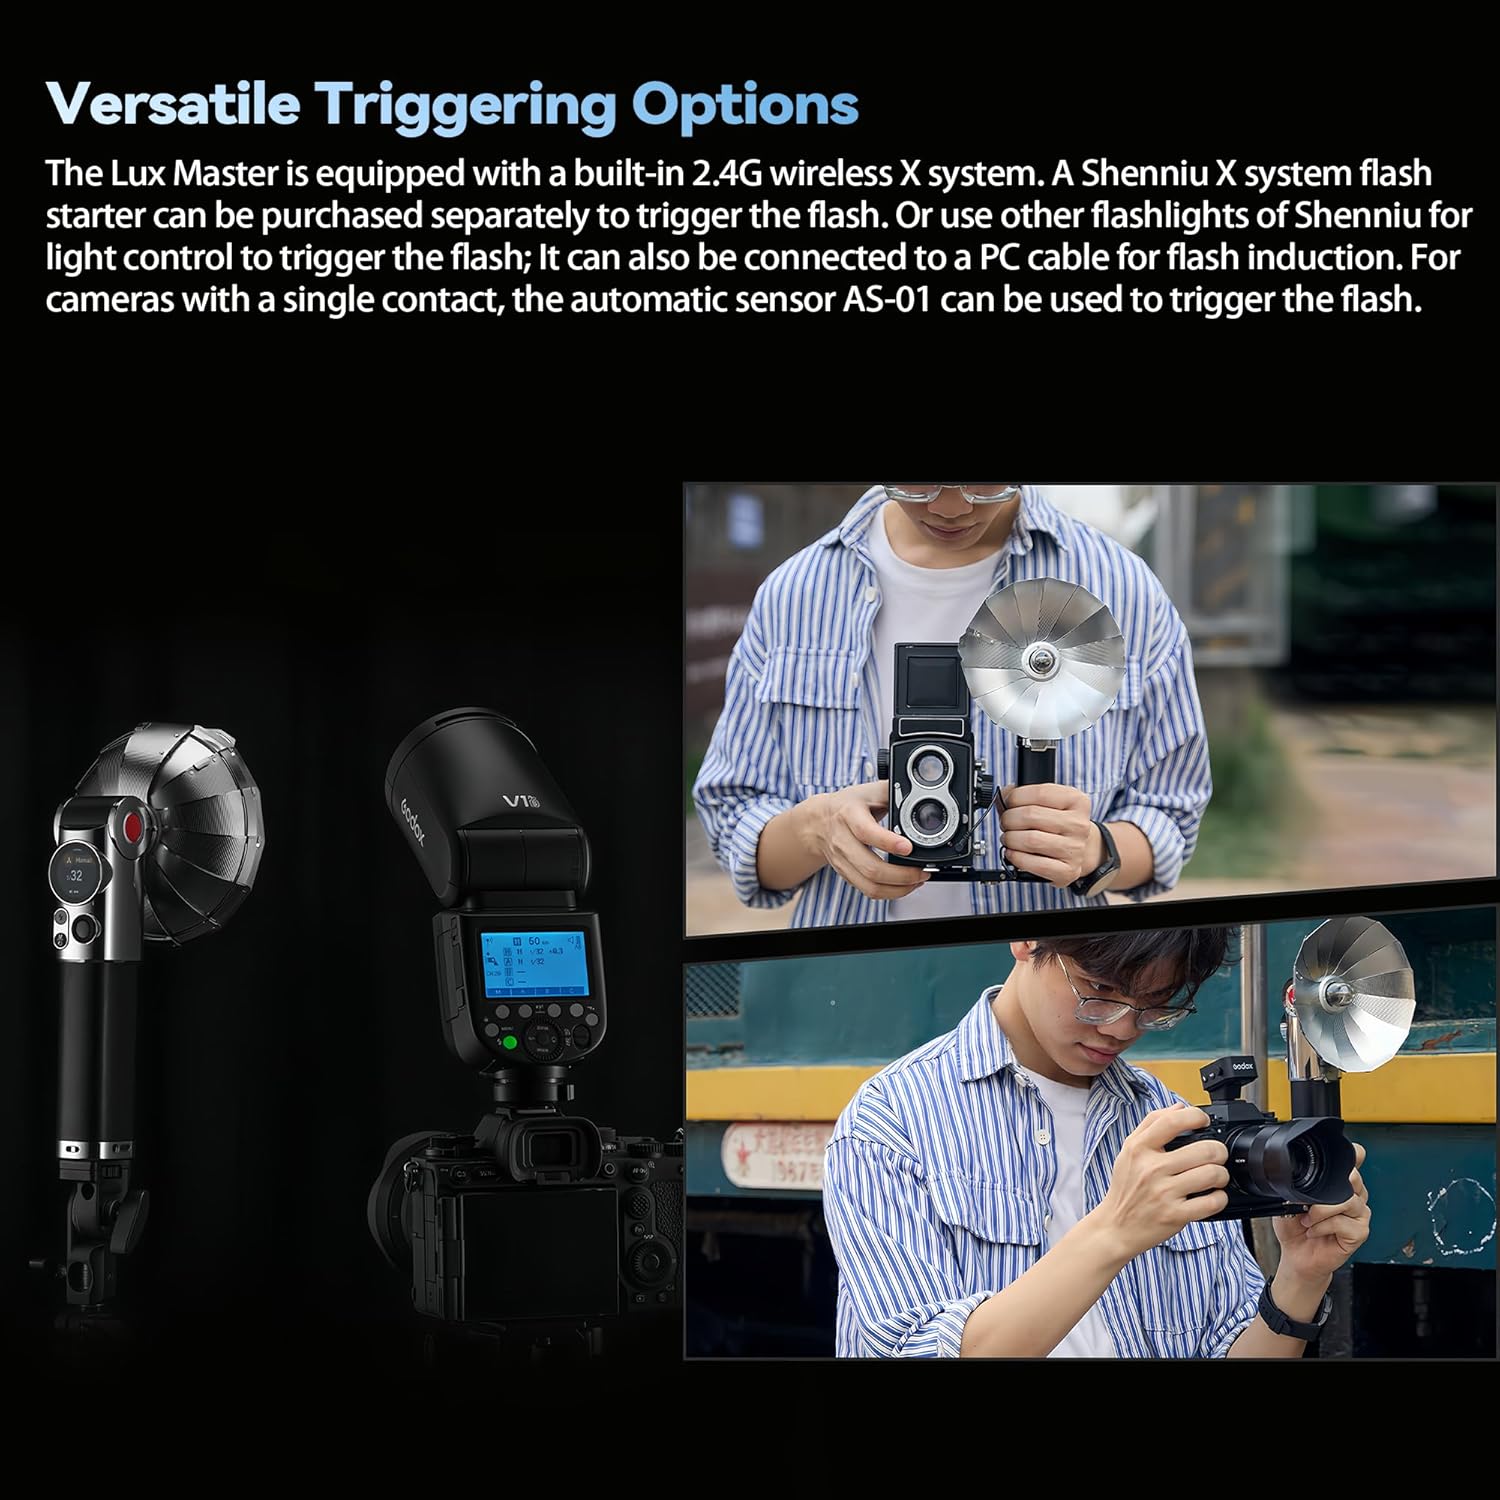
Image: Examples of versatile triggering options for the Lux Master flash.
5.6 Rotatable Lamp Head
The flexible lamp head can be adjusted from 0° to 90° to achieve various lighting methods, including direct flashing and bouncing light. Scale markings assist in precise adjustment.

Image: The rotatable lamp head of the Lux Master flash, illustrating its 0-90 degree adjustment range.
6. Maintenance
- Clean the flash unit regularly with a soft, dry cloth. Avoid using harsh chemicals or abrasive materials.
- Ensure the flash tube is free from dust and fingerprints. Use a lens cleaning cloth if necessary.
- Store the flash in the provided storage bag when not in use to protect it from dust and scratches.
- If the unit will not be used for an extended period, charge the battery to approximately 50% every three months to prolong battery life.
- Avoid extreme temperatures and high humidity during storage.
7. Troubleshooting
| Problem | Possible Cause | Solution |
|---|---|---|
| Flash does not power on. | Battery is depleted. | Charge the battery using the provided USB-C cable. |
| Flash does not fire. |
|
|
| Inconsistent flash exposure. |
|
|
| Touch screen unresponsive. | Temporary software glitch. | Power off the unit, wait a few seconds, then power on again. |
8. Specifications
| Feature | Detail |
|---|---|
| Model Number | Lux Master |
| Product Dimensions | 5.51 x 3.9 x 10.24 inches |
| Item Weight | 1.04 pounds |
| Battery Type | Built-in 7.2V 2980mAh Lithium Ion |
| Charging Time | Approximately 2 hours (via USB-C) |
| Full Power Flashes | Up to 460 |
| Wireless System | Godox 2.4G Wireless X System |
| Compatible Mountings | Sony, Nikon, Canon, FUJI, Panasonic, Leica, Sigma, Olympus |
| Flash Modes | TTL, Manual, Multi, HSS, Front/Rear Curtain Sync |
| Color Temperature | 6000K ± 300K |
9. Warranty and Support
For warranty information and technical support, please refer to the official GODOX website or contact your local distributor. Keep your purchase receipt as proof of purchase for warranty claims.
Manufacturer: Godox
Date First Available: April 23, 2024