
1. Introduction
Thank you for choosing the Faroro Automatic Cat Feeder. This device is designed to provide consistent and scheduled meals for your cat or small dog, ensuring they are fed on time even when you are away. Please read this manual thoroughly before operating the feeder to ensure proper use and maintenance.
Safety Precautions
- For indoor use only.
- Do not immerse the base unit in water, as it contains electronic components.
- Keep out of reach of children and pets when not in use or during assembly.
- Use only dry pet food with kibble sizes between 2-15 mm. Larger kibble may cause blockages.
- Ensure the power adapter and cable are not damaged.
- Regularly clean the feeder components to maintain hygiene and prevent blockages.
2. Product Overview
What's in the Box
Verify that all items are present in the package:
- 1 x Faroro Automatic Cat Feeder (4L capacity)
- 1 x Stainless Steel Food Bowl
- 1 x USB Charging Cable
- 1 x Power Adapter
- 1 x User Manual (this document)

Image: Contents of the Faroro Automatic Cat Feeder package, including the feeder unit, stainless steel bowl, power adapter, USB cable, and user manual.
Product Components
Familiarize yourself with the main parts of the feeder:
- Food Tank: Holds up to 4 liters of dry pet food. Features a transparent window to monitor food levels.
- Lid: Secures the food tank, often with a desiccant compartment to keep food fresh.
- Control Panel: Digital display and buttons for setting time, meals, portions, and recording voice messages.
- Food Dispenser Outlet: Where food exits the tank.
- Base Unit: Contains the motor, electronics, and battery compartment.
- Stainless Steel Bowl: Removable and easy to clean, designed for pet feeding.
3. Setup
Assembly
- Place the feeder base on a flat, stable surface.
- Insert the stainless steel bowl into the designated slot at the front of the base.
- Ensure the food tank is securely seated on the base unit.
- Open the lid and fill the food tank with dry pet food (kibble size 2-15mm). Do not overfill.
- Close the lid securely.
Power Supply
The feeder can be powered by two methods:
- USB Adapter (Primary): Connect the USB cable to the feeder's power port and plug the adapter into a wall outlet.
- D-Cell Batteries (Backup): For power outage protection, install 3 D-cell batteries (not included) into the battery compartment located at the bottom of the base unit. Ensure correct polarity.
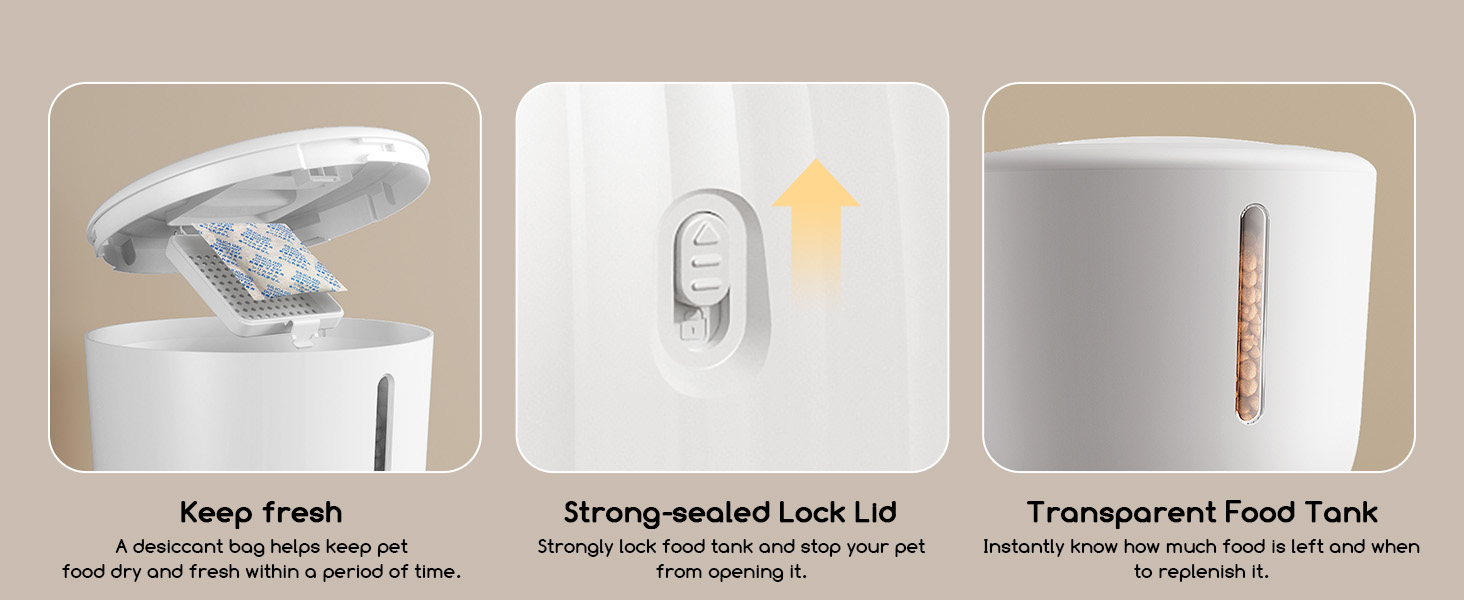
Image: The feeder connected to a wall outlet via USB adapter, and an illustration of D-cell batteries being inserted into the base for backup power.
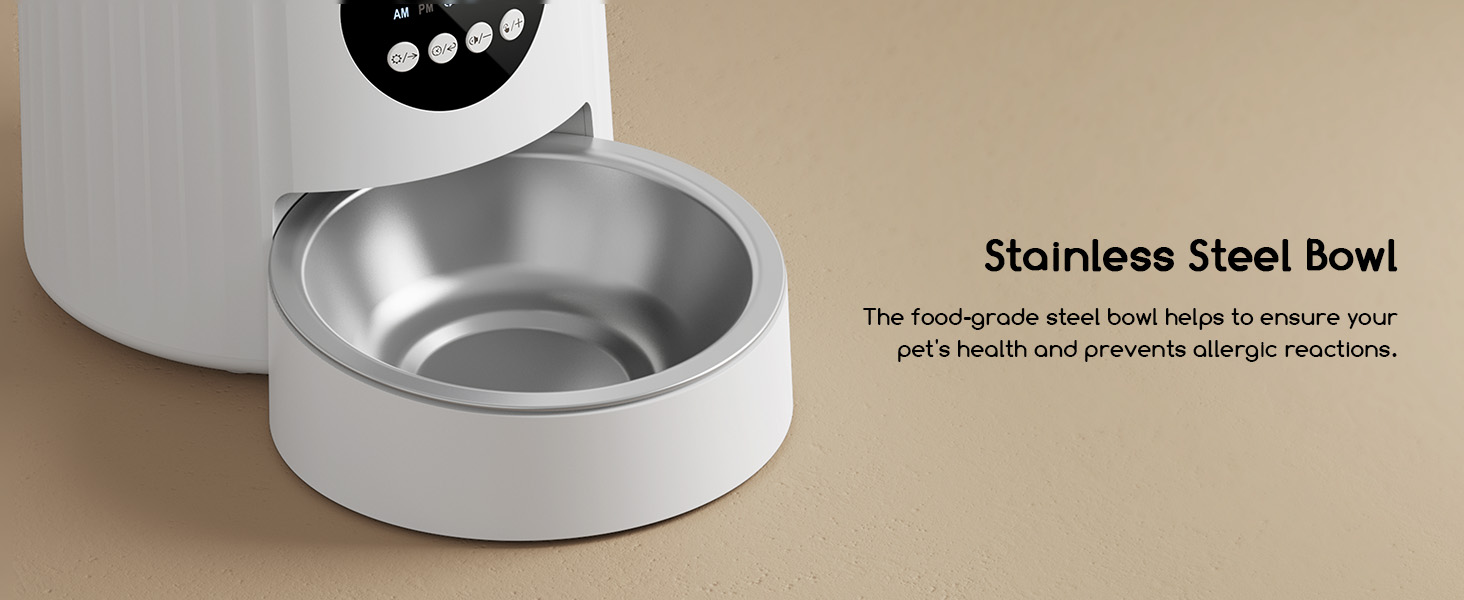
Image: A close-up view of the feeder's intuitive control panel with digital display and function buttons, highlighting its ease of setup.
4. Operating Instructions
Setting the Current Time
Refer to the user interface on the control panel. Typically, there is a "Set" or "Clock" button. Press and hold to enter time setting mode, then use "+" and "-" buttons to adjust hours and minutes. Confirm with the "Set" button.
Meal Scheduling
The feeder supports up to 6 meals per day. Each meal can be customized for time and portion size.
- Press the "Meal" or "Program" button to select a meal slot (e.g., M1, M2).
- Use "+" and "-" buttons to set the desired feeding time for that meal.
- Press the "Portion" button (or similar) and use "+" and "-" to set the number of portions (10g per portion, up to 30 portions).
- Repeat for up to 6 meals.
- Confirm settings by exiting the programming mode (often by pressing "Set" or waiting for timeout).

Image: Visual representation of the feeder's customizable feeding schedule, showing options for 4L capacity, 1-6 meals per day, 1-30 portions per meal, and 10g per portion.
Voice Recording
Record a 10-second voice message to call your pet at feeding times.
- Press and hold the "Record" button (microphone icon) until you hear a beep.
- Speak clearly into the microphone for up to 10 seconds.
- Release the "Record" button. The message will play during scheduled feeding times.
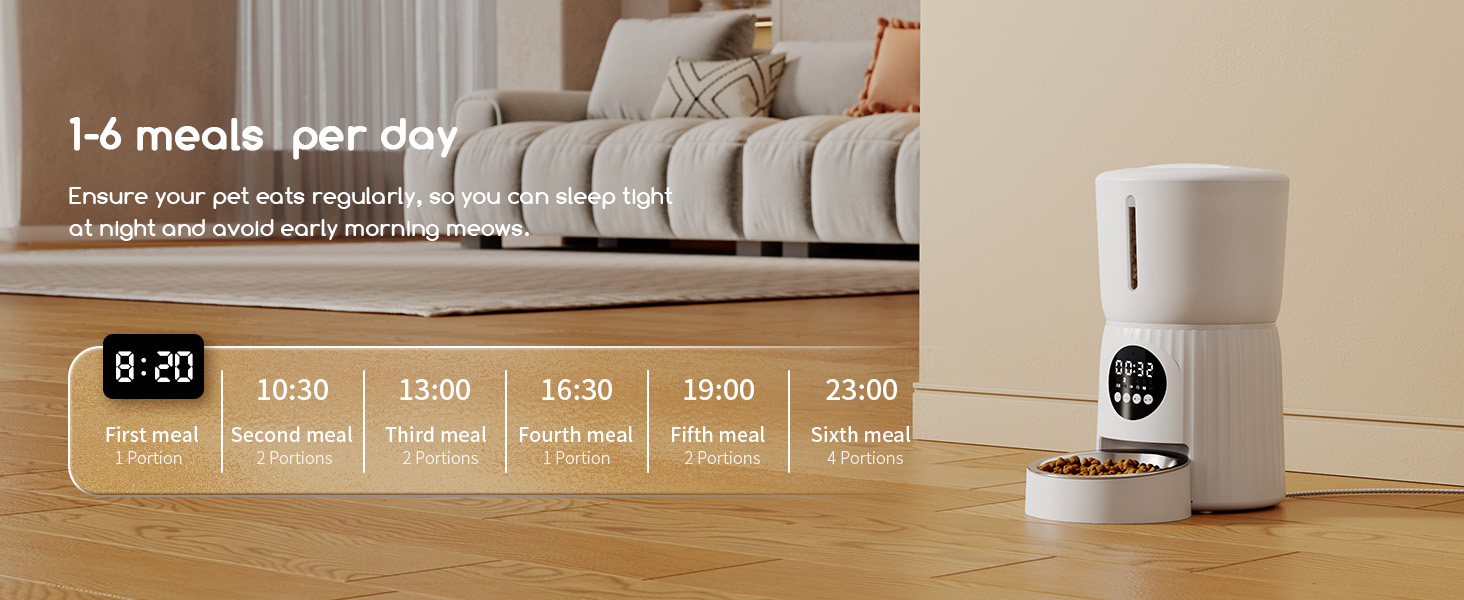
Image: A cat looking at the feeder, with a speech bubble indicating a recorded voice message "Hey, baby, it's time to eat!", demonstrating the 10-second voice recording feature.
Manual Feeding
To dispense food instantly, press the "Manual" or "Feed" button. Each press typically dispenses one portion. Hold the button for continuous dispensing (if available).
Slow Feed Mode
If your feeder has a Slow Feed mode, activate it through the control panel settings. This mode dispenses food gradually over a short period to prevent pets from eating too quickly, which can aid digestion.
5. Maintenance
Cleaning
Regular cleaning is essential for your pet's health and the feeder's longevity.
- Stainless Steel Bowl: Remove and wash with soap and water, or place in the dishwasher.
- Food Tank, Lid, and Rotor: These parts are detachable and can be washed with water and mild detergent. Ensure they are completely dry before reassembling.
- Base Unit: Wipe the exterior with a damp cloth. Do not immerse the base unit in water.
- Food Outlet: Periodically check and clear any food residue from the dispenser outlet to prevent blockages.

Image: The feeder's food tank, lid, and bowl separated and being rinsed with water, illustrating the detachable structure for easy cleaning.
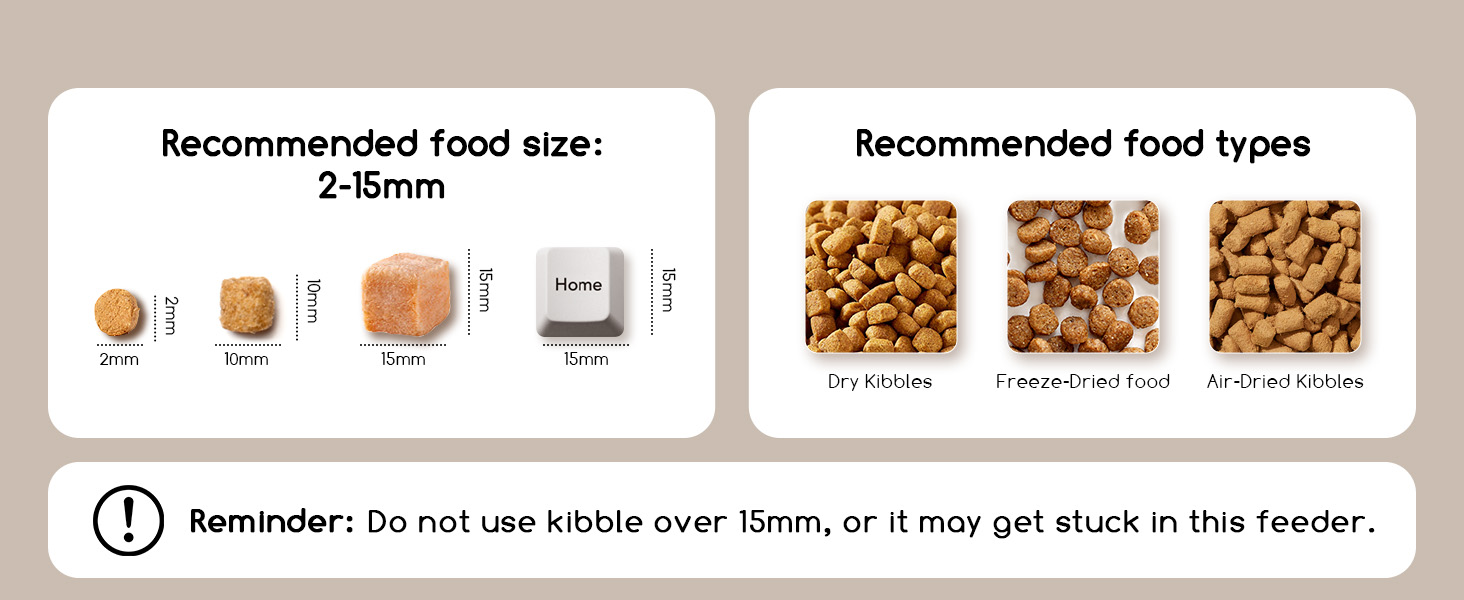
Image: A cutaway view of the feeder's internal mechanism showing food flowing smoothly into the bowl, highlighting the anti-clog design.
Food Storage
- Ensure the lid is always securely closed to keep food fresh and prevent pests.
- If your feeder has a desiccant compartment in the lid, replace the desiccant pack periodically (e.g., every 1-2 months) to maintain food freshness.
- Monitor the food level through the transparent window and refill as needed.
6. Troubleshooting
| Problem | Possible Cause | Solution |
|---|---|---|
| Feeder not dispensing food. |
|
|
| Display is off or not working. |
|
|
| Voice recording is unclear or not playing. |
|
|
| Feeder dispenses incorrect portions. |
|
|
7. Specifications
| Model: | PF21SW |
| Capacity: | 4 Liters |
| Material: | Acrylonitrile Butadiene Styrene (ABS) |
| Power Supply: | 5V DC Adapter (USB) or 3 x D-Cell Batteries (not included) |
| Meals Per Day: | 1-6 meals |
| Portions Per Meal: | 1-30 portions (approx. 10g per portion) |
| Voice Recording: | 10 seconds |
| Recommended Kibble Size: | 2-15 mm |
| Dimensions (L x W x H): | 26L x 17W x 17.5H cm |
| Weight: | 1.47 Kilograms |
8. Warranty and Support
Product Warranty
This Faroro Automatic Cat Feeder comes with a 2-year warranty from the date of purchase. This warranty covers manufacturing defects and malfunctions under normal use. It does not cover damage caused by misuse, accidents, unauthorized modifications, or improper maintenance.
Please retain your proof of purchase for warranty claims.
Customer Support
If you encounter any issues or have questions regarding your Faroro Automatic Cat Feeder, please contact our customer support team. For the most up-to-date contact information, please visit the official Faroro website or refer to the contact details provided with your purchase.
You can also visit the Faroro Store on Amazon for more product information and support resources.