1. Product Overview
The Ejoyous Electronic Cabinet Lock provides secure access control for cabinets and drawers using a sensitive touch screen and digital password. It incorporates advanced features such as a virtual password function for enhanced security and supports public mode and temporary passwords for versatile use. Constructed from high-quality zinc alloy, this lock is designed for durability and reliability.

Figure 1: Front view of the Ejoyous Electronic Cabinet Lock.
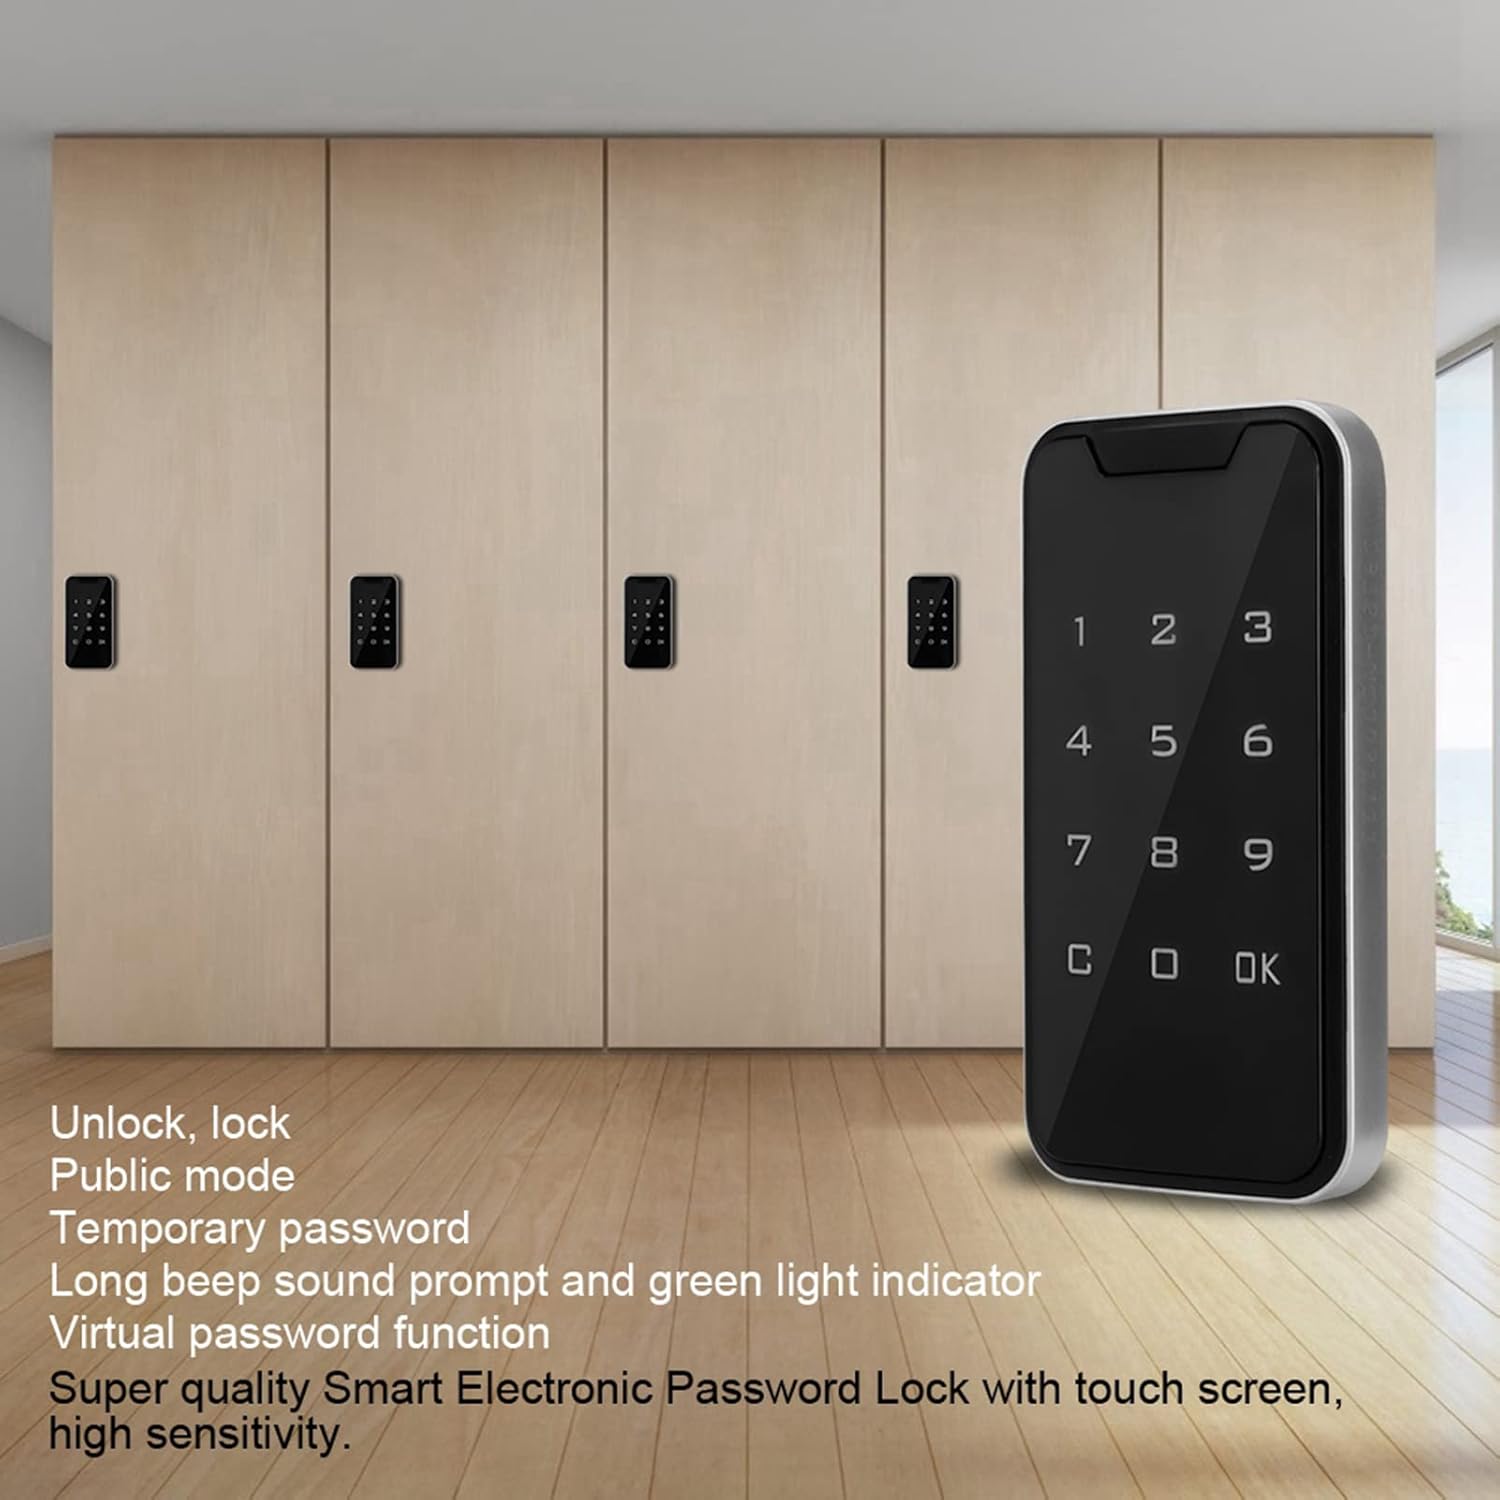
Figure 2: Ejoyous Electronic Cabinet Locks installed on cabinets.
2. Product Components
The package includes the following items:
- 1 x Lock Body
- 1 x Panel (Keypad)
- 1 x Lock Catch
- 1 x Installation Package (screws)
- 1 x USB Cable (for emergency power)

Figure 3: Included components.
3. Specifications
| Feature | Description |
|---|---|
| Brand | Ejoyous |
| Model Number | Ejoyous9gmdcg4khv |
| Material | Acrylic, Zinc Alloy |
| Color | Metal |
| Lock Type | Keypad |
| Control Method | Touch |
| Special Feature | Intelligent Password Lock, Virtual Password Function |
| Power Source | Batteries (not included), USB Emergency Power |
| Dimensions (Panel) | Approx. 107.34mm x 56.3mm x 12.57mm (4.2in x 2.2in x 0.5in) |
| Dimensions (Lock Body) | Approx. 115mm x 65mm x 14mm (4.5in x 2.6in x 0.6in) |

Figure 4: Product dimensions.
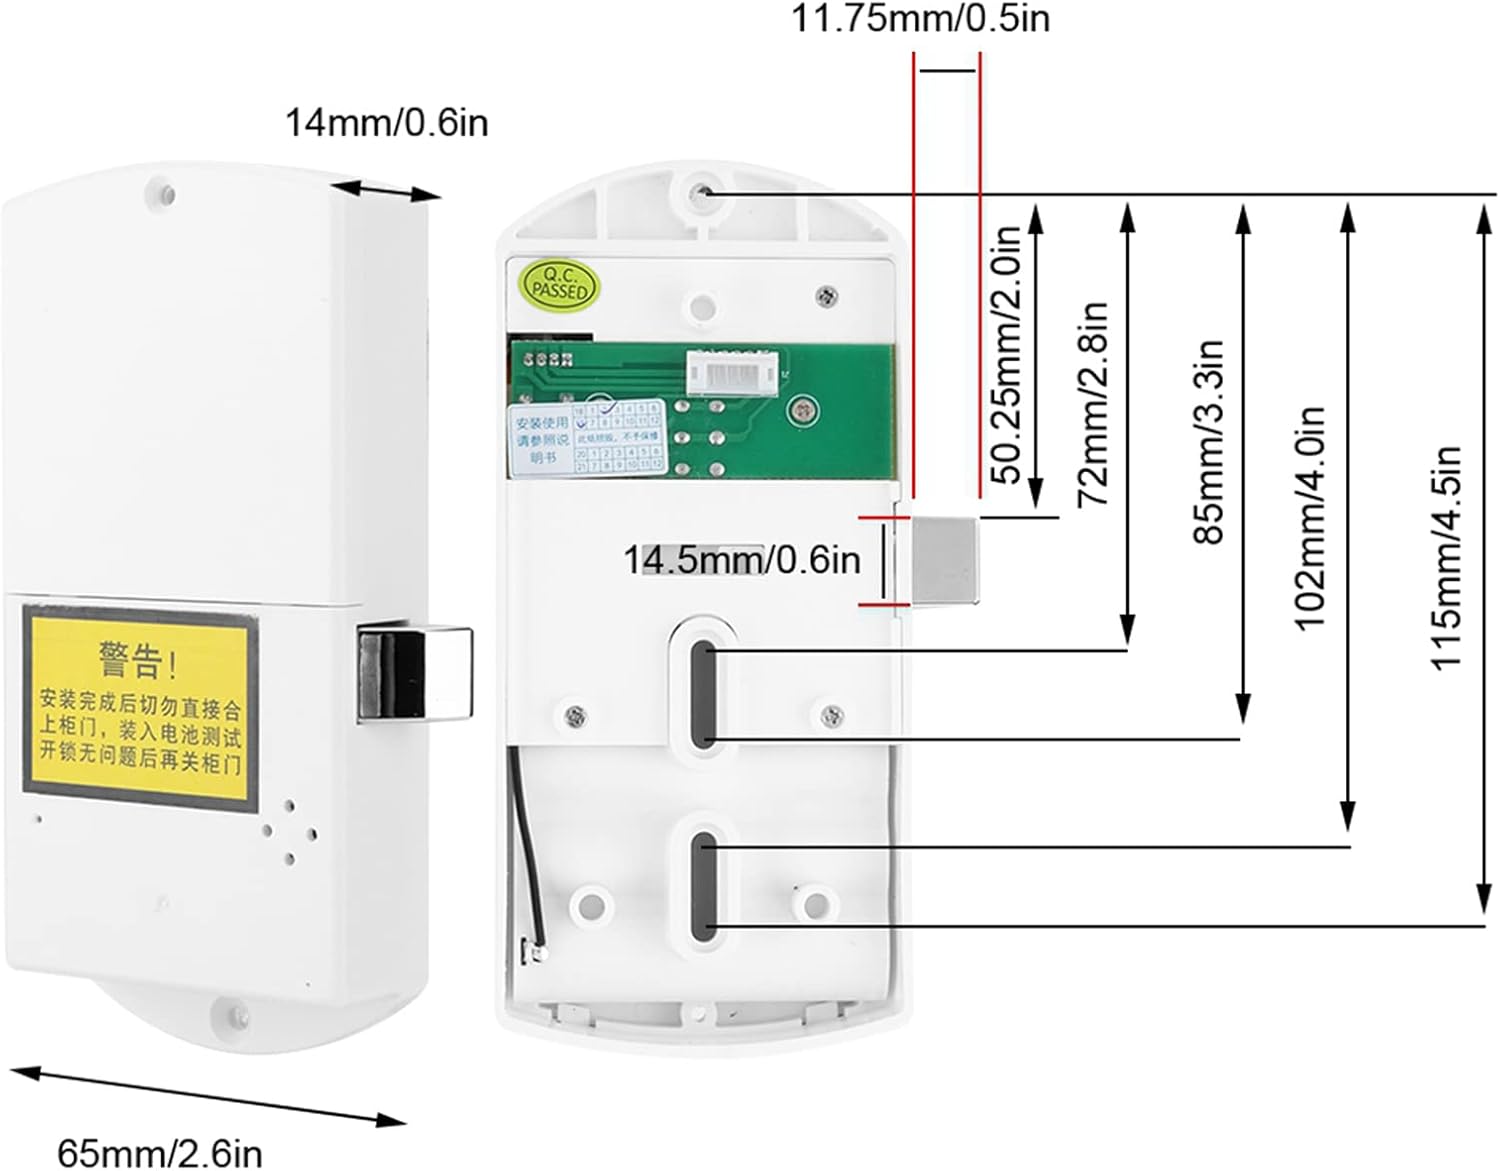
Figure 5: Lock body dimensions.
4. Setup and Installation
Before installation, ensure you have the necessary tools (e.g., screwdriver, drill). The lock requires batteries (not included) for operation.
4.1 Battery Installation
- Locate the battery compartment on the lock body.
- Insert the required batteries (typically AAA, refer to the compartment for exact type and quantity) ensuring correct polarity.
- Close the battery compartment cover securely.
4.2 Mechanical Installation
- Determine the desired mounting location on your cabinet or drawer. Ensure sufficient space for both the front panel and the internal lock body.
- Use the provided template (if available) or measure carefully to mark drilling points for the front panel and the lock body.
- Drill the necessary holes for mounting screws and the cable connection between the panel and the lock body.
- Attach the front panel to the exterior of the cabinet/drawer using the provided screws.
- Connect the cable from the front panel to the lock body.
- Mount the lock body to the interior of the cabinet/drawer, aligning it with the front panel and securing it with screws.
- Install the lock catch on the cabinet frame or adjacent door, ensuring proper alignment with the lock bolt.

Figure 6: Front panel and lock body.
Important: After installation, do not immediately close the cabinet door. Test the lock and unlock functions with the battery installed to ensure proper operation before closing the door.
5. Operating Instructions
5.1 Initial Setup and Administrator Password
- Upon first power-up, the lock will be in an uninitialized state.
- Enter your desired administrator password (e.g., 1234).
- Press the 'OK' button to confirm.
- Re-enter the administrator password and press 'OK' again to set it. A long beep and green light indicate success.
5.2 Unlocking and Locking
- To Unlock: Enter your valid password on the touch screen keypad and press 'OK'. The lock will retract, accompanied by a beep and green light.
- To Lock: Close the cabinet door. The lock will automatically extend after a few seconds, or you may need to press 'OK' to manually lock, depending on the mode.

Figure 7: Touch screen sensitivity.
5.3 Virtual Password Function
To prevent others from seeing your actual password, you can enter random digits before and after your correct password. For example, if your password is '123456', you can enter '888123456999' and press 'OK'. As long as '123456' is embedded correctly, the lock will open.
5.4 Public Mode and Temporary Passwords
The lock supports a public mode, allowing for temporary password creation. Consult the full product manual for detailed instructions on activating and managing public mode and temporary access codes.
5.5 Emergency Power
In case of battery depletion, connect a USB power source to the emergency power port on the lock body (refer to Figure 4 for location). This will provide temporary power to enter your password and open the lock, allowing you to replace the batteries.
6. Maintenance
- Cleaning: Wipe the touch screen and lock body with a soft, dry cloth. Avoid abrasive cleaners or solvents.
- Battery Replacement: Replace batteries promptly when the low battery indicator appears (if applicable) or when the lock's response becomes sluggish. Always use new batteries of the specified type.
- Environmental Conditions: Avoid exposing the lock to extreme temperatures, high humidity, or direct water contact.
7. Troubleshooting
- Lock not responding: Check battery levels. If batteries are low or dead, use the USB emergency power feature to open the lock and replace them.
- Forgotten Password: If you forget your administrator password, there may be a reset procedure. Refer to the complete product manual or contact customer support for assistance.
- Incorrect Password Entry: If the lock beeps and shows a red light after entering a password, the password was incorrect. Re-enter carefully.
- Lock mechanism jammed: Ensure no obstructions are preventing the lock bolt from extending or retracting. Check that the lock catch is properly aligned.
8. Warranty and Support
For warranty information, technical support, or further assistance, please refer to the documentation provided with your purchase or contact Ejoyous customer service directly. Keep your purchase receipt as proof of purchase.