1. Introduction
This user manual provides detailed instructions for the installation, setup, operation, and maintenance of your INLAND CPU AMD Ryzen 5 7600X Processor and MSI PRO B650M-A WiFi PRO Motherboard bundle. This powerful combination is designed for high-performance computing, offering excellent capabilities for gaming, content creation, and demanding applications. Please read this manual carefully before proceeding with installation to ensure proper setup and optimal performance.
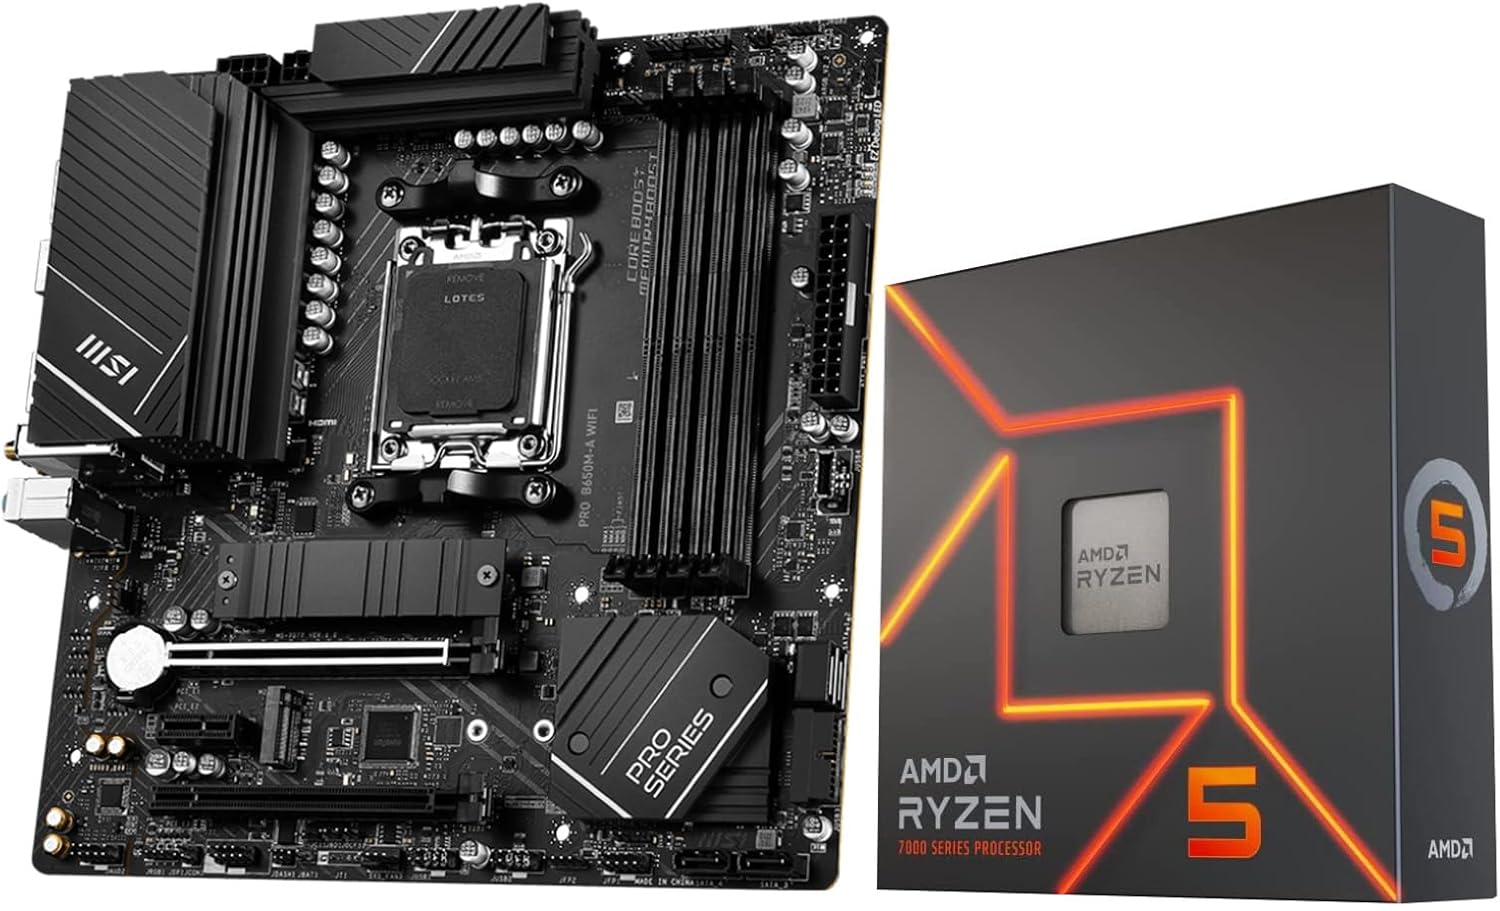
Image: The INLAND AMD Ryzen 5 7600X CPU box alongside the MSI PRO B650M-A WiFi PRO Motherboard.
2. Package Contents
Before you begin, please verify that all components listed below are present in your package. If any items are missing or damaged, contact your retailer immediately.
- AMD Ryzen 5 7600X Desktop Processor
- MSI PRO B650M-A WiFi PRO Motherboard
- Wi-Fi Antenna (2x)
- SATA Cable (1x)
- M.2 Screw / Standoff Sets (2x)
- I/O Shield
- Quick Installation Guide
- European Union Regulatory Notice
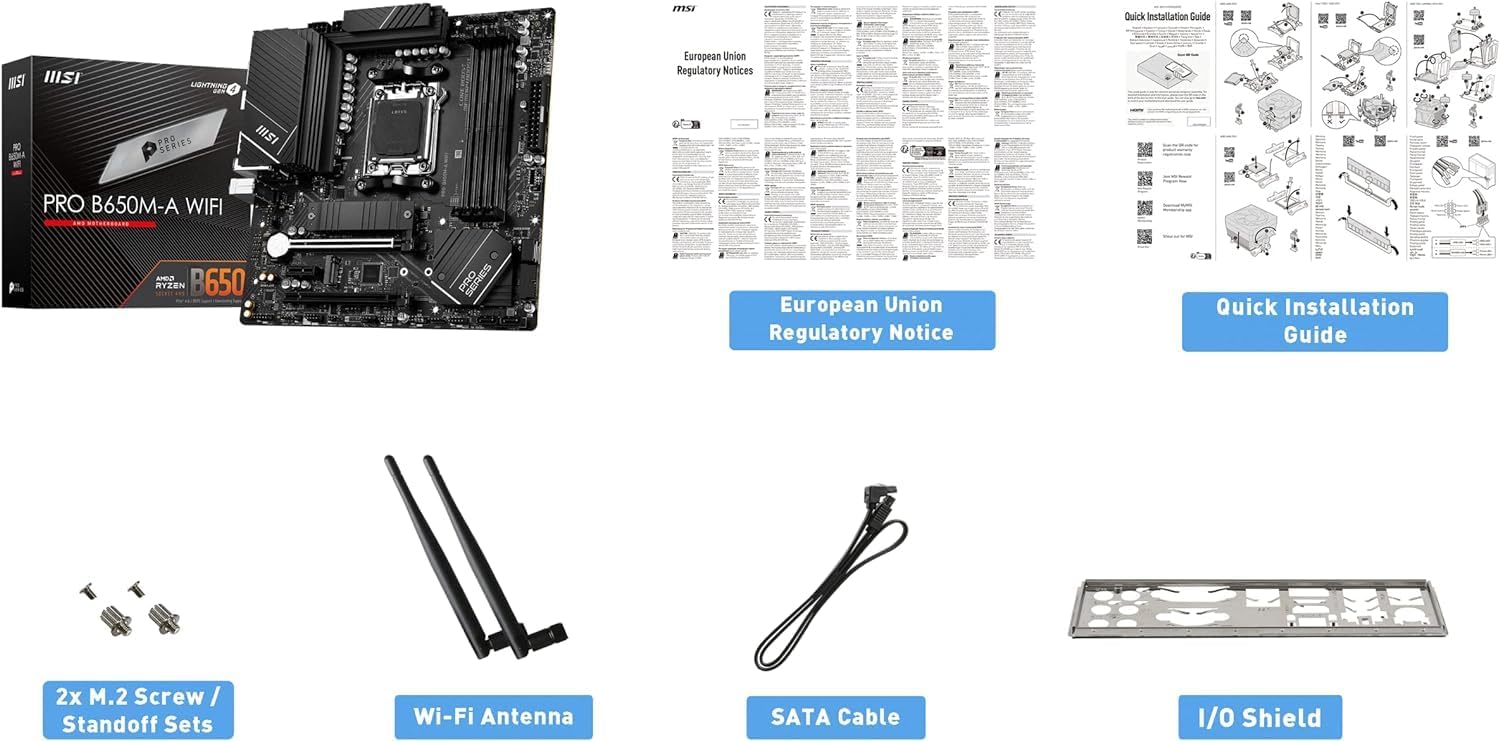
Image: The MSI PRO B650M-A WiFi PRO Motherboard box and its included accessories, such as the Wi-Fi antenna, SATA cable, M.2 screws, and I/O shield.
3. Setup and Installation
This section guides you through the physical installation of the CPU and motherboard components into your computer case.
3.1. CPU Installation (AMD Ryzen 5 7600X)
Ensure you are working in a static-free environment. Handle the CPU by its edges only.
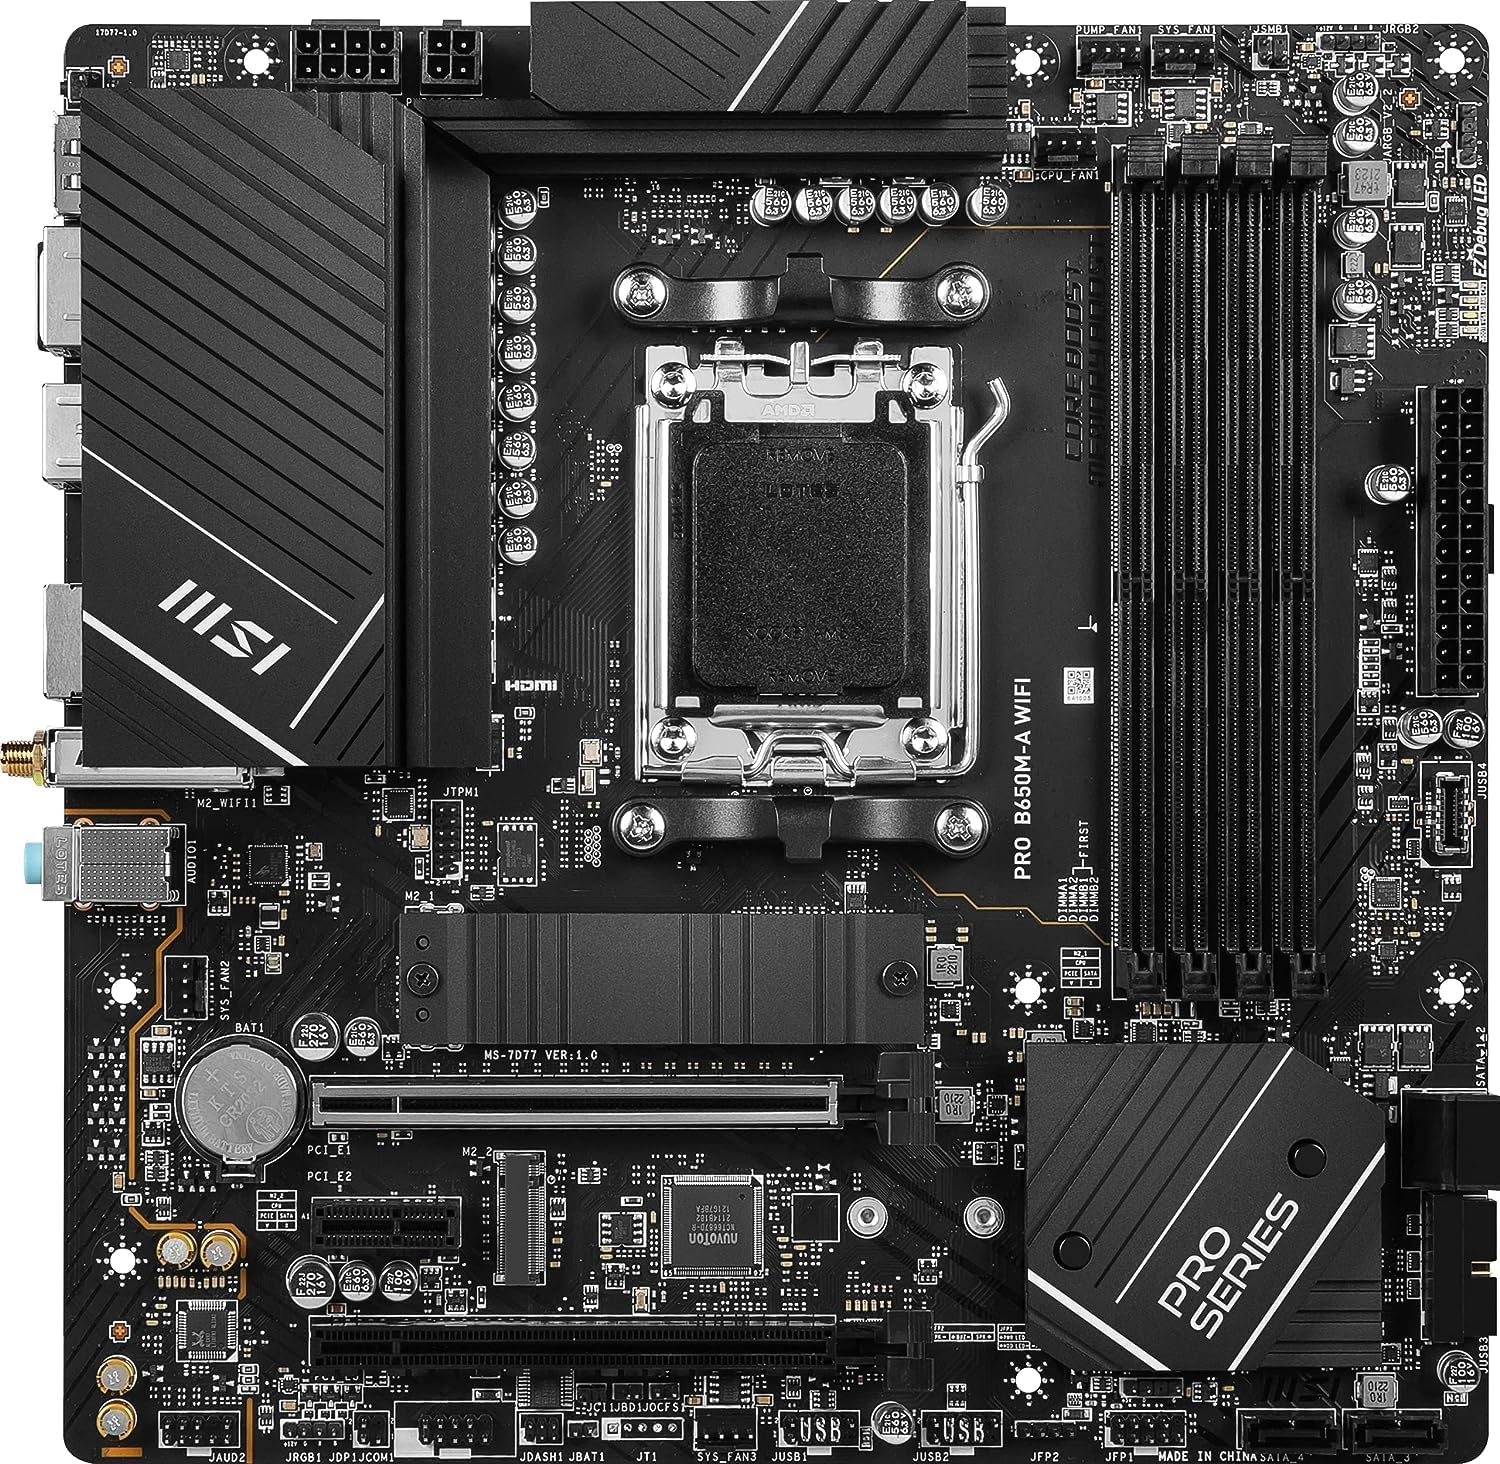
Image: A top-down view of the MSI PRO B650M-A WiFi PRO Motherboard, highlighting the AM5 CPU socket.
- Locate the AM5 CPU socket on the motherboard.
- Lift the retention lever on the side of the socket.
- Carefully align the triangular marker on the CPU with the corresponding marker on the socket.
- Gently place the CPU into the socket. Do not force it; it should drop in easily.
- Lower the retention lever back into its locked position.
- Install your CPU cooler (not included with this bundle) according to its manufacturer's instructions.
3.2. Motherboard Installation (MSI PRO B650M-A WiFi PRO)
- Install the I/O Shield into the rear opening of your computer case.
- Align the motherboard with the standoffs inside your case.
- Secure the motherboard with screws, ensuring it is firmly seated.
- Connect the 24-pin ATX power connector and the 8-pin + 4-pin CPU power connectors from your power supply to the motherboard.
3.3. Memory (RAM) Installation
The MSI PRO B650M-A WiFi PRO Motherboard supports DDR5 memory.
- Open the clips on both ends of the DIMM slots.
- Align the notch on the DDR5 memory module with the notch in the DIMM slot.
- Press down firmly on both ends of the memory module until the clips snap into place.
3.4. Storage Installation (M.2 SSDs and SATA Drives)
The motherboard features two PCIe 4.0 x4 M.2 slots and four SATA 6GB/s ports.
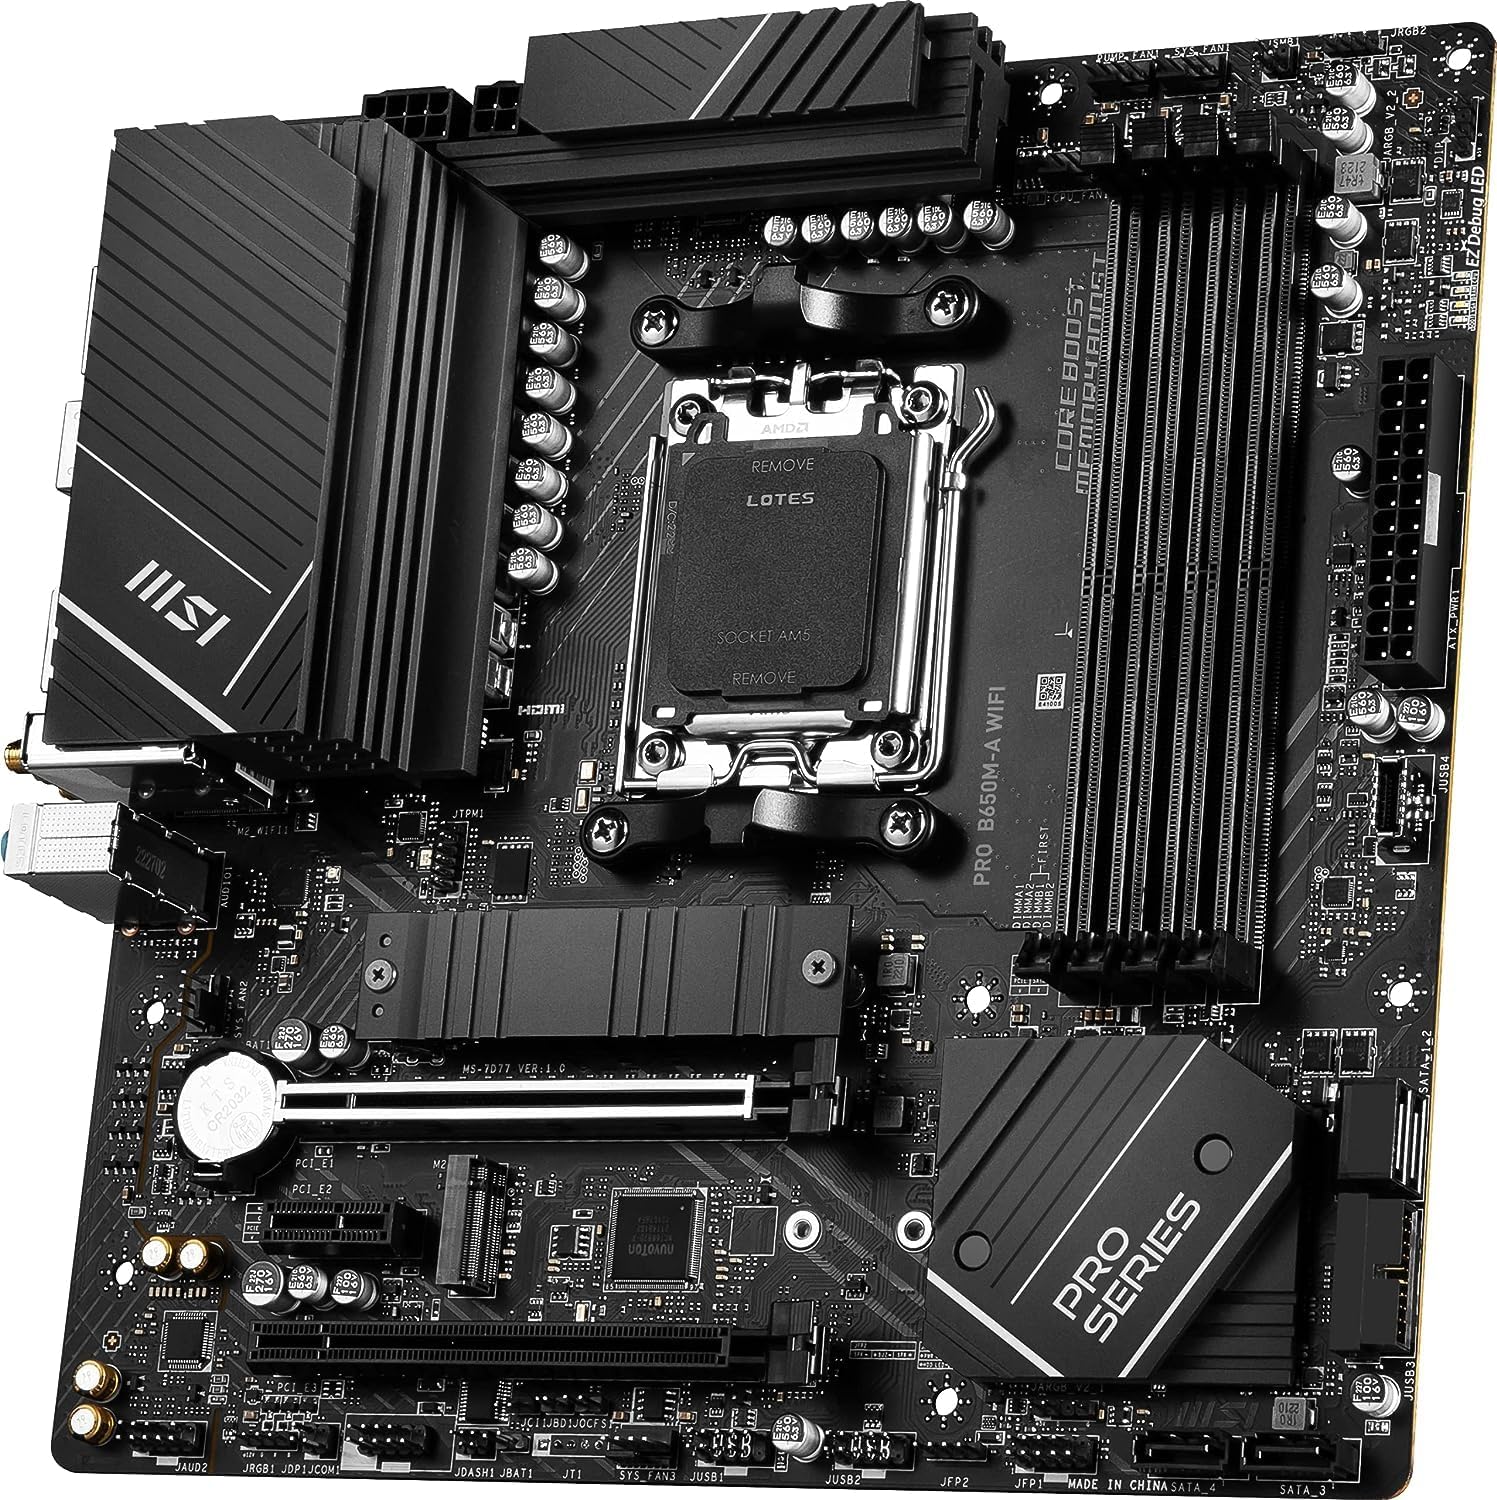
Image: An angled view of the MSI PRO B650M-A WiFi PRO Motherboard, illustrating the placement of the M.2 slots, some covered by M.2 Shield Frozr heatsinks.
- For M.2 SSDs: Remove the M.2 Shield Frozr heatsink (if present). Insert the M.2 SSD into the slot at an angle, then push it down and secure it with the provided M.2 screw/standoff. Reattach the heatsink.
- For SATA Drives: Connect one end of the SATA cable to a SATA port on the motherboard and the other end to your SATA HDD/SSD. Connect the SATA power cable from your power supply to the drive.
3.5. Connecting Peripherals and I/O
Connect your monitor, keyboard, mouse, and other peripherals to the appropriate ports on the motherboard's I/O panel.
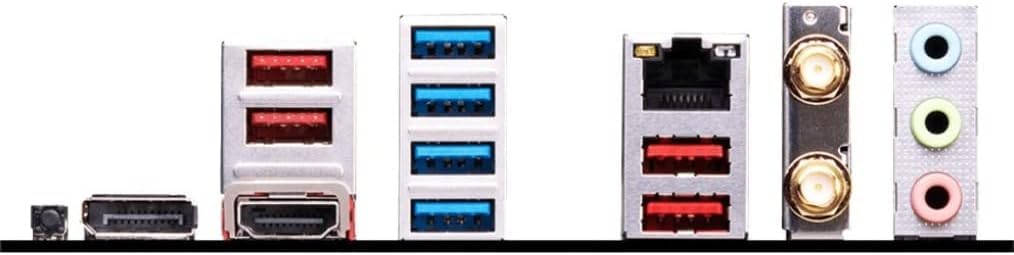
Image: A close-up view of the MSI PRO B650M-A WiFi PRO Motherboard's rear I/O panel, showing various USB ports, Ethernet, Wi-Fi antenna connectors, and audio jacks.
- USB Ports: For keyboard, mouse, and other USB devices.
- Ethernet Port: For wired network connection.
- Wi-Fi Antenna Connectors: Attach the included Wi-Fi antennas for wireless connectivity.
- Audio Jacks: For speakers, headphones, and microphones.
- Display Outputs (HDMI): Connect your monitor to the integrated graphics output if you are not using a dedicated graphics card.
4. Operating Instructions
4.1. Initial Boot and BIOS/UEFI Setup
After assembling your system, connect it to power and a monitor. Press the power button. During startup, repeatedly press the DEL key to enter the BIOS/UEFI setup utility. Here you can configure boot order, system time, and other advanced settings. Refer to the MSI website for a detailed BIOS/UEFI manual for your specific motherboard model.
4.2. Operating System Installation
Once BIOS/UEFI settings are configured, you can proceed with installing your preferred operating system (e.g., Windows 11/10 64-bit Edition). Boot from your OS installation media (USB drive or DVD) and follow the on-screen prompts.
4.3. Driver Installation
After OS installation, it is crucial to install the latest drivers for your motherboard and CPU. You can find these on the MSI and AMD official websites. Key drivers include chipset drivers, LAN drivers, Wi-Fi drivers, audio drivers, and integrated graphics drivers (if applicable).
5. Maintenance
5.1. Cleaning
Regularly clean your computer's interior to prevent dust buildup, which can lead to overheating and reduced performance. Use compressed air to clear dust from fans, heatsinks, and vents. Ensure the system is powered off and unplugged before cleaning.
5.2. BIOS/UEFI Updates
Periodically check the MSI support website for BIOS/UEFI updates. Updates can improve system stability, add support for new hardware, or fix bugs. Follow the instructions provided by MSI carefully when performing a BIOS/UEFI update to avoid system damage.
6. Troubleshooting
This section provides solutions to common issues you might encounter.
| Problem | Possible Cause | Solution |
|---|---|---|
| System does not power on. | Loose power connections, faulty power supply. | Check all power cables (24-pin ATX, CPU power). Test power supply. |
| No display on monitor. | Monitor cable loose, RAM not seated correctly, no dedicated GPU. | Ensure monitor cable is secure. Reseat RAM modules. If no dedicated GPU, connect to motherboard's HDMI port. |
| Operating System not found. | Incorrect boot order, OS not installed, faulty storage drive. | Check boot order in BIOS/UEFI. Verify OS installation. Check storage drive connections. |
| System crashes or freezes. | Overheating, unstable overclock, faulty component. | Monitor temperatures. Reset BIOS to default. Test components individually. |
| Wi-Fi/Bluetooth not working. | Antennas not connected, drivers not installed. | Ensure Wi-Fi antennas are securely attached. Install/update Wi-Fi and Bluetooth drivers. |
7. Specifications
Detailed specifications for the CPU and Motherboard components of your bundle.
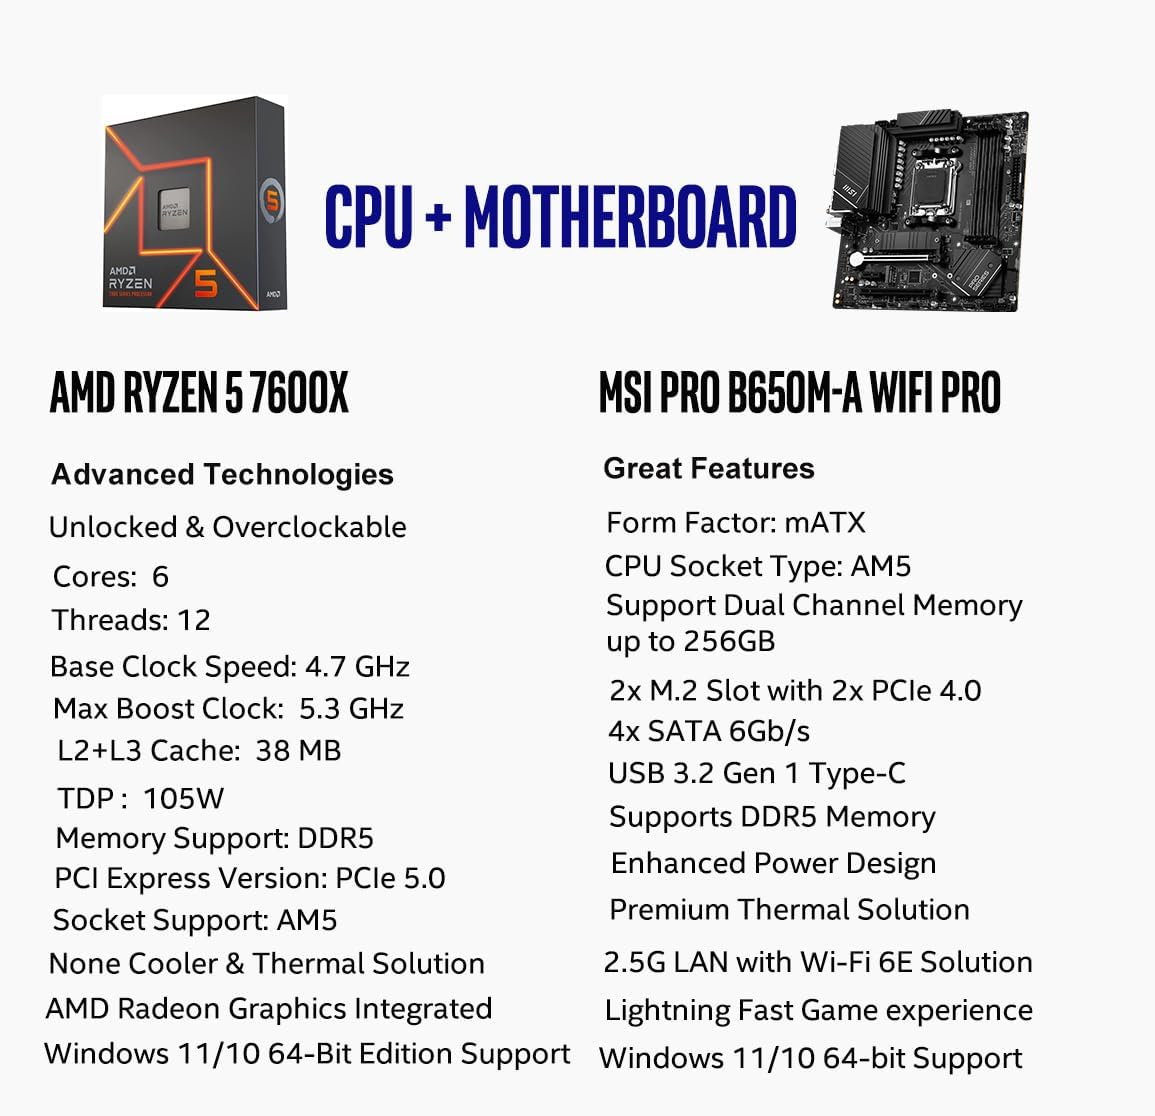
Image: A comparison chart detailing the key features and specifications of the AMD Ryzen 5 7600X CPU and the MSI PRO B650M-A WiFi PRO Motherboard.
7.1. AMD Ryzen 5 7600X Desktop Processor
- Cores/Threads: 6-Core, 12-Thread
- Max Boost Clock: Up to 5.3 GHz
- Cache: 38MB (L2+L3)
- TDP: 105W
- Socket: AM5
- Memory Support: DDR5-5200 (native), Dual Channel
- PCIe Version: PCIe 5.0 support on compatible motherboards
- Integrated Graphics: AMD Radeon Graphics (Cooler & Thermal Solution not included)
- OS Support: Windows 11/10 64-Bit Edition
7.2. MSI PRO B650M-A WiFi PRO Motherboard
- Form Factor: mATX
- CPU Socket: AM5
- Chipset: AMD B650
- Memory Support: Dual-Channel DDR5, up to 256GB, 7200+MHz (OC)
- Expansion Slots: PCIe 4.0 slots
- Storage: 2x PCIe 4.0 x4 M.2 Slots (with M.2 Shield Frozr), 4x SATA 6GB/s
- Networking: 2.5G LAN, Wi-Fi 6E, Bluetooth 5.3
- USB: USB 3.2 Gen2 Type C, USB 3.2 Gen2, USB 3.2 Gen1, USB 2.0
- Power Design: 8+2+1 Duet Rail Power System
- Thermal Solution: 7W/mK pad, additional choke thermal pad, M.2 Shield Frozr
- PCB: 6-layer PCB made by 2oz thickened copper
- Audio: AUDIO BOOST
- OS Support: Windows 11/10 64-Bit Edition
8. Warranty and Support
This product bundle is covered by the respective manufacturer's warranties for the AMD CPU and MSI Motherboard. Please refer to the official AMD and MSI websites for detailed warranty terms, conditions, and support contact information. For technical assistance, driver downloads, and BIOS updates, visit the official support pages for AMD and MSI.
For further assistance, you may also contact the retailer from whom you purchased this product.


