
Introduction
This manual provides detailed instructions for the safe and proper installation, operation, and maintenance of your PUTORSEN Adjustable Projector Ceiling/Wall Mount, Model EMMP0304-01. Please read this manual thoroughly before installation and retain it for future reference.
Safety Information
Important: Incorrect installation may cause product damage or personal injury. Ensure all instructions are followed carefully. If you are unsure about any part of the installation, seek professional assistance.
- Do not exceed the maximum weight capacity of 22 lbs (10 kg).
- Verify that the mounting surface (ceiling or wall) can safely support the combined weight of the mount and the projector.
- Use appropriate mounting hardware for your specific wall or ceiling type.
- Keep children and pets away during installation.
- Ensure all screws are securely tightened before placing any equipment on the tray.
Package Contents
Please check that all components are present and undamaged before beginning installation.
- Projector Mount Brackets (1 set)
- Universal Tray (1)
- Mounting Hardware Kit (1)
- User Manual (1)
Setup and Installation
The PUTORSEN projector mount can be installed on either a ceiling or a wall. Choose the appropriate method for your setup.
1. Choose Mounting Location
Determine whether to mount the projector on the ceiling or wall. Ensure the chosen location provides a stable and secure surface capable of supporting the mount and projector weight.

Figure 1: Two mounting options - ceiling and wall.
2. Mount the Bracket
Using the provided mounting hardware, securely attach the main bracket to your chosen ceiling or wall location. Ensure all fasteners are tightened appropriately for the material.
Video 1: Installation guide for the projector mount, demonstrating steps for securing the bracket to a surface.

Figure 2: Example of wall-mounted projector setup.
3. Attach the Universal Tray
Connect the universal tray to the adjustable arm. The tray is designed to accommodate various devices.

Figure 3: Details of the height adjustment and universal tray.
4. Place Your Device
Carefully place your projector, video camera, laptop, or other compatible device onto the universal tray. Ensure it is centered and stable.
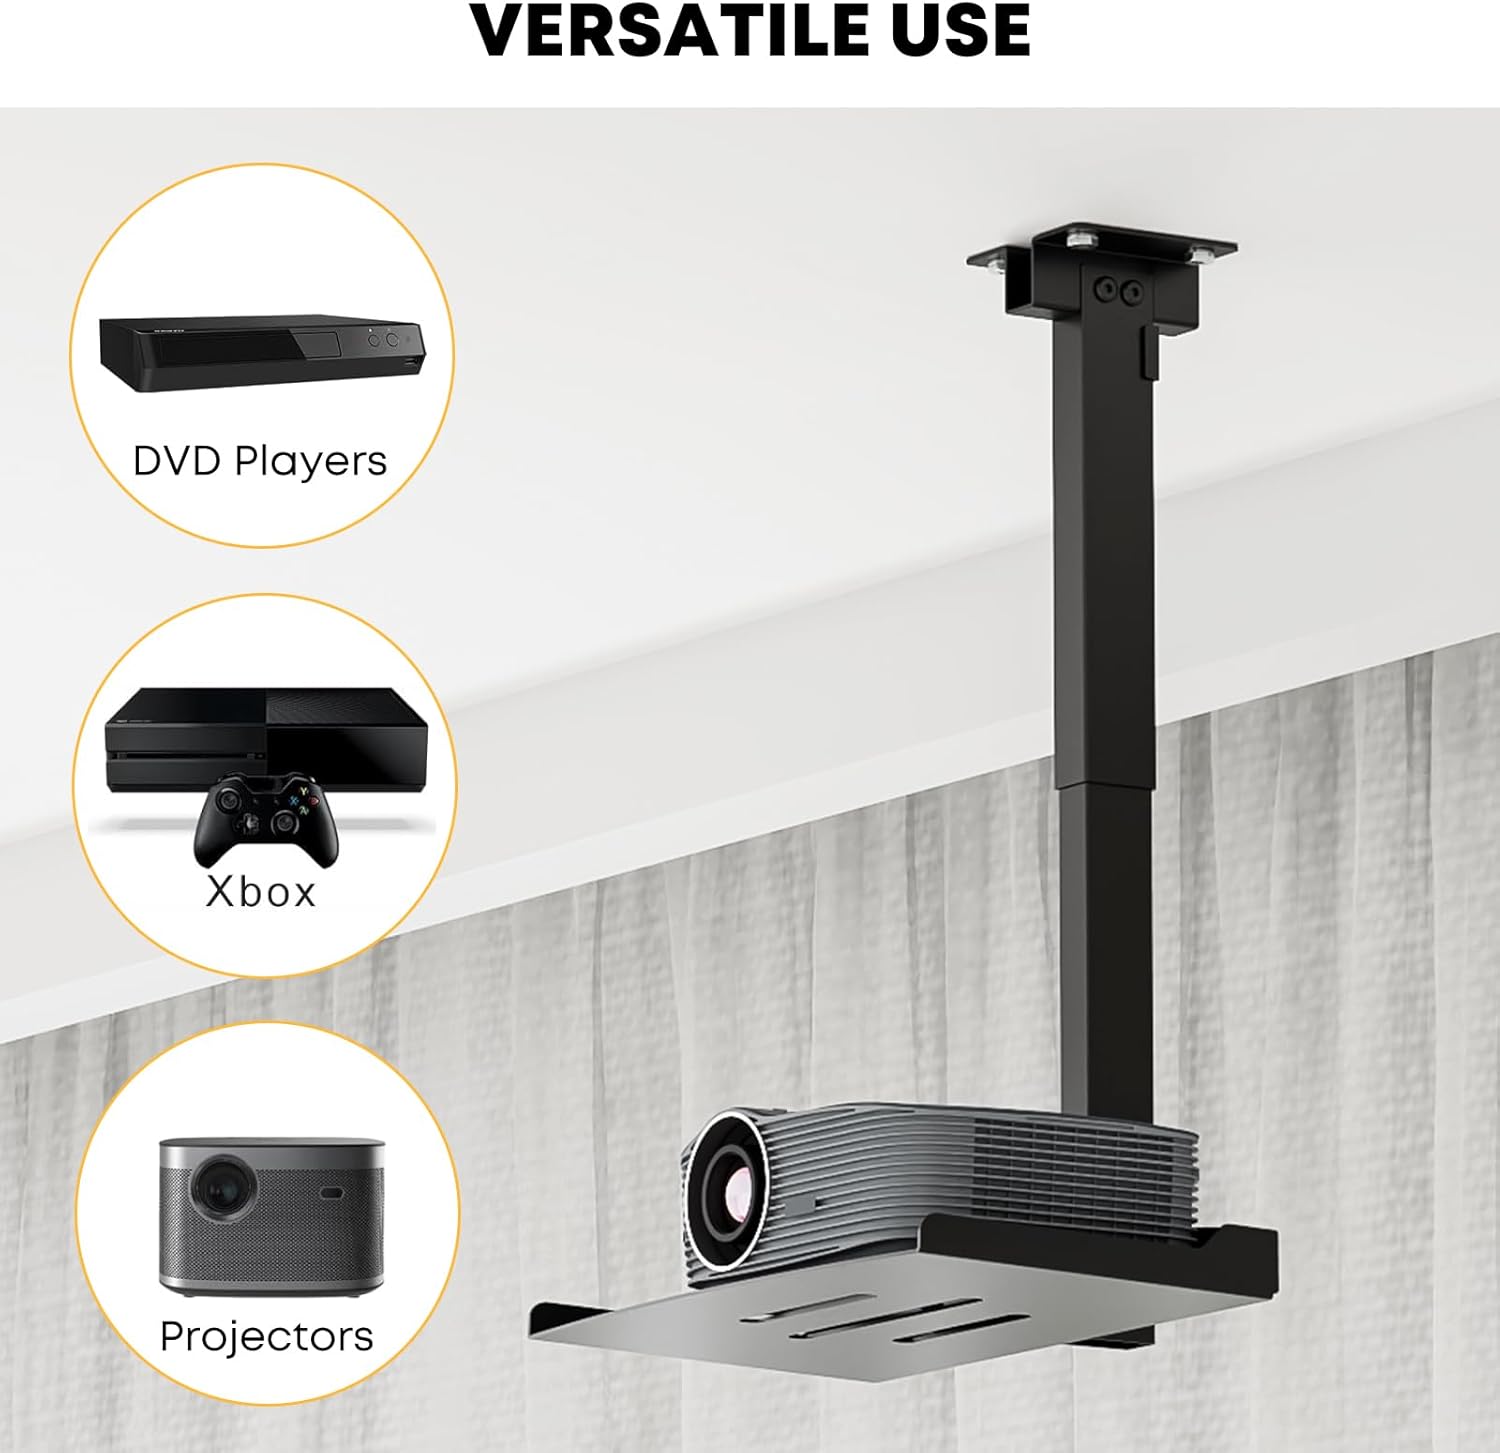
Figure 4: Examples of devices compatible with the mount, including projectors, DVD players, and gaming consoles.
5. Adjust Height and Position
Adjust the arm length to achieve the desired height for optimal viewing. The arm extends from 14.17 inches to 21.65 inches from the mounting surface.

Figure 5: Ceiling-mounted projector in use, demonstrating height adjustment.
6. Cable Management
Utilize the integrated cord hider to route and conceal cables for a clean and organized setup.

Figure 6: Integrated cable management system for a tidy installation.
Operating Instructions
Once installed, the mount requires no specific operation. Its function is to securely hold your device in the desired position. Adjustments to height and orientation should be made manually by loosening and re-tightening the appropriate fasteners on the mount arm and tray.
Maintenance
The PUTORSEN projector mount is designed for durability and requires minimal maintenance.
- Periodically check all screws and fasteners to ensure they remain tight.
- Clean the mount with a soft, dry cloth. Avoid abrasive cleaners or solvents.
- Inspect the mount for any signs of wear or damage. If damage is found, discontinue use and contact customer support.
Troubleshooting
| Problem | Possible Cause | Solution |
|---|---|---|
| Mount feels unstable or wobbles. | Loose fasteners; insufficient support from mounting surface; weight capacity exceeded. | Ensure all screws are tightened. Verify the mounting surface is sturdy. Check that the device weight does not exceed 22 lbs (10 kg). |
| Difficulty adjusting height. | Adjustment mechanism is too tight or obstructed. | Loosen adjustment screws slightly. Ensure no cables or objects are obstructing the sliding mechanism. |
| Cables are not neatly concealed. | Improper routing through cable management channel. | Re-route cables through the integrated cable management channel, ensuring they are tucked in properly. |
Specifications
| Feature | Detail |
|---|---|
| Model Number | EMMP0304-01 |
| Brand | PUTORSEN |
| Color | Black |
| Material | Metal |
| Mounting Type | Ceiling, Wall |
| Maximum Weight Capacity | 22 lbs (10 kg) |
| Adjustable Height Range (from mounting surface) | 14.17 inches - 21.65 inches |
| Tray Dimensions (L x W) | 13.77 inches x 8.66 inches |
| Item Weight | 2.8 kg |
| Compatible Devices | Projectors, video cameras, laptops, other electronic devices |
| Special Features | Adjustable height, hidden cable routing, universal tray |

Figure 7: Product dimensions and weight capacity.
Warranty and Support
The product comes with a warranty. For specific warranty details or technical support, please refer to the warranty card included in your package or contact PUTORSEN customer service directly. You can also visit the official PUTORSEN store on Amazon for more information: PUTORSEN Store.