Introduction
This manual provides essential information for the setup, operation, and maintenance of your Scalextric C4491 330 P4 David Piper Slot Car. Please read these instructions carefully to ensure proper use and to maximize the enjoyment and longevity of your product.
Product Overview
The Scalextric C4491 330 P4 David Piper Slot Car is a highly detailed replica designed for use on Scalextric slot car tracks. It features authentic livery and design elements, offering a realistic racing experience.

Image: Front-side view of the Scalextric C4491 330 P4 David Piper Slot Car, showcasing its green color and racing number 10.
What's in the Box
- 1x Scalextric C4491 330 P4 David Piper Slot Car
Safety Information
WARNING! Not suitable for children under 36 months. This product contains small parts which can present a choking hazard. Some components have functional sharp points and edges. Handle with care. Before giving the toy to a child, remove all packaging and any other component which is not part of the toy. Color and contents may differ from those illustrated. Please retain these details and the address for future reference.
Setup
Proper setup ensures optimal performance and prevents damage to your slot car and track.
1. Unpacking
- Carefully remove the slot car from its packaging. Retain the packaging for storage or future reference.
- Inspect the car for any visible damage during transit.
2. Track Preparation
- Ensure your Scalextric track is clean and free from dust or debris. Use a soft, dry cloth to wipe the track rails.
- Assemble the track sections securely according to your track layout instructions.
- Connect the power base and power supply as per your track system's manual.
3. Car Preparation
- Check Braids: Ensure the braids (electrical contacts) underneath the front of the car are clean, straight, and make good contact with the track rails. Gently adjust them if necessary so they fan out slightly.
- Wheel Inspection: Verify that all wheels spin freely and are securely attached.
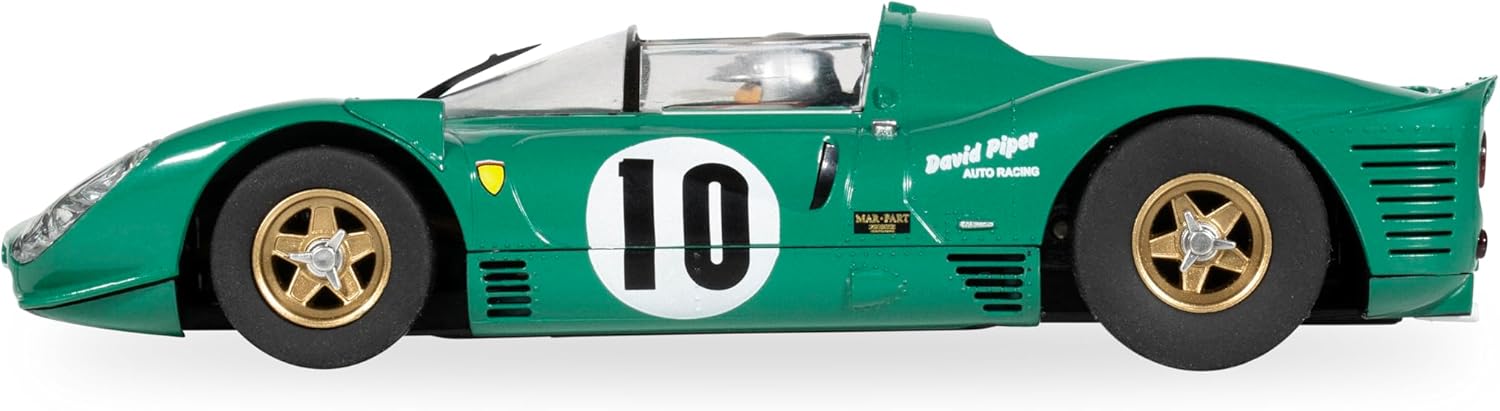
Image: Side view of the slot car, highlighting its profile and wheel placement.
Operating Instructions
Follow these steps to operate your Scalextric slot car safely and effectively.
1. Placing the Car on the Track
- Carefully place the slot car onto the track, ensuring the guide blade (located underneath the front of the car) is correctly seated in the track slot.
- Confirm that the braids are making firm contact with the metal rails on either side of the track slot.
2. Using the Controller
- Connect your hand controller to the power base.
- Gently squeeze the trigger to apply power to the car. The car's speed will increase as you press the trigger further.
- Release the trigger to slow down or stop the car.
3. Driving Tips
- Cornering: Reduce speed before entering corners to prevent the car from deslotting. Gradually accelerate as you exit the corner.
- Smooth Acceleration: Avoid sudden, full acceleration, especially from a standstill, as this can cause wheelspin or deslotting.
- Practice: Familiarize yourself with the car's handling characteristics on different sections of your track.

Image: Rear view of the slot car, showing the exhaust and rear lights.
Maintenance
Regular maintenance will help keep your slot car in optimal condition.
1. Cleaning Braids
- After each use, gently clean the copper braids with a soft, lint-free cloth to remove any accumulated dust or debris.
- Ensure the braids are not frayed and are positioned correctly to make good contact with the track. Replace worn braids as needed.
2. Tire Care
- Wipe the tires with a clean, damp cloth to remove dust and improve grip. Avoid using harsh chemicals.
- Check for any flat spots or damage on the tires.
3. Lubrication (Advanced Users)
- Periodically, a small drop of specialized slot car lubricant can be applied to the motor bearings and axle bushings to reduce friction. Refer to Scalextric's official maintenance guides for specific lubrication points and recommended products.
4. General Cleaning
- Use a soft brush or cloth to clean the car body, removing dust and fingerprints.
- Avoid submerging the car in water or using excessive moisture.
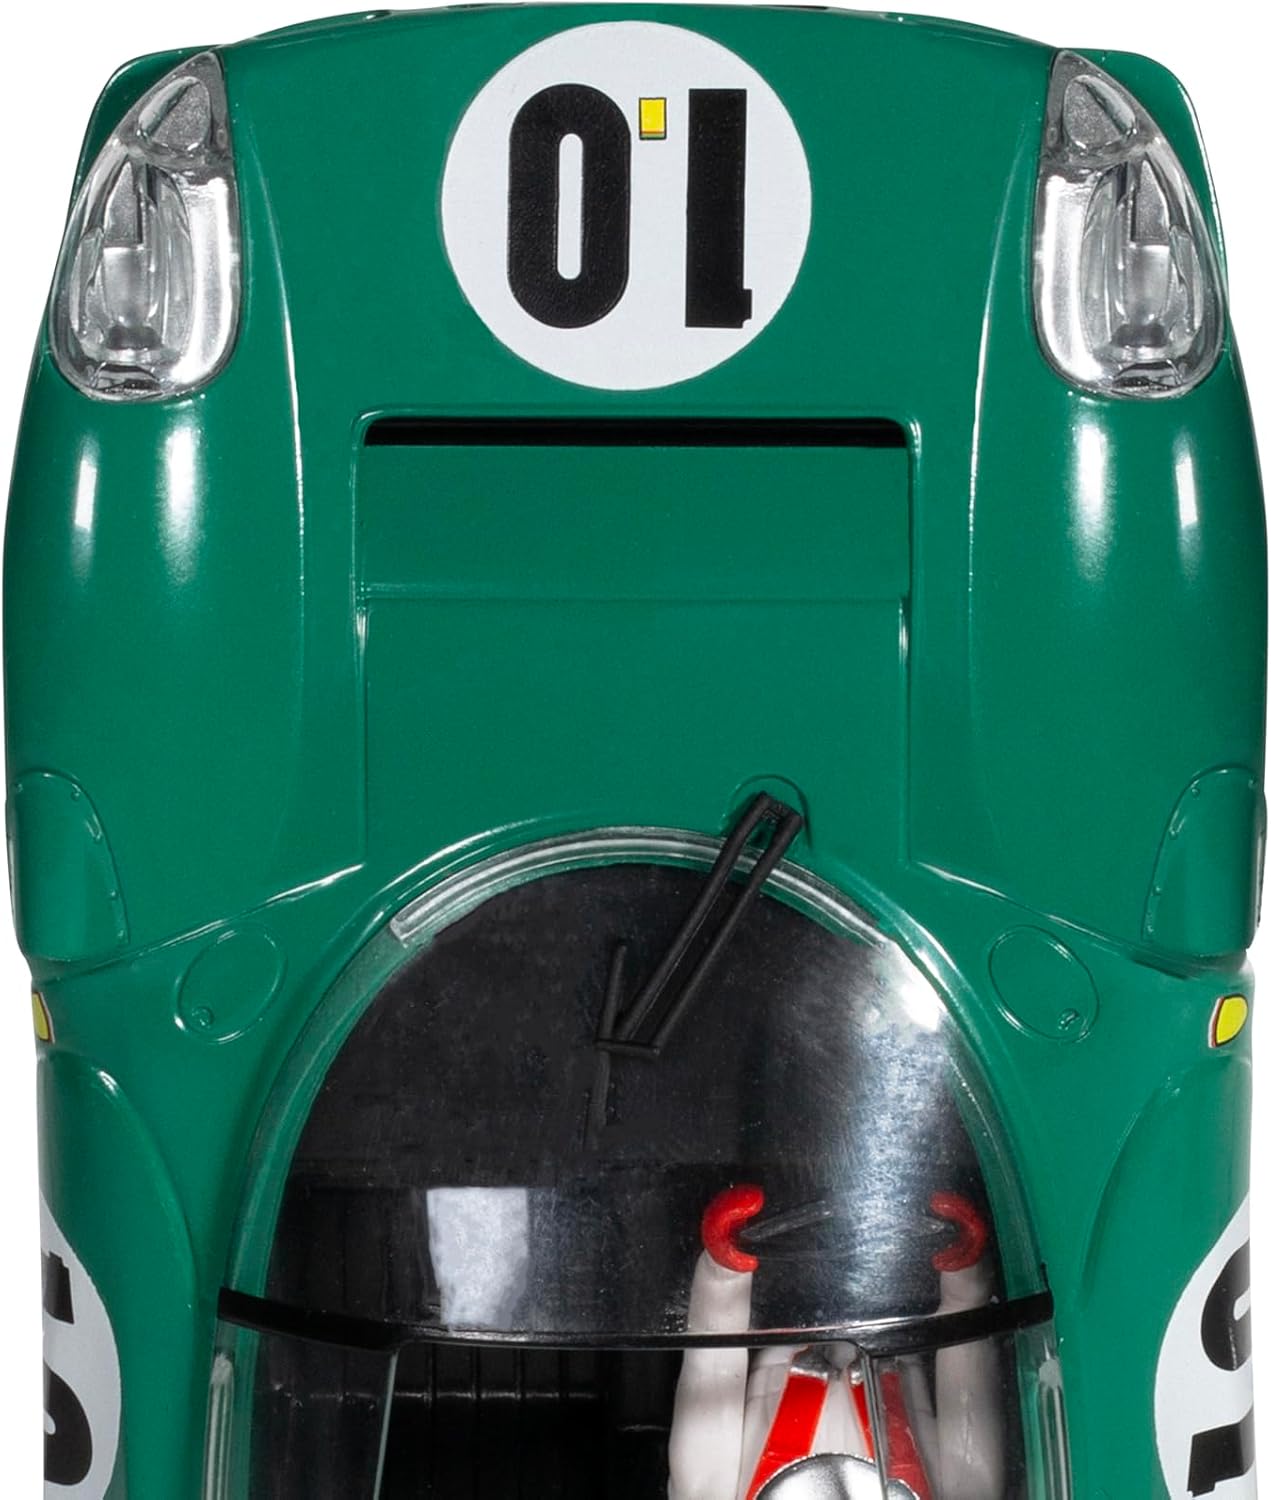
Image: Top-front view of the slot car, showing the windshield and front details.
Troubleshooting
Here are solutions to common issues you might encounter.
Car Not Moving
- Check Power: Ensure the power supply is connected and switched on, and the track power base is functioning.
- Braids: Verify that the car's braids are clean, straight, and making good contact with the track rails.
- Track Connection: Ensure all track sections are firmly connected and the track rails are clean.
- Controller: Test the controller with another car or track section if possible to rule out a controller fault.
Car Deslots Frequently
- Speed: Reduce speed, especially when entering corners.
- Tires: Clean the tires to improve grip. Worn tires may need replacement.
- Braids/Guide Blade: Ensure the braids and guide blade are not bent or damaged, allowing smooth movement in the track slot.
Lights Not Working
- Power: Confirm the car is receiving power from the track.
- Damage: Inspect for any visible damage to the light wiring or bulbs.
Specifications
| Feature | Detail |
|---|---|
| Model Number | C4491 |
| Product Dimensions | 7.48 x 4.02 x 3.35 inches |
| Item Weight | 3.52 ounces |
| Manufacturer Recommended Age | 3 years and up |
| Manufacturer | Hornby Hobbies Ltd |

Image: Top-rear view of the slot car, showing the engine cover details.
Warranty and Support
For warranty information, technical support, or to purchase replacement parts, please refer to the official Scalextric website or contact Hornby Hobbies Ltd directly. Contact details are typically provided with the product packaging or on the manufacturer's website.
Manufacturer: Hornby Hobbies Ltd
Website: www.scalextric.com (Please note: This is a general link and may not be the exact support page.)


