1. Introduction
This manual provides detailed instructions for the installation, operation, and maintenance of your Longse XVR2008D 8-Channel 1080p Digital Video Recorder. This XVR supports various camera technologies including AHD, TVI, HDCVI, SD, and IP, offering a versatile solution for your surveillance needs. Please read this manual thoroughly before using the device to ensure proper setup and functionality.
2. Safety Information
- Ensure the power supply matches the device's requirements.
- Do not expose the device to water or moisture.
- Avoid placing the device in direct sunlight or near heat sources.
- Do not open the device casing; refer servicing to qualified personnel.
- Use only manufacturer-approved accessories.
3. Package Contents
Verify that all items are present in the package:
- Longse XVR2008D Digital Video Recorder Unit
- Power Adapter
- USB Mouse
- Screws for HDD Installation (if applicable)
- User Manual (this document)
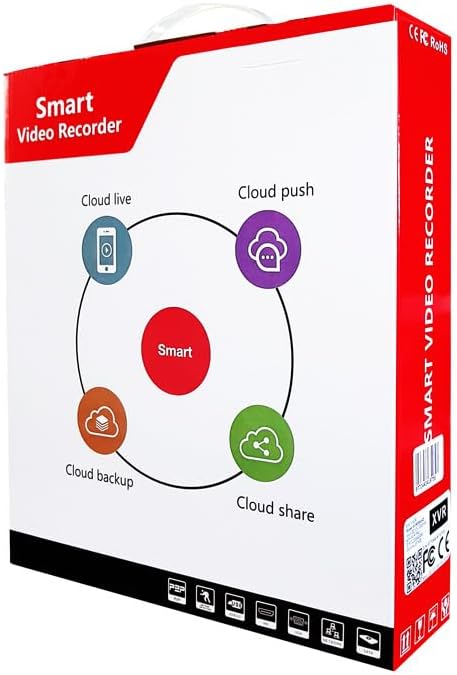
Figure 3.1: Product packaging for the Longse XVR2008D, highlighting cloud features like live viewing, push notifications, backup, and sharing.
4. Product Overview
The Longse XVR2008D is an 8-channel digital video recorder designed for comprehensive surveillance. It supports various video input formats and offers advanced features such as smart face recognition and remote access.
4.1 Front Panel
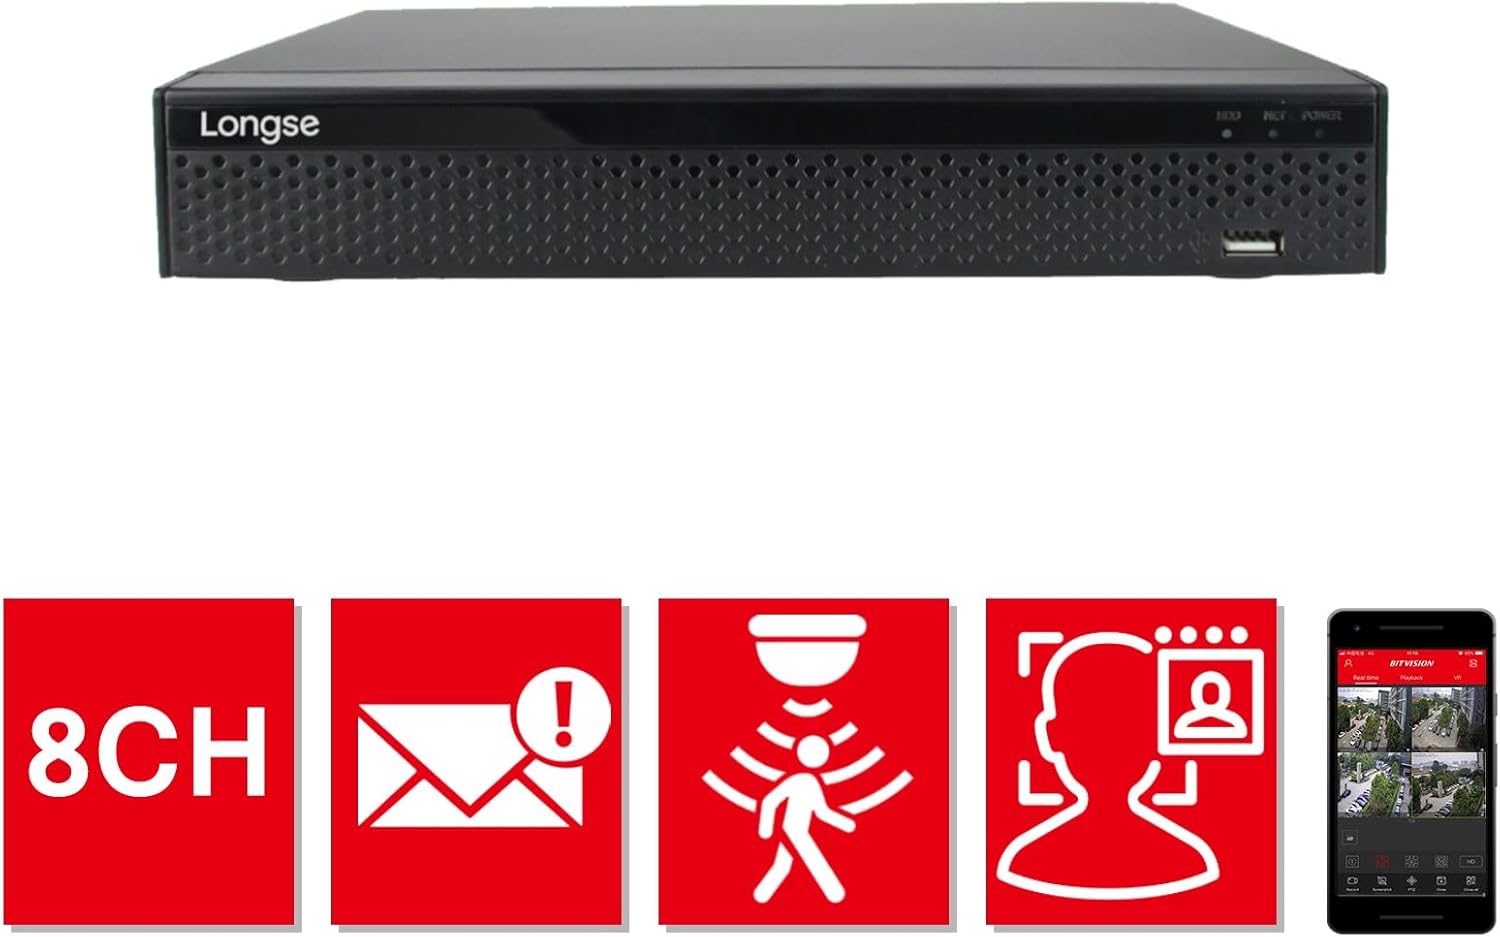
Figure 4.1: Front view of the XVR2008D unit, showing the Longse logo, status indicators (HDD, NET, POWER), and a front USB port.
4.2 Rear Panel
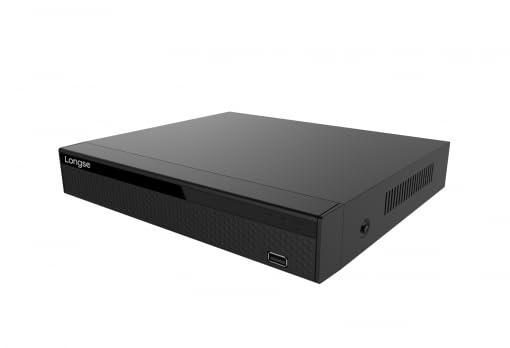
Figure 4.2: Rear panel of the XVR2008D, displaying 8 BNC video input ports, RCA audio input/output, VGA and HDMI video outputs, two USB ports, an Ethernet port, DC 12V power input, and a power switch.
4.3 Key Features
- 8-Channel Input: Supports up to 8 surveillance cameras.
- 1080p Resolution: Records and displays video in high definition.
- Multi-Format Support: Compatible with AHD, TVI, HDCVI, SD, and IP cameras.
- H.264 Video Compression: Efficient video storage and transmission.
- Smart Face Recognition: Advanced detection capabilities.
- Remote Access: View live feeds and recordings via smartphone or web platform.
- Cloud & USB Backup: Multiple options for data storage and retrieval.

Figure 4.3: Visual representation of key features: 8 channels, email alerts, motion detection, face recognition, and mobile application support for remote viewing.
5. Setup
5.1 Hardware Installation
- Install Hard Drive (Optional): If not pre-installed, open the XVR casing, connect the SATA power and data cables to the hard drive, and secure it with screws.
- Connect Cameras: Connect your surveillance cameras to the BNC video input ports on the rear panel (refer to Figure 4.2).
- Connect Monitor: Connect a monitor to the VGA or HDMI output port.
- Connect Mouse: Plug the USB mouse into one of the USB ports.
- Connect Network: Connect an Ethernet cable from your router/switch to the XVR's Ethernet port for network access and remote viewing.
- Power On: Connect the power adapter to the DC 12V input and then to a power outlet. Flip the power switch to the ON position.
5.2 Initial Configuration
Upon first boot, the system will guide you through an initial setup wizard. This typically includes setting the language, date/time, network settings, and creating an administrator password. Follow the on-screen prompts.
6. Operating Instructions
6.1 Live View
After successful setup, the XVR will display the live feed from connected cameras on the monitor. You can switch between single-camera view and multi-camera grid view using the on-screen controls or mouse.
6.2 Recording
- Continuous Recording: Configured to record 24/7.
- Motion Detection Recording: Records only when motion is detected in the camera's field of view.
- Scheduled Recording: Records during specific time periods.
Access recording settings through the main menu to customize recording modes and schedules for each channel.
6.3 Playback
To review recorded footage, navigate to the Playback menu. Select the desired camera channel and date/time to view recordings. You can fast-forward, rewind, and pause playback.
6.4 Remote Access (Mobile & Web)
Download the official Longse mobile application (e.g., Bitvision) from your smartphone's app store. Follow the app's instructions to add your XVR using its serial number or QR code. For web access, enter the XVR's IP address into a web browser on a computer connected to the same network. Ensure network settings are correctly configured for remote access.
6.5 Backup
Connect a USB flash drive to a USB port on the XVR. In the backup menu, select the desired footage (by channel, date, and time) and initiate the backup process to the USB drive. Cloud backup options may also be available through the system's network settings.
7. Maintenance
- Regular Cleaning: Use a soft, dry cloth to clean the exterior of the XVR. Do not use liquid cleaners.
- Firmware Updates: Periodically check the manufacturer's website for firmware updates to ensure optimal performance and security.
- Hard Drive Health: Monitor the health of your hard drive through the system settings. Replace if errors are detected.
- Password Security: Regularly change your administrator password and use strong, unique passwords.
8. Troubleshooting
| Problem | Possible Cause | Solution |
|---|---|---|
| No video output on monitor. | Loose cable connection, incorrect input selected on monitor, XVR not powered on. | Check VGA/HDMI cable connections. Ensure monitor is on correct input. Verify XVR power. |
| No camera image. | Camera not powered, faulty cable, incorrect camera type selected in XVR settings. | Check camera power and cable connections. Verify camera type (AHD, TVI, etc.) matches XVR settings. |
| Cannot access XVR remotely. | Network configuration issues, incorrect app settings, firewall blocking. | Ensure XVR is connected to the internet. Check network settings (IP address, gateway, DNS). Verify port forwarding if required by your network setup. Consult app instructions. |
| Hard drive not detected. | Loose SATA cables, faulty HDD, HDD not formatted. | Check SATA power and data cable connections. Try a different HDD if available. Format the HDD via XVR system settings. |
9. Specifications
| Feature | Detail |
|---|---|
| Manufacturer | Longse |
| Model Number | XVR2008D |
| Product Dimensions | 24 x 18 x 4 cm |
| Number of Channels | 8 |
| Video Input Formats | AHD, HDTVI, HDCVI, SD, IP |
| Video Output | VGA, HDMI |
| Audio Input | RCA |
| Connectivity Technology | USB, Ethernet |
| Digital Video Media Format | SD Card (for backup) |
| Compatible Devices | Cameras, Smartphones |
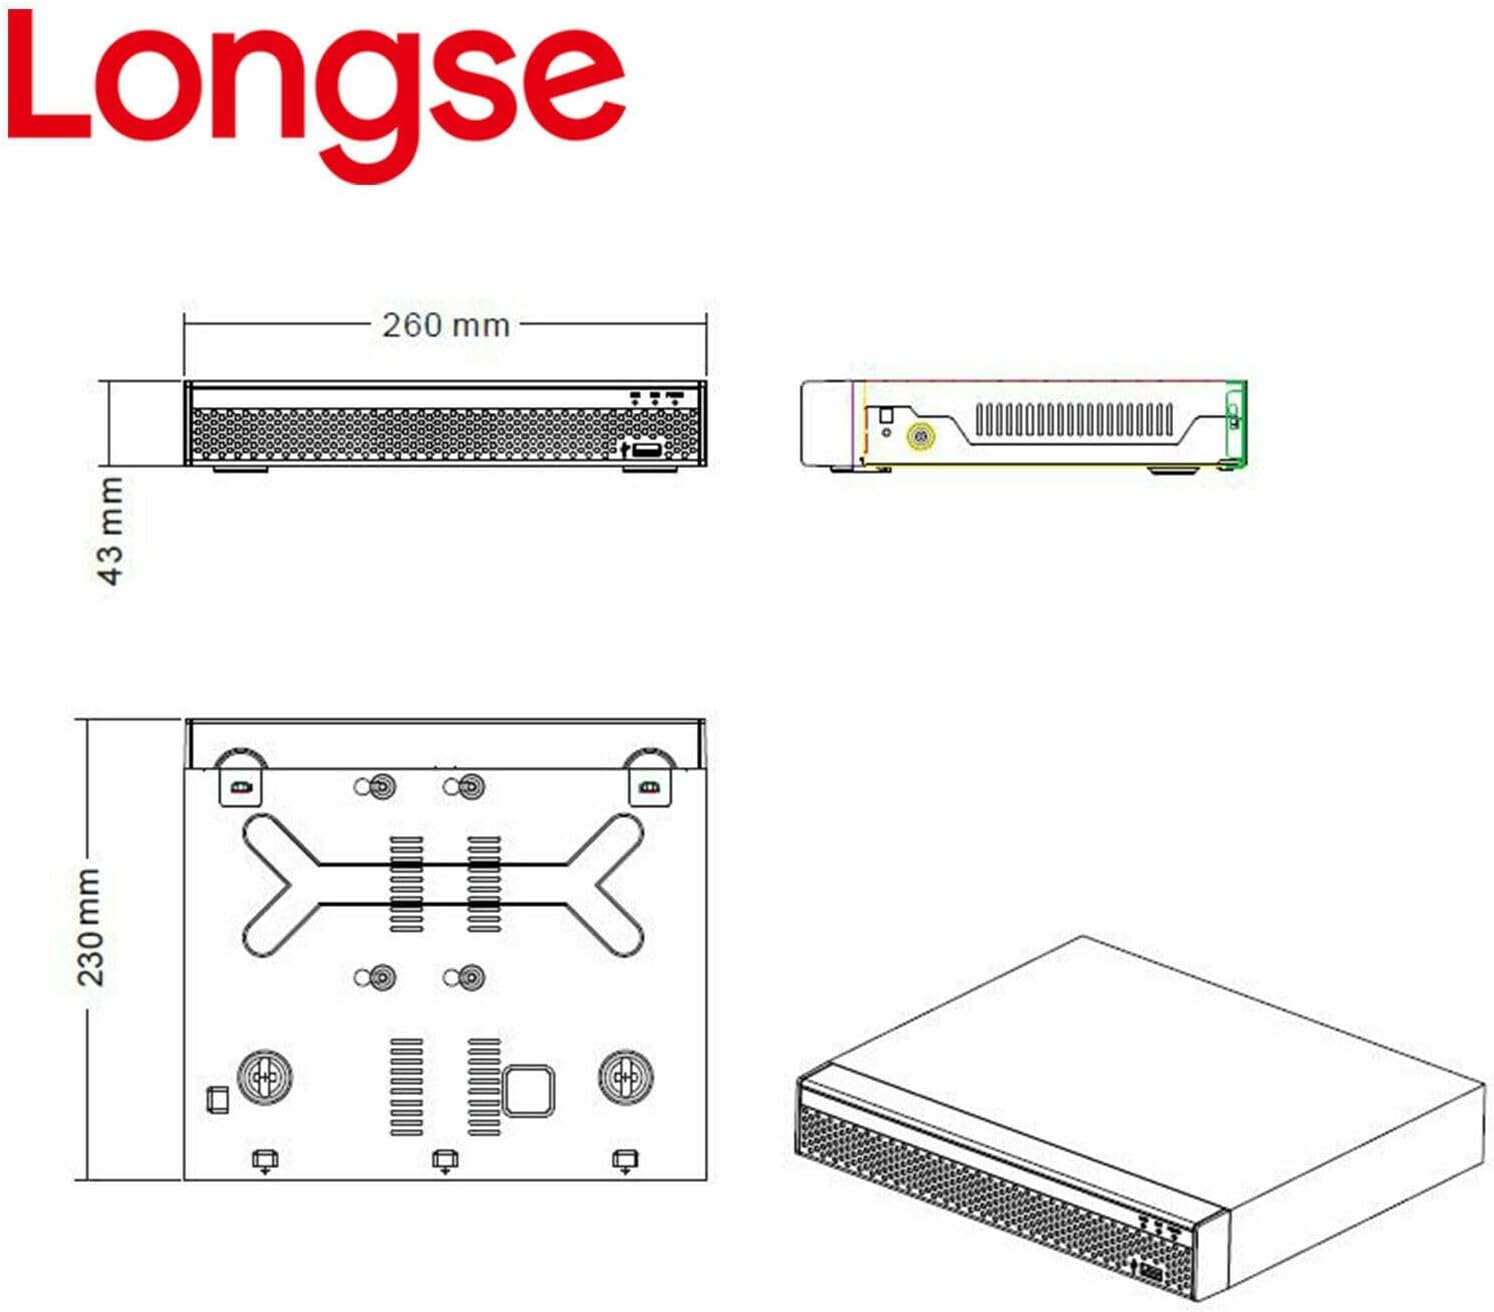
Figure 9.1: Dimensional drawing of the Longse XVR2008D unit, showing measurements of 260mm width, 180mm depth, and 43mm height.
10. Warranty and Support
For warranty information and technical support, please refer to the warranty card included with your product or visit the official Longse website. Keep your purchase receipt as proof of purchase for warranty claims.