
Introduction
This manual provides detailed instructions for the setup, operation, and maintenance of your TNICER R3 Motorcycle Helmet Camera. The R3 camera is designed to capture high-resolution video during motorcycle rides, cycling, and other outdoor sports. It features 1080P video recording, a 120° wide-angle lens, IP67 waterproofing, and Wi-Fi connectivity for smartphone control. Please read this manual thoroughly before using the device to ensure proper functionality and longevity.
Package Contents
Verify that all items listed below are included in your package. If any items are missing or damaged, please contact customer support.
- Camera Body (R3)
- 3 Mounting Accessory Kits (Fixed base, Helmet bracket kit, Handlebar mounting bracket)
- Waterproof Charging Cable
- Data Cable
- User Manual (This document)
- 32GB TF Card (Micro SD)
- 3M Fixing Adhesive
- Velcro

Image: The TNICER R3 camera body, various mounting accessories, cables, 32GB TF card, 3M adhesive, and Velcro, illustrating the complete package contents.
Product Overview
The TNICER R3 camera is a compact and robust device designed for capturing dynamic footage. Key features include a 1080P lens system, Wi-Fi module, and a durable, waterproof casing.

Image: The TNICER R3 camera, shown with a handlebar mounting bracket and a 32GB Micro SD card, highlighting its compact design.
Lens System
The camera features a 6-layer glass lens with an F1.8 caliber and a 120° wide-angle view, ensuring clear 1080P video capture at 30 frames per second. It incorporates a SONY CMOS sensor for enhanced image quality.

Image: An exploded view diagram illustrating the multi-layer lens structure and internal components of the TNICER R3 camera, emphasizing its optical design.
Connectivity and Controls
The R3 camera connects to your smartphone via 2.4GHz Wi-Fi for real-time preview, video playback, and download through a dedicated application. It does not support Bluetooth connectivity.
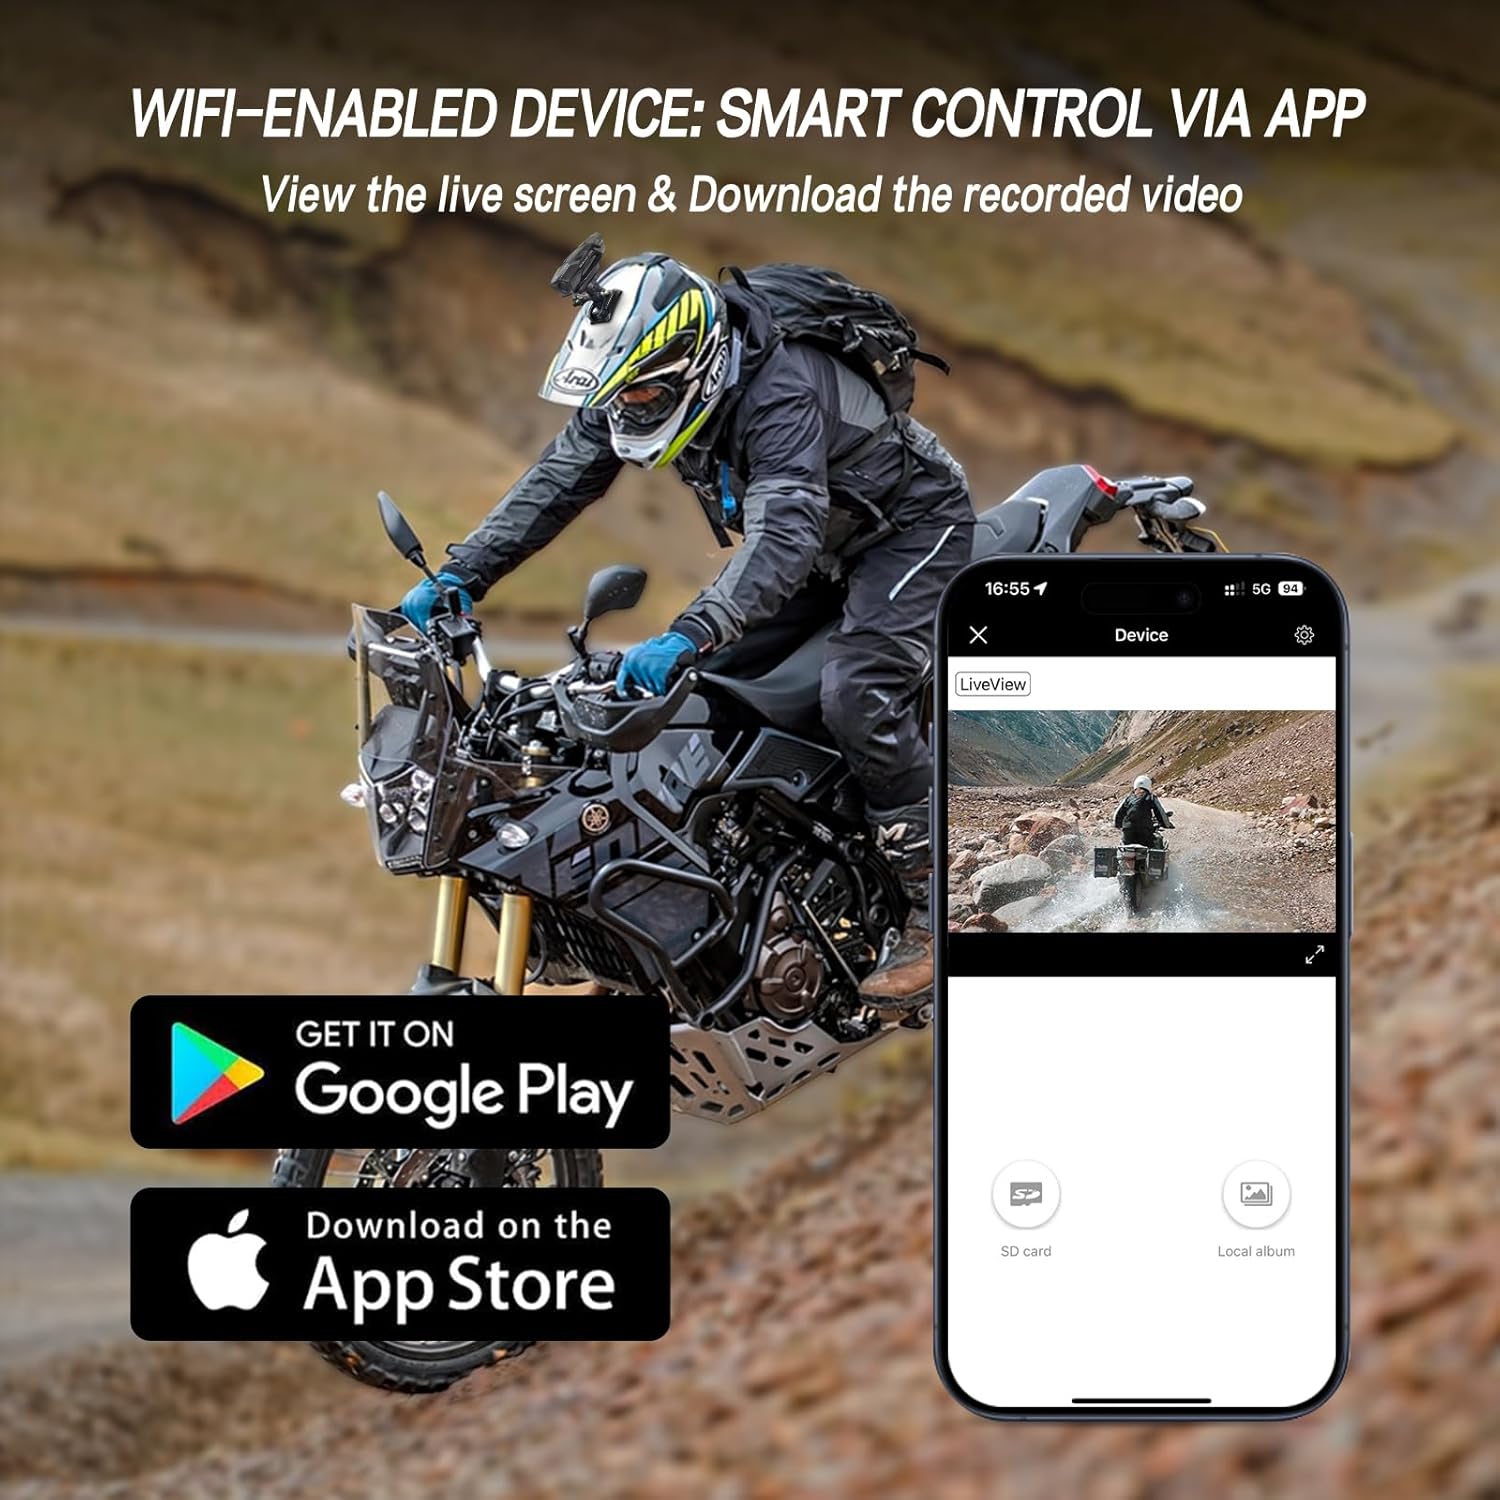
Image: A smartphone displaying the TNICER R3 camera's companion application, showing live view and options for accessing recorded videos, with app store download icons.
Durability and Power
The camera is IP67 rated, making it waterproof and dustproof for reliable performance in various weather conditions. It includes a 720mAh battery, providing over 2 hours of 1080P recording, and supports continuous recording with the waterproof charging cable.

Image: The TNICER R3 camera mounted on a bicycle handlebar, with water droplets visible on its surface, demonstrating its IP67 waterproof rating.

Image: An internal view of the TNICER R3 camera highlighting its 720mAh battery and the connection point for the waterproof charging cable, indicating power capabilities.
Setup
1. Memory Card Installation
- Locate the Micro SD card slot on the camera body.
- Insert the included 32GB Micro SD card into the slot until it clicks into place. Ensure the card is inserted correctly to avoid damage.
- The camera supports loop recording, which will automatically overwrite the oldest files when the card is full.

Image: A detailed view of the TNICER R3 camera's Micro SD card slot, showing a card being inserted, illustrating the memory card installation process.
2. Charging the Camera
- Connect the provided Data Cable or Waterproof Charging Cable to the camera's charging port.
- Connect the other end of the cable to a USB power source (e.g., computer, USB wall adapter).
- The charging indicator light will illuminate. Once fully charged, the light will change or turn off (refer to specific indicator behavior in the operating section).
- For continuous recording during rides, use the Waterproof Charging Cable connected to a suitable power source on your vehicle.
3. Mounting the Camera
The R3 camera offers multiple installation options to suit your needs.
- Handlebar Mount: Use the handlebar mounting bracket to secure the camera to your motorcycle or bicycle handlebars.
- Helmet Mount (Top): Attach the fixed base and helmet bracket kit to the top of your helmet using the 3M fixing adhesive. Ensure the surface is clean and dry before application.
- Helmet Mount (Side): Use the appropriate bracket and adhesive to mount the camera to the side of your helmet.
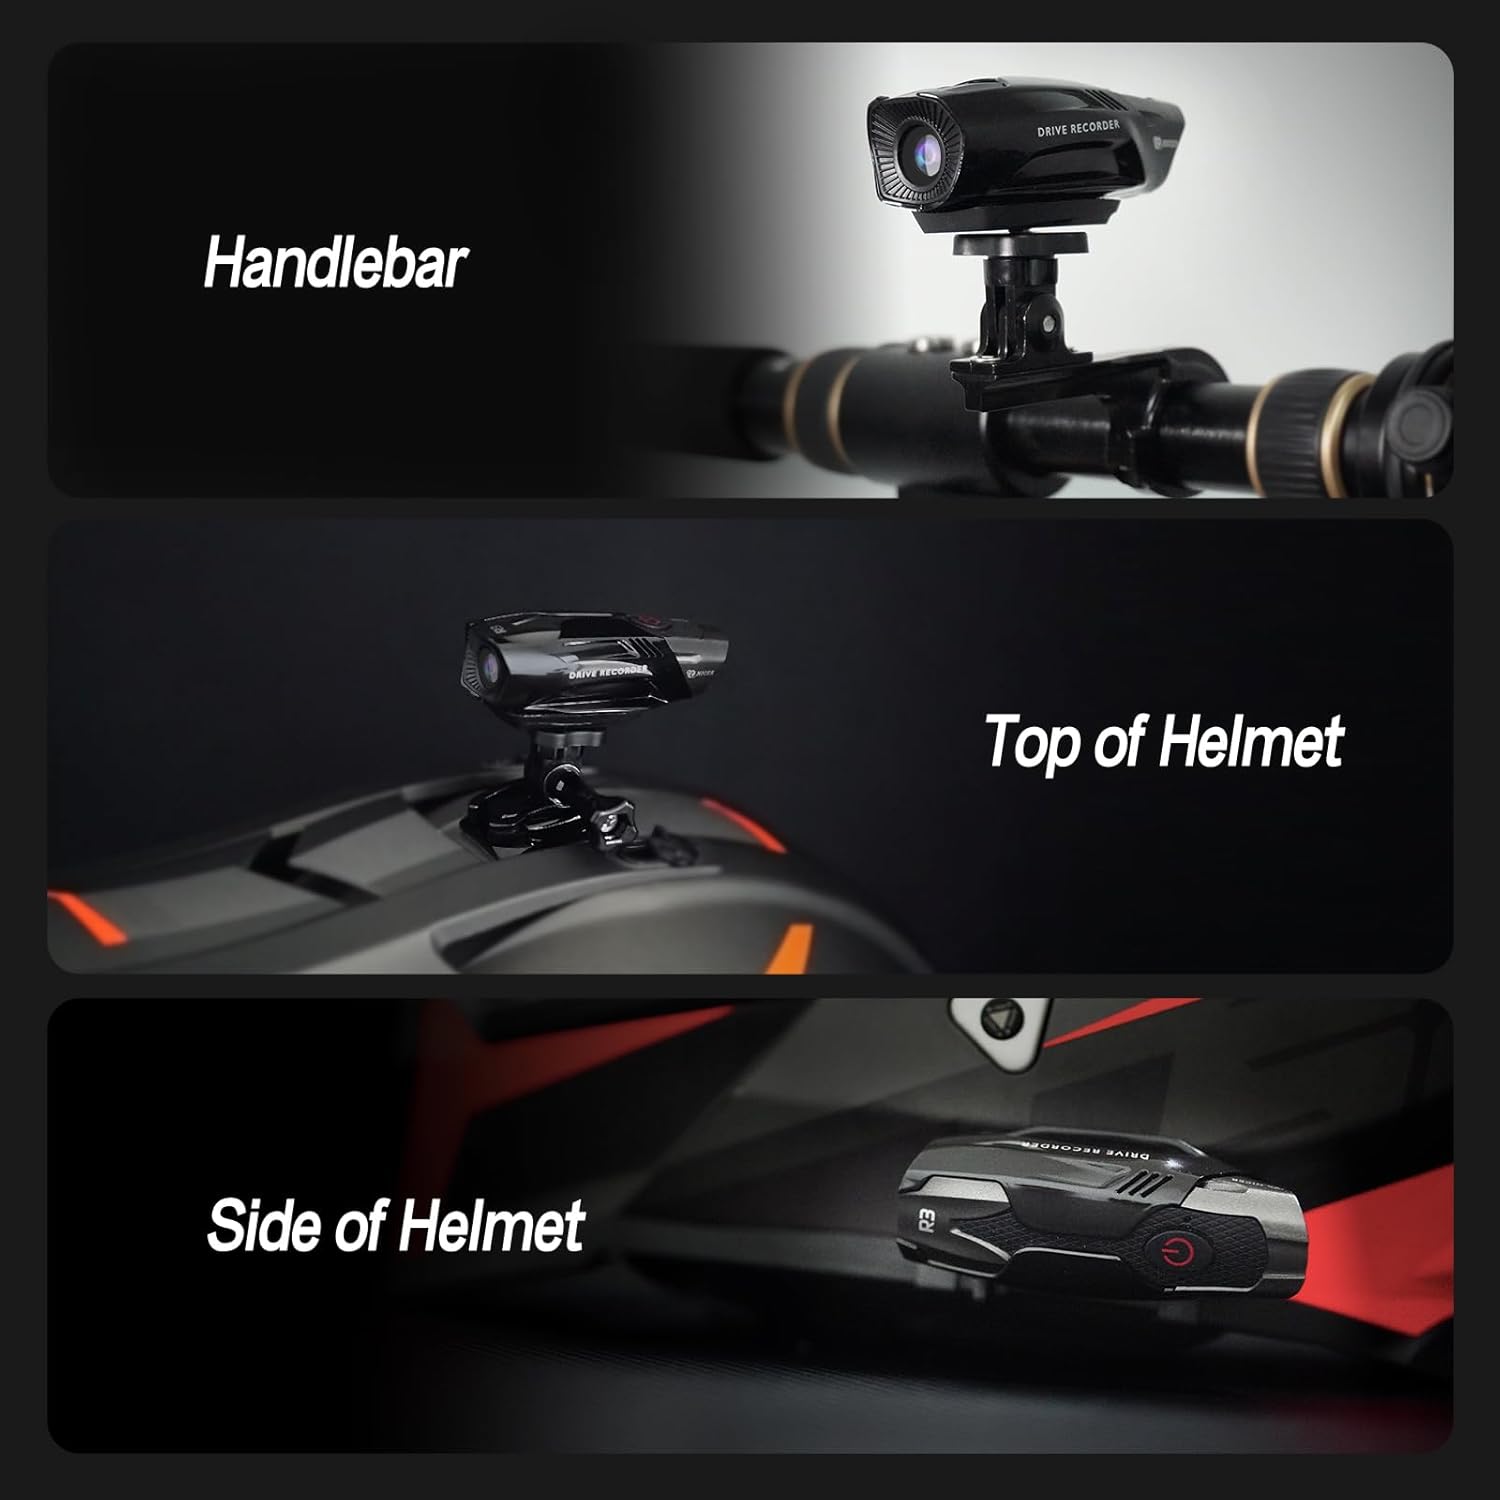
Image: A composite image demonstrating three different mounting positions for the TNICER R3 camera: on a handlebar, on the top of a helmet, and on the side of a helmet.
4. App Installation and Connection
- Download the dedicated TNICER R3 application from the Google Play Store (for Android) or Apple App Store (for iOS).
- Turn on the camera.
- On your smartphone, go to Wi-Fi settings and connect to the camera's Wi-Fi network (SSID and password typically found on the camera or in a quick start guide).
- Open the TNICER R3 app. You should now be able to see a live preview and access camera functions.
Operating Instructions
Power On/Off
- To Power On: Press and hold the power button (usually marked with a power symbol) for a few seconds until the indicator light illuminates.
- To Power Off: Press and hold the power button again until the indicator light turns off.
Recording Video
- Once powered on, the camera typically begins recording automatically. Refer to the indicator light for recording status (e.g., flashing light).
- The camera records in 1080P resolution at 30 frames per second.
- Loop Recording: The camera supports loop recording, meaning it will continuously record and overwrite the oldest files when the memory card is full. This ensures uninterrupted recording.
- G-Sensor: The integrated G-sensor detects sudden impacts or collisions. In such events, the camera will automatically lock the current video file, preventing it from being overwritten by loop recording.

Image: The TNICER R3 camera displayed alongside icons representing its ultra-light design, loop recording capability, and G-sensor function, with a motorcycle accident scene in the background to illustrate G-sensor activation.
Using the Smartphone App
After connecting your smartphone to the camera's Wi-Fi:
- Live Preview: View a real-time feed from the camera on your smartphone screen.
- Video Playback: Access and play back recorded videos directly from the camera's memory card.
- Download Videos: Transfer recorded video files from the camera to your smartphone for editing or sharing.
- Settings: Adjust camera settings such as video resolution, loop recording duration, and G-sensor sensitivity (if available in the app).
Maintenance
- Cleaning: Wipe the camera body and lens with a soft, damp cloth. Avoid using harsh chemicals or abrasive materials that could scratch the lens or casing.
- Water Exposure: While the camera is IP67 waterproof, ensure all ports are securely closed before exposing it to water. After exposure to saltwater, rinse with fresh water and dry thoroughly.
- Storage: Store the camera in a cool, dry place away from direct sunlight when not in use.
- Memory Card: Periodically format the Micro SD card using the camera's app or a computer to maintain optimal performance and prevent data corruption. Back up important files before formatting.
- Battery Care: For long-term storage, charge the battery to approximately 50% to prolong its lifespan. Avoid fully discharging the battery for extended periods.
Troubleshooting
| Problem | Possible Cause | Solution |
|---|---|---|
| Camera does not power on. | Low battery; faulty power button. | Charge the camera for at least 2 hours. If the issue persists, contact support. |
| Cannot connect to Wi-Fi. | Incorrect Wi-Fi password; camera Wi-Fi not active; app issue. | Ensure camera Wi-Fi is enabled. Verify password. Restart camera and phone. Reinstall app if necessary. Note: R3 does not have Bluetooth. |
| Video footage is blurry or distorted at high speeds. | Vibrations from motorcycle; unstable mounting. | Ensure the camera is securely mounted and vibrations are minimized. Consider alternative mounting positions. |
| Memory card error. | Card not inserted correctly; card corrupted; incompatible card. | Reinsert the card. Format the card via the app or computer. Try a different compatible Micro SD card. |
| Camera casing appears fragile or separates easily. | Physical impact; manufacturing defect. | Handle with care. If damage occurs under normal use within warranty, contact customer support. |
Specifications
| Feature | Detail |
|---|---|
| Brand | TNICER |
| Model | R3 |
| Video Capture Resolution | 1080p at 30FPS |
| Lens Angle | 120° Wide Angle |
| Photo Sensor Technology | CMOS (SONY CMOS Sensor) |
| Waterproof Rating | IP67 |
| Battery Capacity | 720mAh Lithium Polymer |
| Recording Time | Over 2 hours (1080P video) |
| Connectivity | Wi-Fi (2.4GHz) |
| Memory Card Type | Micro SD (32GB included) |
| Special Features | Loop Recording, G-Sensor, Lightweight |
| Item Weight | Approximately 13.7 ounces |
| Package Dimensions | 6.1 x 3.66 x 3.19 inches |
Warranty and Support
Warranty Information
The TNICER R3 Motorcycle Helmet Camera comes with a one-year warranty from the date of purchase. This warranty covers manufacturing defects and malfunctions under normal use. It does not cover damage caused by misuse, accidents, unauthorized modifications, or natural disasters. Please retain your proof of purchase for warranty claims.
Customer Support
For technical assistance, warranty claims, or any questions regarding your TNICER R3 camera, please refer to the official TNICER website or the contact information provided with your product packaging.