1. Introduction
This manual provides essential information for the safe and effective installation, operation, and maintenance of your CNBINGO M1-102GR Touch Toggle Switch. Please read these instructions carefully before installation and retain them for future reference.
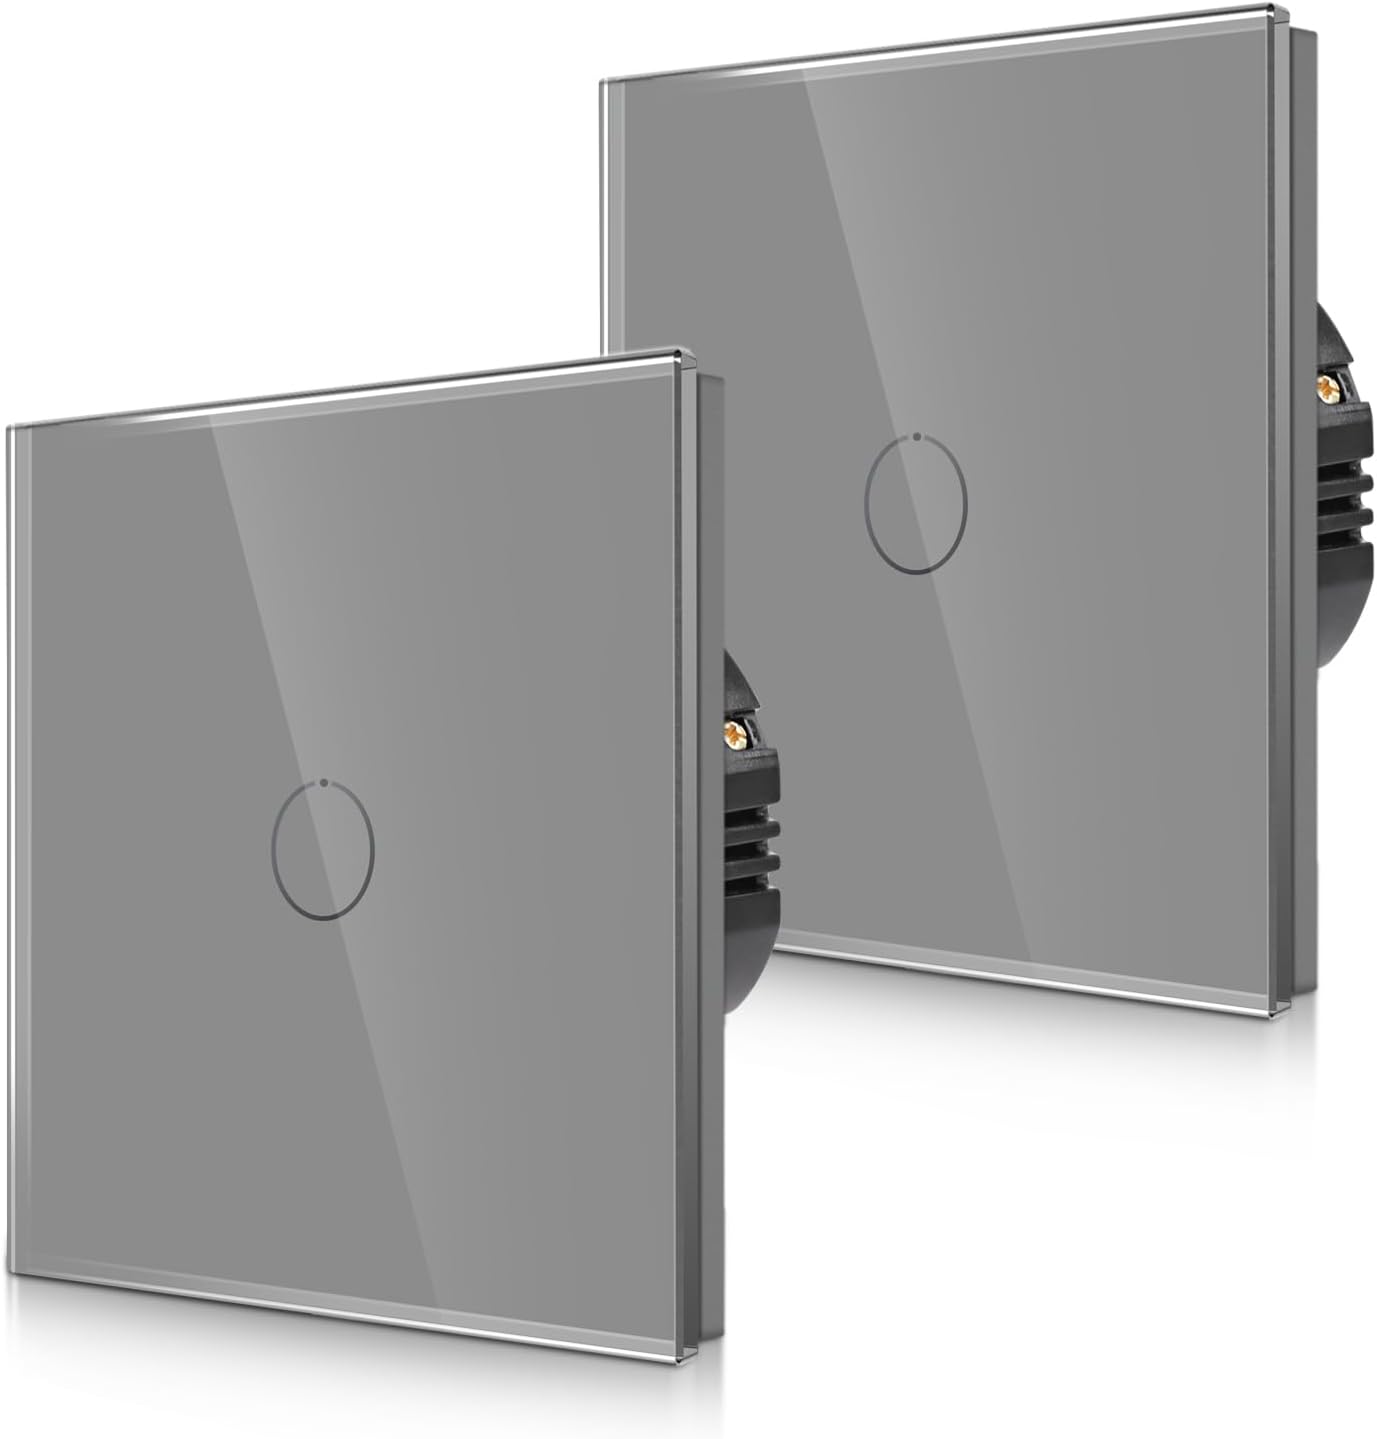
Image 1.1: CNBINGO M1-102GR Touch Toggle Switches
This image displays two CNBINGO M1-102GR touch toggle switches, showcasing their sleek grey glass panel design and integrated touch circle.
1.1 Product Features
- Two-Way (Toggle) Functionality: Designed for controlling a single lamp from two separate locations when paired with another switch of the same series.
- Flush-Mounted Design: Integrates seamlessly into standard wall boxes.
- Tempered Glass Panel: Offers fire, scratch, and electric shock resistance, ensuring safety even with wet hands.
- Status LED: Each button features a backlight. A strong blue light indicates 'ON' status, while a weak blue light indicates 'OFF' status, providing visibility in the dark without disturbing sleep.
- No Neutral Conductor Required: Simplifies installation in many existing electrical systems.
1.2 Important Considerations
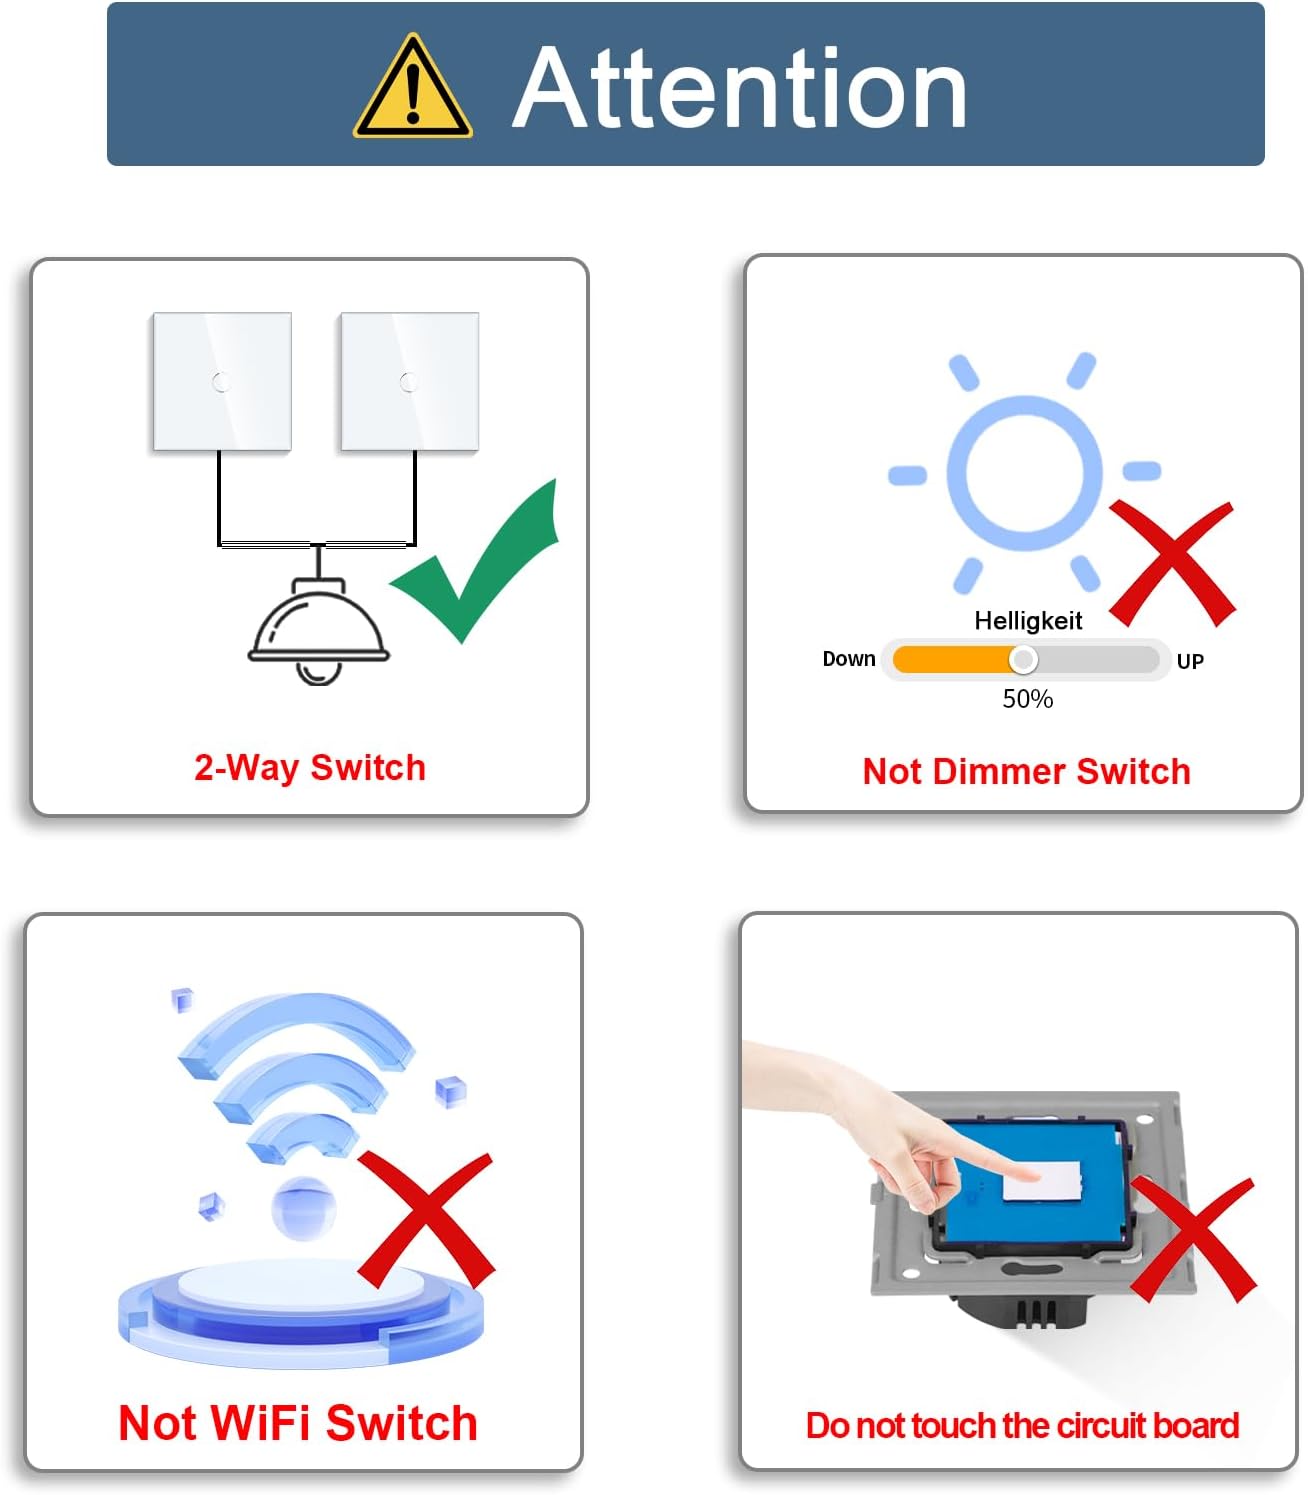
Image 1.2: Important Product Considerations
This graphic highlights key operational aspects: the switch supports 2-way control, is not a dimmer, is not a WiFi-enabled smart switch, and warns against touching the internal circuit board before installation.
- This switch is a two-way switch, designed to control a light from two positions when paired with another compatible switch from the same series.
- This is not a dimmer switch and does not support brightness adjustment.
- This is not a smart switch and is not compatible with Wi-Fi or voice assistants like Alexa.
- Do not touch the internal circuit board before the glass panel is installed. Doing so may cause malfunction.
2. Safety Information
Electrical installations should always be performed by a qualified electrician or competent person. Failure to follow these safety instructions may result in electric shock, fire, or serious injury.
- Disconnect Power: Always ensure the main power supply to the circuit is turned OFF at the circuit breaker or fuse box before commencing any installation, wiring, or maintenance work.
- Voltage Compatibility: Ensure the switch's voltage rating (240V AC) matches your electrical system.
- Proper Wiring: Follow the wiring diagram precisely. Incorrect wiring can lead to malfunction or hazards.
- Environmental Conditions: Do not install in excessively humid or wet environments unless the product's IP rating specifically permits it. The IP rating for this product is IPX (unspecified protection against water ingress).
- Glass Panel: The tempered glass panel is designed for safety, but handle with care to avoid damage.
3. Setup and Installation
3.1 Pre-Installation Checks
- Ensure the power supply to the installation area is completely disconnected.
- Verify that your wall box meets the required dimensions.

Image 3.1: Product Dimensions and Wall Box Compatibility
This image illustrates the physical dimensions of the switch (86mm x 86mm, 26mm depth) and specifies that the wall box must have a minimum depth of 30mm and a diameter of 60mm for proper flush mounting.
3.2 Wiring Instructions
The CNBINGO M1-102GR switch requires a live wire and a communication wire for two-way operation. No neutral conductor is required for the switch itself.

Image 3.2: Two-Way Switch Circuit Diagram
This diagram illustrates the wiring for a two-way switch setup. It shows how the Live Wire, Neutral Wire, and a dedicated Communication Wire connect two CNBINGO switches to a single light fixture, enabling control from both locations.
- Prepare Wires: Strip the insulation from the Live Wire, Neutral Wire, and Communication Wire according to standard electrical practices.
- Connect Live Wire: Connect the Live Wire to the 'L' terminal on the switch.
- Connect Communication Wire: Connect the Communication Wire between the 'L1' terminal of the first switch and the 'L1' terminal of the second switch. This wire facilitates communication for two-way control.
- Connect Load Wire: Connect the wire leading to the light fixture (load) to the 'L' terminal of the second switch.
- Secure Connections: Ensure all wire connections are tight and secure within the screw terminals.
3.3 Mounting the Switch
- Carefully place the wired switch mechanism into the wall box.
- Secure the switch mechanism to the wall box using the provided screws.
- Attach the glass panel to the switch mechanism. Ensure it clicks securely into place.
- Important: Do not touch the switch button or circuit board before the glass panel has been fully installed.
3.4 Pairing Two-Way Switches
For two-way control, two CNBINGO M1-102GR switches must be paired. This allows a single light to be controlled from two different locations.

Image 3.3: Two-Way Switch Operation
This image visually represents the two-way switch capability, showing a user interacting with one switch to control a ceiling light, implying that another switch can also control the same light.
- After installation and with power restored, identify the switch connected directly to the lamp's live wire.
- Press and hold the touch button on this switch for approximately 10 seconds until you hear a beep. This indicates it is in pairing mode.
- Within a short period, operate (touch) the second switch. The switches should now be paired.
- Test both switches to ensure they can independently control the light.
4. Operating Instructions
4.1 Basic Operation
To turn the connected light ON or OFF, simply touch the circular area on the glass panel of the switch. The touch system responds quickly (40ms high-speed touch system).
4.2 Status LED Indicator

Image 4.1: Status LED Functionality
This image demonstrates the status LED: a strong blue light indicates the switch is ON, while a weak blue light indicates it is OFF. This provides clear visual feedback in various lighting conditions.
- When the light is ON, the circular LED indicator on the switch will emit a strong blue light.
- When the light is OFF, the circular LED indicator on the switch will emit a weak blue light.
- The LED is designed to be visible in the dark without causing disturbance to sleep.
5. Maintenance
5.1 Cleaning
- Ensure the power to the switch is OFF before cleaning.
- Wipe the glass panel with a soft, damp cloth.
- Do not use abrasive cleaners, solvents, or harsh chemicals, as these can damage the glass or internal components.
- Avoid spraying cleaning liquids directly onto the switch. Apply to the cloth first.
5.2 General Care
- Avoid excessive force when touching the switch.
- Protect the switch from direct impact or sharp objects to prevent damage to the glass panel.
6. Troubleshooting
| Problem | Possible Cause | Solution |
|---|---|---|
| Switch does not respond to touch. |
|
|
| Light does not turn ON/OFF. |
|
|
| Two-way control not working. |
|
|
| Status LED is not working. |
|
|
If troubleshooting steps do not resolve the issue, please contact CNBINGO customer support.
7. Specifications
| Feature | Detail |
|---|---|
| Model Number | M1-102GR |
| Brand | CNBINGO |
| Operation Mode | ON-OFF |
| Circuit Type | Touch |
| Control Method | Touch |
| Material | Glass |
| Color | Grey |
| Voltage | 240 Volts (AC) |
| Power Source | AC |
| Item Dimensions (L x W x H) | 3.39 x 3.39 x 1.42 inches (approx. 86 x 86 x 36 mm) |
| Item Weight | 7 ounces |
| Terminal Type | Screw |
| International Protection Rating | IPX (unspecified) |
| Batteries Required | No |
8. Warranty and Support
Specific warranty information is not provided in the product details. For warranty claims, technical support, or further assistance, please contact the seller or CNBINGO customer service directly. Retain your proof of purchase for any warranty inquiries.


