1. Introduction
This manual provides detailed instructions for the installation, operation, and maintenance of your Inexaccessories Android 13 Car Radio Stereo, Model 622. This multimedia system is designed to enhance your driving experience with advanced features such as wireless CarPlay, Android Auto, GPS navigation, and a QLED touchscreen display. Please read this manual thoroughly before installation and use to ensure proper function and safety.
2. Vehicle Compatibility
The Inexaccessories Model 622 car radio stereo is compatible with the following vehicle models:
- For Jeep: Grand Cherokee (1999-2004), Liberty (2002-2007), Wrangler (2003-2006)
- For Chrysler: 300M (2002-2004), PT Cruiser (2003-2005), Sebring Sedan (2002-2006), Concorde (2002-2004), Town&Country (2004-2007), Grand Voyager (2001-2003)
- For Dodge: RAM (2002-2006), 1500/2500/3500 Pickup (2004-2005)

Image: The Inexaccessories Model 622 unit seamlessly integrated into a vehicle dashboard, displaying its user interface.

Image: Visual representation of compatible Jeep vehicle models.

Image: Visual representation of compatible Chrysler vehicle models.

Image: Close-up view of the car radio installed in a Dodge vehicle dashboard.
3. What's in the Box
Please verify that all components are present before beginning installation:
- Inexaccessories Android 13 Car Radio Stereo Unit
- Backup Camera
- Power Cables (2 types)
- RCA Line
- Reversing Line
- 6P USB Cable
- 4P USB Cable
- Radio Adapter Cable
- Protocol Box
- Protocol Serial Line
- GPS Cable
- Microphone
- User Manual

Image: Overview of all included components and wiring for the car stereo system.
4. Setup & Installation
Professional installation is recommended. Ensure the vehicle's battery is disconnected before starting installation to prevent electrical damage.
4.1 Wiring Connections
- Power Cables: Connect the main power harness to the vehicle's wiring. Ensure correct polarity for constant power (yellow), accessory power (red), and ground (black).
- RCA Lines: Connect RCA cables for audio output (front, rear, subwoofer) and video input/output as needed.
- Reversing Line: Connect the reversing trigger wire to the vehicle's reverse light circuit for automatic backup camera activation.
- USB Cables: Connect the provided USB cables for external devices, CarPlay/Android Auto wired connection, or media playback.
- Radio Adapter Cable: Connect to the vehicle's antenna port.
- Protocol Box & Serial Line: Connect the protocol box and serial line for vehicle data communication, such as steering wheel controls.
- GPS Cable: Mount the GPS antenna in a location with a clear view of the sky and connect it to the unit.
- Microphone: Connect the external microphone for improved call quality and voice commands.
- Backup Camera: Connect the backup camera video input and power supply.
4.2 Physical Installation
Carefully remove the factory radio and install the new unit into the dashboard opening. Secure it using the appropriate mounting brackets. Ensure all cables are neatly routed and not pinched.
5. Operating Instructions
5.1 Power On/Off
The unit powers on automatically with the vehicle's ignition. To manually power off or restart, press and hold the power button (if available) or use the system's software controls.
5.2 Wireless CarPlay & Android Auto
Connect your iPhone or Android phone wirelessly via Bluetooth to activate CarPlay or Android Auto. This allows access to navigation, music, messaging, and voice assistants directly on the unit's screen. Wired connections are also supported via USB.

Image: Wireless CarPlay and Android Auto functionality displayed on the unit's screen.
5.3 GPS Navigation
The unit supports both offline and online GPS navigation. Pre-installed offline maps are available, and you can use popular online navigation apps like Google Maps or Waze by connecting to Wi-Fi.
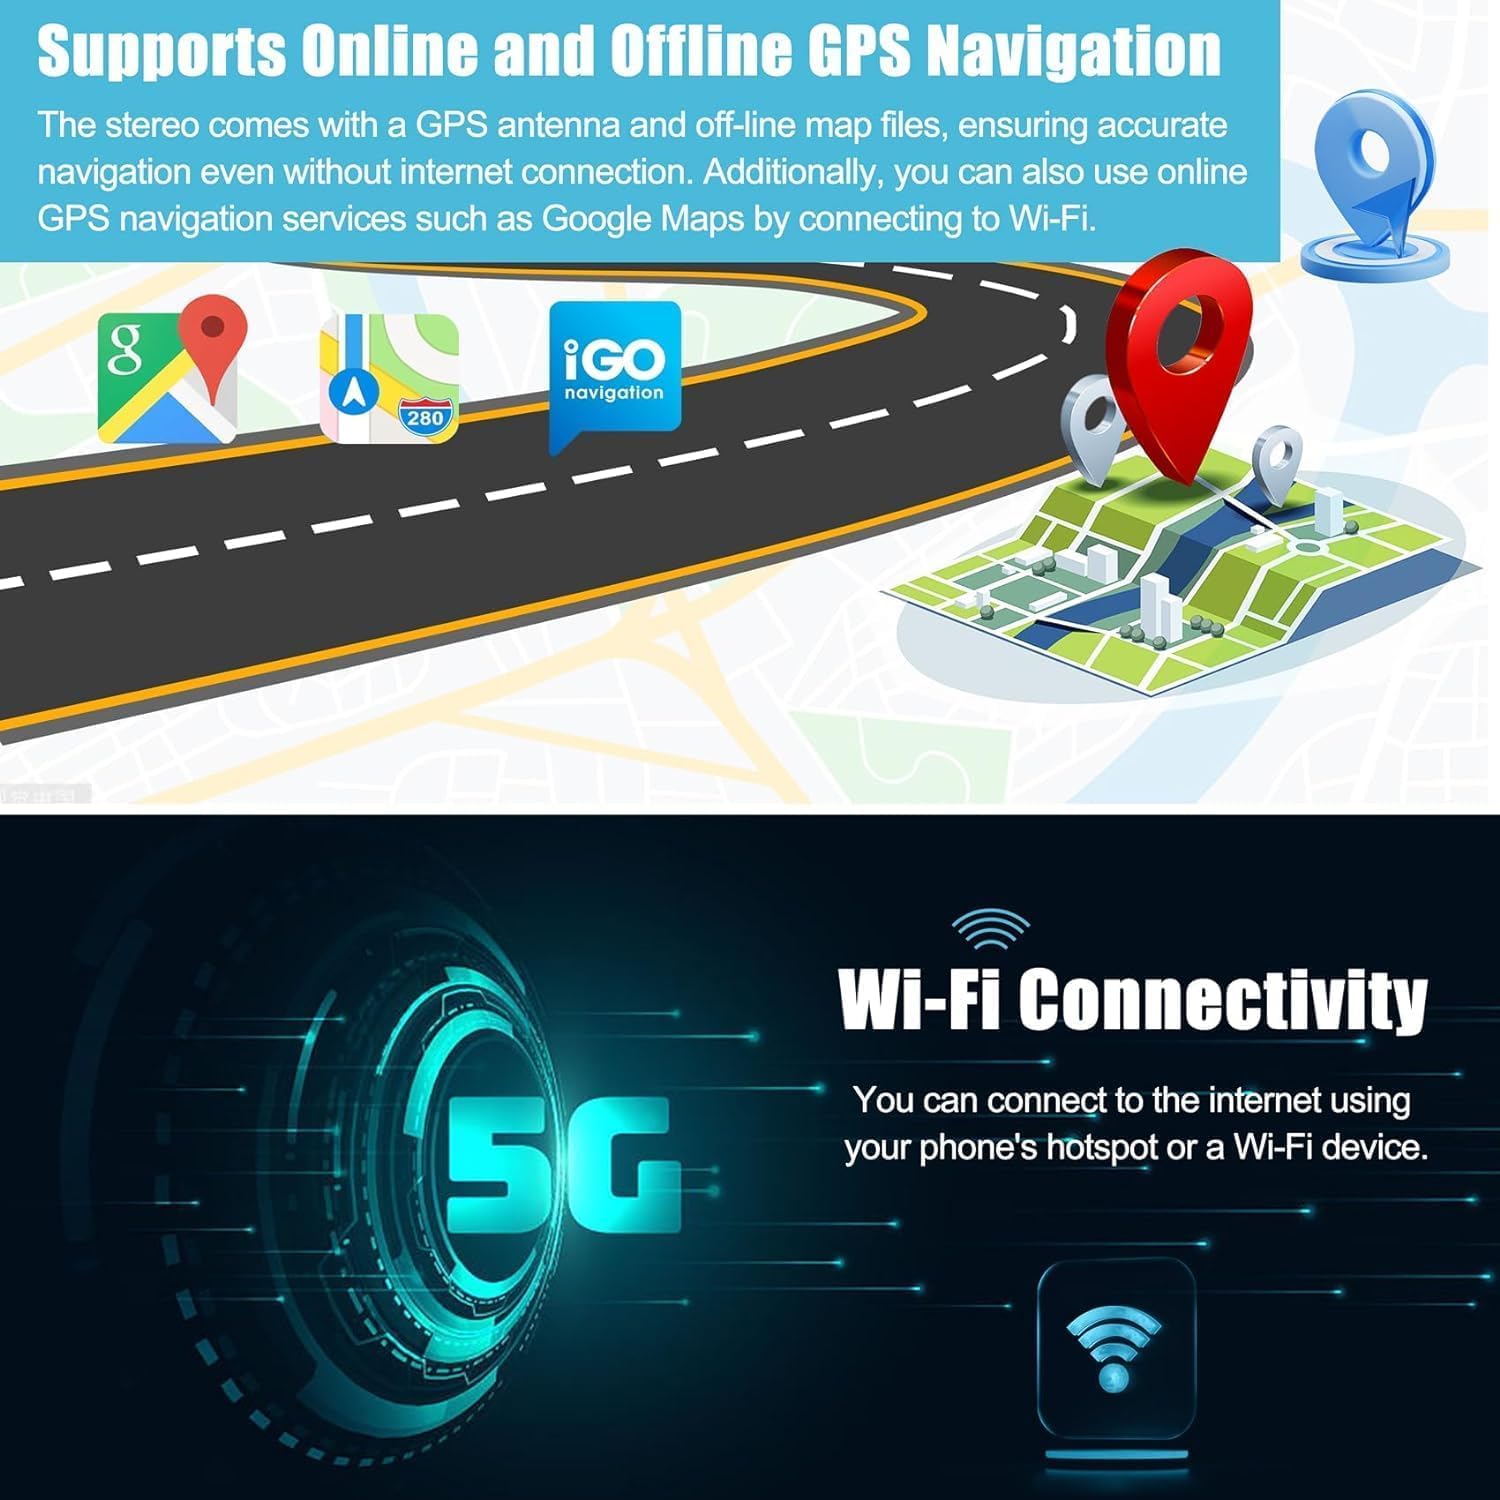
Image: GPS navigation interface showing map applications and route guidance.
5.4 Backup Camera
When the vehicle is shifted into reverse, the unit automatically displays the view from the connected backup camera, aiding in safer parking and maneuvering.
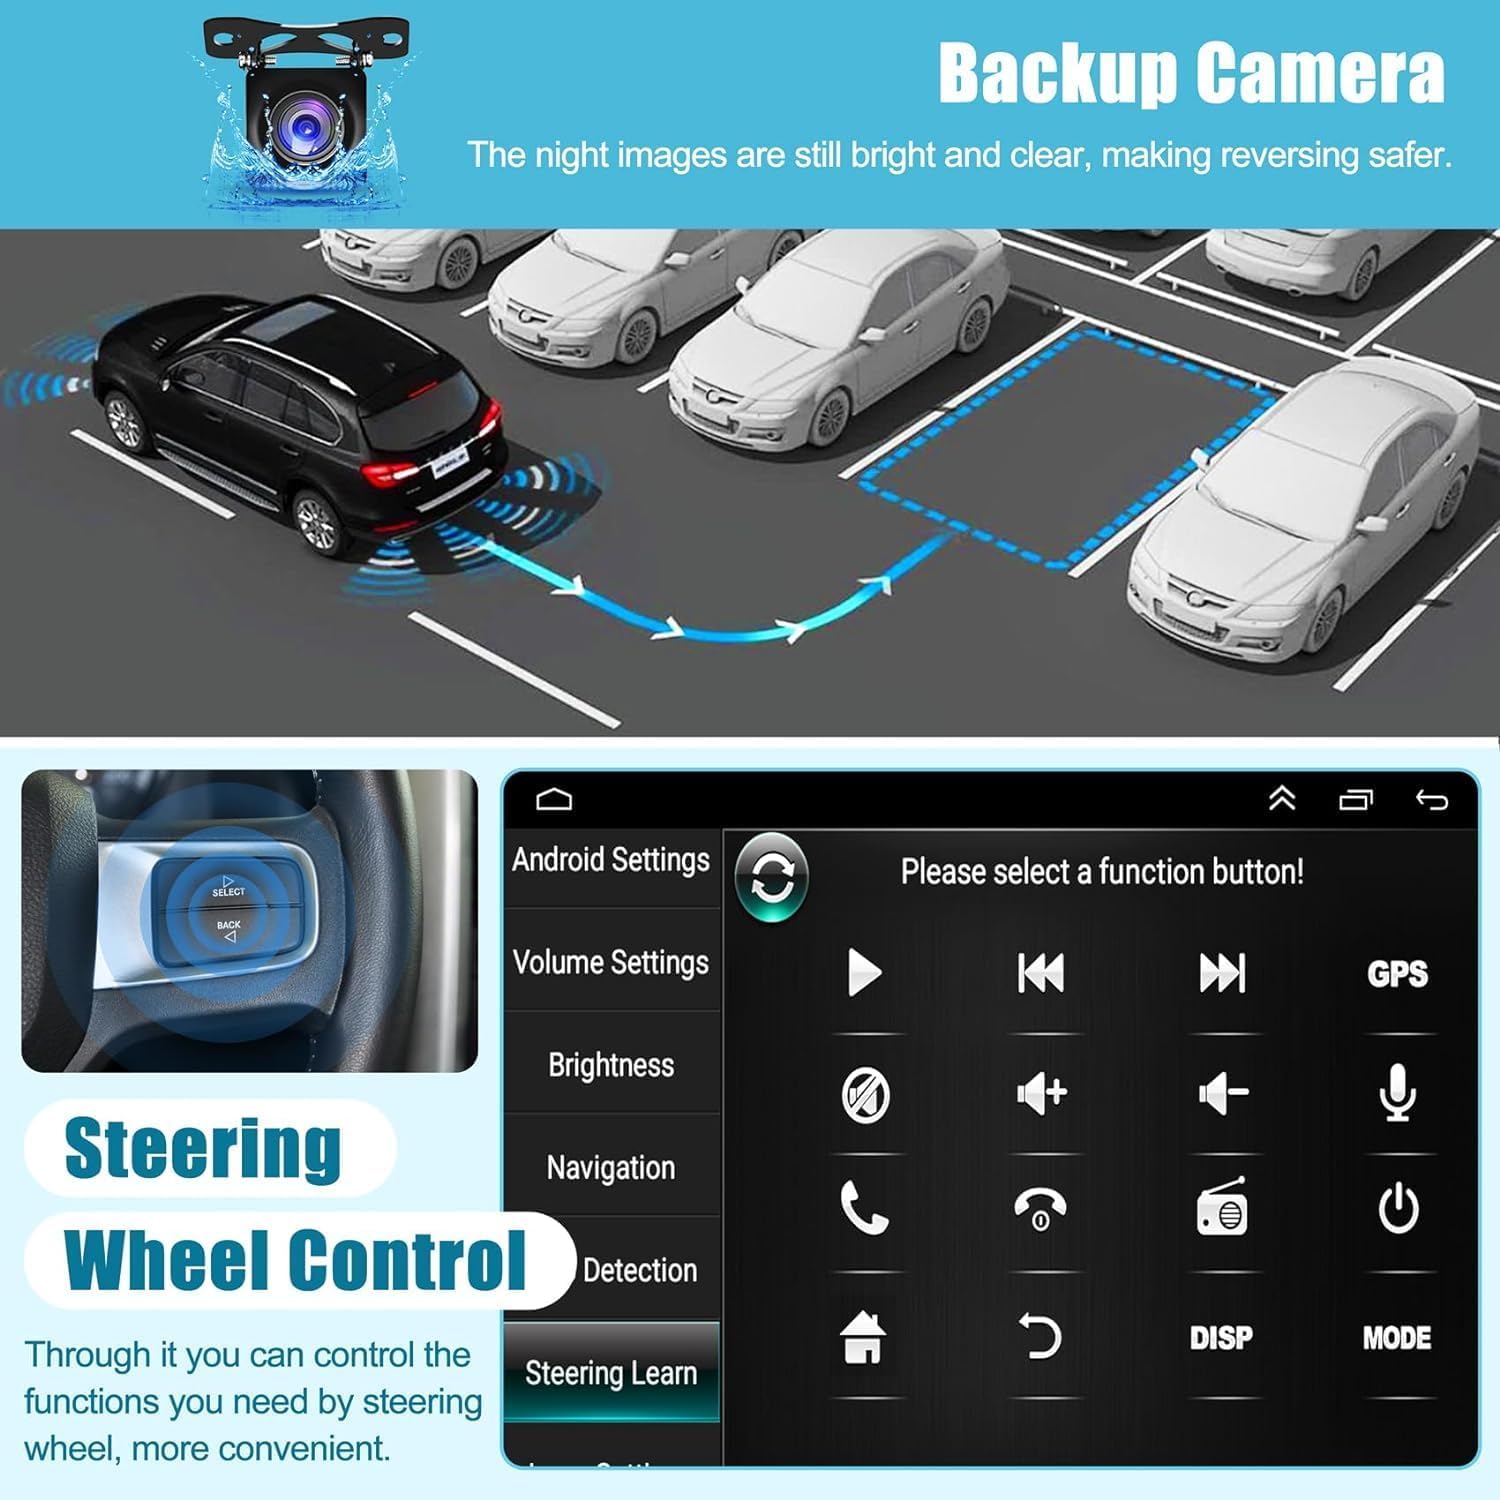
Image: Backup camera view with parking assistance lines.
5.5 Steering Wheel Controls (SWC)
The unit retains compatibility with your vehicle's original steering wheel controls. Access the 'Steering Learn' function in the settings menu to configure or reconfigure these controls.

Image: Steering wheel controls for convenient operation.
5.6 Split Screen Functionality
Utilize the split-screen feature to run two applications simultaneously, such as navigation and music playback, for enhanced multitasking.

Image: Split-screen mode displaying navigation and media playback.
5.7 Bluetooth 5.2
Connect your smartphone via Bluetooth for hands-free calling, audio streaming, and phonebook access. Ensure your device's Bluetooth is enabled and discoverable.
5.8 FM/RDS Radio
Access FM radio stations. The RDS (Radio Data System) feature provides additional information like station names and song titles where available.
5.9 DSP & EQ Settings
Fine-tune your audio experience using the built-in Digital Sound Processor (DSP) and Equalizer (EQ) settings. Adjust frequency bands, balance, and fader to customize the sound output.
6. Specifications
| Brand | Inexaccessories |
| Model Name | 622 |
| Operating System | Android 13 |
| RAM | 4GB |
| ROM (Storage) | 64GB |
| Screen Size | 6.8 Inches |
| Display Type | QLED Touch Screen (Capacitive) |
| Resolution | 1024 x 600 |
| Connectivity | Bluetooth 5.2, Wi-Fi, USB |
| Special Features | Wireless/Wired CarPlay & Android Auto, GPS Navigation, Backup Camera Support, DSP, FM/RDS Radio, Split Screen, Steering Wheel Control (SWC) |
| Included Components | Back-up Camera |
7. Maintenance
7.1 Screen Cleaning
Use a soft, lint-free cloth to gently wipe the touchscreen. For stubborn smudges, slightly dampen the cloth with water or a screen-safe cleaner. Avoid harsh chemicals or abrasive materials.
7.2 Software Updates
Periodically check for software updates through the unit's settings menu or the manufacturer's website. Updates can provide new features, performance improvements, and bug fixes.
7.3 General Care
Avoid exposing the unit to extreme temperatures, direct sunlight for prolonged periods, or excessive moisture. Ensure proper ventilation around the unit.
8. Troubleshooting
8.1 No Power
- Check all power connections (constant, accessory, ground) for secure fitment.
- Verify the vehicle's fuse for the radio is intact.
- Ensure the vehicle's ignition is on.
8.2 No Sound
- Check volume levels on the unit and any connected devices.
- Ensure speaker wires are correctly connected and not shorted.
- Verify the audio source is selected correctly.
8.3 CarPlay/Android Auto Not Connecting
- Ensure Bluetooth is enabled on both the unit and your smartphone.
- For wired connections, try a different USB cable.
- Restart both the unit and your smartphone.
- Check your phone's settings for CarPlay/Android Auto permissions.
8.4 GPS Signal Issues
- Ensure the GPS antenna is properly installed and has a clear view of the sky.
- Move the vehicle to an open area away from tall buildings or dense foliage.
8.5 Steering Wheel Controls Not Working
- Verify the protocol box and serial line connections are secure.
- Re-perform the 'Steering Learn' procedure in the unit's settings.
9. Warranty & Support
9.1 Warranty Information
This Inexaccessories product comes with a 2-Year Warranty from the date of purchase. This warranty covers manufacturing defects and malfunctions under normal use. It does not cover damage caused by improper installation, misuse, accidents, or unauthorized modifications.
9.2 Customer Support
For technical assistance, warranty claims, or any questions regarding your Inexaccessories car radio stereo, please contact our customer support team. Refer to the contact information provided with your purchase documentation or visit the official Inexaccessories website for support details.